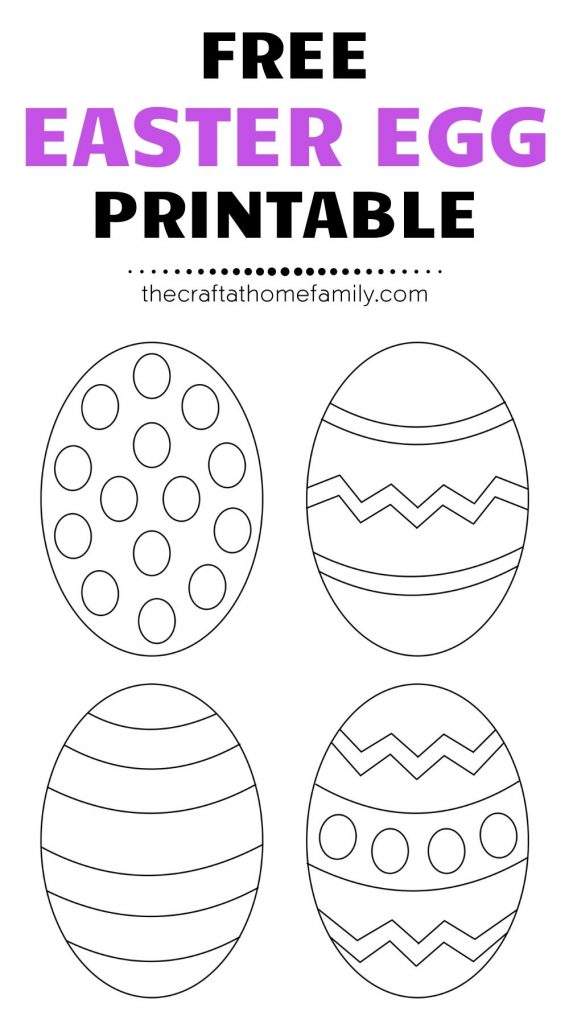
Looking for simple Easter craft ideas? Download this free Easter egg template and check out these fun projects that you can do at home with your kids. Use the template as a coloring page or pick a craft suitable for your child’s age or skill level!
JUMP TO…
Ever since our three-year-old spotted some plastic eggs at the dollar store a little while back, she’s been really excited about any crafts and activities involving Easter eggs! (She’s even been hiding round and egg-shaped toys all around the house and taking her younger siblings on “Easter egg hunts” to find them.)
So naturally, I had to create some Easter egg templates to use for crafts. And because I know you can use some too, I’ve shared them all below.
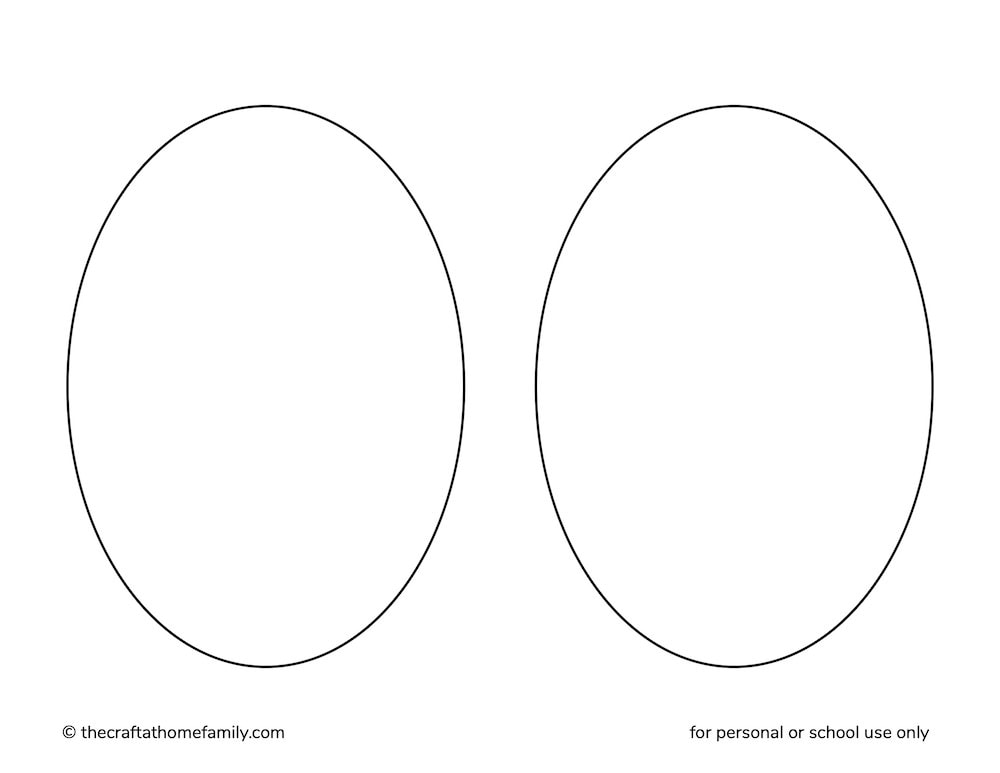
Whether you’re looking for a blank Easter egg outline that you can use to design your own Easter eggs, or for a done-for-you Easter egg cutout that you can simply print out, you can download the PDFs below.
Coloring is one thing you can do with this printable, but there are so many other possibilities. Download the files below, then scroll down to find ideas suitable for every age group!
(P.S. Do your kids love Easter egg hunts as well? Check out these 150+ non-candy Easter egg filler ideas for kids of all ages!)

Get hundreds of pages of activities!
Get access to all our paid printables, as well as monthly activity planners, for just $5/month. (New printables added twice per month!)
Download Your Printable Easter Egg Templates
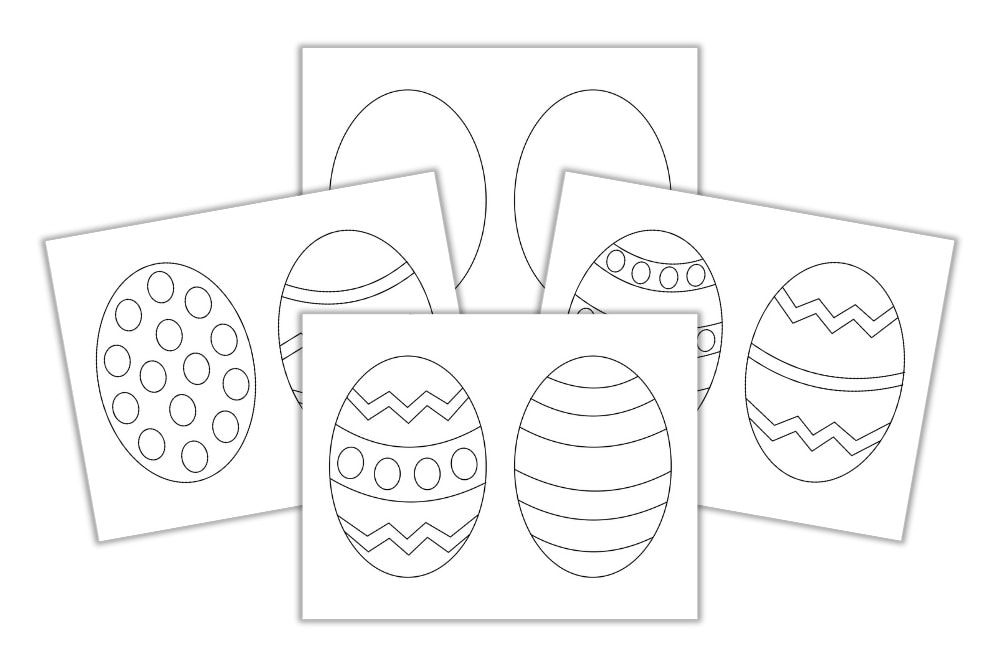
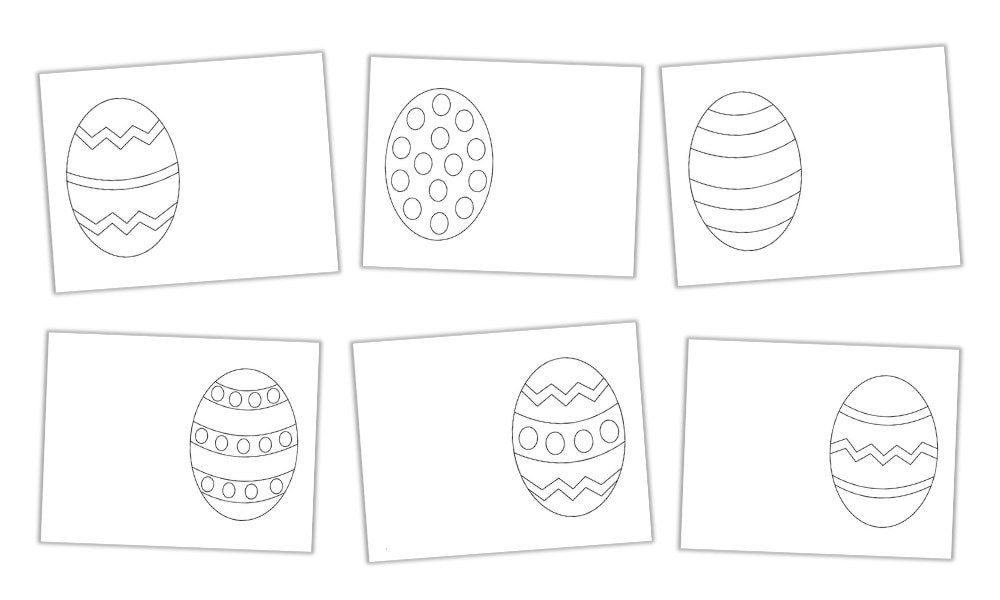
These Easter egg craft templates are perfect for a variety of Easter crafts. Click on each link to download the corresponding template (no sign-up required):
{DOWNLOAD LINK}
EASTER EGG TEMPLATE – STYLE 1
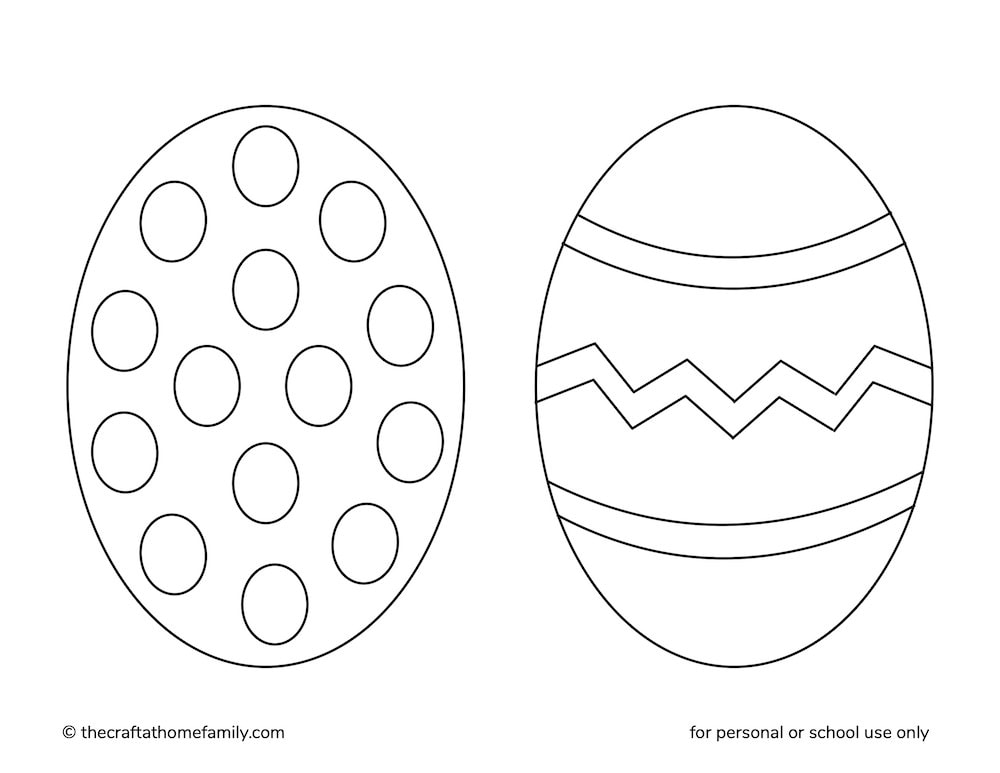
{DOWNLOAD LINK}
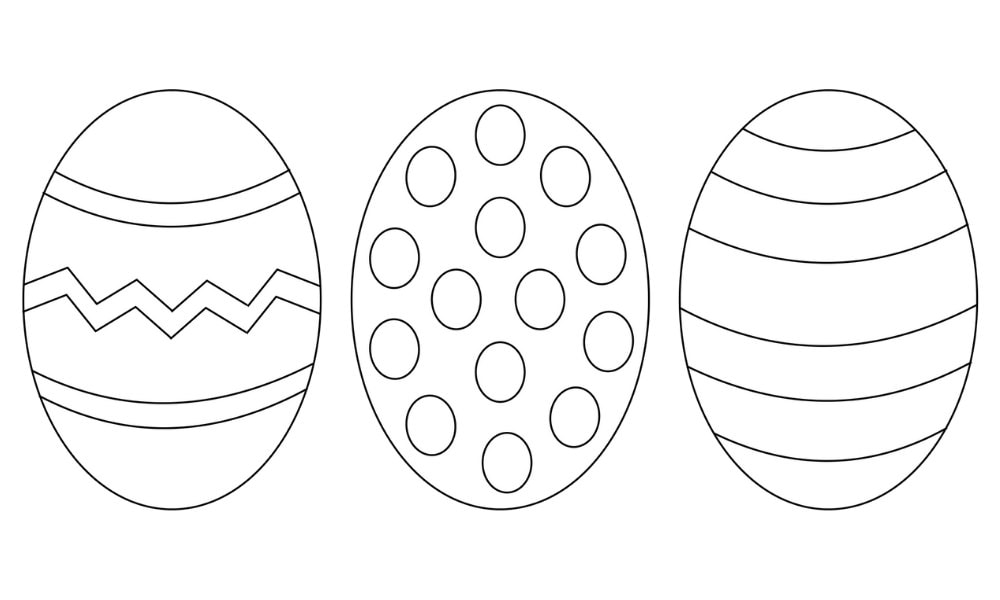
EASTER EGG TEMPLATE – STYLE 2
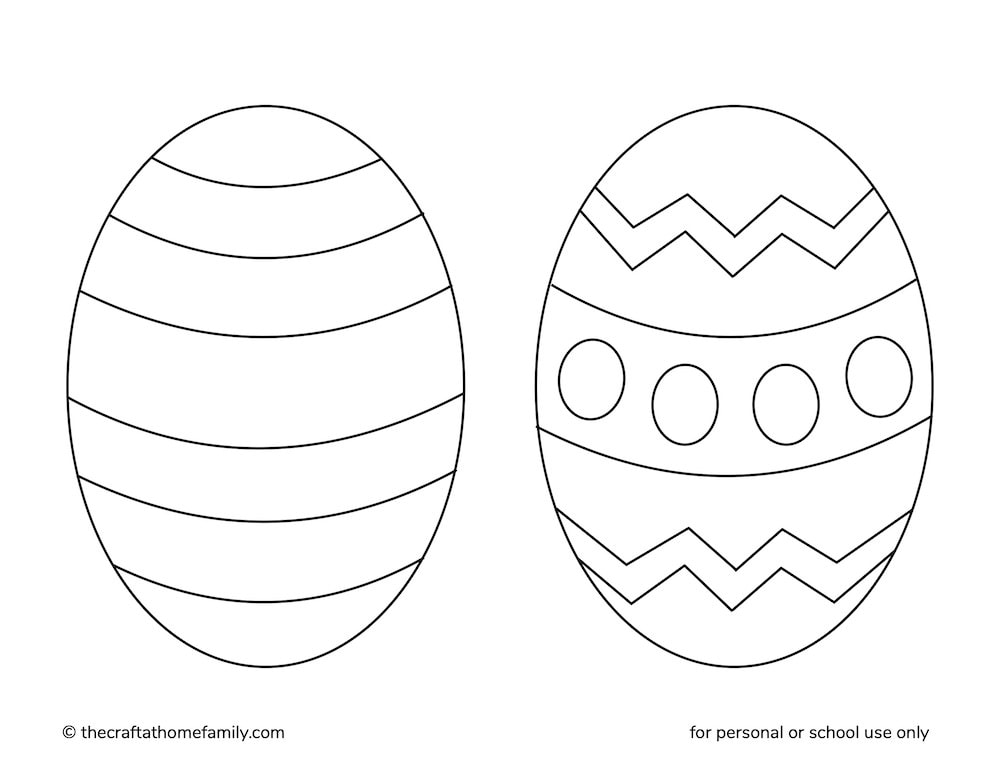
{DOWNLOAD LINK}
EASTER EGG TEMPLATE – STYLE 3
{DOWNLOAD LINK}
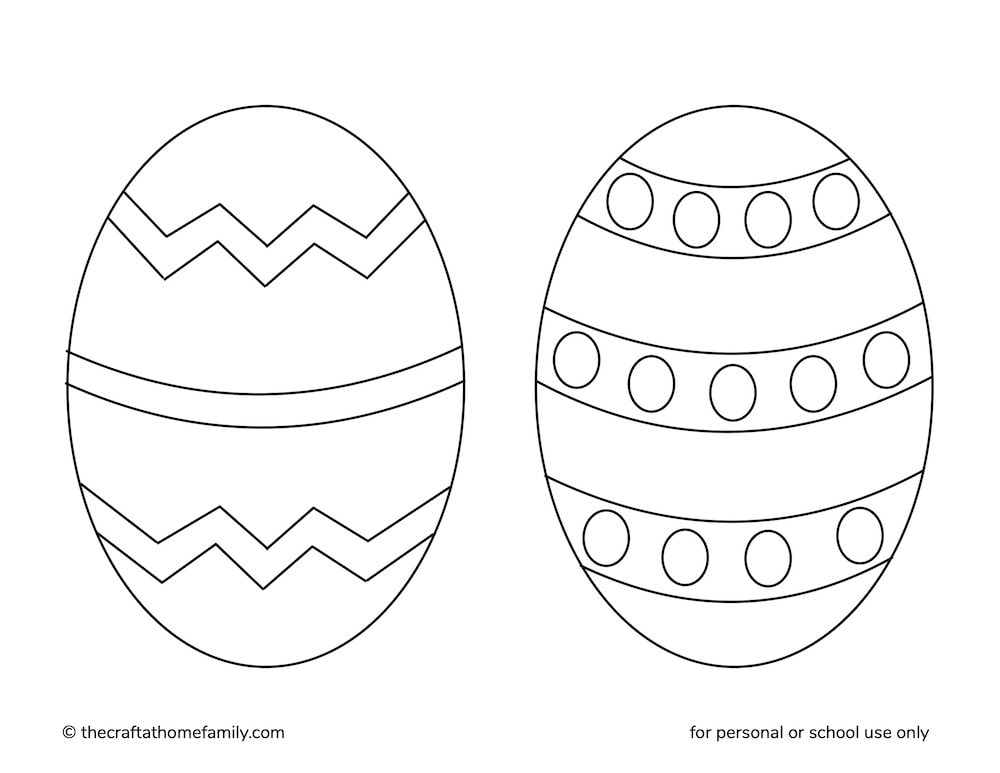
EASTER EGG TEMPLATE – BLANK
{DOWNLOAD LINK}
EASTER EGG TEMPLATE – ONE PER PAGE
GRAB OUR FREE 30-PAGE ACTIVITY BUNDLE!
By submitting your email address, you are agreeing to the terms of our Privacy Policy. You can unsubscribe at any time.
Things to Do with Easter Egg Templates
1. Easter Egg Coloring
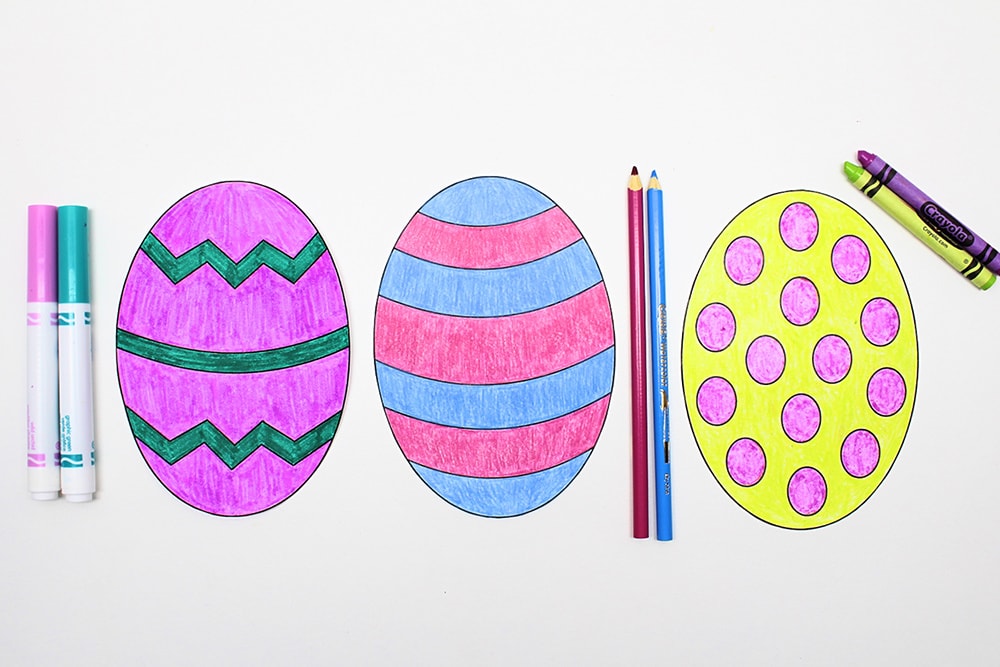
The most obvious thing you can do with this template is to simply print it out and let your kids color the eggs.
Once your kids are done coloring the eggs, feel free to cut them out and glue them onto another piece of paper (and help your kids practice their scissor skills in the process) or use them to make an Easter garland!
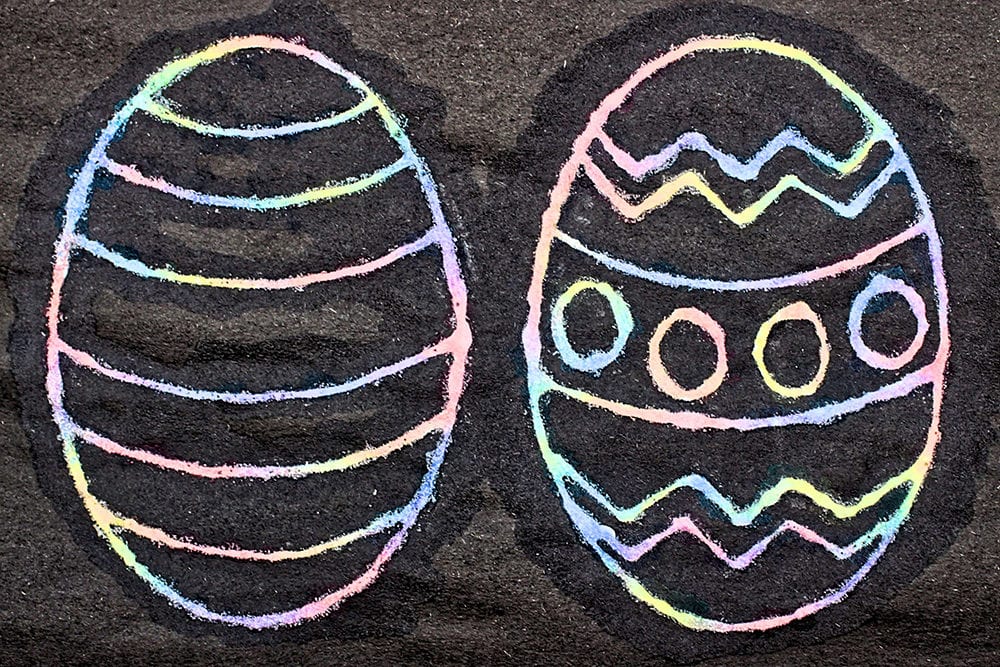
2. Easter Egg Chalk Tracing
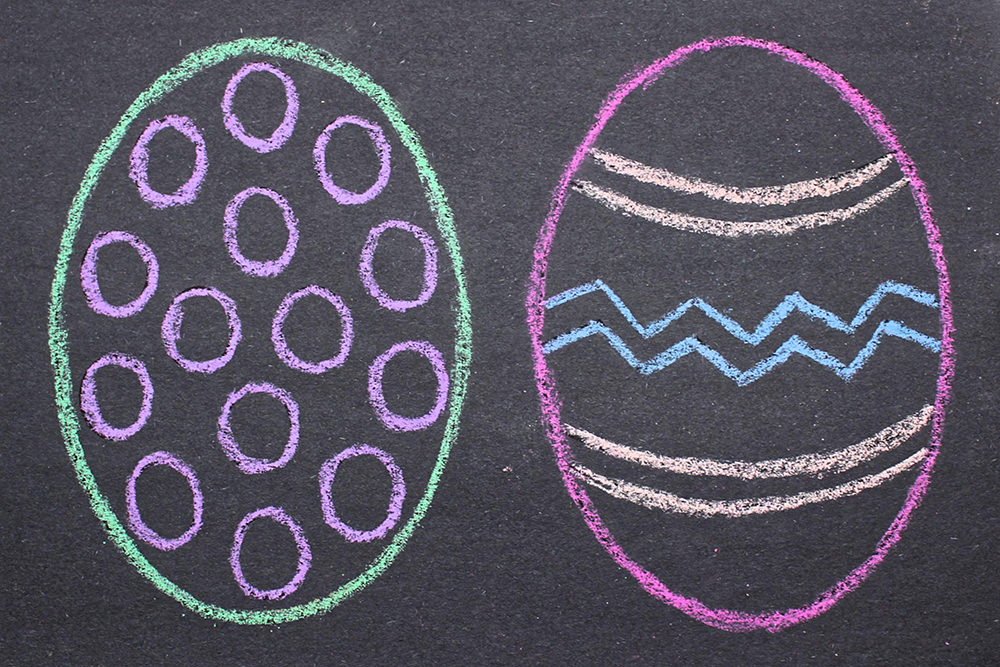
You can also print out the template on black construction paper (or another color of paper, but black looks really cool!) and have your kids use that outline to practice tracing the Easter egg design with brightly-colored chalk!
(Note: Depending on the type of printer you use and the size of your construction paper, you might have to cut the paper down to size.)
3. Easter Egg Symmetry Painting
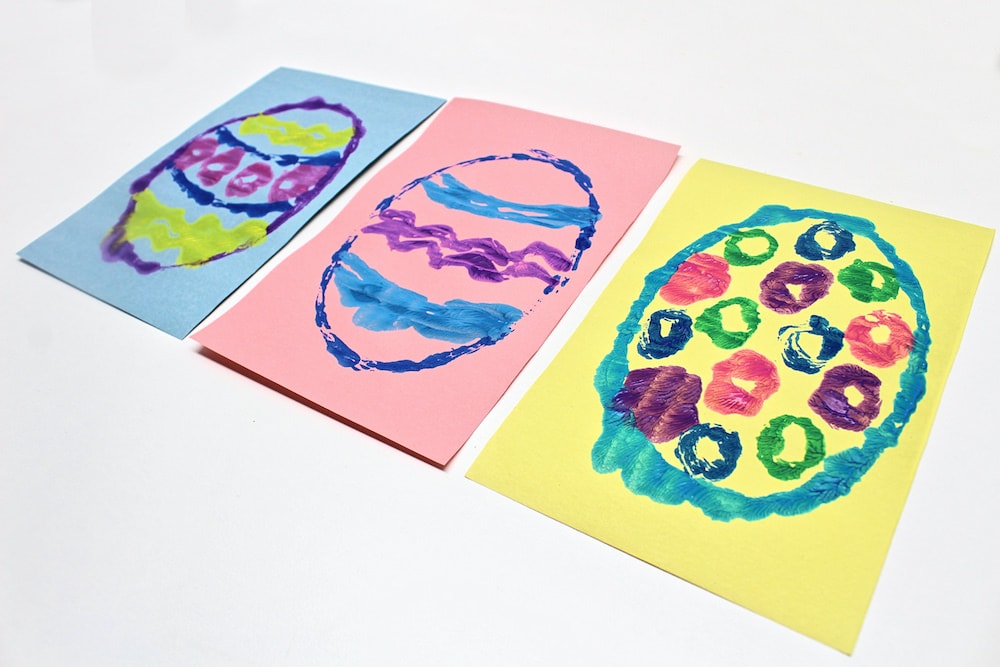
Print out a single egg on a sheet of paper using my “One Per Page” template. Then, use a paintbrush to quickly trace the lines with paint, and fold the sheet of paper down the middle and press both halves together.
Once you unfold the paper, you’ll see an imprint of the egg on the side that was blank!
Read the full tutorial: Easter Egg Symmetry Painting (with Free Printable!)
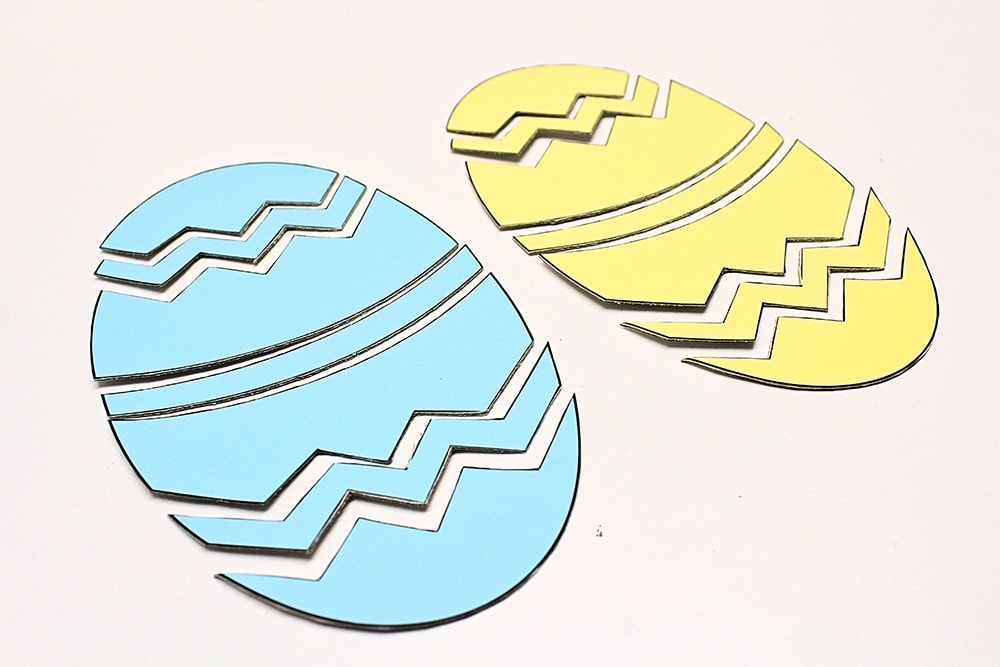
4. Cardstock Easter Eggs

This project is a great way for older kids to practice their scissor skills!
Just decide which design you want, print it out on two contrasting sheets of cardstock and cut out the eggs. Choose one for the background and cut up the other one right on the black lines, then glue the contrasting pattern onto the background.
Read the full tutorial: Cardstock Easter Eggs (with Free Printable!)
5. Glittery Easter Eggs
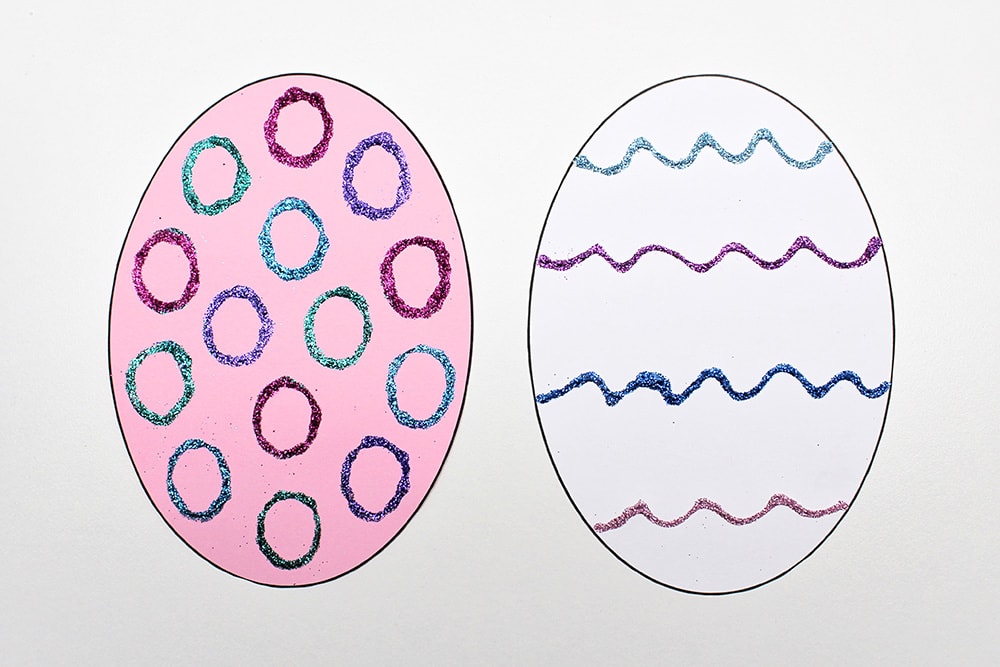
If you love glitter, this is the project for you!
Print the template on white or colored cardstock and use a bottle of white school glue with a precision tip to trace the black lines contained within the eggs. Then, while the glue is still wet, sprinkle on some fine glitter.
Read the full tutorial: Glittery Easter Eggs (with Free Printable!)
6. Cardboard Easter Egg Puzzles
This project won’t work with the designs that contain circles, but it works great with the others!
Print the template on colored paper or cardstock, cut out the eggs and glue them onto a piece of cardboard. Then, cut along the black lines using a pair of sharp scissors.
Read the full tutorial: Cardboard Easter Egg Puzzles (with Free Printable!)
8. Raised Salt Watercolor Easter Eggs
How cool does this one look?
Start by printing the template and tracing the lines using white school glue. Then, sprinkle with table salt until the glue is fully covered.
Once the glue is covered, shake off the excess salt and have your kids dip their paintbrushes in liquid watercolor paint and lightly touch the designs. Watch as the colors spread in both directions!
Read the full tutorial: Raised Salt Watercolor Easter Eggs (with Free Printable!)
8. Glue and Chalk Pastel Easter Eggs
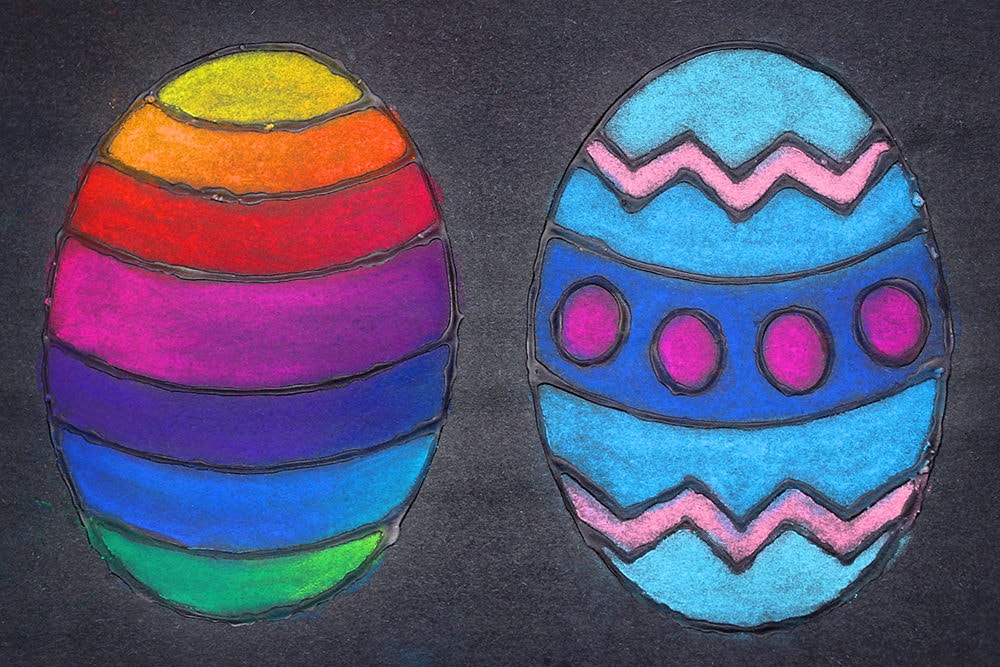
This project will also require you to print the template on black construction paper and trace the black lines with white school glue.
Wait until the glue is dry. Once it’s done drying, color the inside of the patterns with chalk pastels and use your fingers to spread the pigment in between the lines of glue. So pretty!
Read the full tutorial: Glue and Chalk Pastel Easter Eggs (with Free Printable!)
9. Bubble Wrap Easter Eggs
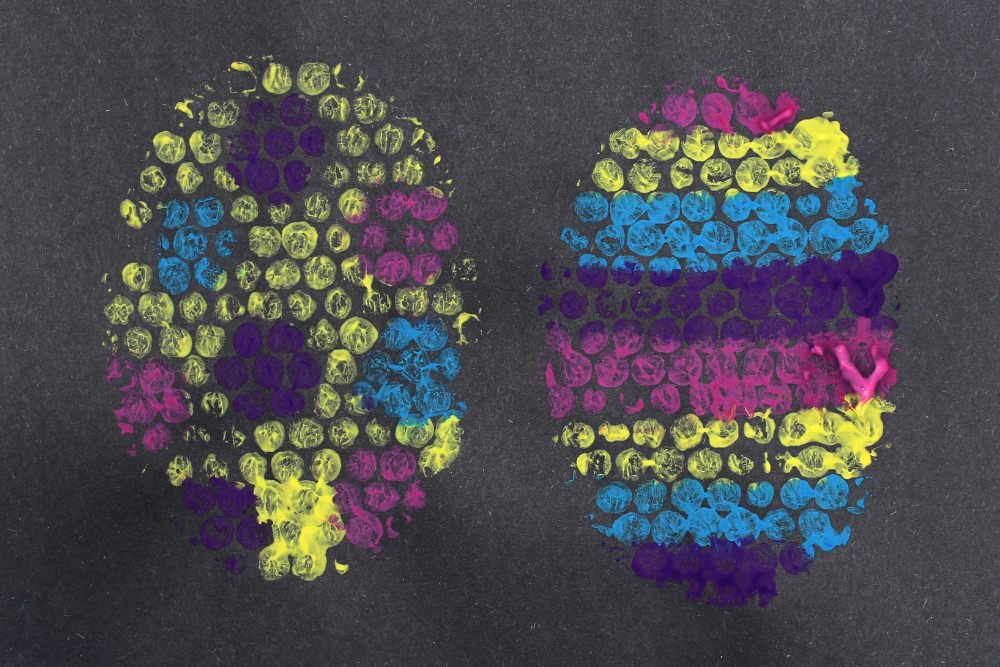
Finally, this colorful Easter egg painting craft is a great way to reuse any leftover bubble wrap you have lying around the house!
To make it, use the template to create a bubble wrap egg and use a paintbrush to paint colorful designs onto the textured side of the bubble wrap. Press the bubble wrap onto a piece of paper and carefully peel it off to reveal your Easter design!
Read the full tutorial: Bubble Wrap Easter Egg Painting (with Free Template!)
These are just a few of the projects you can make using these templates! Which do you like best?
Related Crafts with Free Printables
Looking for more easy craft tutorials that include free printables? Check out these fun projects:
Thank you for the templates! We will be doing chalk and glue on black paper! Then we will cut out the eggs and glue them on a water color background.
That sounds lovely! So glad you found the templates helpful!
Love this Easter egg outlines and great art ideas. How do I find the templates? Thanks!
So glad you like the templates! There is a form near the top of the article where you can enter your email address, and if you do, the templates will be sent to you by email!