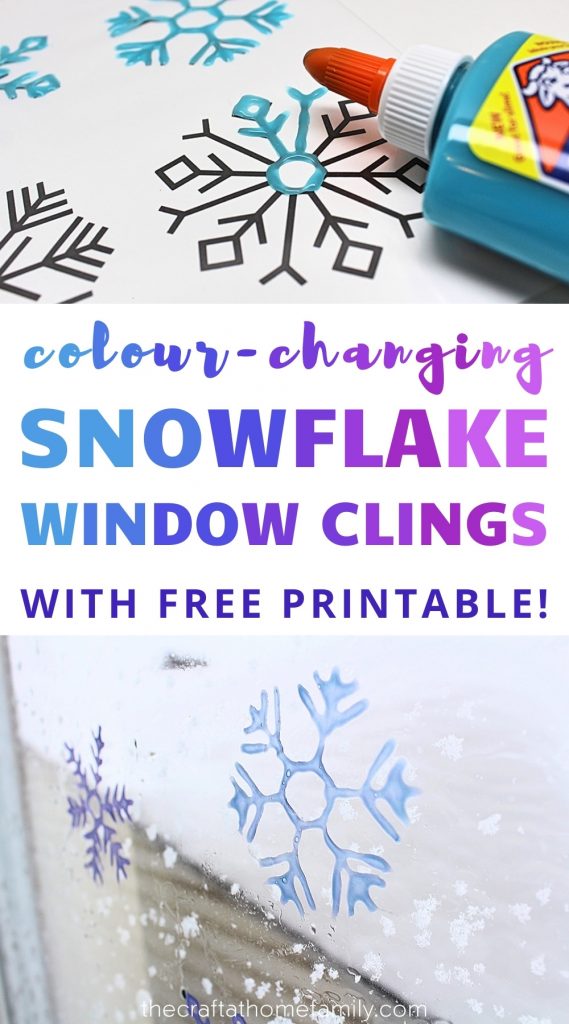
You only need one inexpensive ingredient to make these amazingly cool window clings that change colors when they’re exposed to sunlight! This easy DIY project is the perfect way to get into the season’s spirit—and the included snowflake template can be used for any number of winter crafts!
JUMP TO…
Have you ever made window clings? They’re so simple to make and you can customize them for every occasion! We made them for the first time a few months ago, and having snowflakes on our windows all winter has really helped get our kids into the season’s spirit. We’ll definitely be making more when spring comes around!
I’ve been thinking about this project for some time and was so thrilled when it worked out exactly the way I had envisioned!
These window clings are made from just one simple ingredient and they’re so cool to look at because they actually change colors throughout the day! They cost only a couple of dollars to make and I’ve even included a free snowflake printable so that you can easily replicate this project at home!
P.S. Looking for more winter crafts? Check out this Melted Puffy Paint Snowman or this Recycled Puff Container Snowman!

Get hundreds of pages of activities!
Get access to all our paid printables, as well as monthly activity planners, for just $5/month. (New printables added twice per month!)
About this Project
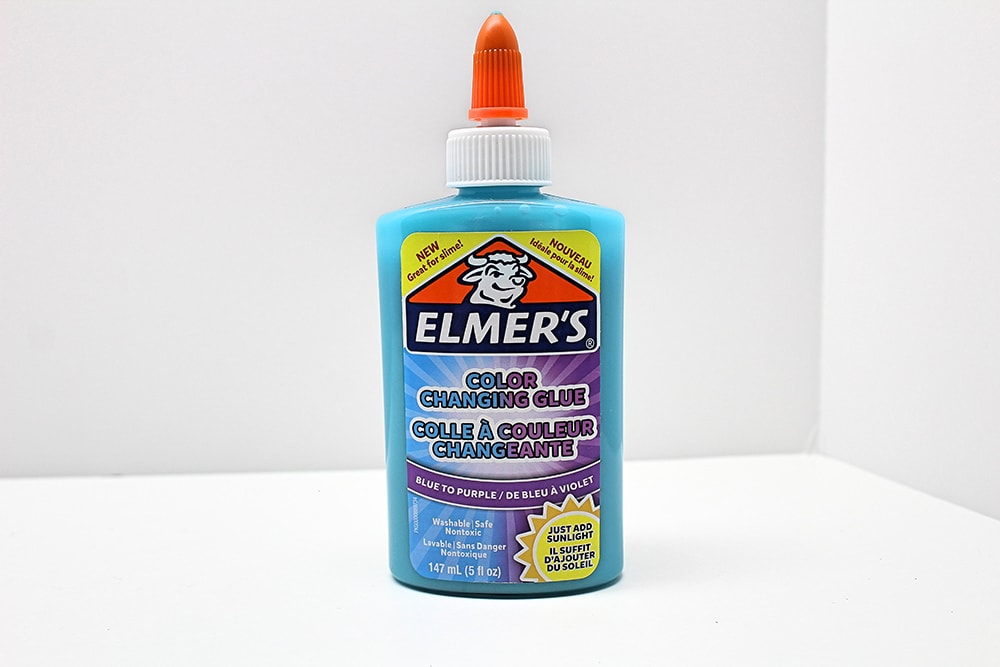
The secret ingredient that makes this project possible is Elmer’s color-changing glue.
I first found out about it when I stumbled upon an article about sun-activated color-changing slime. All the recipes I’d found up until then called for thermochromic pigment—which is really cool in its own way, but I have a hard time convincing myself to pay such a steep price for such a small envelope of pigment.
I loved the idea of using color-changing glue instead. Not only is it significantly less expensive, but it’s also washable and non-toxic, and therefore safer for my kids to play with!
After reading the article, I ordered a bottle of color-changing glue with the intention of using it to make slime—the only issue being that I live in Canada, and it was the middle of winter. There wasn’t enough sunlight in the house to make the glue change colors, and we couldn’t exactly bring it outside and play with it in full winter gear.
I decided to hold off until the summer before making the slime, but I also started to wonder… was there anything I could do with the glue in the middle of winter that would expose it to enough sunlight to cause it to change colors?
The answer seemed pretty obvious. The only parts of our house that get lots of sunlight in the middle of winter are the windows. We had only ever made window clings using dimensional fabric paint, but I remembered that there was a way to make them with regular old school glue, so I did a little bit of research and found out how.
And the rest is history!
Required Materials
Here’s what you’ll need to make your very own color-changing window clings at home:
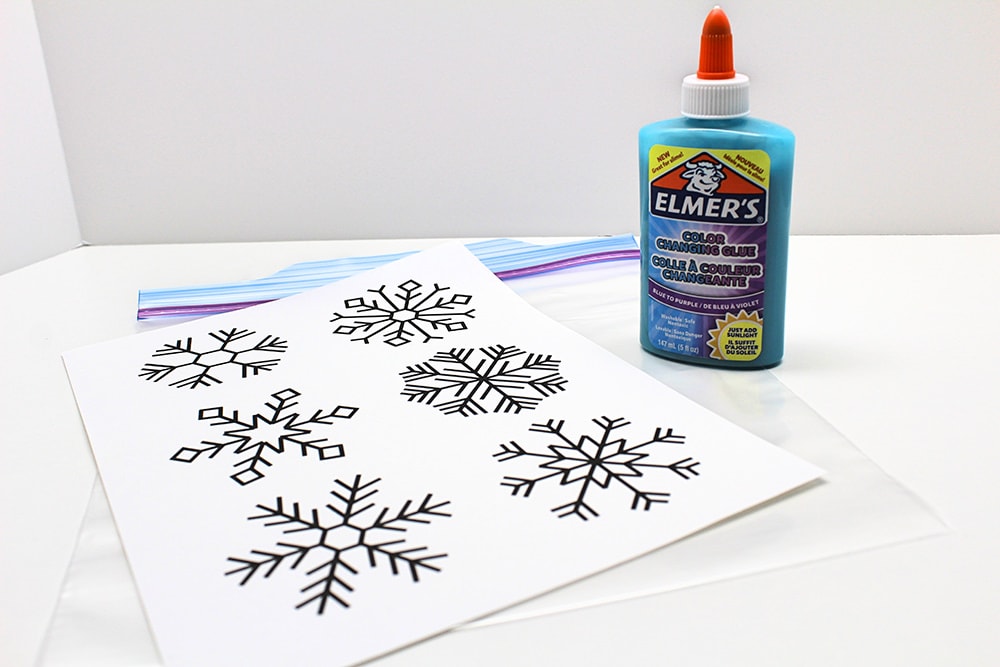
- My free snowflake printable (which you can download using the form at the bottom of this article) or any other snowflake design of your choosing
- Elmer’s color-changing glue
- Gallon-sized freezer bag (we buy ours at Costco when they go on sale)
Elmer’s color-changing glue comes in two color combinations: yellow/red and blue/purple. I thought blue/purple was perfect for winter, but you are of course free to make fiery yellow/red snowflakes if you so choose. I’m sure they would turn out just as neat!

- Elmer’s liquid color changing glue changes from blue to purple when exposed to sunlight
- This glue can also be used to create vibrant, color-changing slime without the need of food coloring
- Washable and non-toxic Elmer’s glue ingredients make this aid a safe, less-mess, and popular choice for early childhood environments (ages 3 and up)

- Liquid glue that changes color when exposed to sunlight
- Creates vibrant, color-changing slime without the need of food coloring
- Specially formulated glue that is washable with soap and water
And since this project only uses up a fraction of the glue in the bottle, it really does cost only a couple of dollars to make!
How to Make Color-Changing Snowflake Window Clings (Step-by-Step)
1. Print Template
Start by printing my free snowflake template (or any other snowflake template of your choosing) on a sheet of Letter-sized paper.
2. Place Template in Bag
Next, place your snowflake design inside the freezer bag. The printable file I created works great with Letter-sized paper (8.5” x 11”), which also happens to fit perfectly inside gallon-sized freezer bags!
3. Trace Snowflakes
Once your design is inside the bag, start tracing the snowflakes.
Be sure to use enough glue! If you don’t, the lines will be too thin and the window clings will tear when you try to peel them off the bag.
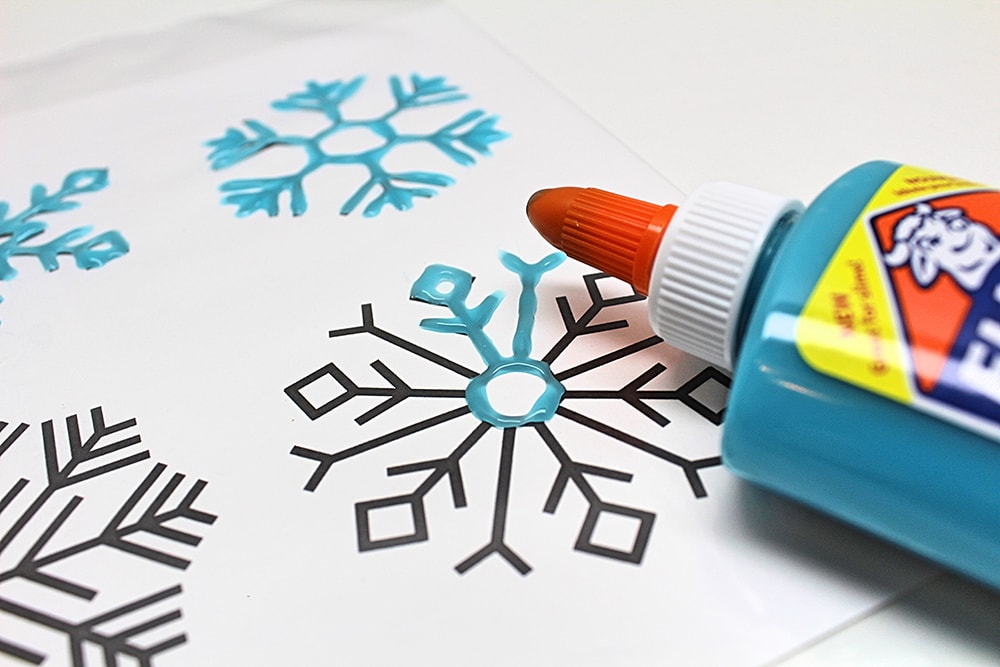
Snowflake designs are actually pretty tricky because they have a lot of fine lines very close together, so you want them to be thick enough not to break, but not so thick that they will all merge together into one large blob.
Note: If you’ve ever made window clings with dimensional fabric paint, you’ll notice that glue doesn’t behave in quite the same way. Fabric paint tends to stay exactly where you put it, even if you used it to draw a fine line. Glue is a little runnier, so even if you draw your lines very distinctly, they will still merge a bit as the glue settles.
I was a little worried that this would ruin the project, but the snowflakes still turned out really nice and I actually kind of liked the softer lines; I thought they looked very frosty and wintery. Just be sure to trace the lines carefully, because they won’t merge as neatly if they’re not clearly defined.
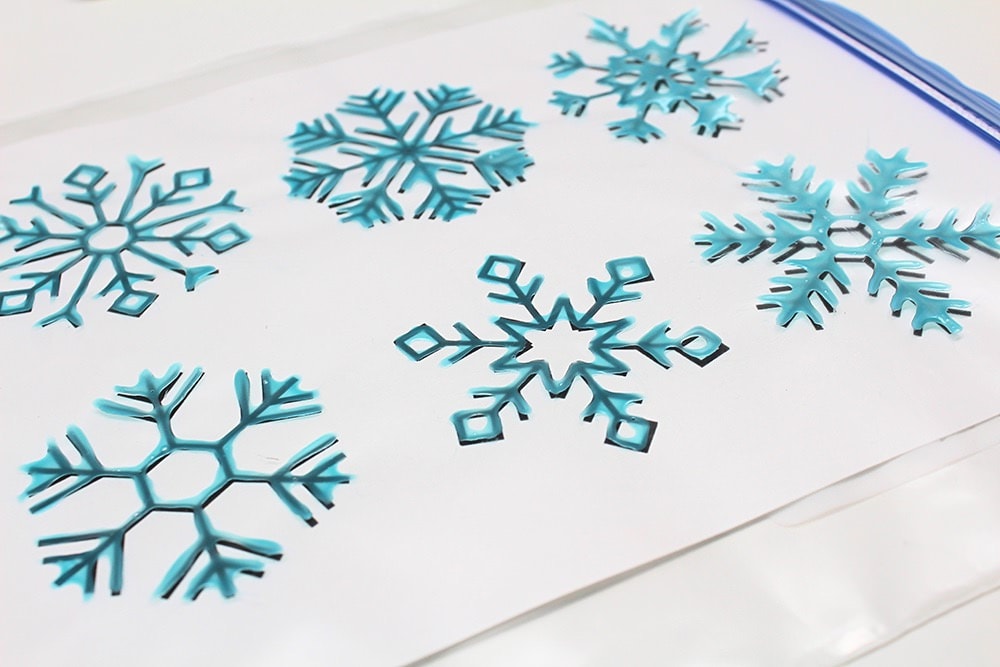
4. Let Dry
Once you’re done tracing the snowflakes, let them dry overnight or longer.
Glue does dry more quickly than fabric paint and mine looked ready by the next morning. Out of precaution, I still waited about 24 hours before trying to peel them off the bag. As you can see, they remain blue even once they’re dry!
Placing the Snowflakes on Your Windows
Dimensional Fabric Paint versus Glue
Window clings made from fabric paint are extremely sticky and adhere to any surface quite easily. But when they’re made from dried glue, they need a little extra help in order to stick.
I’ve actually found this to be a good thing. With intricate designs like snowflakes, you run the risk of folding them the wrong way while you’re trying to peel them off. Once fabric paint sticks to itself, there’s no way to unstick it, so all your efforts end up going to waste!
Snowflakes made from glue are a lot easier to handle because they’re not as floppy and they don’t stick to themselves as much.
How Do I Get Them to Stick?
In order to get these window clings to adhere to your window, you’ll need a little bit of water.
I wouldn’t suggest adding the water directly onto the snowflakes. I tried this with my first snowflake and ended up having to throw it out, because the backing got stuck to itself the same way it does with fabric paint.
Instead, with the snowflake resting in the palm of your hand, dip a paper towel or tissue in some water and use it to wet a small area of your window. Then, immediately press your palm up onto the window in one smooth motion.
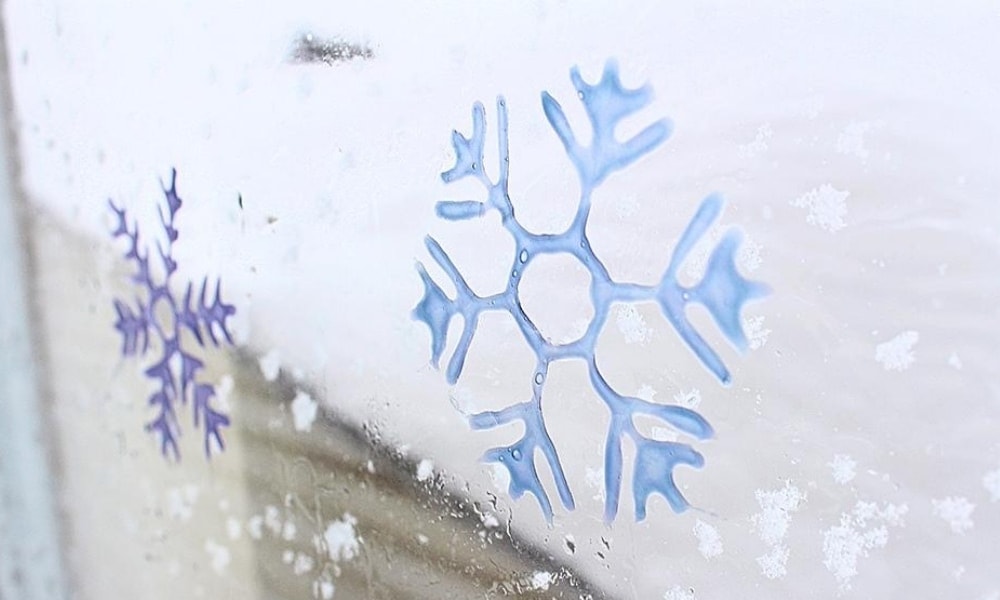
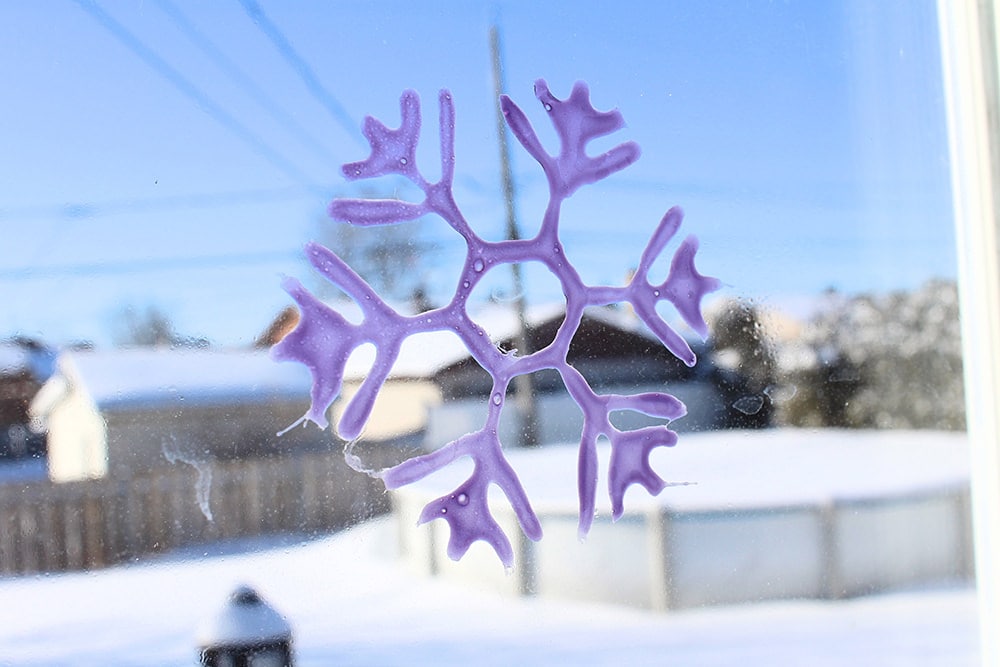
Run your fingers over the snowflake to make sure it’s sticking and you end up with this!
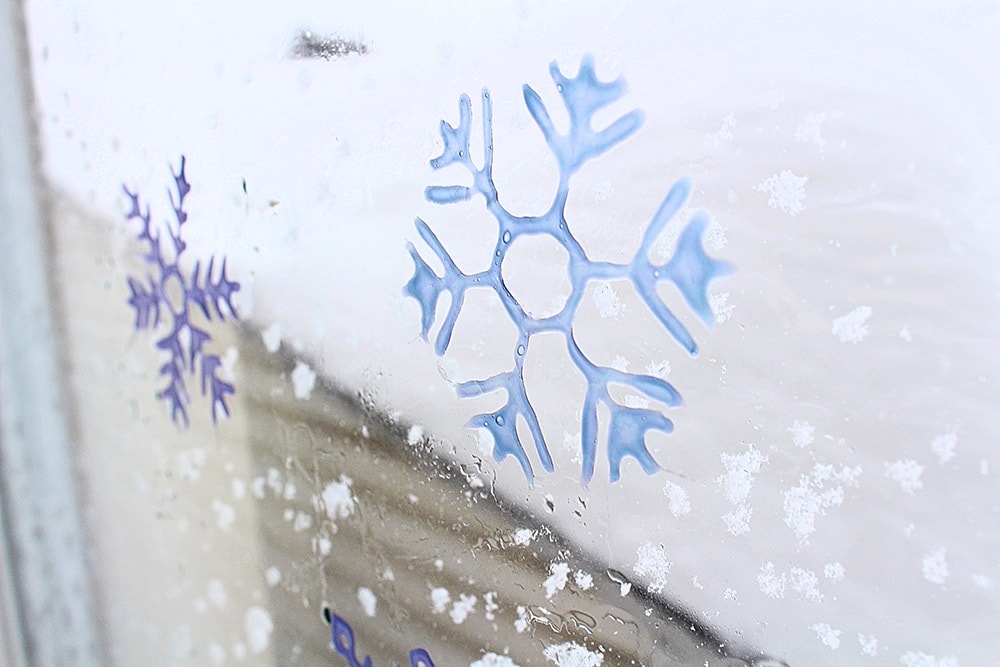
Notice how one of the snowflakes is blue while others are purple—this is because I took the picture only moments after placing the blue snowflake onto the window, so it hadn’t had time to change colors yet!
What if They Start Peeling Off?
Over time, you might notice the snowflakes starting to peel off the window, especially if the sun keeps beating down on them. If that happens, just add a bit more water to the window and press the window cling up against it so it will start sticking again.
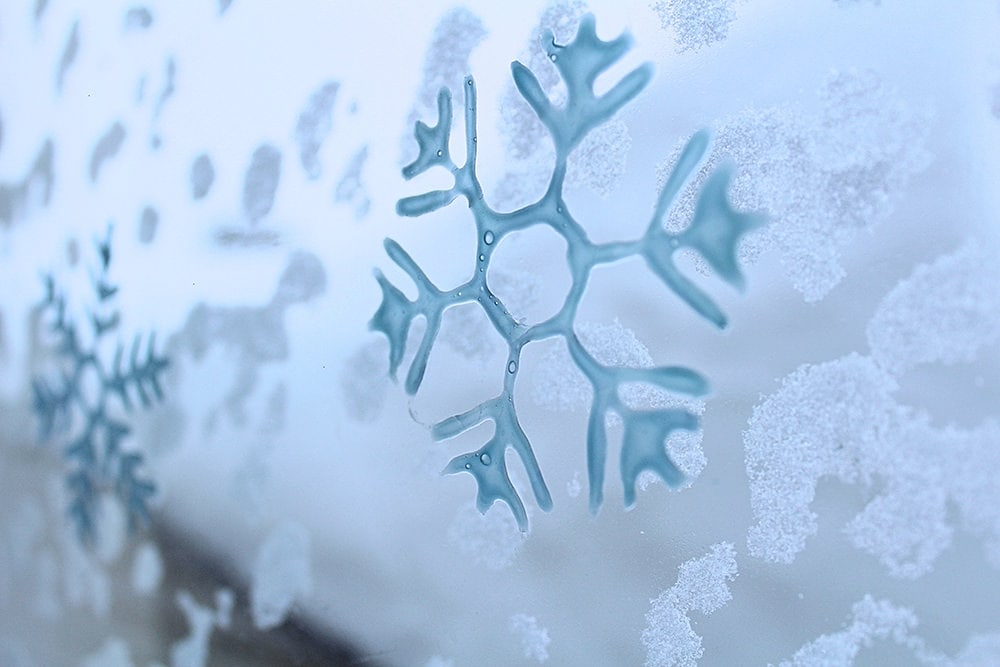
We love to walk past these snowflakes at various times of the day and see what shade of blue or purple they are!
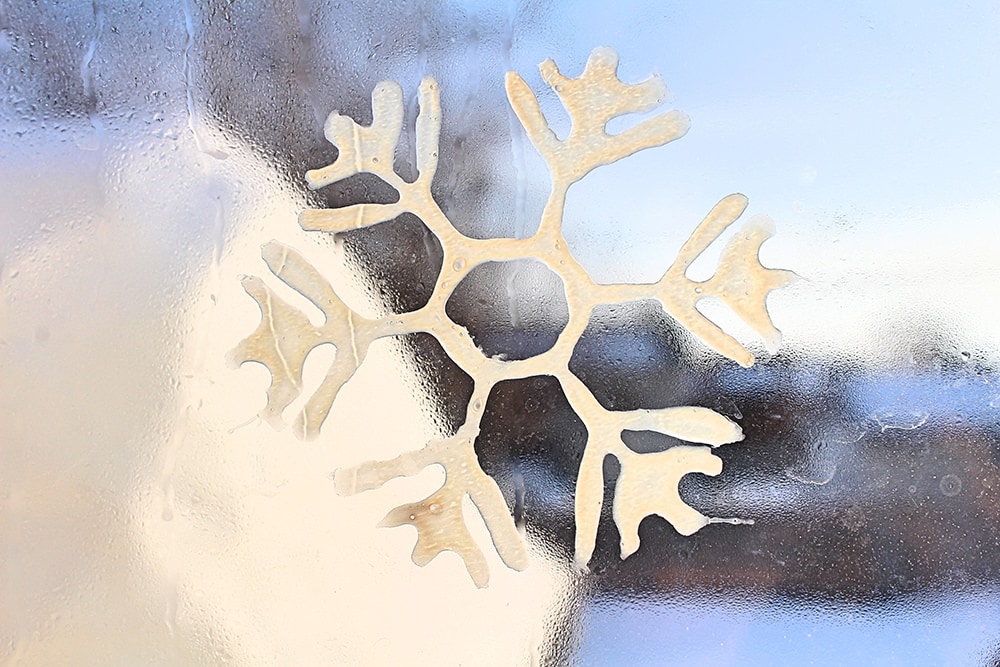
Update: Burnt-Out Snowflakes
It would seem that after a little while, the pigment from the glue does get burnt out. Our snowflakes eventually went white and stopped changing colors.
The window we placed ours on was exposed to strong, direct sunlight for most of the day, so perhaps that had something to do with it?
I’ll be running some tests to see if I can slow down the process by placing it on a different window, and will update this post once I figure it out. I’d love to hear everyone else’s results as well, if you have any to share!
But even though these window clings aren’t permanent, I still think they’re a project totally worth doing. They’re really cool while they last, and since one bottle of glue is enough for several batches, you could even rotate between different snowflake designs throughout the winter to keep things interesting!
Related Crafts with Free Printables
Looking for more easy craft tutorials that include free printables? Check out these fun projects:
- Bubble Wrap Butterflies (with Free Butterfly Printable!)
- Fizzing Baking Soda Paint Volcano (with Free Volcano Printable!)
- Scratch-Off Car Card (with Free Car Printable!)
- Scratch-Off Ladybug Card (with Free Ladybug Printable!)
Thanks for the printable! Grandkids loved it!
You’re welcome, so glad to hear that!!
What about flowers with the yellow/red version of the glue? <3 I might order some soon, I'll keep you updated!