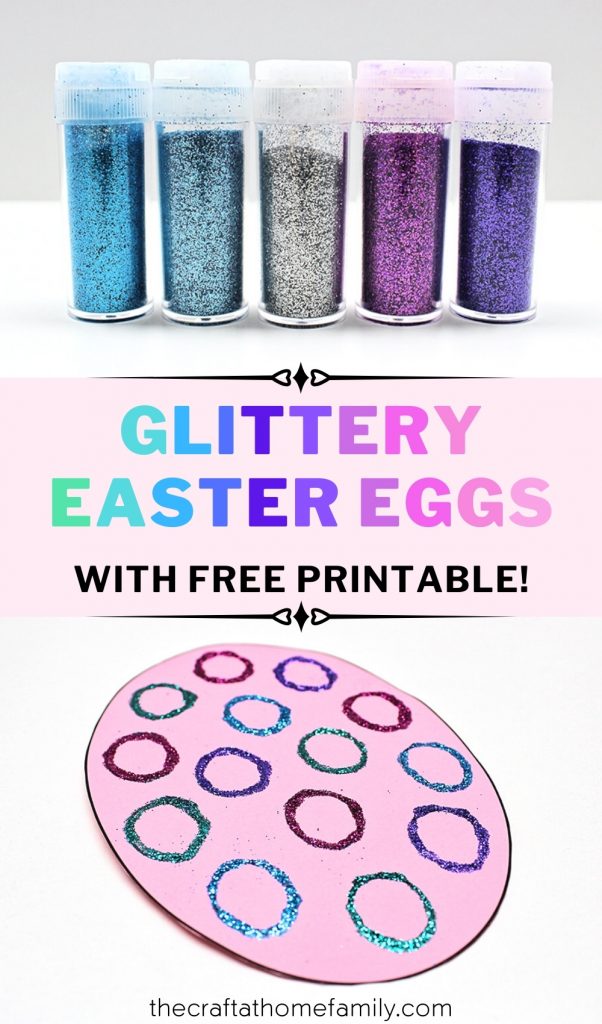
This super simple Easter-themed project is perfect for glitter lovers! Download our free Easter egg template to make things easier or have fun coming up with your own creative designs!
JUMP TO…
This simple Easter project requires very few materials and is perfect for people who love glitter!
To make it, you can use the form below to download my pre-made Easter egg template, or you can print out my blank template and use it to create your own design. Check out some the other fun Easter crafts you can make with my free templates!

Get hundreds of pages of activities!
Get access to all our paid printables, as well as monthly activity planners, for just $5/month. (New printables added twice per month!)
Required Materials
Here’s what you’ll need to make this pretty, glittery Easter egg craft:
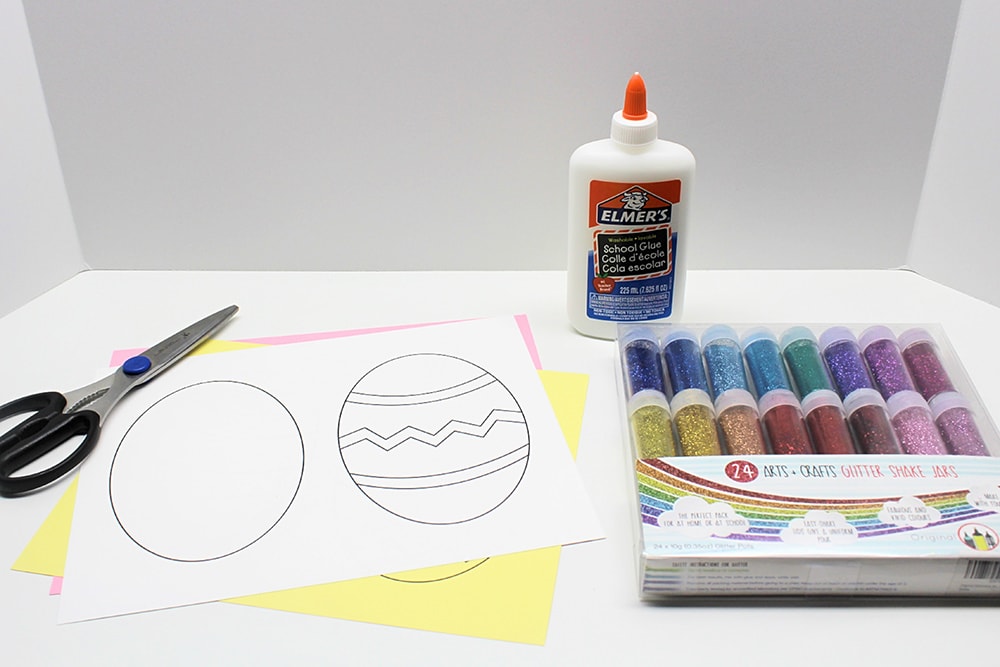
- My free Easter egg template
- White or colored cardstock (or regular printer paper if that’s all you have, but it won’t be as sturdy)
- Scissors
- Bottle of white school glue with precision tip
- Fine glitter
How to Make Glittery Cardstock Easter Eggs (Step-by-Step)
1. Print & Cut Template
Start by printing the template on cardstock and cutting out the eggs.
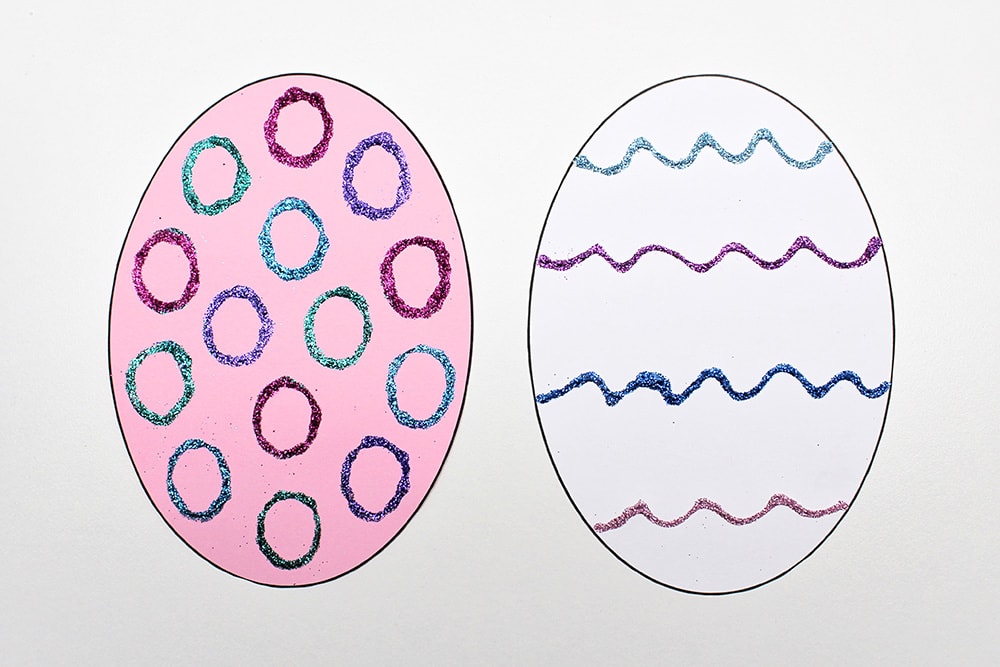
2. Trace Lines with Glue
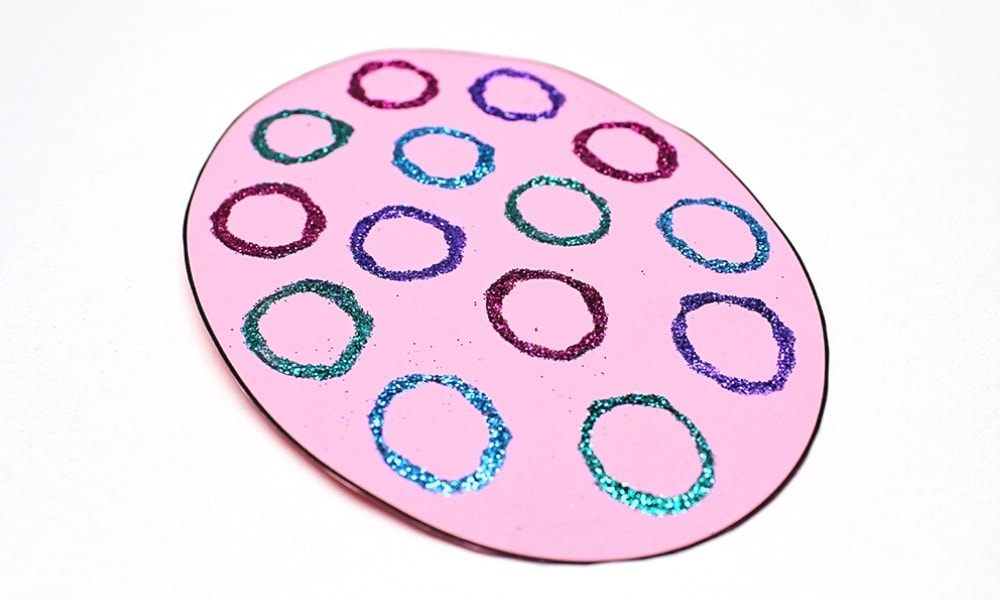
Use school glue to trace the black lines contained within the eggs. Or, if you’re using my blank Easter egg template, use the glue to create a fun design!
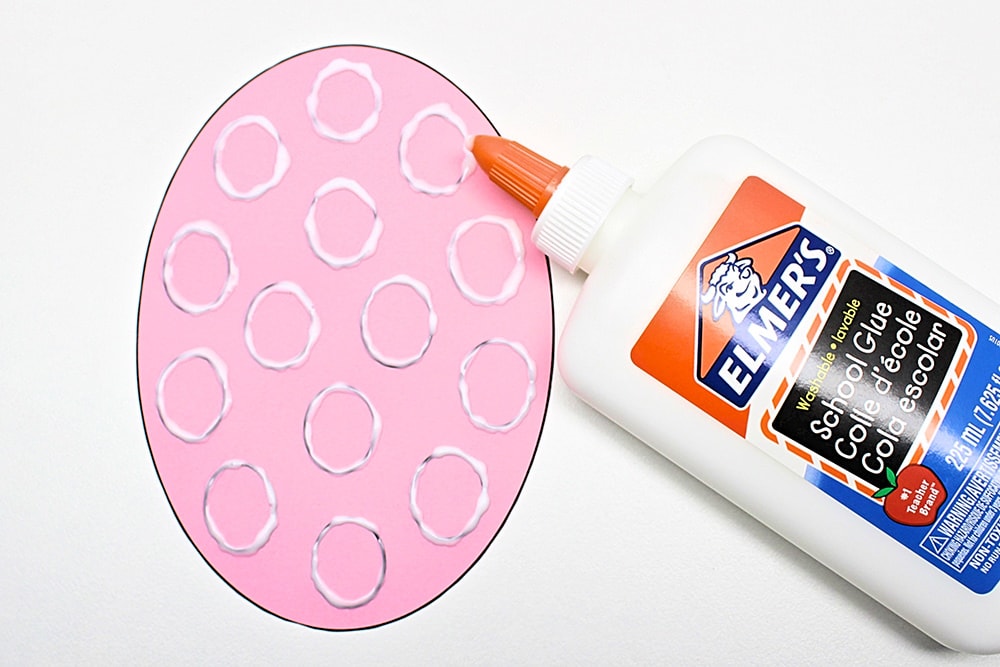
Tip: You can use a pencil to draw an outline of your design before you trace it with glue. As long as the lines are fully covered with glue, the glitter should cover them completely once your project is done drying.
3. Add Glitter
While the glue is still wet, sprinkle on some fine glitter in whatever color or combination of colors you choose.
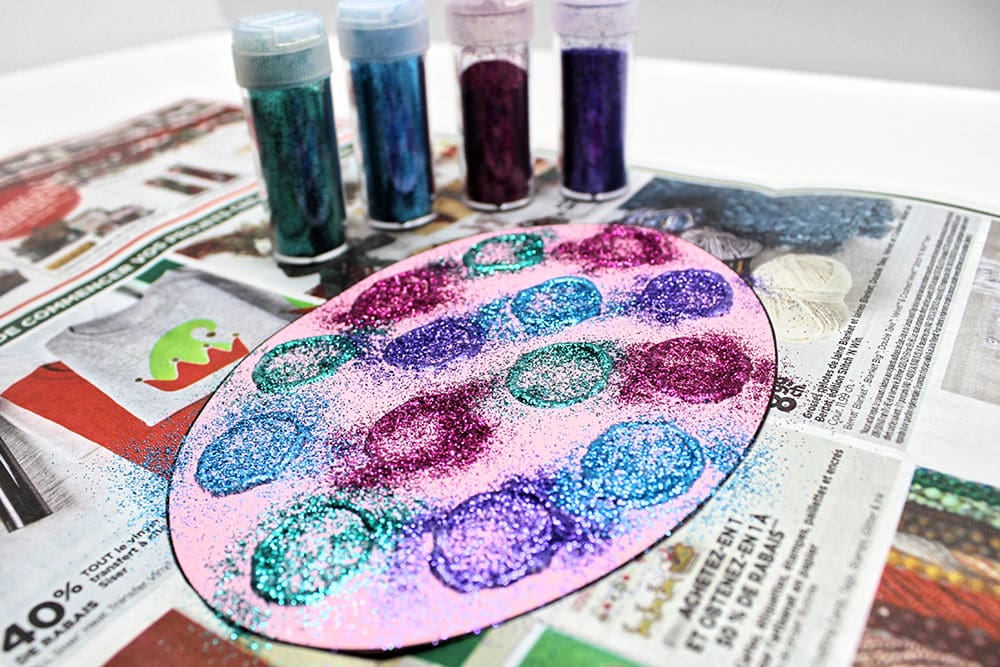
Tip: I recommend placing your eggs onto a sheet of newspaper so you can easily get rid of the excess glitter without getting it all over your work surface. Glitter has a way of getting everywhere anyway, but at least this should minimize the mess!
4. Let Dry
Once the glue is dry, you’ll be left with pretty glittery eggs!
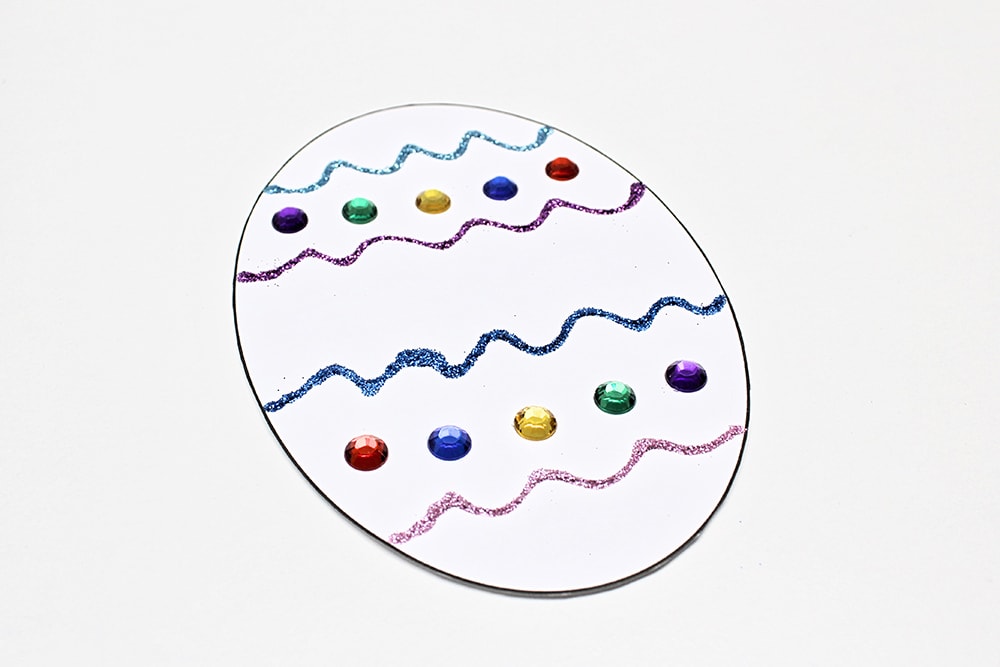
5. Add Gemstones (Optional)
If you wish, once the eggs are done drying, you can decorate them further by adding little gemstones or other items!
And that’s it! This article was the last in a series of step-by-step Easter craft tutorials, so if you enjoyed it, make sure to check out the others as well. This Glitter Fireworks Craft is also perfect for glitter lovers.
Related Easter Egg Crafts
Looking for more fun Easter projects to do using our free printable? Check out these articles:
Very nice Easter eggs !