

Love messy sensory activities? This sand foam sensory play is quick and easy to prep, perfect for summer, and only requires a few simple supplies that you may already have at home!

JUMP TO…
Do you have a toddler or preschooler at home who enjoys messy play? If so, they’ll love this simple summer sensory bin made using real sand!
This sand foam recipe is perfect for sensory seekers or for any child who is looking for a fun activity to do over summer break, and it only requires two ingredients and less than five minutes of prep time.
Why You’ll Love This Recipe
- Easy to make: This simple sensory foam couldn’t be easier to make—even younger kids should be able to do most or all of the prep on their own!
- Simple supplies: This recipe only requires two simple ingredients, and you’ll be combining them with a regular wooden spoon.
- Fun texture: Sand foam is perfect for children who enjoy messy sensory play, and the sand adds a fun textural element to the shaving cream.
Love using sand for summer sensory play? Check out this Sand Play Dough or this Beach Moon Sand!
Get the “easy button” for summer!
Skip the planning and simplify summer break with this set of 280 activity cards that your child can pull out of a jar whenever they’re bored.
Required Ingredients

- Sand: Any kind of sand will do as long as it’s clean. I grabbed a bit of play sand from a new bag that we bought to fill our children’s sandbox. You can also use beach sand or regular colored sand (not kinetic sand).
- Shaving cream: Any brand will do—just make sure it’s foam, not gel. I usually buy the generic Walmart brand for under $2.
The full ingredient list, quantities and instructions can be found in the recipe card.
Grab our 12 best sensory recipes!

By submitting your email address, you are agreeing to the terms of our Privacy Policy. You can unsubscribe at any time.
How to Make Sand Foam (Step-by-Step)

Step 1: Pour sand into bin. Grab a plastic bin and fill the bottom with sand. (I doubled the recipe to fill a large bin.)

Step 2: Add shaving cream. Cover the sand with shaving cream, adding half of the required amount.
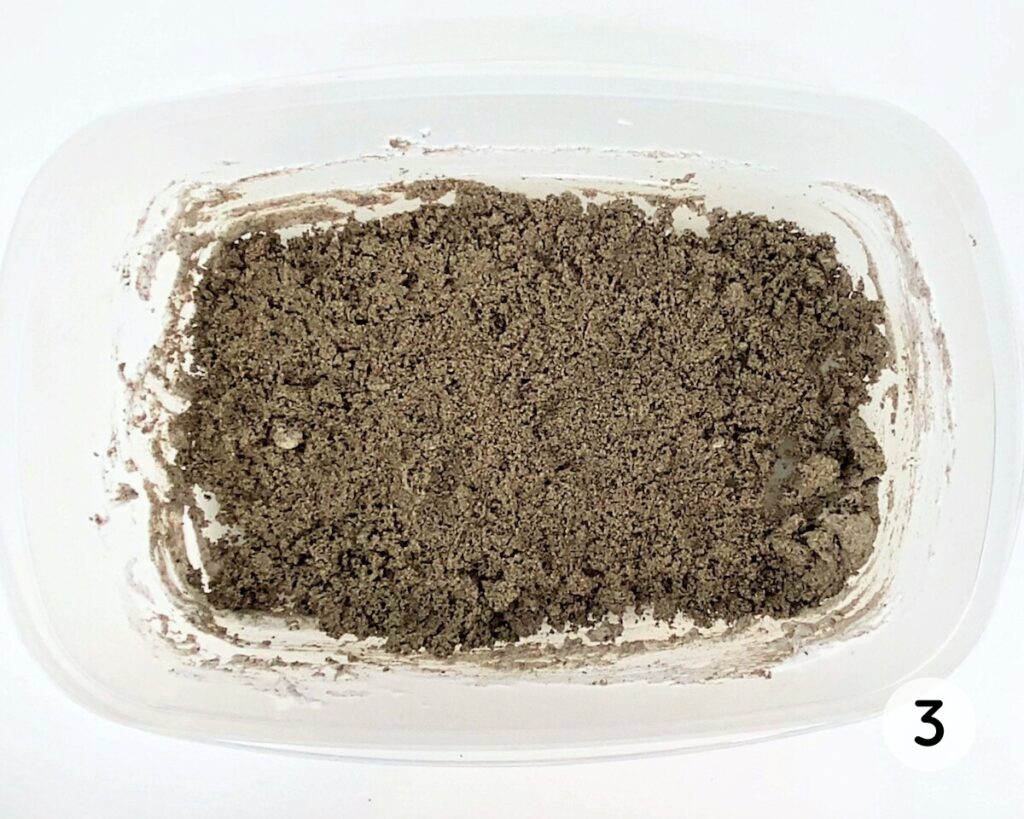
Step 3: Combine sand and shaving cream. Stir the ingredients together with a large mixing spoon, using your hands if needed to finish combining them. The mixture will have the consistency of wet sand.
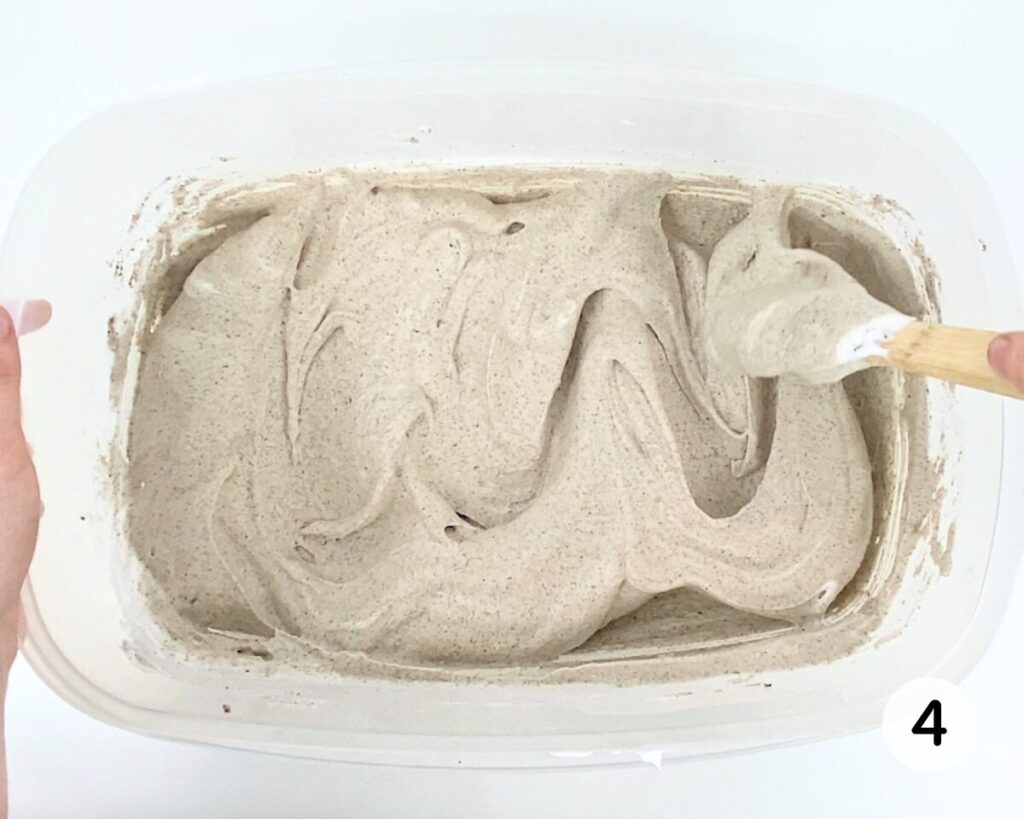
Step 4: Stir in more shaving cream. Add the rest of the shaving cream, stirring with a spoon until you obtain a light, foamy mixture. Use immediately.
My kids had a blast with this activity—especially my seven-year-old, who is a fan of all things messy!
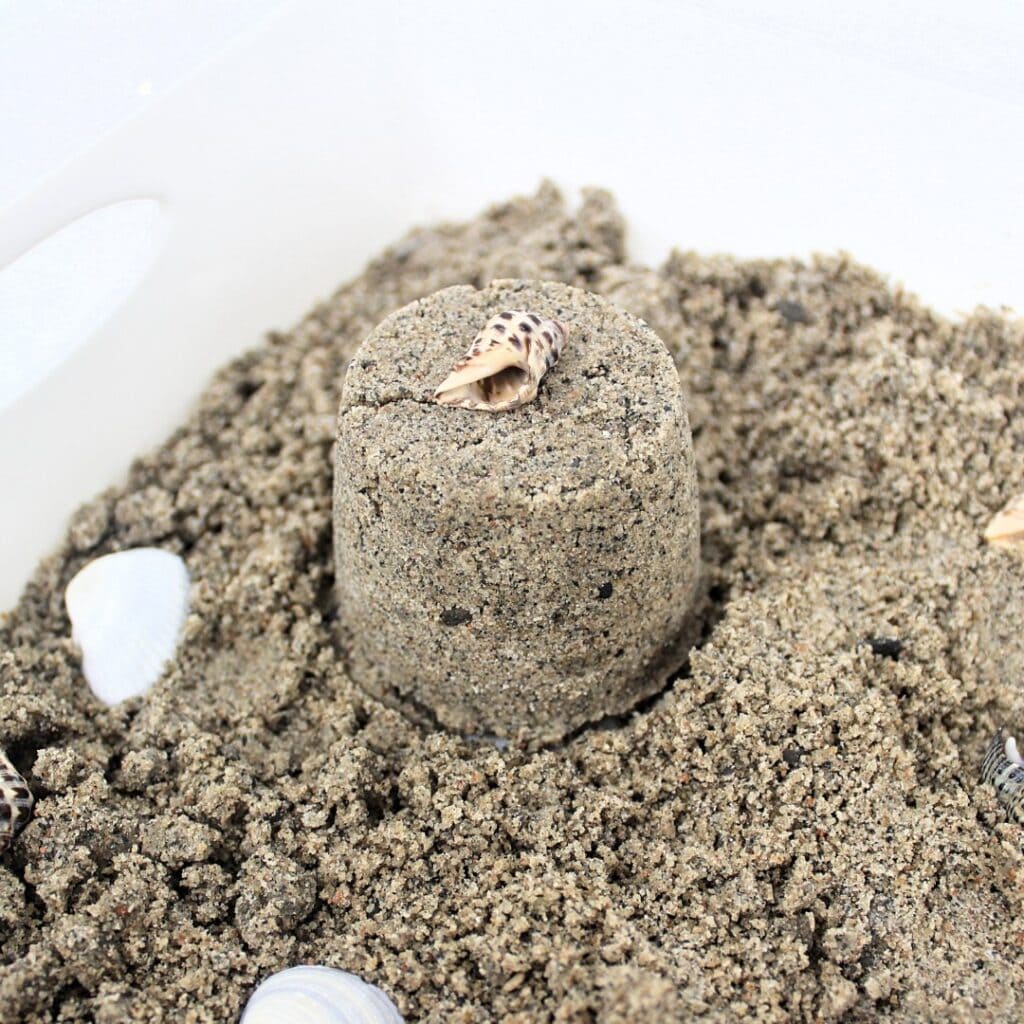
I thought it might fun to add a few seashells to go along with the beach theme, but she actually preferred the texture without them, so there is no need to add anything else to this sensory bin unless you want to.

Helpful Tips
- Sift the sand: If you are using play sand meant for a sandbox, it may contain small rocks. While that can be fine if you’d prefer a grittier texture, you can also choose to remove them by sifting the sand before you use it.
- Experiment with different textures: Don’t be afraid to experiment with the quantity of shaving cream in this recipe until you find the consistency you like best. You can also try adding small items like seashells, though my kids liked the foam better without anything added.
- Add more shaving cream: Because sand foam gets its fluffiness from shaving cream, it tends to slowly deflate during play. Feel free to add more shaving cream as needed while your child is playing to allow them to play for as long as possible!
Love playing with foam? Check out this Soap Foam Sensory Bin or this Taste-Safe Sensory Foam!

Frequently Asked Questions
Have a question that wasn’t answered here? Let me know in the comments and I’ll be happy to help!
More Summer Activities for Kids


If you have tried this Sand Foam Recipe or any other project on my website, please let me know how it went in the comments below. I can’t wait to hear from you!

Sand Foam
Materials
- 1 cup play sand (regular or colored)
- 4-5 cups shaving foam or as needed
Instructions
- Grab a plastic bin and fill the bottom with sand. (You can double the recipe if needed depending on the size of your bin.)
- Cover the sand with shaving cream, adding half of the required amount. Stir the ingredients together with a large mixing spoon, using your hands if needed to finish combining them. The mixture will have the consistency of wet sand.
- Add the rest of the shaving cream, stirring with a spoon until you obtain a light, foamy mixture. Use immediately, as the foam loses its puffiness pretty quickly.
Video
Notes
- Sift the sand: Play sand that contains small rocks can be sifted before use if desired.
- Experiment with textures: Try playing around with the quantity of shaving cream or adding textured items to the play foam.
- Add shaving cream: Extend the play by adding more shaving cream as needed when the foam starts to lose its puffiness.
Grab our 12 best sensory recipes!
By submitting your email address, you are agreeing to the terms of our Privacy Policy. You can unsubscribe at any time.
This is such a fun idea! How long does the texture last? I’m hoping to do this for my preschool class, but I don’t want to make something that’ll be unusable after a few minutes
It deflates relatively quickly when it’s being played with, BUT you can just add more shaving cream and it will be good as new. So even if it deflates, you don’t need to toss it or start from scratch, as long as you keep an extra bottle of shaving cream on hand. My 7-year-old played with it for over an hour, and we just added more shaving cream whenever it felt less fluffy. She had fun mixing the new foam into the existing mixture with her hands! 🙂
LOVE this idea! How hard was it to clean the container at the end? How sticky is it on the children’s hands?
The container was pretty easy to clean! I tossed most of the sand in the garbage to avoid having it go down the drain and causing a blockage, then rinsed it out with water to remove what was left.
It felt kind of like wet sand on children’s hands. So while it did stay on their hands during play in the same way that wet sand would, it wasn’t “sticky” and came right off when they washed their hands with soap and water. 🙂
Excellent sensory craft will be using in art class this September
So glad to hear that! I hope they love it!!