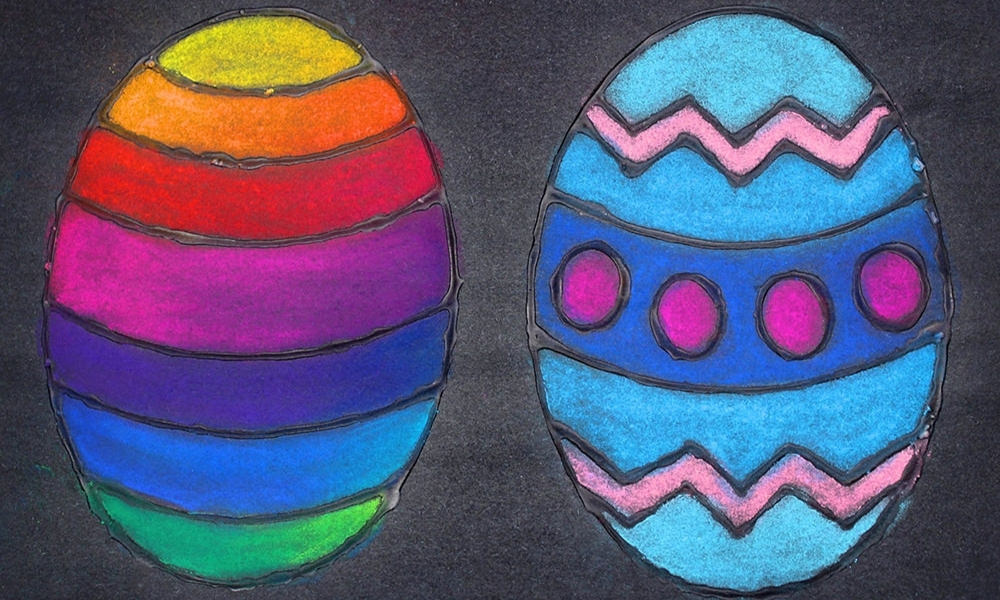
These colourful chalk pastel Easter eggs are so gorgeous and so easy to make! Download our free Easter egg template to make this brightly-coloured Easter craft (and more) using only a few simple materials!
This post may contain affiliate links, which means I may receive a commission, at no extra cost to you, if you make a purchase through a link. As an Amazon Associate, I earn from qualifying purchases. Please see my full disclosure for further information.
JUMP TO…
Pastels are totally underrated. I love how softly and easily they blend!
They are probably my favourite artistic medium, yet I don’t see a lot of online tutorials that require them, which is such a shame. Colouring with pastels can get a little messy, so perhaps that puts people off? But I promise that if you can get past the mess, the result is so worth it!
This project isn’t as quick as some of my other ones, because it does involve waiting a few hours for the school glue to dry. But I still highly recommend it because it looks fantastic once it’s done!
Required Materials
You only need four things to create your own glue and chalk pastel Easter eggs:
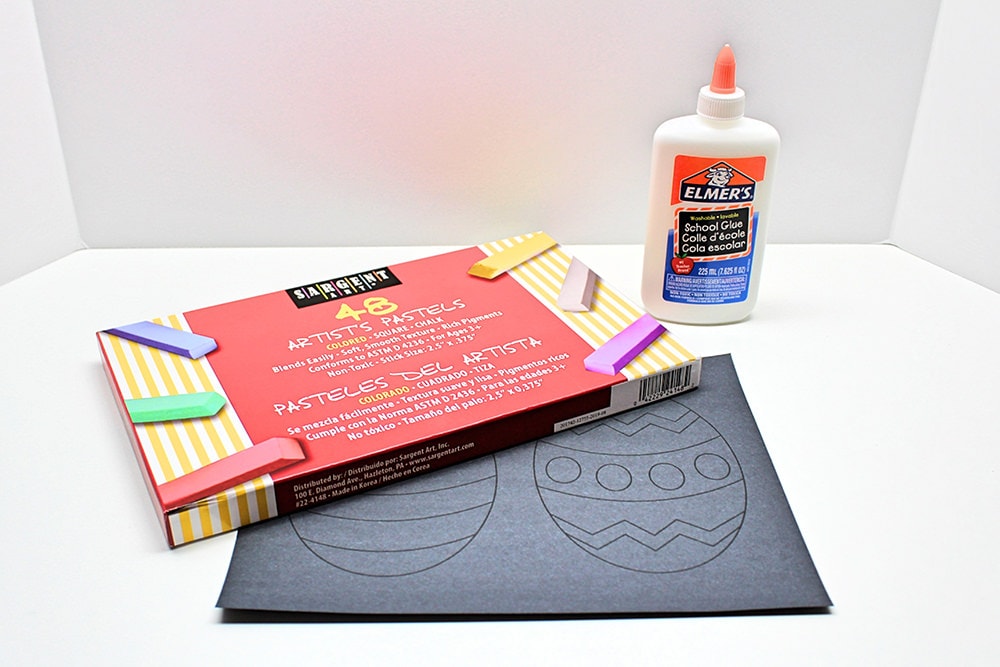
- My free Easter egg template
- Black construction paper
- Bottle of white school glue with precision tip
- Chalk pastels
How to Make Glue and Chalk Pastel Easter Eggs (Step-by-Step)
1. Print Template
Start by printing the template on black construction paper.
Depending on the type of printer you use and the size of your construction paper, you might have to cut the paper down to size. I thought mine was Letter-sized, but it turned out to be a little bigger, so I used a paper trimmer to cut it to the right format. I love how quick and easy it is, and how clean the cuts are!
- SEWING, ARTS, AND CRAFTS STAPLE: Fiskars Recycled Bypass Paper Trimmer features a self-sharpening, bypass blade, and a 12″ deck made from 100% post-consumer-recycled materials
If you do use one, make sure not to let your kids anywhere near it while you’re using it, and store it out of reach when not in use.
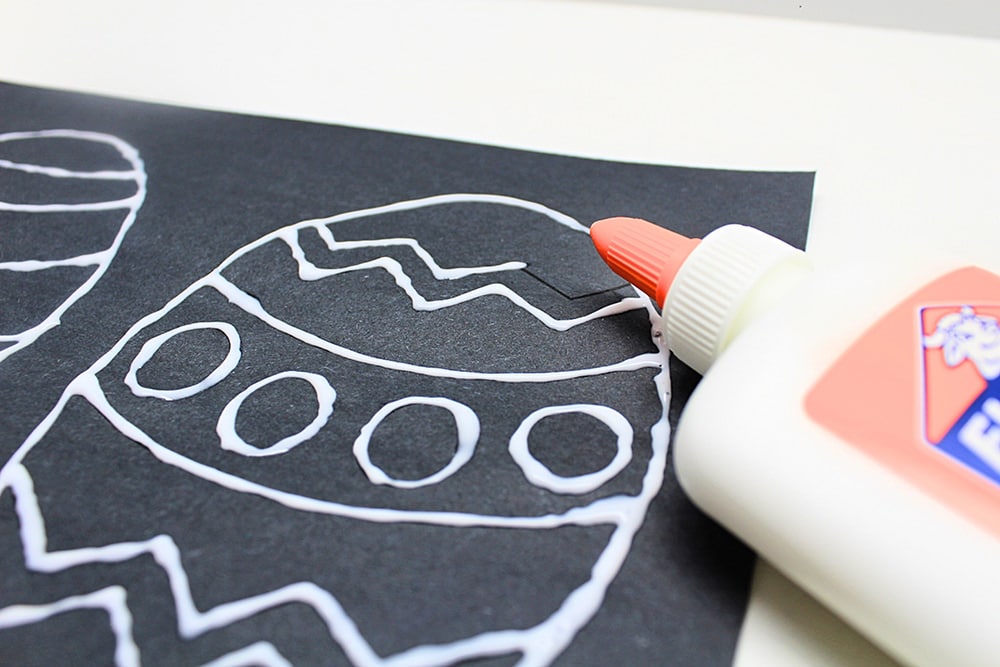
2. Trace Lines with Glue
Next, trace all the black lines with white school glue.
3. Let Dry
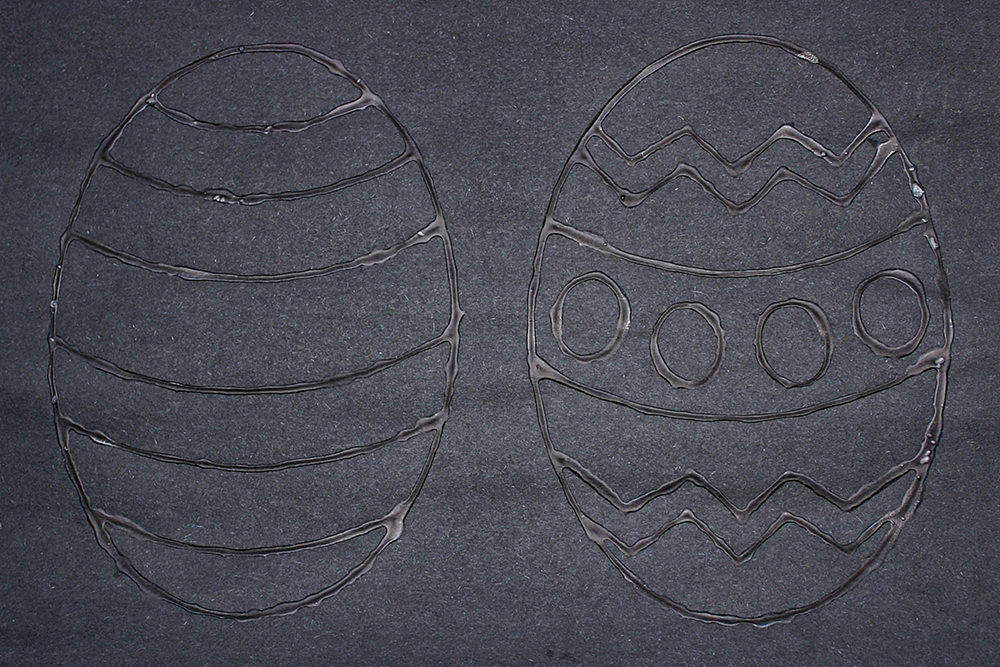
Wait a few hours for it to dry completely. You’ll know it’s dry once the lines become transparent.
4. Add Colours
Once the glue is done drying, colour the inside of the patterns with chalk pastels and use your fingers to spread the pigment in between the lines of glue. You can even experiment with shading by blending two or more colours inside the same area of the egg!
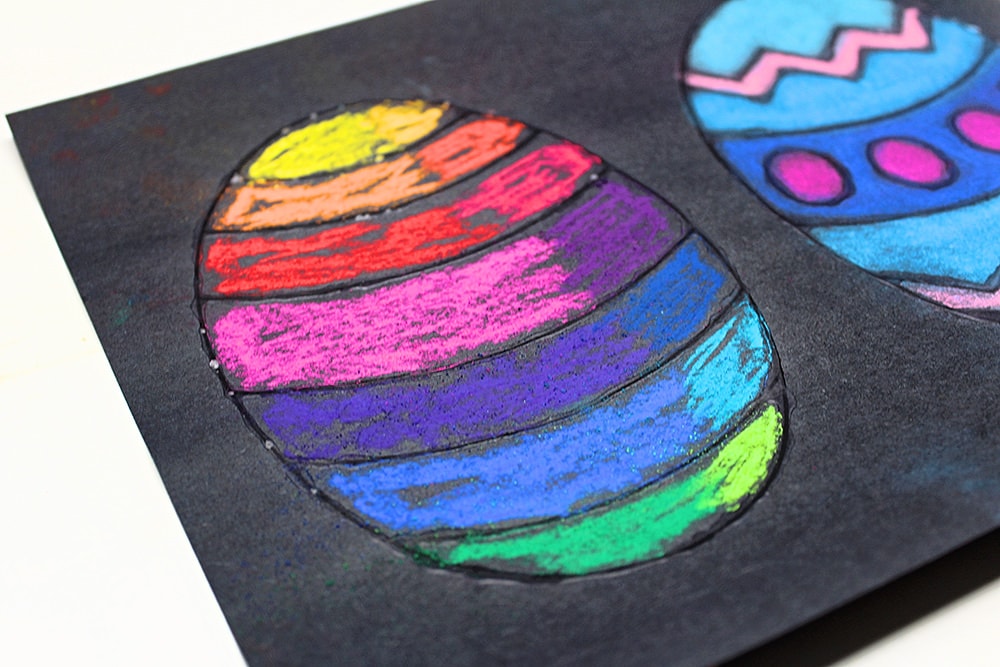
Note: Because you’ll be using your fingers to spread the pigment, this part can get a bit messy, so if you absolutely can’t stand messes, this project might not be for you. Personally, I don’t mind projects that are a little messy, especially when the end result is so gorgeous!
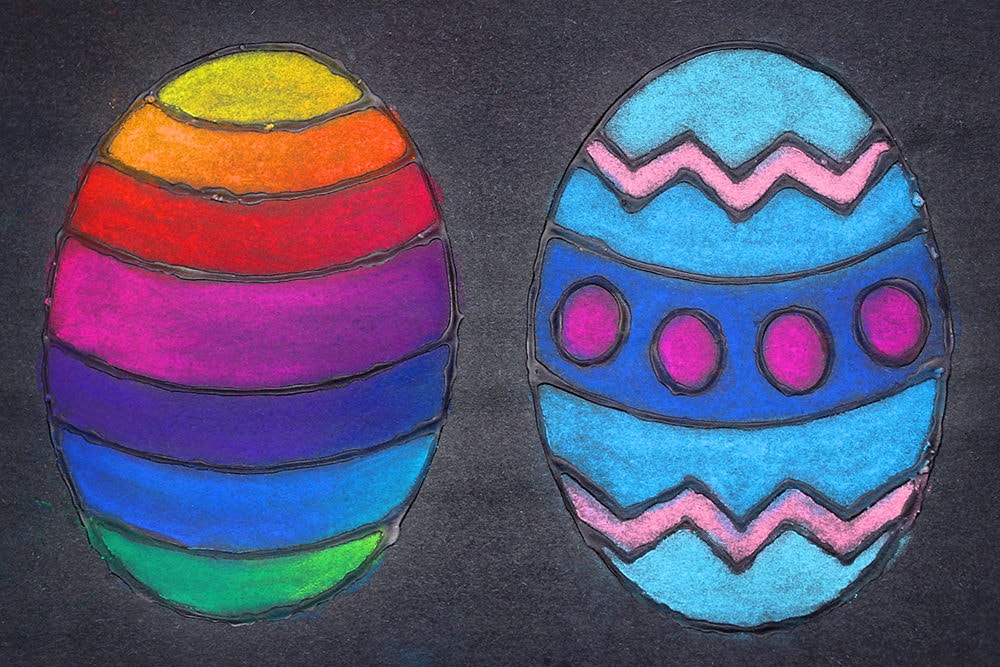
And that’s it! Aren’t they just beautiful?
Related Easter Egg Crafts
Looking for more fun Easter projects to do using our free printable? Check out these articles:

Only your name will be made public. Please note that by submitting your comment, you are agreeing to the terms of our Privacy Policy.