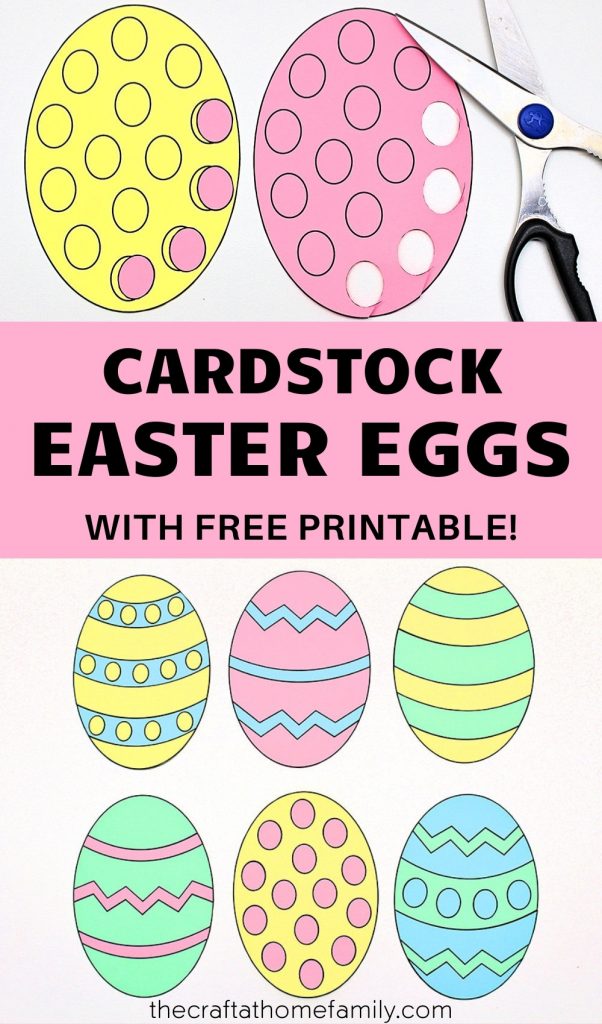
This super simple Easter craft looks gorgeous and provides a great opportunity for older kids to practice their scissor and precision skills! The lines are so clean that you can barely tell that they’re cut and glued, and the included Easter egg template makes this project extremely easy to set up!
JUMP TO…
Younger kids won’t be able to complete this project using training scissors, but it’s a great way for older kids to practice their scissor and precision skills! It has increasing levels of difficulty depending on the number of circles in the design you choose, and you can use the finished product to make an Easter egg garland!
Looking for more fun Easter-themed project? Download my free Easter egg template below and be sure to check out the other fun projects you can make with it!

Get hundreds of pages of activities!
Get access to all our paid printables, as well as monthly activity planners, for just $5/month. (New printables added twice per month!)
Required Materials
Here’s what you’ll need to practice scissor skills with these gorgeous cardstock Easter eggs:
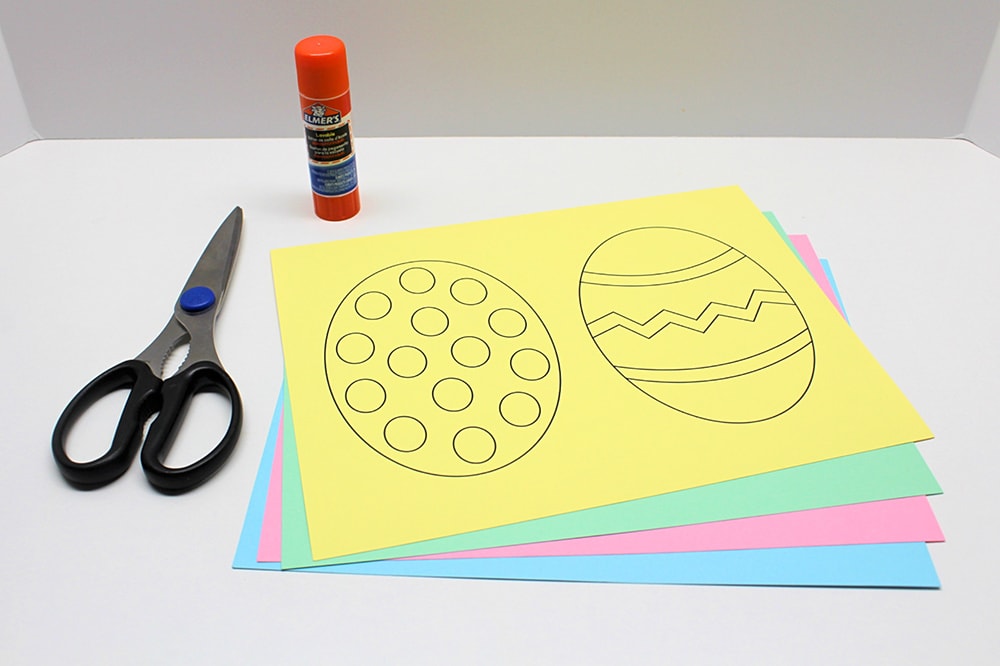
- My free Easter egg template
- Pastel cardstock (or any other color you want, but I find pastel colors very Eastery!)
- Scissors
- Stick of regular or repositionable school glue
How to Make Cardstock Easter Eggs (Step-by-Step)
1. Print Template
Start by choosing the Easter egg design you like best and printing it on two contrasting sheets of cardstock.
2. Cut Template
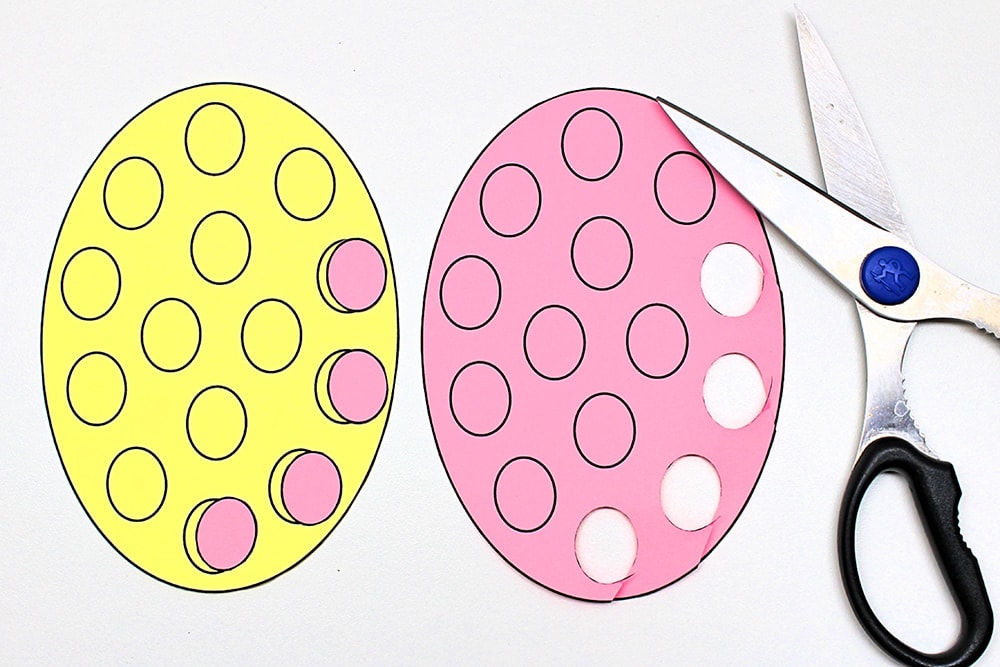
Once you’ve printed the template, start by cutting out the eggs.
Then, decide which color will be the background and cut up the other one right along the black lines. I tried to keep the black lines in the finished product by cutting right next to them. As you can see, it made the cuts look really clean!
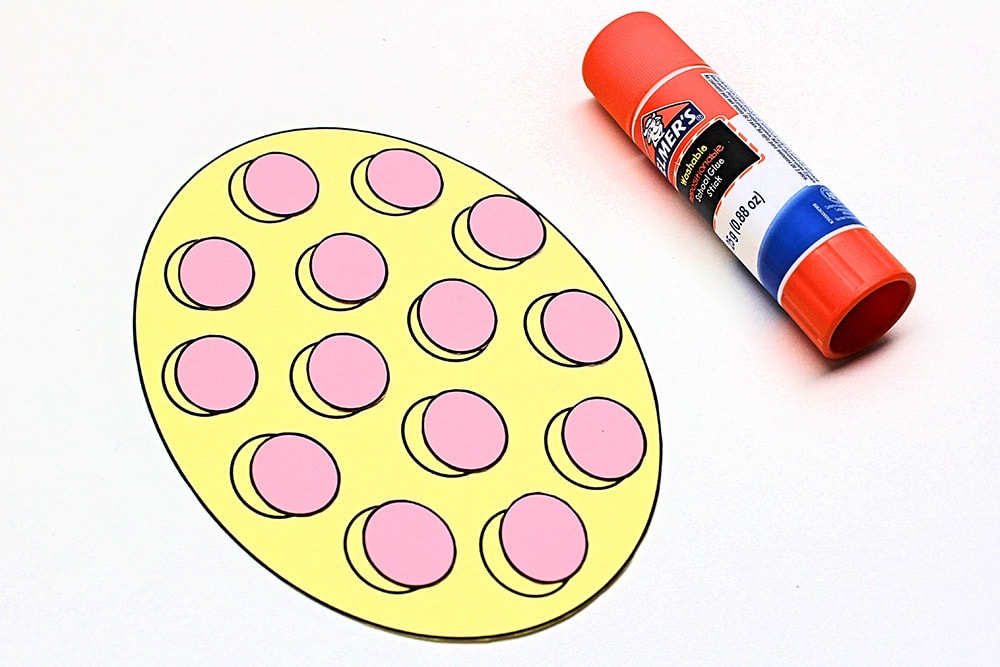
3. Glue Cutouts
Once you’re done cutting, glue the contrasting pattern onto the background. I used repositionable glue so I could easily readjust the position of the pattern if I didn’t place it exactly in the right spot, but that shouldn’t be too hard to do with regular school glue either if that’s what you have.
And that’s it! This project is so simple, but it’s a great way for older kids to practice cutting with scissors! They’ll also have to work on their precision skills when they glue the pattern onto the background.
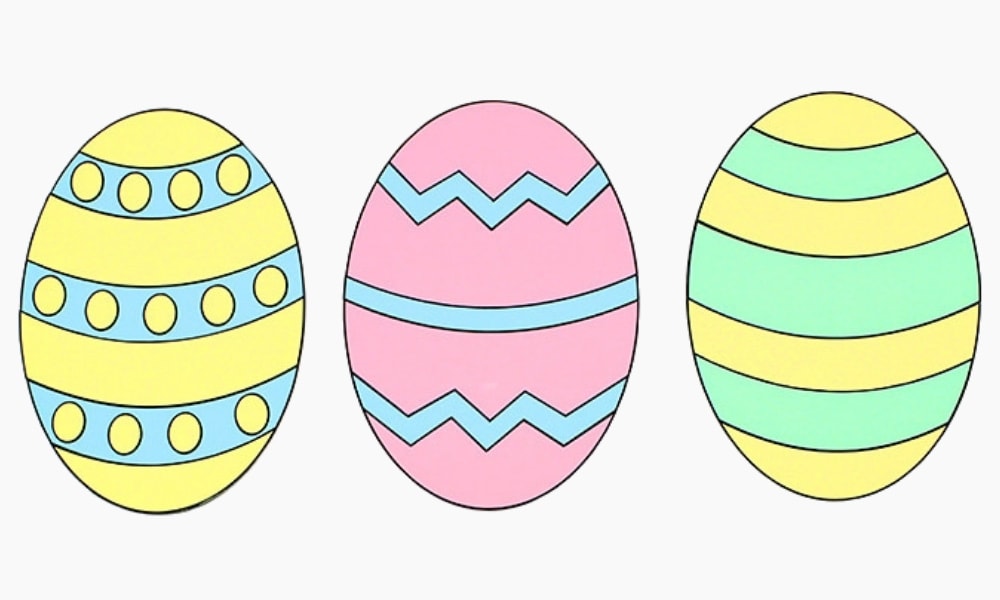
I wanted to give you a good idea of what the finished craft could look like, so I used all the patterns included in the template. This is what my cardstock Easter eggs ended up looking like:

For extra fun, I made sure to vary the color combinations. I swear that’s an actual picture, not an image I created on my computer!
Related Easter Egg Crafts
Looking for more fun Easter projects to do using our free printable? Check out these articles:
Only your name will be made public. Please note that by submitting your comment, you are agreeing to the terms of our Privacy Policy.