

Do you want to start painting with your child, but worry that they’ll try to eat paint? This mess-free painting in a bag activity is perfect for babies and toddlers who are too young for regular finger painting!
JUMP TO…
As a mom of 5 young kids, I am no stranger to messes. And I don’t shy away from messy activities, either—as long as my kids are safe and enjoying themselves, you won’t hear any objections from me.
But sometimes, you just need an activity that won’t make a huge mess—especially if you have young children at home, and you already spend half your day cleaning up after them.
On those days, this mess-free painting activity is the perfect alternative to regular finger painting. It is part craft, part sensory play, and it only requires a few simple supplies that you probably already have at home.
Plus, because the paint is contained within a bag, this activity is perfect for younger children who can’t be trusted not to eat paint! (If you have a young child at home and you are looking for a fun way to introduce them to painting, you can also try one of these taste-safe paint recipes.)
Once they’re little older, you can also try these Q-Tip Painting Sheets. My kids love them!
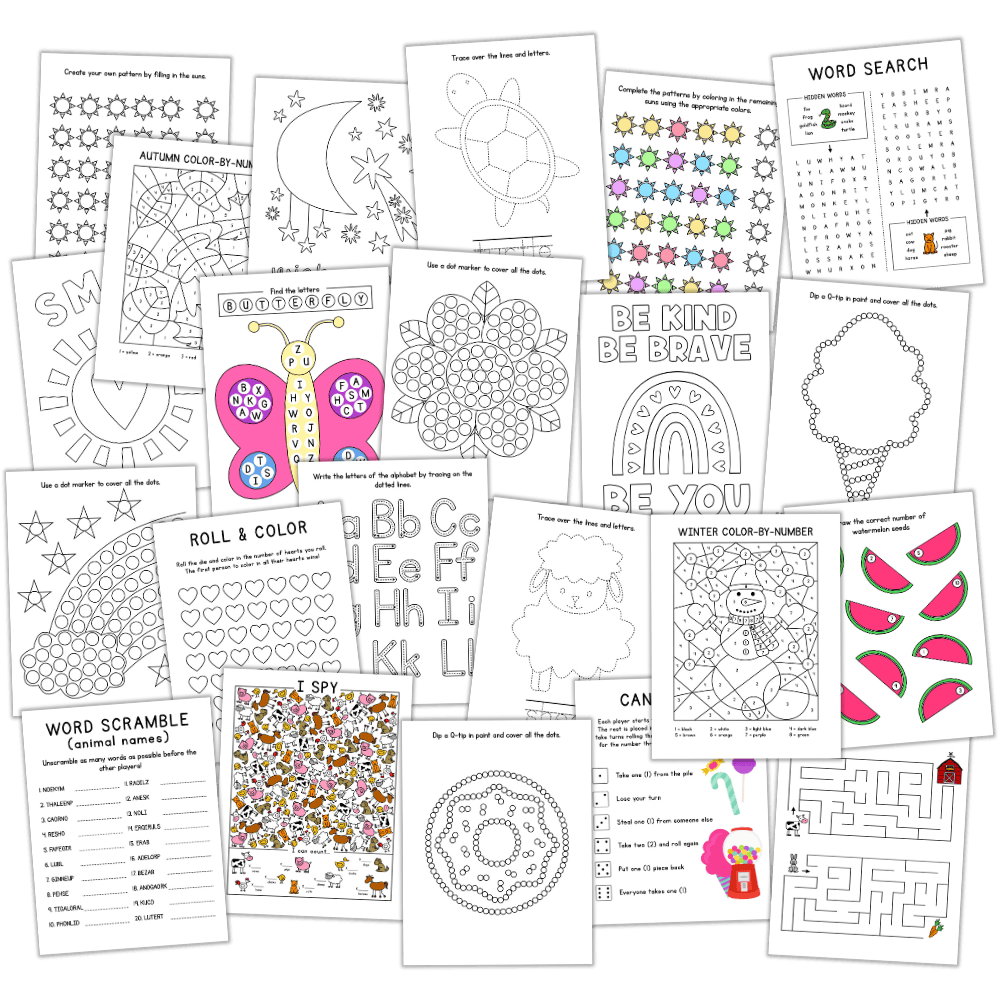
GRAB OUR FREE 30-PAGE ACTIVITY BUNDLE!
By submitting your email address, you are agreeing to the terms of our Privacy Policy. You can unsubscribe at any time.
Required Materials
Here’s what you’ll need to do this mess-free painting activity at home:

- Cardstock (we used white, but you can use any color you have on hand if you don’t mind the background being colored)
- Gallon-sized freezer bag
- Washable kids’ paint, or another type of non-toxic paint that can squirted onto paper and spread around
- Scissors (optional)
Note: You won’t be able to use regular printer paper or construction paper for this activity because unlike cardstock, which is much thicker, paper will tear when you try to take it out of the bag. But if you don’t have any cardstock on hand, you can use a paper plate, or even a piece of cardboard that has been cut down to size.
How to Paint in a Bag (Step-by-Step)
1. Place Cardstock in Bag
Start by grabbing a sheet of cardstock and placing it inside a gallon-sized freezer bag.

In order for this activity to work, you’ll need the cardstock to fit inside the bag completely. If it doesn’t, fold over the edge or cut off a couple inches to make it fit. (This is what I did.)
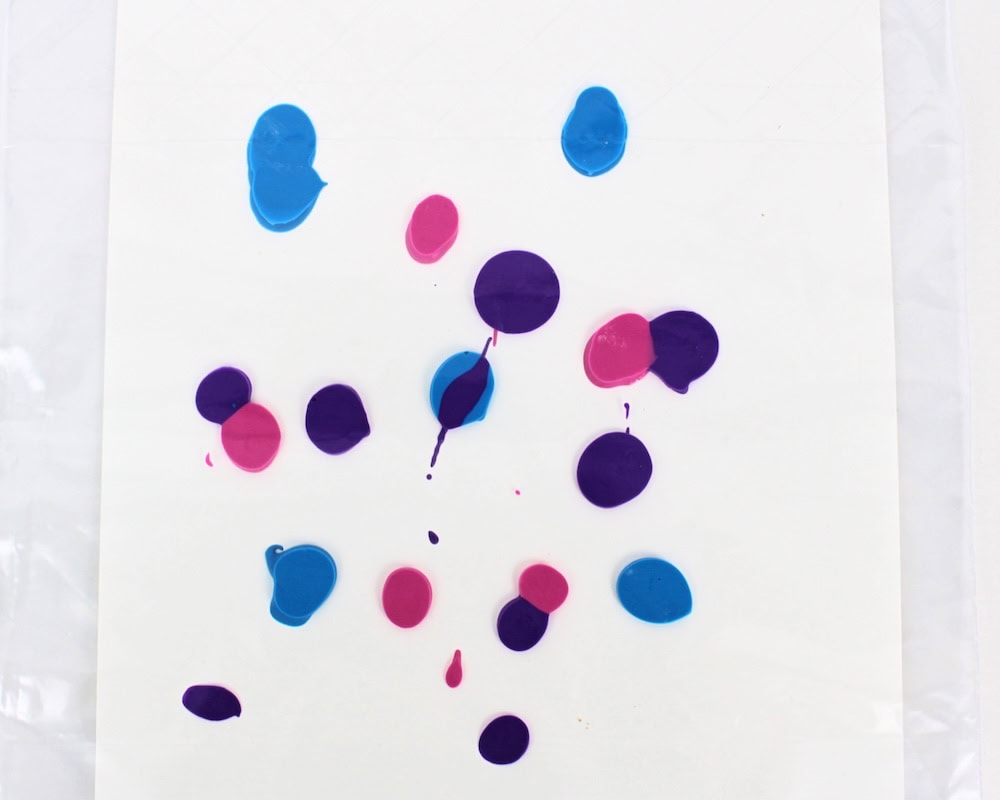
2. Add Paint to Bag
Add some blobs of paint to the sheet of cardstock that is inside the bag.
I used pink, purple and blue because they are my girls’ favorites colors, but you can choose any color, or combination of colors, you like.
Primary colors work well because they make brand-new colors when combined, which kids find really neat—this activity is a fantastic opportunity to discuss color mixing!
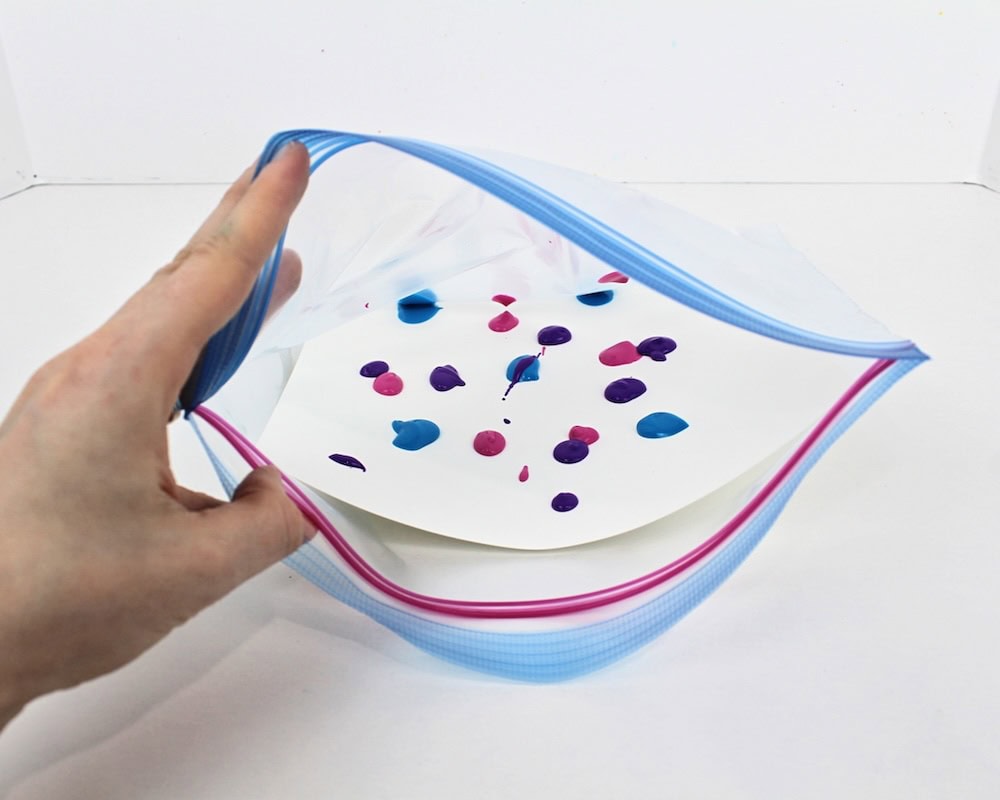
3. Seal Bag
Once you have added enough paint, close and seal the freezer bag. Make sure to remove all the air from the bag.
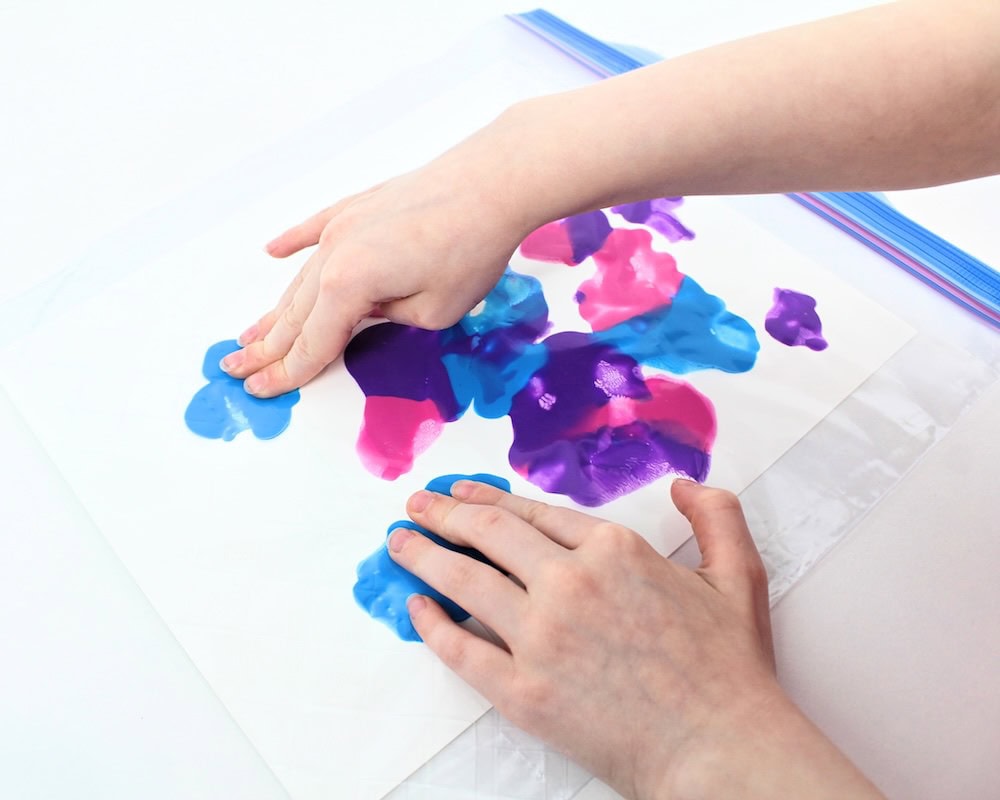
4. Smush Paint
Place the bag on a flat surface (like a table or the tray from a high chair), hand it over to your child and let them smush the paint around to cover the sheet of cardstock.
My kids love this part, especially when the different shades of paint combine to create new colors!
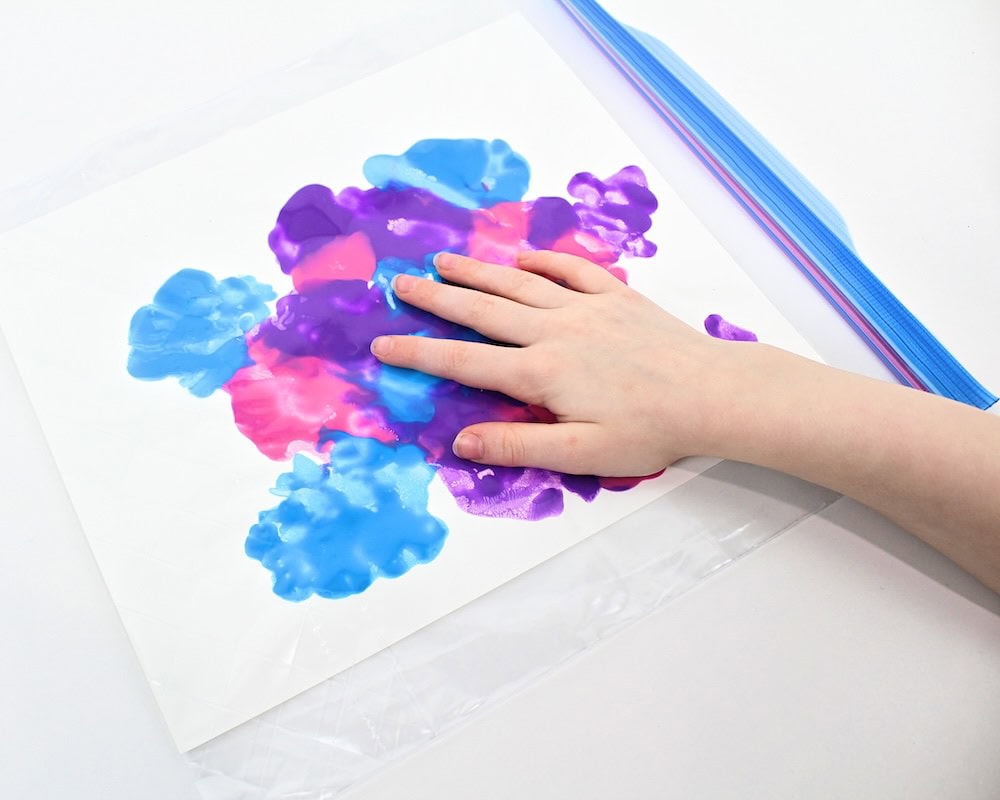
Tip: If the bag keeps sliding around, you can tape it down with painter’s tape to make things easier. This is more likely to happen with younger children because they won’t know to hold the bag with one hand while they paint with the other.
5. Let Paint Dry
Once your child is done squishing the paint around, open the bag and carefully remove the piece of cardstock. Then, lay it flat to dry. (I covered my table with parchment paper to prevent the paint from getting all over the place.)
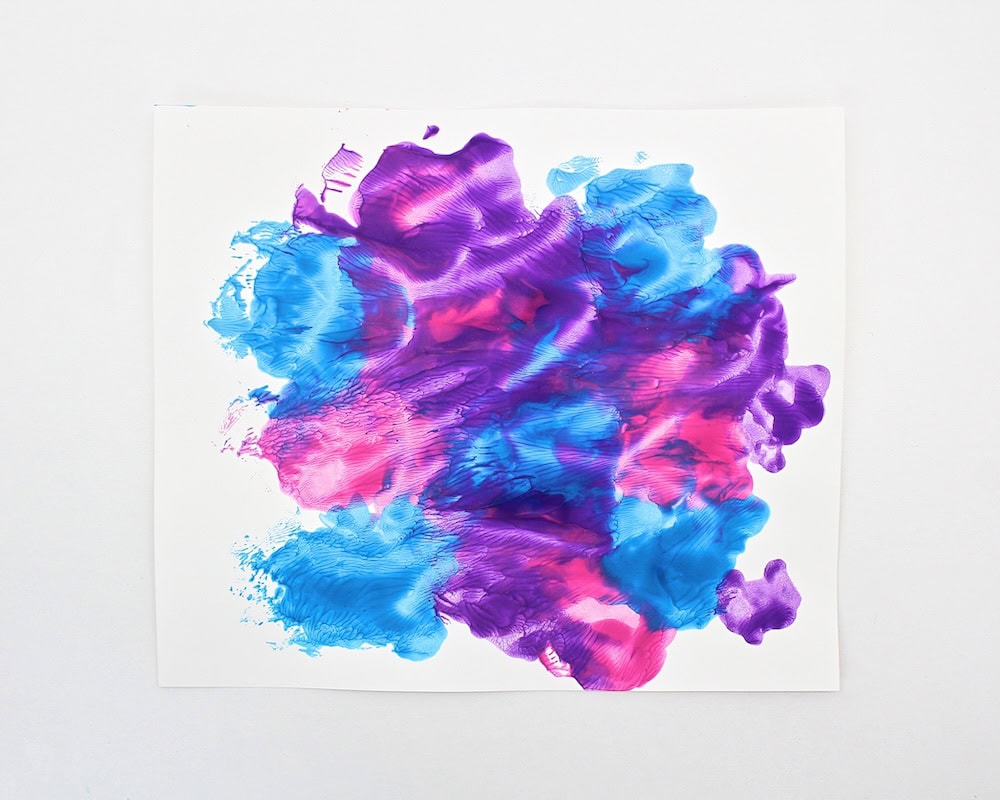
6. Cut into Shapes (Optional)
Once the paint has dried, your child’s artwork is ready to display! But if you want to take this project a step further, you can always cut the cardstock into shapes and glue it to white cardstock to create something brand-new.
For instance, if you’re looking for a sweet homemade gift idea for Mother’s Day or Valentine’s Day gift idea, try cutting your child’s artwork into the shape of a large heart and glueing it onto a white background. Then, finish it off by placing it inside a frame. (You can also cut it into a small heart and glue it to the front of a card.)
You can also use these clover templates to create Saint Patrick’s Day art, or these autumn leaf templates for fall art. Just make sure you choose your colors accordingly for maximum impact!
We used the same technique to create this smush-painted Earth craft for Earth Day. There are so many fun ways to adapt this project for various seasons and holidays!
Related Process Art Activities
Looking for more fun ways to make art with your kids? Check out these articles:
- Fizzing Baking Soda Paint Volcano
- Bleeding Tissue Paper Bookmarks
- Marbled Shaving Cream Shamrocks
- Easter Egg Symmetry Painting
- Recycled Bubble Wrap Butterflies
Only your name will be made public. Please note that by submitting your comment, you are agreeing to the terms of our Privacy Policy.