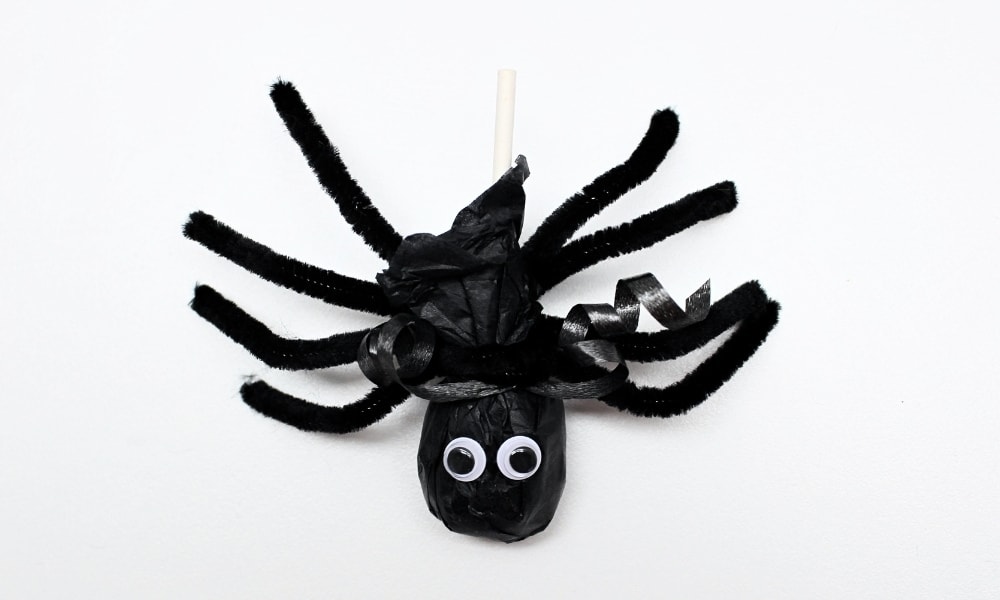
Looking for Halloween party favours that you can make with your kids? These DIY spider lollipops are SO cute, and they only require a few simple supplies! A trip to the dollar store should be all you need to make this creepy (yet adorable) Halloween craft.

This post may contain affiliate links, which means I may receive a commission, at no extra cost to you, if you make a purchase through a link. As an Amazon Associate, I earn from qualifying purchases. Please see my full disclosure for further information.
JUMP TO…
Welcome to article number 5 of 7 in this series of Halloween lollipop crafts!
If you’ve been keeping up with this series so far, you’ll have already learned how to turn lollipops into spooky lollipop ghosts, jack-o’-lanterns, monsters and vampires. (And if you haven’t, be sure to check out those articles as well as the two others that are coming up!)
It’s only natural that the next lollipop should look like a spider. After all, what says “Halloween” like a creepy-crawly spider with eight legs and multiple eyes?
I gave brief instructions on how to make this craft in my full article about the 7 Cutest Halloween Lollipop Crafts for Kids. But unlike some of the simpler crafts from that article, this one probably requires more detailed explanations.
So if you’ve been wanting to make DIY spider lollipops and aren’t quite sure how to go about it, this is the article for you! (And if you’re looking for more spider-themed fun, check out this easy floating spider experiment for kids.)
Required Materials
Here are the supplies you’ll need to turn a lollipop into a spider for Halloween:

- Spherical lollipop like Dum Dums or Jolly Ranchers
- Black tissue paper
- Black curling ribbon
- Scissors
- Googly eye
- Liquid school glue
- 3 black pipe cleaners
How to Make a Lollipop Spider (Step-by-Step)
1. Cut Tissue Paper
Use scissors to cut two squares of black tissue paper. The sides of the squares should be about 4-5 inches in length.
Don’t worry about making the squares perfect. They’ll be folded over anyway, so no one will know the difference.
Since they didn’t have to be perfect, I chose to cut both squares at the same time by layering the tissue paper.
2. Secure Tissue Paper
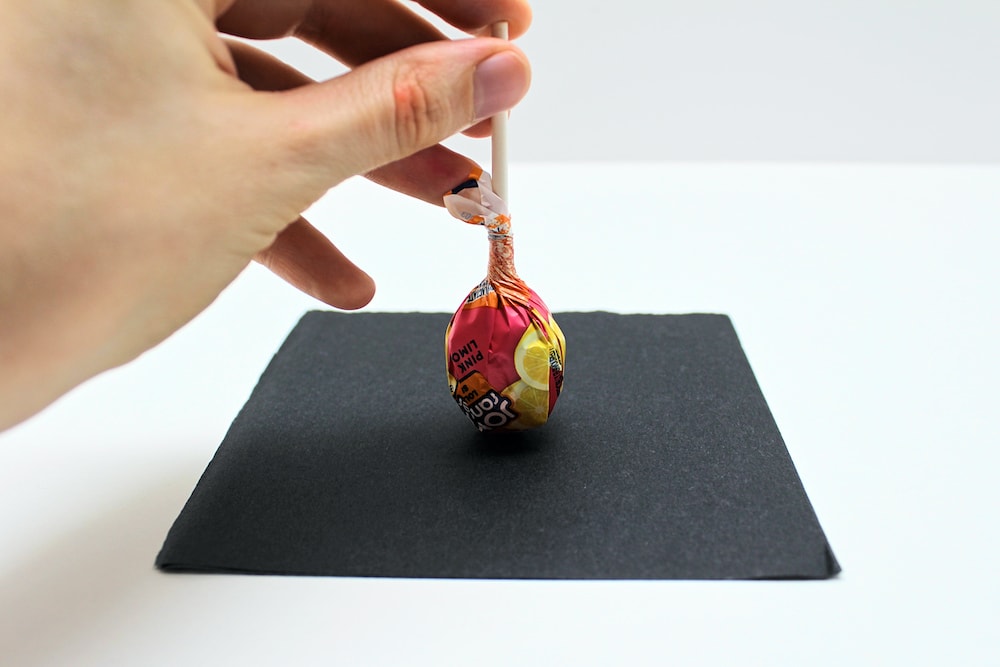
Place a downward-facing lollipop in the centre of the tissue paper squares.

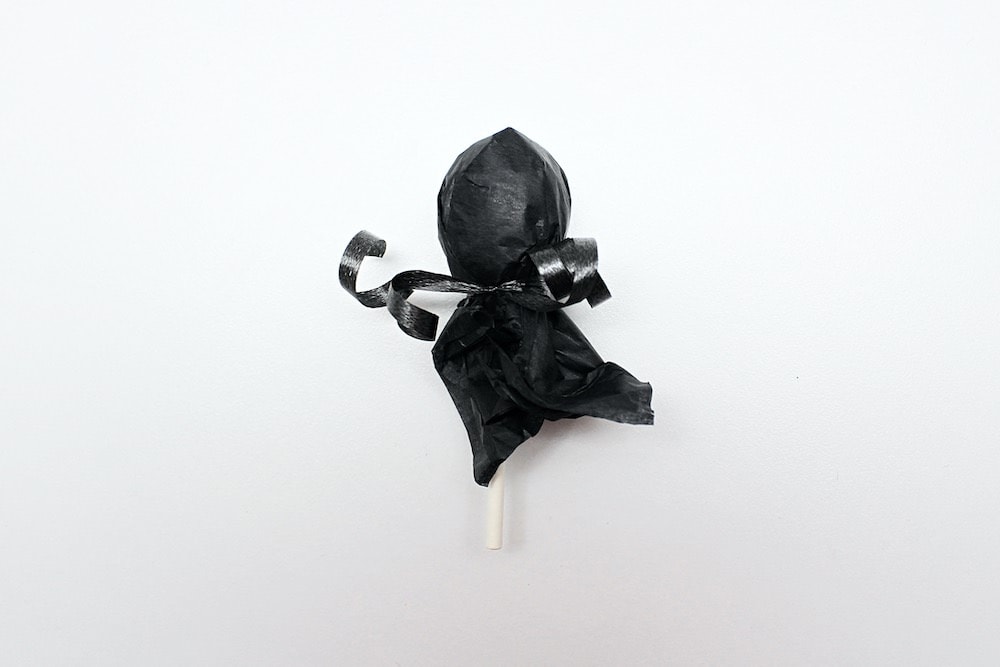
Holding the lollipop in place, bunch up the tissue paper and use black curling ribbon to secure it.

Once the tissue paper is secured, you can use the scissors to curl the ribbon if you wish.
3. Cut Pipe Cleaners in Half
Use scissors to cut three black pipe cleaners in half. You’ll only be using five of the six pipe cleaner halves, so feel free to set aside the remaining half and use it for another project.

4. Create Spider Legs
Fold four pipe cleaner halves in two and hook them onto each other to create the spider’s eight legs. I hooked them together one at a time, starting with two pipe cleaner halves, then adding the remaining two one after the other.

5. Secure Spider Legs
Grab one of the remaining pipe cleaner halves and twist it around the middle, where the spider’s legs are joined, in order to attach them to each other.

Then, use that same pipe cleaner to attach the spider’s legs to the lollipop.

6. Bend Spider Legs
Bend each of the eight legs in half to make the spider look more realistic.

7. Add Eyes
Glue two googly eyes onto the spider’s head using liquid school glue. I tried adding more eyes and it ended up looking a little weird—though of course, you’re welcome to try and see what you prefer!

Once the glue dries, your spider lollipop is done! I just love how it turned out.
Related Halloween Lollipop Crafts
Looking for more fun ways to decorate your lollipops for Halloween? Check out these articles:
- Ghost Lollipop Craft
- Pumpkin Lollipop Craft
- Monster Lollipop Craft
- Vampire Lollipop Craft
- Witch Lollipop Craft
- Bat Lollipop Craft
You can also join my mailing list to receive fun craft and activity ideas right in your inbox! Subscribers gain access to my free printables library as well as to fun bonuses that will never be available on my site.

Only your name will be made public. Please note that by submitting your comment, you are agreeing to the terms of our Privacy Policy.