
Did you know that raw flour can contain harmful bacteria like salmonella and E. coli? Thankfully, you can kill those bacteria and make flour taste-safe… as long as you know how. Find out how to easily heat treat it in the oven or microwave for use in sensory activities (or raw cookie dough)!

JUMP TO…
If you’re like us and you have young kids at home, you probably worry that they’ll try to eat any activity you prepare for them.
That’s why taste-safe sensory play is such a big deal in our house—not only do the kids love these activities, but as parents, we can rest assured that even if our little ones decide to sneak a taste, they will be totally OK.
Flour is a common ingredient in many sensory recipes, but did you know that raw flour isn’t actually safe to eat? Most people aren’t aware of this, but in fact, raw flour can contain foodborne illnesses like salmonella and E. coli.
Thankfully, these IS a way to make raw flour taste-safe, and that is by heat treating it in the oven or microwave.
Heat treating flour kills the harmful bacteria that are hiding in the raw flour, which means that you’re free to use it in sensory recipes for you baby or toddler—or to use it to make raw cookie dough to enjoy with them!
There are two ways to heat treat flour to make it safe for children, and they are both covered in this article. Feel free to use whichever method works best for your family!

Get hundreds of pages of activities!
Get access to all our paid printables, as well as monthly activity planners, for just $5/month. (New printables added twice per month!)
How to Heat Treat Raw Flour in the Oven
1. Preheat Oven
To heat treat raw flour using your oven, start by preheating your oven to 350°F.
2. Spread Flour on Baking Sheet
While the oven is heating, spread some flour on a baking sheet. I like to cover the baking sheet with parchment paper first because it makes the flour a lot easier to scoop up once it has been cooked.
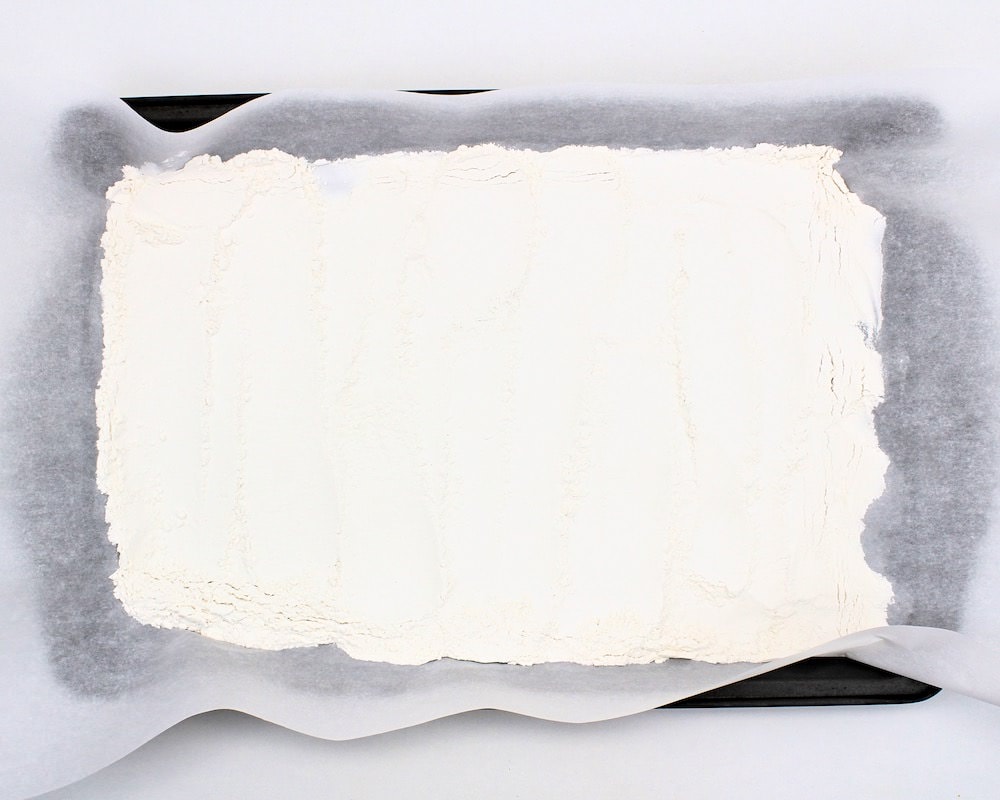
Note: I decided to heat treat 2 cups of flour in order to make a batch of Taste-Safe Moon Sand, and those 2 cups fit quite nicely on my large baking sheet. You can always do a second batch if you need more than 2 cups of flour.
3. Bake Flour
Once the oven is done pre-heating, place the baking sheet in the oven and bake the flour for about 5 minutes.
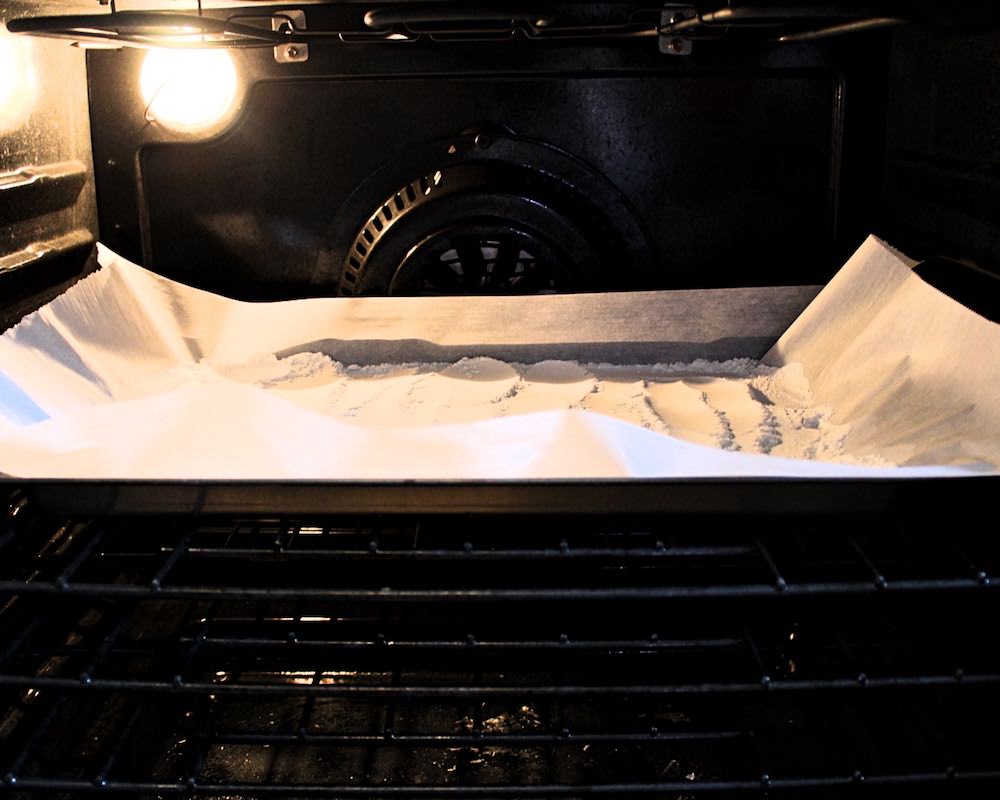
Then, take it out of the oven and let it cool. When the flour is done cooling, it will be ready to use in any recipe that you need to be taste-safe!
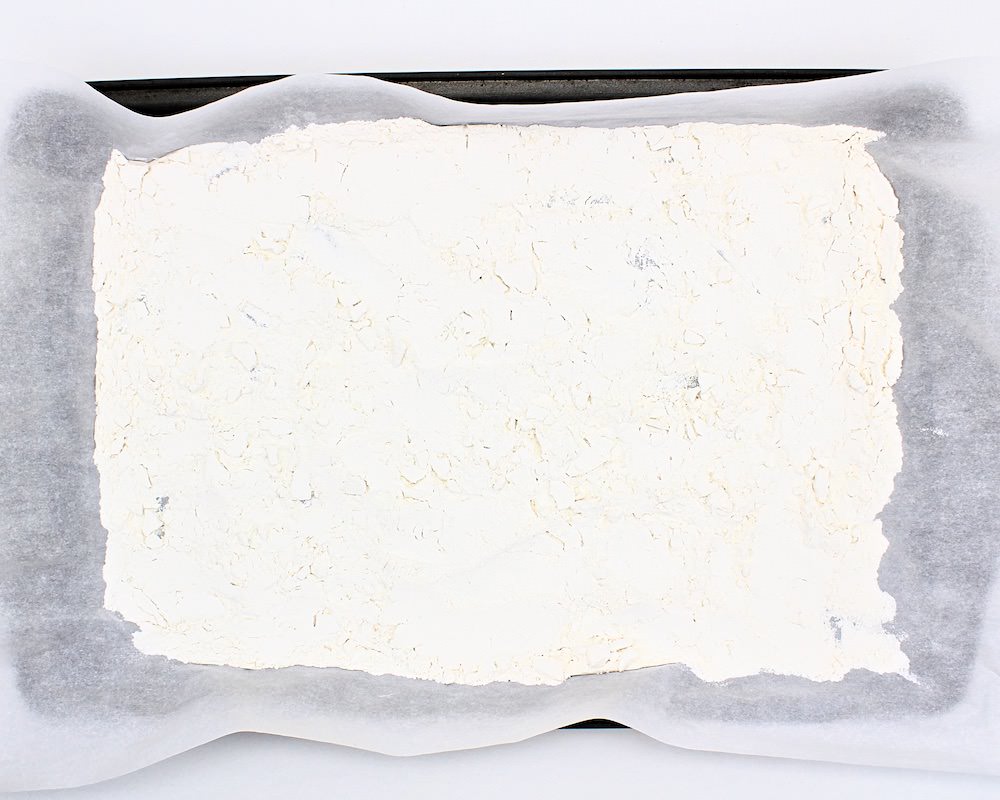
For best results, I recommend that you pass the flour through a sieve or fine-mesh strainer before using it to get rid of any lumps. Baking makes it harden a little, and breaking up the lumps before using the flour will make your sensory dough a lot smoother.
How to Heat Treat Raw Flour in the Microwave
Pressed for time? If so, you can actually heat treat your flour in the microwave instead of the oven.
To do this, all you’ll need to do is place your flour in the microwave (once again, I used 2 cups of flour) and heat it on high for 1 minute.
When that minute is over, grab an instant-read thermometer and check the temperature of the flour. In order to kill salmonella and E. coli, the temperature will need to reach at least 165°F.
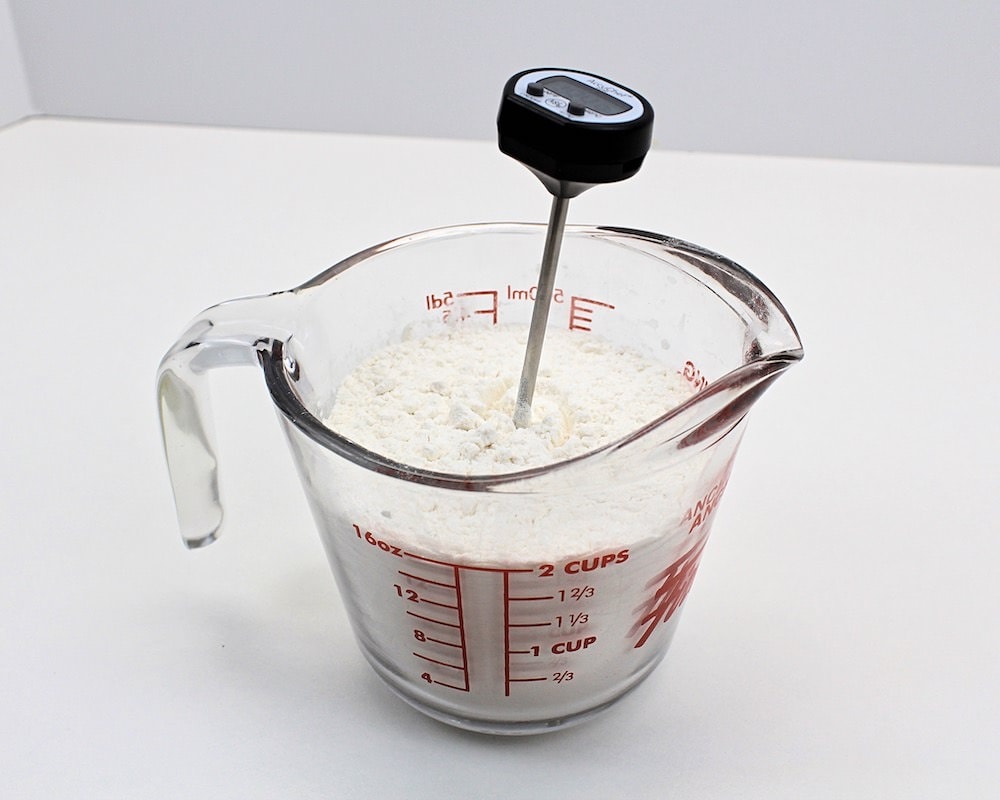
If the temperature is above 165°F, the flour is ready to use. If not, return the flour to the microwave and heat it a little longer.
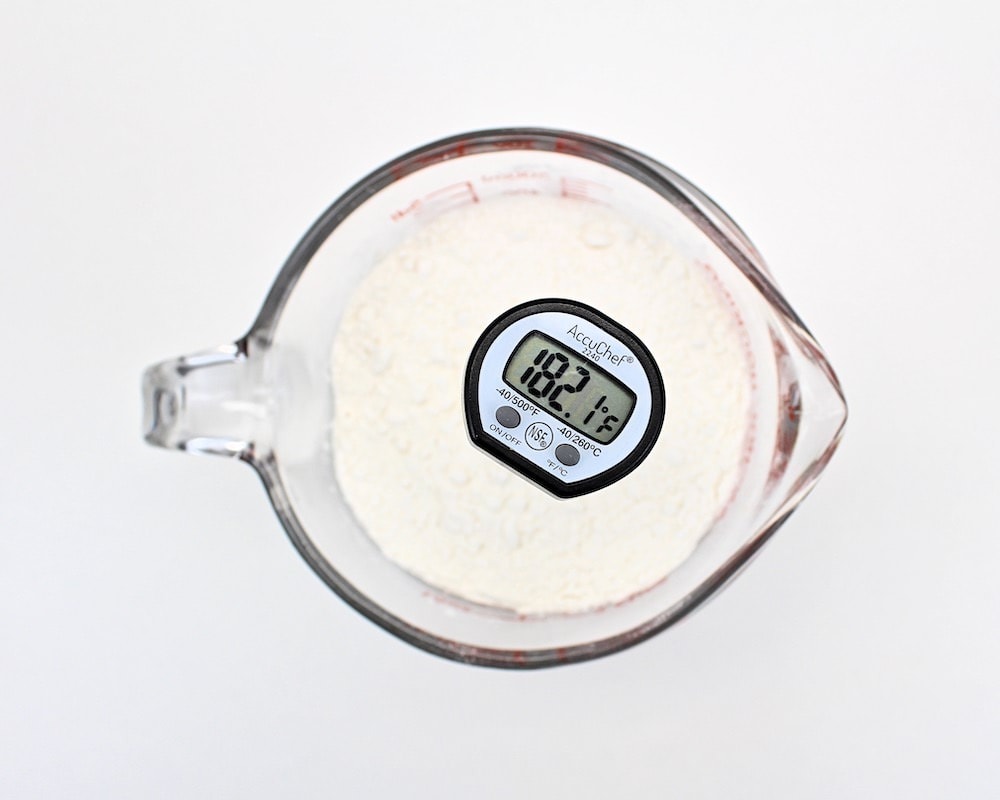
As you can see, my flour was plenty warm enough after just 1 minute, but it will depend on the strength of your microwave, so make sure to check the temperature just to be sure.
As with the oven treatment, for best results, I recommend that you break up any lumps using a sieve of fine mesh strainer before using the cooked flour.
What to Do with Heat Treated Flour
So you’re done heat treating your flour… now what?
As it turns out, there are lots of activities you can prepare for your kids that require flour—and this way, you’ll know that the flour you’re using is safe for use in edible sensory activities and that your babies will be unharmed if they decide to sneak a taste.
The activity we prepare the most often using heat treated flour is Homemade Moon Sand. You can even store it in the freezer to turn it into Taste-Safe Fake Snow.
You can also use the heat treated flour to make Taste-Safe Mud for your kids to play with… or Taste-Safe Paint for them to create with! It can also be saved for use in a variety of homemade play dough recipes that call for flour, or simply to use as an edible sensory bin filler.
Finally, it can be used in baking—especially if you’re a fan of raw cookie dough!
Related Taste-Safe Activities
Love preparing taste-safe activities for your kiddos? Check out these articles:
- Baby Cereal & Applesauce Play Dough
- 2-Ingredient Pudding Play Dough
- Edible Yogurt Silly Putty
- Jell-O Toy Rescue Activity for Kids
- Taste-Safe Sensory Foam
Do you need to store it in a specific way? How long can you use it before it “expires?”
You should store it in an airtight container to prevent anything from getting into it. I’m not sure exactly how long it “lasts” for food safety purposes, but the reason we heat treat flour is because the grains from which the flour is ground can be exposed to bacteria salmonella and E.coli in the fields, and baking the flour kills that bacteria… so I would imagine that it lasts quite a while, as there shouldn’t be any opportunity for it to come in contact with harmful bacteria once it’s been heat treated and stored in a container?