


Love autumn colors? These gorgeous glue and chalk pastel fall leaves are colorful, easy to make and include a free fall leaf template that you can print out to make the crafting process a little easier!

JUMP TO…
Chalk pastels are one of my favorite artistic mediums, and their vibrant hues are perfect for this autumn-themed craft. The bright colors really pop against the black paper, and they blend together beautifully to create soft gradients.
If you love art projects that showcase all those gorgeous fall colors, this glue resist craft is the perfect way to do just that! You’ll only need a few simple supplies in order to make it, and you may already have most (if not all) of them at home.
Why You’ll Love This Craft
- Simple supplies: You’ll only need 3 simple supplies for this craft, which means you can spend less time hunting down supplies and more time crafting.
- Easy to make: This project comes together in just a few easy steps, and depending on their age, your child may be able to complete it entirely on their own. It’s also a great way to sneak in some extra fine motor practice!
- Colorful: Chalk pastel has the most gorgeous, vibrant colors that are the perfect to autumn leaves.
- Template included: While you are welcome to draw your own fall leaf design, I’ve also included a free template that you can print out at home to make things easier.
Looking for more fall fun? Check out these Free Fall Coloring Pages, this big list of Fall Sensory Activities or this Printable Fall Bucket List with 100+ ideas!


Get hundreds of pages of activities!
Get access to all our paid printables, as well as monthly activity planners, for just $5/month. (New printables added twice per month!)
Required Materials

- Cardstock: I prefer to use black cardstock because it helps the colors to pop and hides the black lines from the printed template. White is fine too, but won’t create as much of a color contrast. US Letter size (8.5 x 11 inches) is best, because that is the format of the template, but you can also print it on A4 paper by tweaking your printer settings. If you don’t have cardstock, black construction paper can work too—just be aware that you’ll need to cut it down to size in order to fit it in your printer, and that it will get a bit wavy after you add the glue.
- Glue: To make this craft, you’ll need a bottle of liquid white school glue with precision tip. As you’ll be tracing the leaves using the precision tip, you won’t be able to use a large bulk format. That being said, if you have an empty bottle of glue with precision tip, you can refill it using the contents of a larger bottle.
- Chalk pastels: I love this Sargent Art chalk pastel set with 48 colors, but any set of soft chalk pastels (not hard or oil pastels) will work for this project. I chose to stick with fall tones like yellow, orange and red, but feel free to use any combination of colors you like.
The full supply list and instructions can be found in the how-to card.
Get Your Free Fall Leaf Template
Subscribe to my newsletter to receive your free fall leaf template as a welcome gift! I’ll also send new activities, craft ideas and printables right to your inbox.

Already a subscriber? Don’t worry, you won’t be subscribed twice. By submitting your email address, you are agreeing to the terms of our Privacy Policy. You can unsubscribe at any time.
How to Make Glue & Chalk Pastel Fall Leaves (Step-by-Step)

Step 1: Trace leaves with glue. Print the template on a sheet of cardstock (or draw your own leaf design in pencil), then use a bottle of liquid glue with a precision tip to trace over the lines.

Step 2: Let glue dry. Let the sheet of cardstock sit undisturbed for at least 6 hours (or overnight), until the glue has fully dried and looks completely transparent. There should be no trace of white remaining.
Making This Craft with Younger Kids?
If you have a younger child at home who wants to join in on the fun, but who isn’t quite able to do all the steps on their own, try tracing the leaves for them and letting them add the chalk pastel once the glue is dry.

Step 3: Add chalk pastel. Use chalk pastel to color in between the lines of glue, allowing the glue to form a “wall” that divides each leaf into different sections. For added depth, create a gradient by using two or three similar colors inside each of these sections.

Step 4: Smudge chalk pastel. Use a tissue or your fingers to spread the pigment of the chalk pastel in between the lines of glue, washing your hands in between each section to prevent any unintentional color mixing.
I love how this craft turned out! The fall colors were bold and vibrant, and I loved the way they softly blended into each other.

Helpful Tips
- Use color gradients: For best results, use two or three shades of the same color inside each section and gently blend them with your fingers to create a color gradient.
- Avoid unintended color mixing: To prevent your craft from looking messy, make sure to wash each color off your fingers before switching to the next. This will help ensure that only the colors you intend to mix (i.e. the gradients) get mixed.
- Keep the mess contained: Steps 3 and 4—using and blending the chalk pastels—can get a little messy. To limit the mess, protect your work surface with parchment paper, keep a tissue on hand to wipe up unexpected smudges, and wash your hands frequently to remove excess residue from the chalk pastels.
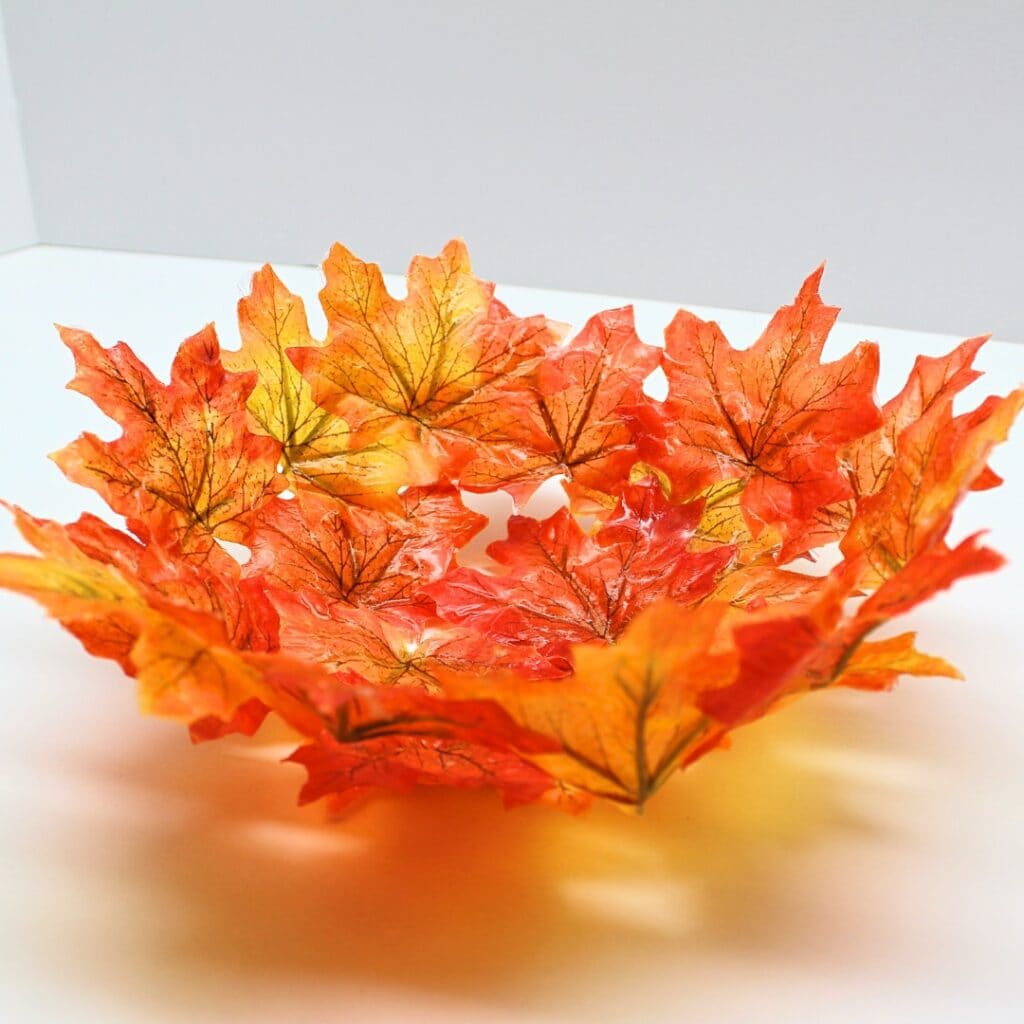
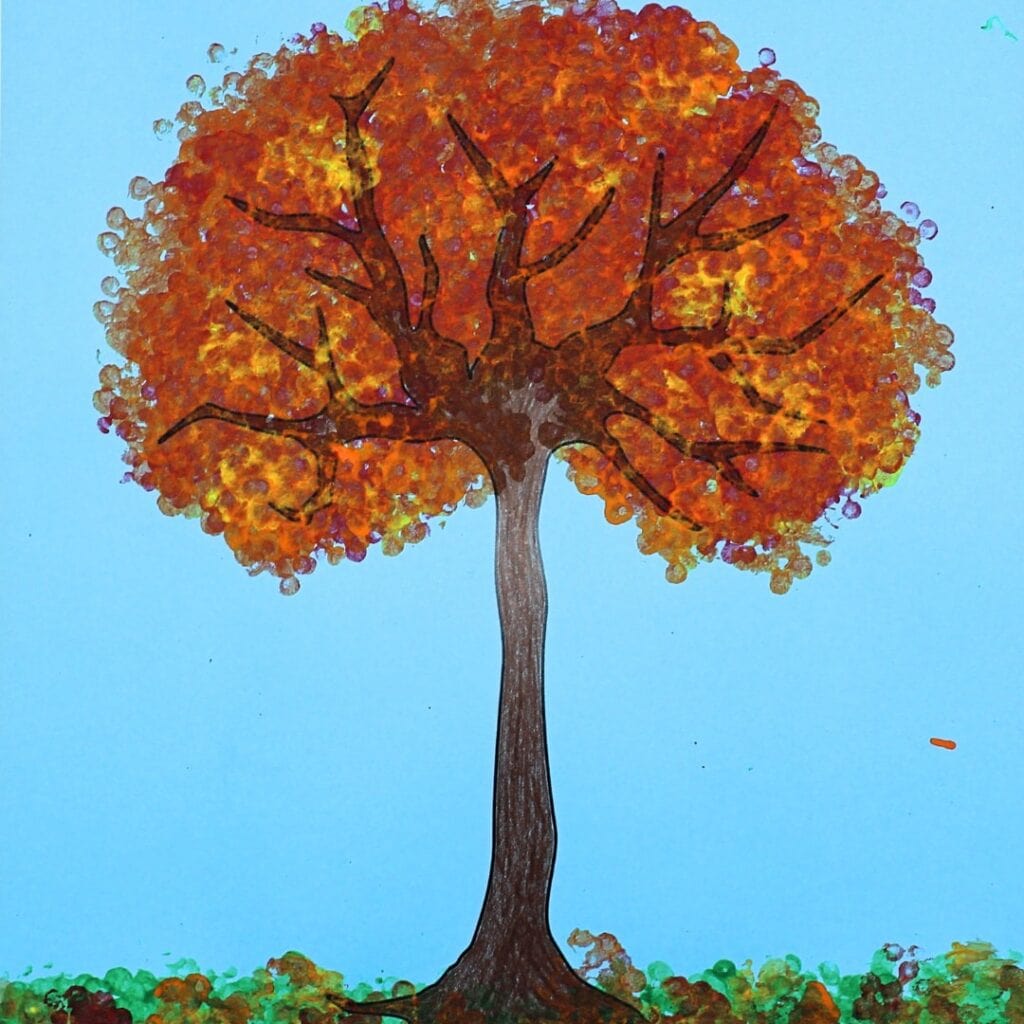
More Fall Crafts for Kids

If you have tried these Glue & Chalk Pastel Fall Leaves or any other project on my website, please let me know how it went in the comments below. I can’t wait to hear from you!

Glue & Chalk Pastel Fall Leaves
Materials
- 1 sheet black cardstock
- 1 bottle liquid white school glue with precision tip
- chalk pastels assorted colors
Instructions
- Print the template on a sheet of cardstock (or draw your own leaf design in pencil), then use a bottle of liquid glue with a precision tip to trace over the lines.
- Let the sheet of cardstock sit undisturbed for at least 6 hours, or overnight, until the glue has fully dried and looks completely transparent, with no trace of white remaining.
- Use chalk pastel to color in between the lines of glue, allowing the glue to form a “wall” that divides each leaf into different sections. For added depth, create a gradient by using two or three similar colors inside each of these sections.
- Use a tissue or your fingers to spread the pigment of the chalk pastel in between the lines of glue, washing your hands in between each section to prevent any unintentional color mixing.
Video
Notes
- Experiment with gradients: For best results, use two or three shades of the same color within each heart and gently blend them with your fingers to create a gradient.
- Avoid unintended mixing: Avoid mixing colors you don’t intend to mix by washing the previous color off your fingers when you’re switching colors. (You don’t need to do this when creating gradients.)
Request Your Free Template Here
Subscribe to my newsletter to receive your free fall leaf template as a welcome gift! I’ll also send new activities, craft ideas and printables right to your inbox.
Already a subscriber? Don’t worry, you won’t be subscribed twice. By submitting your email address, you are agreeing to the terms of our Privacy Policy. You can unsubscribe at any time.
Only your name will be made public. Please note that by submitting your comment, you are agreeing to the terms of our Privacy Policy.