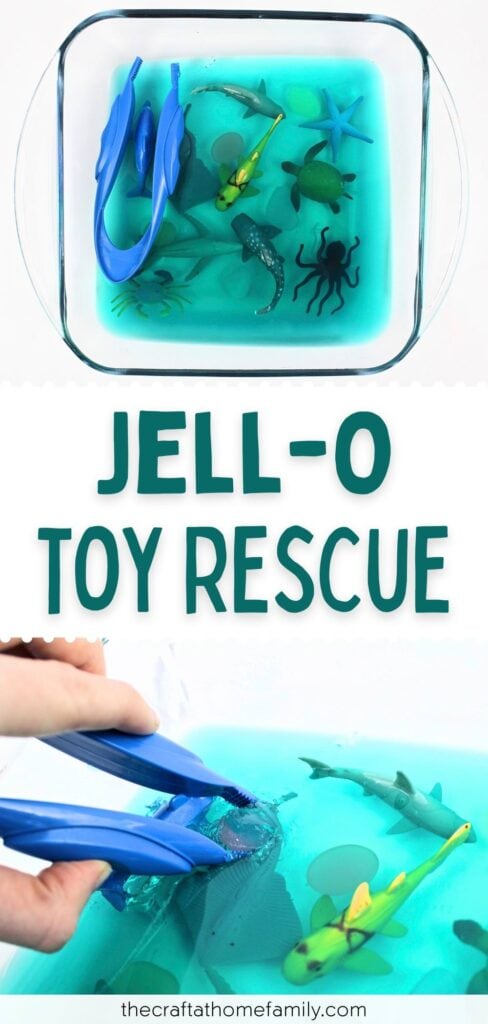
Looking for a fun, low-prep activity to keep your baby, toddler or preschooler entertained? This Jell-O toy rescue is taste-safe, quick to prepare and can be customized many different ways to suit your child’s interests!
JUMP TO…
If this is your first time on my site, one of the things you need to know is that I LOVE trying new sensory recipes.
We have four kids under the age of six, and our three youngest like to put everything in their mouths. So while we use a variety of different materials to create sensory bins, “taste-safe” is aways a big plus in my book.
Our kids particularly love Edible Frosting Play Dough, Edible Jell-O Slime and Edible Marshmallow Play Dough. They frequently ask me to make them… in part so they can have a few nibbles while they play. (Who can blame them?)
But I also like to prepare activities that, while taste-safe, don’t taste great. That way, I know that my little ones will be safe if they sneak a taste, but they won’t actively want to eat our activity instead of playing with it.
That’s why I’m such a big fan of using unflavored gelatin for sensory play.
We made Sensory Gelatin Cubes not long ago and they were SO satisfying to squish. But hiding things in Jell-O adds a whole other dimension to Jell-O sensory play, and it requires even less work from Mom and Dad. A total win-win!

Get hundreds of pages of activities!
Get access to all our paid printables, as well as monthly activity planners, for just $5/month. (New printables added twice per month!)
At What Age Can Babies Play with Jelly?
We love taste-safe sensory recipes because they’re a great way to allow babies and toddlers to safely partake in activities that would normally only be appropriate for older kids.
Because gelatin is taste-safe, you can make it for younger kids without worrying that they’ll be harmed if they taste it. But because gelatin becomes semi-solid when it sets, I wouldn’t recommend giving it to children who aren’t ready for solid food.
You can always reduce the quantity of gelatin to make this activity safer for infants, but it can still pose a choking hazard to children who can’t swallow food. For this reason, you should probably wait until your child is about 6 months old before attempting any sort of Jell-O sensory play.
But if you’ll looking for sensory activities for babies younger than 6 months, sensory bags are a great way to allow them to safely explore textures without the risk of choking!
Required Ingredients
Here’s what you’ll need to set up this easy Jell-O sensory bin at home:
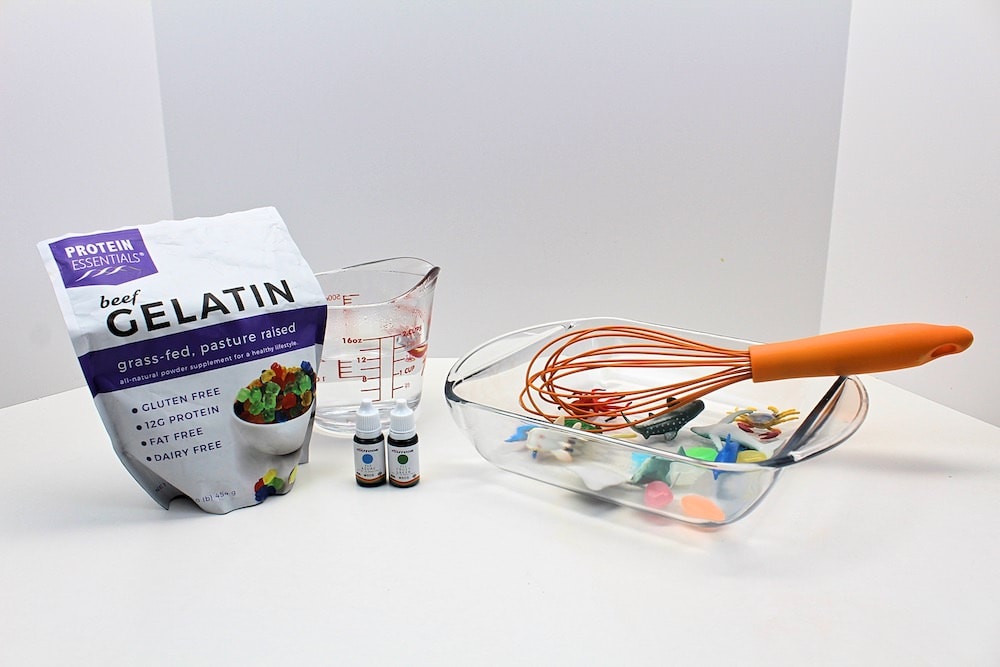
- Water
- Unflavored gelatin powder (you can also use flavored Jell-O powder)
- Food coloring
Note: I prefer to use unflavored gelatin because I don’t want to encourage my kids to eat this activity by making it taste too good, but you’re welcome to use regular Jell-O to make yours. To do so, just follow the same instructions, but skip the food coloring and use 2 boxes of Jell-O per batch.
Grab our 12 best sensory recipes!

By submitting your email address, you are agreeing to the terms of our Privacy Policy. You can unsubscribe at any time.
Required Supplies
You’ll also need:
- Small plastic toys
- Whisk
- Standard 9×9-inch baking dish (if you’re not comfortable letting your child play with sensory materials that are inside a glass dish, you can also use a plastic container of approximately the same size)
- Parchment or wax paper
- Jumbo plastic tweezers (optional)
How to Prepare a Jell-O Dig (Step-by-Step)
1. Boil Water
Use a kettle or saucepan to bring 1 ½ cups of water to a boil.
Note: I decided to use a 9×9-inch baking dish to set up our Jell-O rescue activity, but if you’d like your sensory bin to be bigger, you can always use a 9×14-inch baking dish and double all the quantities.
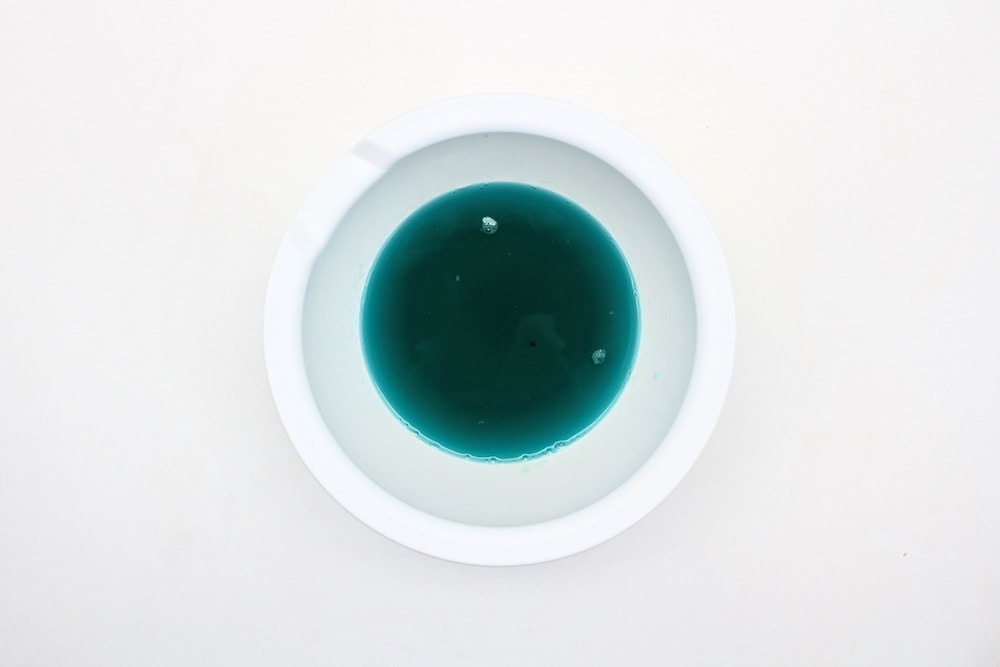
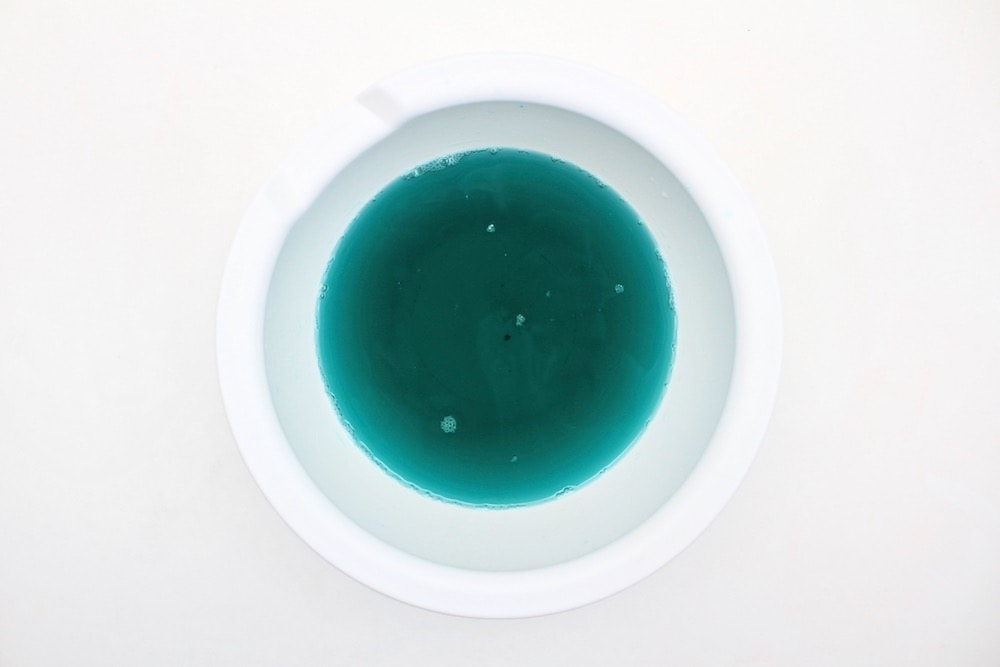
2. Add Food Coloring
Add food coloring to the water.

I used 3 drops of blue and 2 drops of green to create an ocean feel, but you’re welcome to experiment with different quantities depending on how dark you want your Jell-O dig to look. Darker Jell-O will mean that the plastic toys aren’t as visible, which can add an extra challenge for older toddlers and preschoolers.
You can also skip this step altogether if you want your Jell-O to be clear once it sets.
3. Pour Gelatin into Bowl
Place 1 ½ tablespoons of powdered gelatin in a medium mixing bowl.
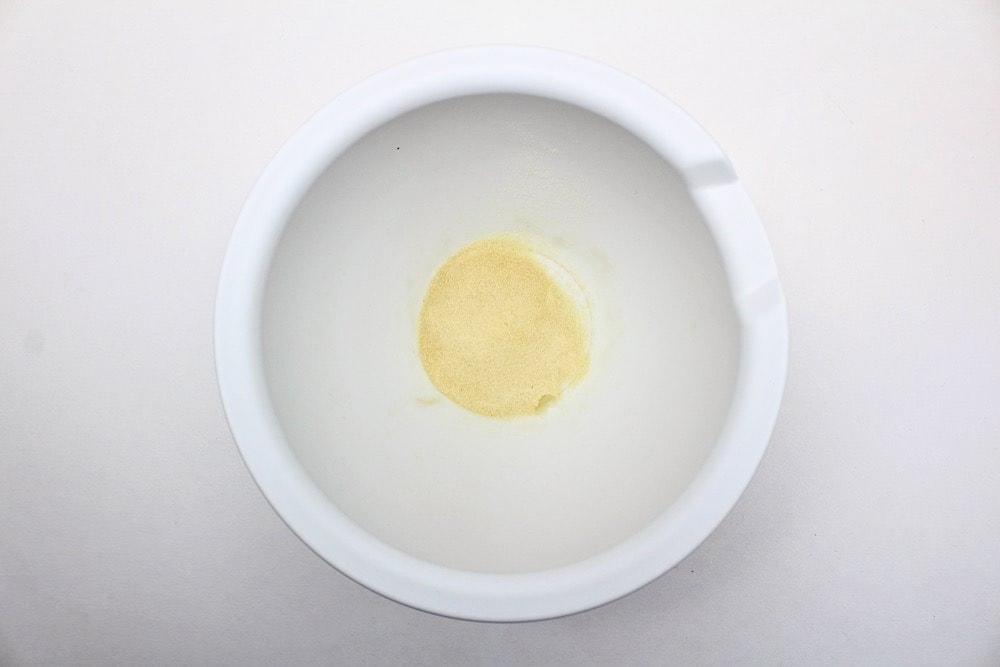
If your gelatin came in 7-gram packets, use two packets. If you’ve decided to use flavored Jell-O, use two 4-ounce boxes.
Depending on your child’s age, you can also choose to adjust the quantities a bit to make the Jell-O softer or harder.
If you’re preparing this activity for an infant, add a bit more water or reduce the quantity of gelatin to create softer Jell-O and minimize the risk of choking. If you’re preparing it for an older toddler or preschooler, add a bit less water or a little more gelatin to make rescuing the toys more challenging.
4. Add Boiling Water
Pour 1 ½ cups of boiling water into the bowl and whisk until the water and gelatin are well combined. Start whisking immediately or the gelatin might seize up and you’ll have to start over from scratch.
5. Add Cold Water
Add ¾ cup of cold water and whisk until combined.
6. Add Toys
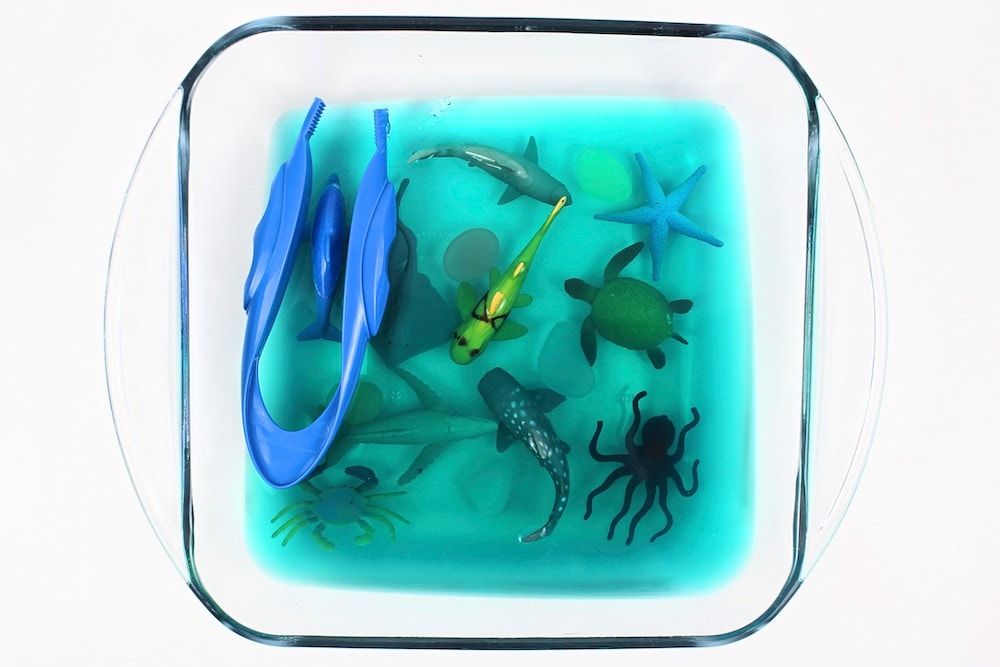
Arrange some plastic toys at the bottom of a baking dish.
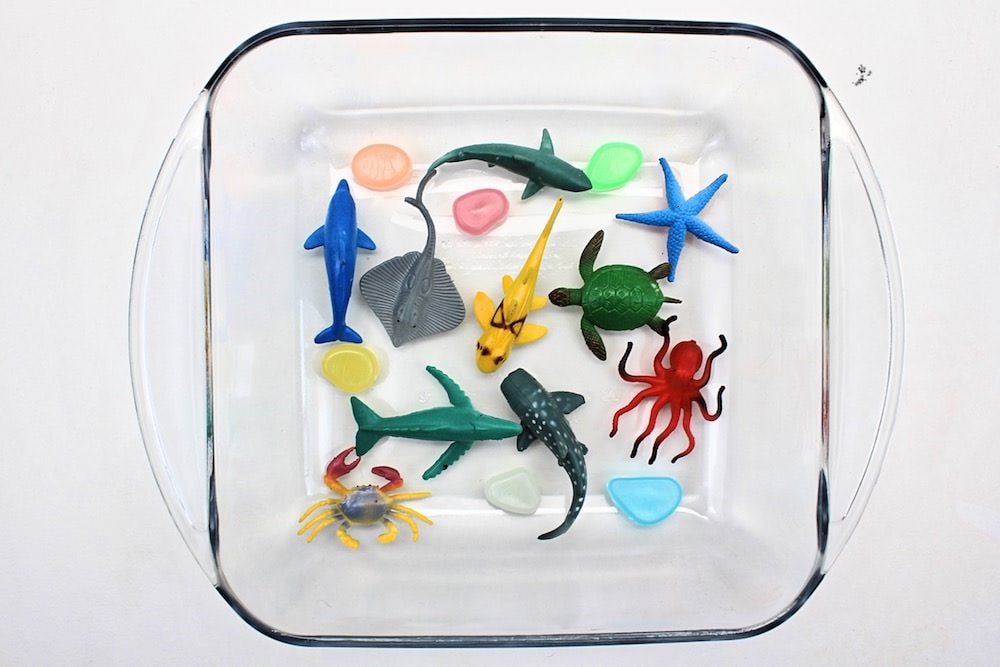
In order to create an ocean animal rescue bin, we decided to use sea creatures, but you don’t have to. Feel free to use whatever you like—dinosaurs, flowers, figurines from your child’s favorite TV show—or adapt it to the season by choosing items related to the nearest holiday.
You can also use large sensory items like pom-poms, LEGO, crafts buttons or foam letters. Just make sure you choose items that won’t disintegrate when exposed to water.
7. Pour Mixture into Baking Dish
Slowly pour the gelatin mixture into the baking dish.
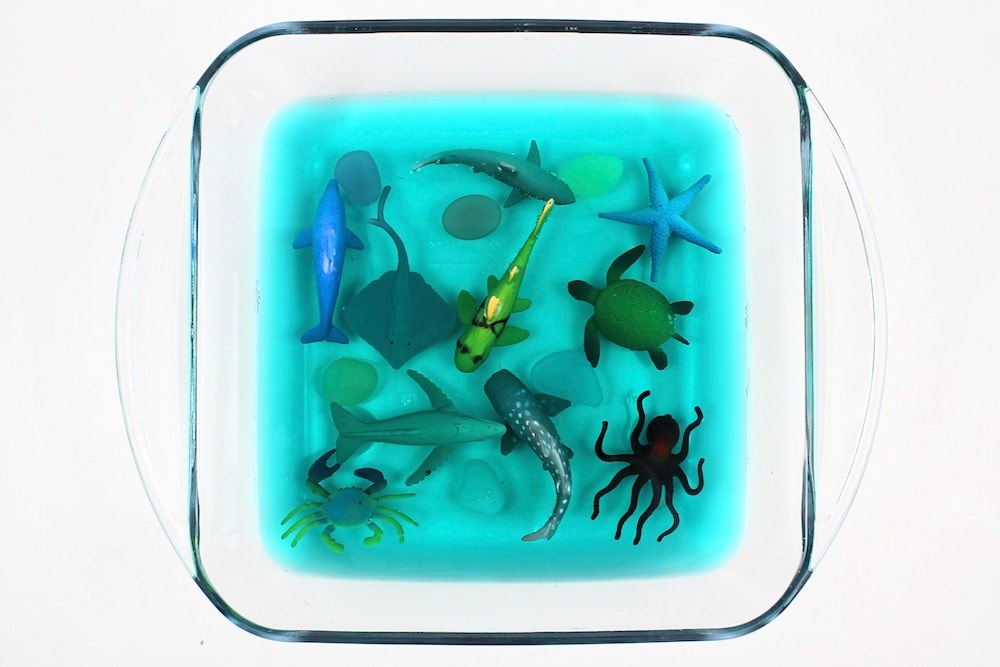
The toys may shift a bit as you pour; if they do, you can use a spoon or fork to gently put them back into place. I love how the sea creatures and blue water made our sensory tub look like a mini Jell-O aquarium.
8. Let Set
Place the baking dish in the fridge for 3-4 hours, or as long as it takes for the gelatin to set.
Once the gelatin has set, it’s time to play!
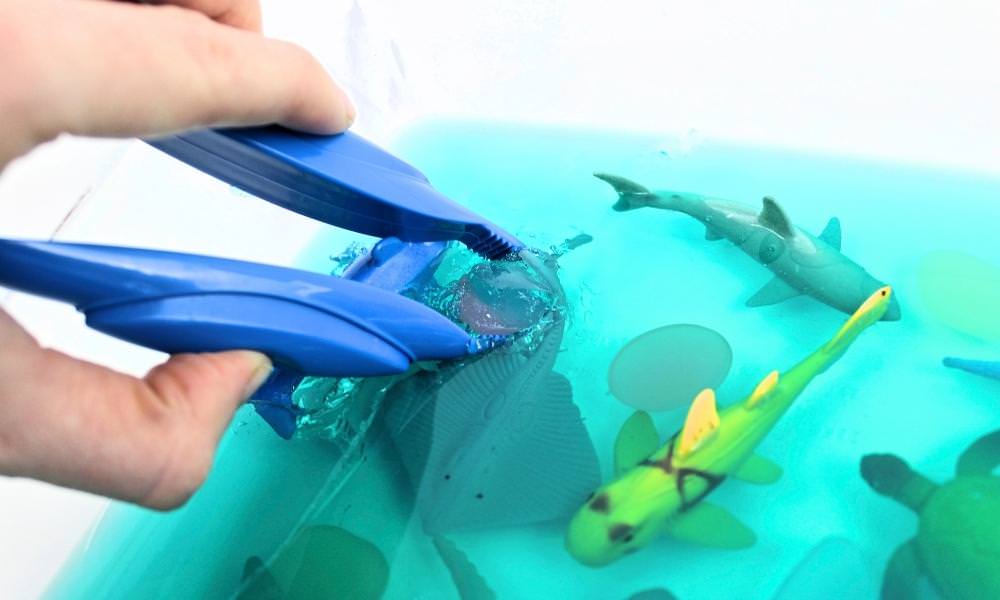
I gave my children large tweezers with which to grab the sea animals because I wanted to sneak in some extra fine motor skill and hand strengthening exercises.
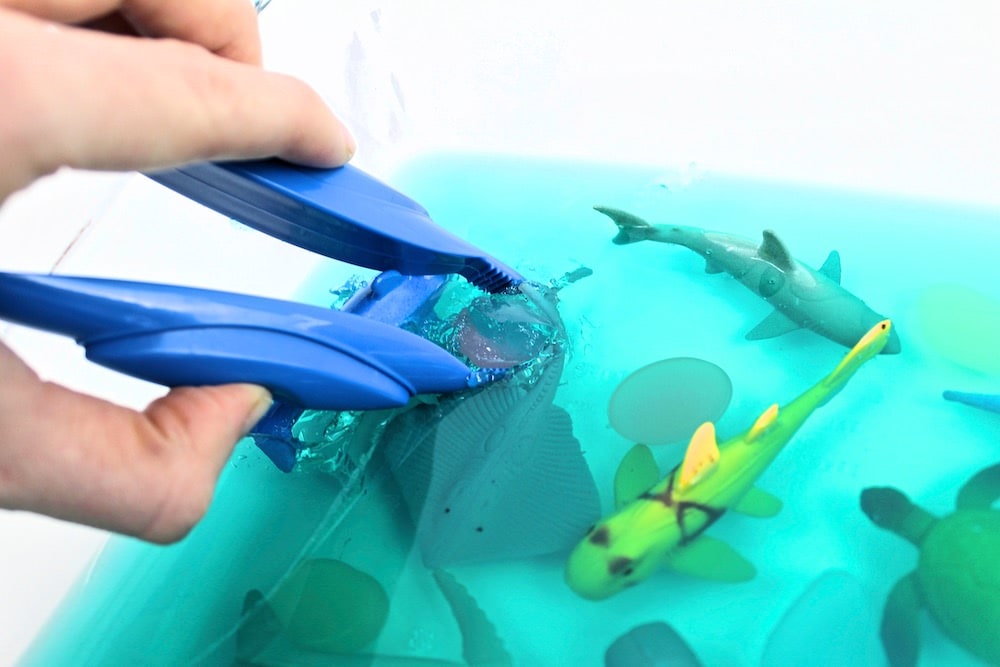
My four-year-old was up to the challenge, but my two-year-old had a little trouble with the tweezers and eventually started to dig into the Jell-O with her hands—which, of course, was totally fine!
This activity was a HUGE hit for both of them though, and my five-year-old was also happy to join in. My one-year-old is the only one who didn’t participate, but only because she was busy eating a snack at the time. I’ll definitely be making this again with larger toys so she can join in on the fun!
(Note: If ever you want to do this activity for your baby but don’t have large enough toys, you can skip the toys and make Sensory Gelatin Cubes instead to reduce the risk of choking.)
Now, I won’t lie—Jell-O digs can get a bit messy, especially if your children are still babies or toddlers.
We tried to keep it contained inside the dish, but some of the gelatin did end up on the table. However, the kids had so much fun that it was totally worth it! And you can always limit the mess by doing this activity on top of a plastic tarp or taking it outdoors, weather permitting.
Even once our little ones had finished digging up all the toys, we were able to extend the play by placing the toys back into the gelatin and digging them up again. So fun!
Related Taste-Safe Sensory Activities
Looking for more taste-safe and edible activities to do with your kids? Check out these articles:
Join my mailing list using the form below to receive 12 of the most popular sensory recipes on my site in PDF format! You’ll be the first to know when I publish new recipes, and you’ll also gain receive to lots of free printable activities for your kids.
Grab our 12 best sensory recipes!
By submitting your email address, you are agreeing to the terms of our Privacy Policy. You can unsubscribe at any time.
Only your name will be made public. Please note that by submitting your comment, you are agreeing to the terms of our Privacy Policy.