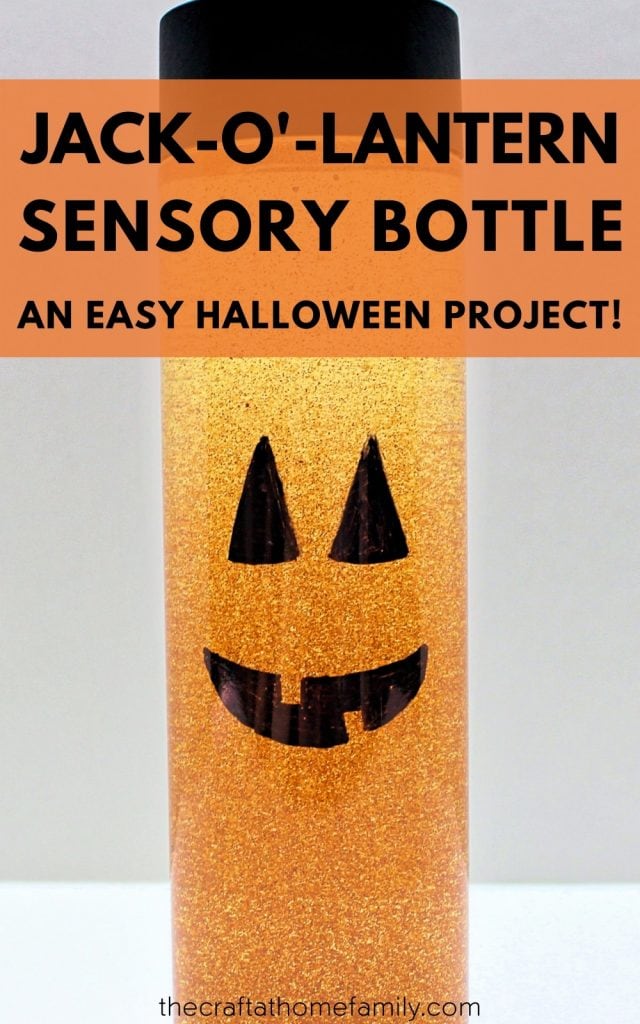
Looking for an easy way to entertain your kids and get them excited for Halloween? This super simple jack-o’-lantern sensory bottle only takes a few minutes to make, but it’s sure to keep even younger kids entertained—and glitter jars are also a great tool for helping children regulate their emotions when they’re feeling upset!
JUMP TO…
It’s almost Halloween, so you can easily guess what kind of activities we’ve been up to!
My husband brought home a large pumpkin the other day, and our kids are completely obsessed with it. We’re planning on carving it, then using the flesh to bake some homemade pumpkin pie. But apparently just having it around is fun enough for the kids, and whenever the pumpkin is left anywhere within reach, they all flock to it like bees to honey.
Since they love pumpkins so much, my kids are also obsessed with this fun Halloween-themed jack-o’-lantern sensory bottle. And I have to admit, I’m a fan of it too. It’s pretty, it’s glittery—and best of all, it only took a few minutes to make!
So if you’re looking for a fun Halloween craft that will keep your kids busy without taking up a lot of your time, this is one that I highly recommend! Older kids can help you make it, but even toddlers and younger kids will enjoy playing with it once it’s done!

Get hundreds of pages of activities!
Get access to all our paid printables, as well as monthly activity planners, for just $5/month. (New printables added twice per month!)
Required Materials
Here’s what you’ll need to make this pretty jack-o’-lantern glitter jar at home:
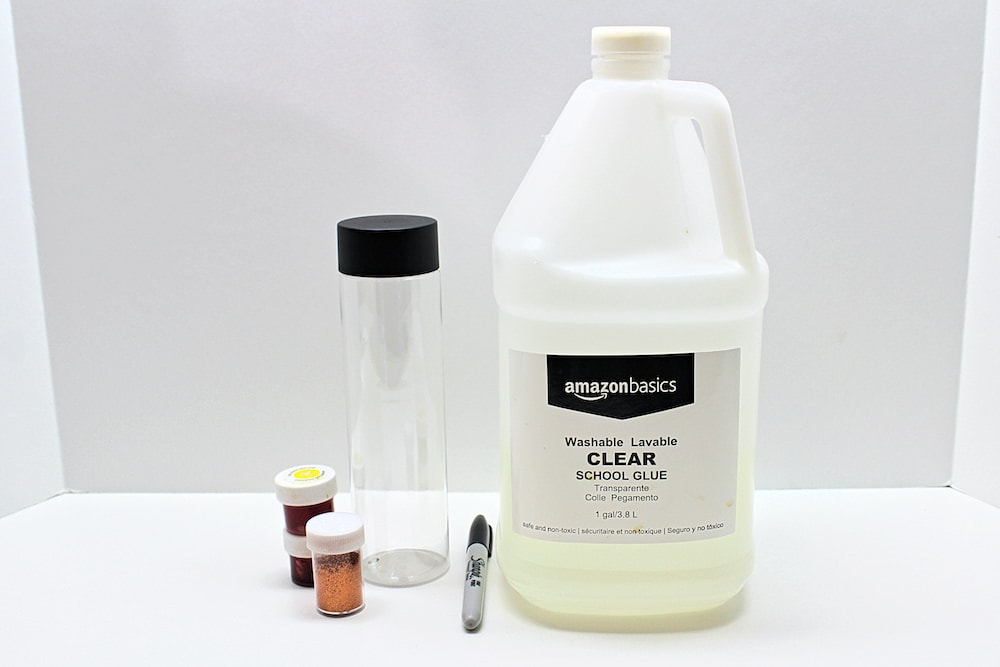
- Empty bottle
- Clear glue (we buy ours in bulk and use it to make slime and sensory bottles)
- Water
- Orange food coloring (or a combination of red and yellow)
- Orange glitter (I like to use a mixture of fine glitter and chunky glitter)
- Black permanent marker
The bottle you use can be made of plastic or glass, but I highly recommend sticking with plastic if you have young kids who might drop it. You can use anything you have lying around, but I personally love these ones and use them for all my sensory bottles.
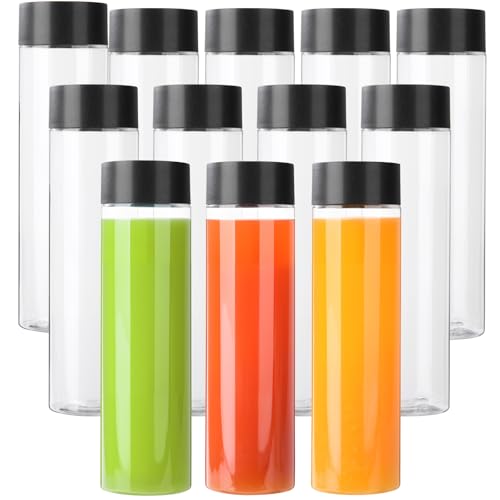
- Package included: 12 Pack 13.6 oz (400ml) plastic juice PET bottles with black lids
- Bottom Diameter x Height: 2.16 inch x 8.07 inch (5.5 cm x 20.5 cm). Opening size: (1.33”)3.4 cm
Grab our 12 best sensory recipes!

By submitting your email address, you are agreeing to the terms of our Privacy Policy. You can unsubscribe at any time.
How to Make a Halloween Sensory Bottle (Step-by-Step)
1. Pour Glue into Bottle
Start by pouring some clear glue into the bottle. I filled it up about one third, but you can use whatever proportions you’re comfortable with.
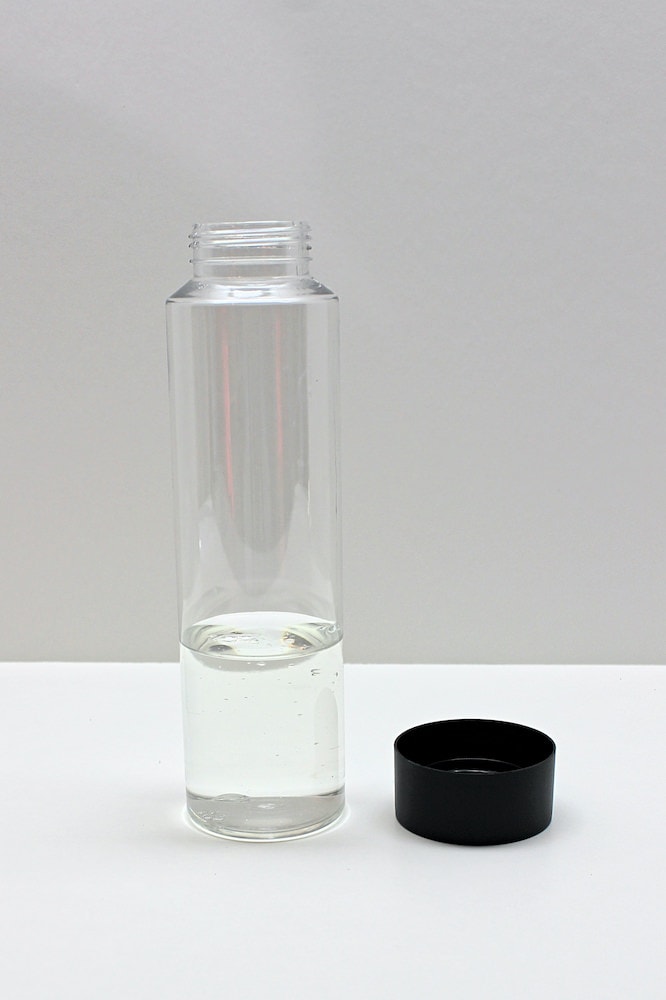
The more glue you add, the longer the glitter will stay suspended; the less you add, the faster it will sink to the bottom. If ever you finish making your bottle and you’re not happy with how it flows, simply dump out some of the contents and add more glue or water, according to your preference.
2. Add Water
Once you’ve poured the glue, add enough warm water to mostly fill your bottle. Don’t fill it all the way or you’ll have a harder time getting the ingredients to combine.
3. Shake to Mix
Shake the bottle vigorously to combine the water and glue. Note that it’s perfectly normal for bubbles to form as you shake the contents together, and that they’ll disappear on their own after if you let the bottle rest for a while.
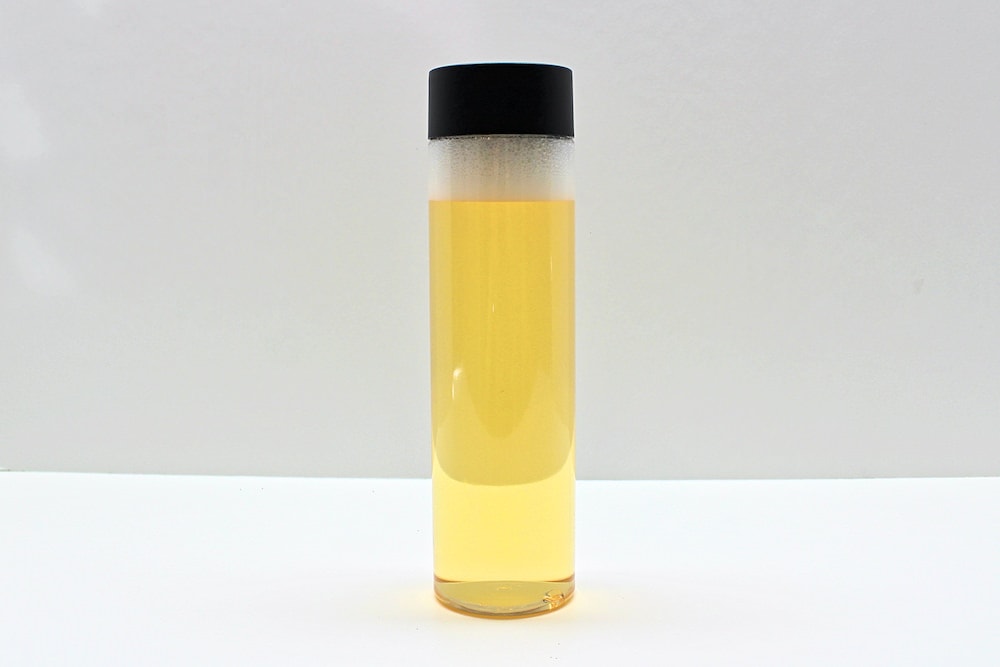
4. Add Food Coloring
Add enough food coloring to give the mixture a light orange tint. Be sure to only add a little at a time—you’ll want the color to stay nice and light in order to create a good contrast with the glitter!
I didn’t have any orange food coloring, so I used a combination of yellow and red icing gel, making sure to only add a tiny bit at a time using a toothpick.
Note: If ever you happen to add too much, simply dump out some of the liquid and replace it with more water and clear glue. It’s easier to do it at this stage than after you’ve added the glitter.
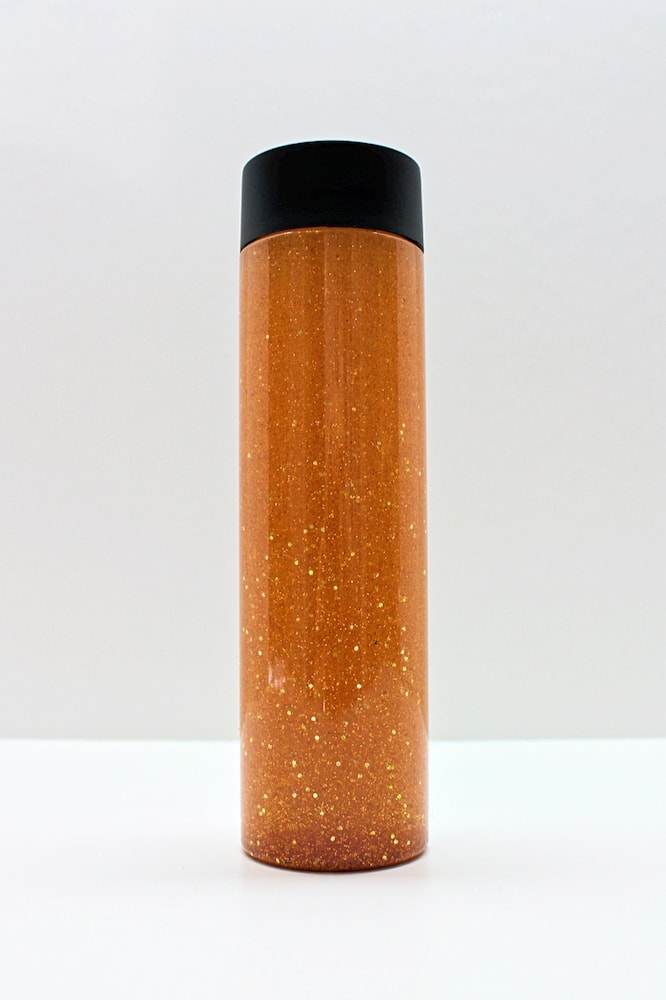
5. Add Glitter
Pour in some orange glitter! I like to use a combination of fine glitter and chunky glitter in similar colors; they fall at different speeds and make the bottle more interesting to look at. My chunky glitter set didn’t include orange, so I replaced it with gold.
You don’t need to add much glitter. I probably added about a teaspoon in total. If you’re not sure whether you’ve added enough, start with a little bit and shake the bottle to see how it looks before deciding whether to add more.
6. Fill & Seal Bottle
Once you’re happy with the amount of glitter, finish filling up the bottle with water and secure the lid. I don’t usually bother to glue the lid on because my kids have never tried to open the bottles, but if you’re afraid your child will, feel free to do so!
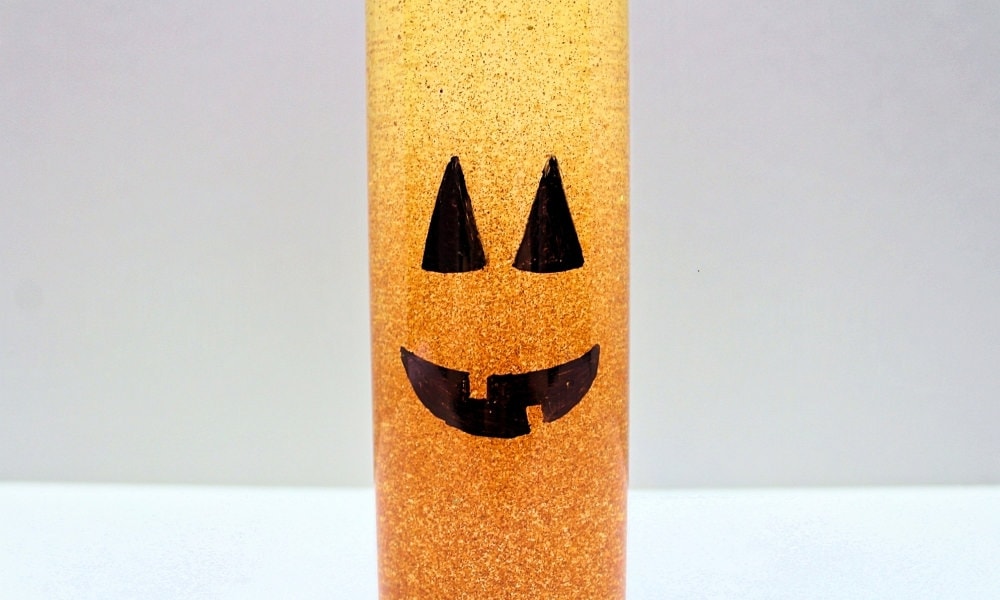
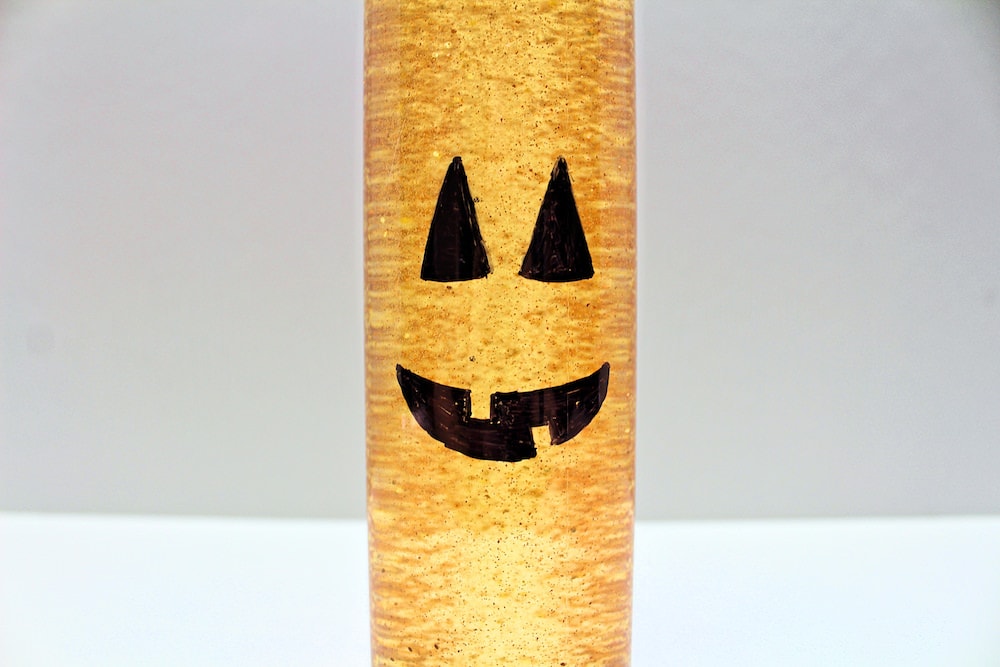
7. Draw Jack-o’-Lantern Face
The last step is to add the face! We simply drew it on using a black permanent marker. If you’re not sure what to draw and looking for inspiration, check out this free printable pumpkin carving template!
Tip: Did you know you can erase permanent marker using alcohol? If you’re not happy with how your jack-o’-lantern looks the first time around, simply wipe off the face using an alcohol wipe or a paper towel soaked in isopropyl alcohol!
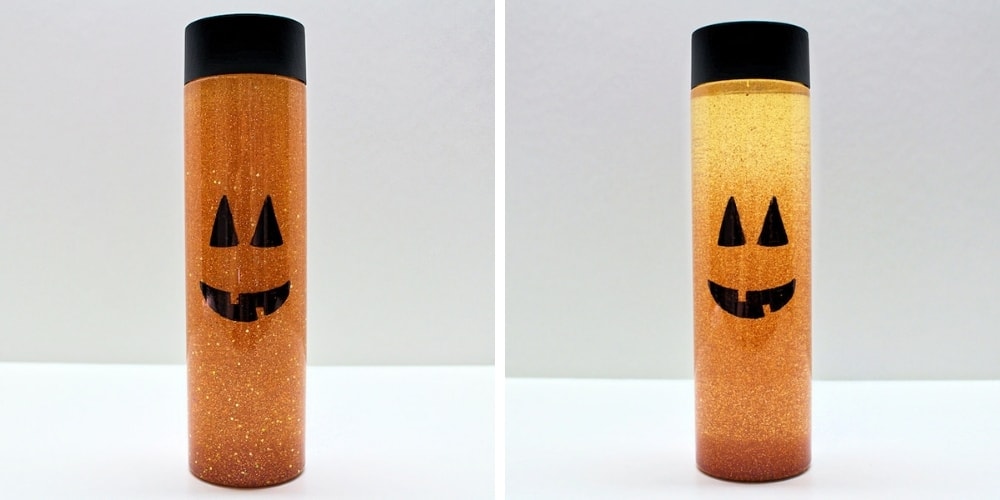
Once you’re happy with how the face looks, you’re all done! Give the bottle to your child and let them play! Every time they shake the bottle, the glitter will swirl all over the place. Then, it will slowly sink to the bottom, revealing the lighter color of the liquid.
Glitter jars (or calm-down jars) are pretty mesmerizing to look at, and watching the glitter settle can be very calming for children who are upset. We love them so much that we have an entire shelf filled with them!
And if you’re looking to make more of them, you’ll definitely want to check out our ultimate guide on DIY sensory bottles.
Related Sensory Bottle Articles
Do you love sensory bottles as much as we do? Check out these articles:
- Musical Pom-Pom Sensory Bottle
- Starry Night Sensory Bottle (with Glow-in-the-Dark Stars!)
- Simple Snowflake Sensory Bottle
- Santa Claus Sensory Bottle
- Replacing Glitter Glue: A Sensory Bottle Experiment
Join my mailing list using the form below to receive 12 of the most popular sensory recipes on my site in PDF format! You’ll be the first to know when I publish new recipes, and you’ll also gain receive to lots of free printable activities for your kids.
Grab our 12 best sensory recipes!
By submitting your email address, you are agreeing to the terms of our Privacy Policy. You can unsubscribe at any time.
Only your name will be made public. Please note that by submitting your comment, you are agreeing to the terms of our Privacy Policy.