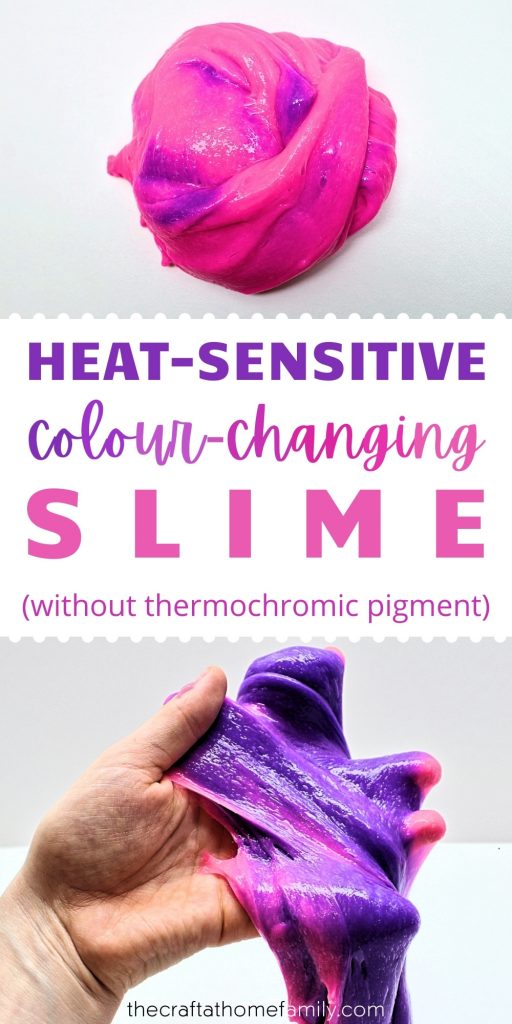
Love making slime at home? This cool contact lens solution slime is made with a secret ingredient that causes it to change colors when it’s exposed to body heat—without the need for expensive thermochromic pigment!
JUMP TO…
Ever since I came across this article on color-changing slime, I’ve been meaning to try making it for my four-year-old. She loves to play with slime while her younger siblings are napping, and this seemed like such a cool variation on what we usually make!
Unfortunately, when I looked into buying thermochromic (or thermochromatic) pigment, all the options I found were so expensive that I couldn’t talk myself into buying it.
It may have been a question of bad timing, or perhaps that particular product just isn’t widely available where I live. But I simply couldn’t bring myself to spend such a large amount of money on something that would end up in the garbage after just a few weeks (or days) of play!
That’s why I was so thrilled when Elmer’s came out with a brand-new type of glue that has thermochromic pigment already built in—for a fraction of the cost!

I immediately purchased both color combinations, and the resulting slime was a huge hit. So read on to find out just how easy it is to make this DIY color-changing slime at home!
Note: This slime is not taste-safe. If your children are still young, you may want to try Psyllium Husk Slime or Edible Marshmallow Slime instead!
Grab our 12 best sensory recipes!

By submitting your email address, you are agreeing to the terms of our Privacy Policy. You can unsubscribe at any time.
About Color-Changing Glue
Elmer’s currently offers two types of color-changing glue, so make sure you buy the right one if you want this project to work! (They’re both great, and I love the fact that both are washable and non-toxic.)
Sun-Activated Color-Changing Glue
One type of Elmer’s glue changes colors when it’s exposed to sunlight. It won’t work for this recipe, but you can use it to make sun-activated color-changing slime or even cool color-changing window clings (click below for more details)!
- Related article: Magic Color-Changing Fall Leaves (with Free Printable!)
- Related article: Color-Changing Snowflake Window Clings (with Free Printable!)
Keep an eye out for the words “just add sunlight” on the bottle. This type of glue currently comes in two color combinations: yellow/red and blue/purple.
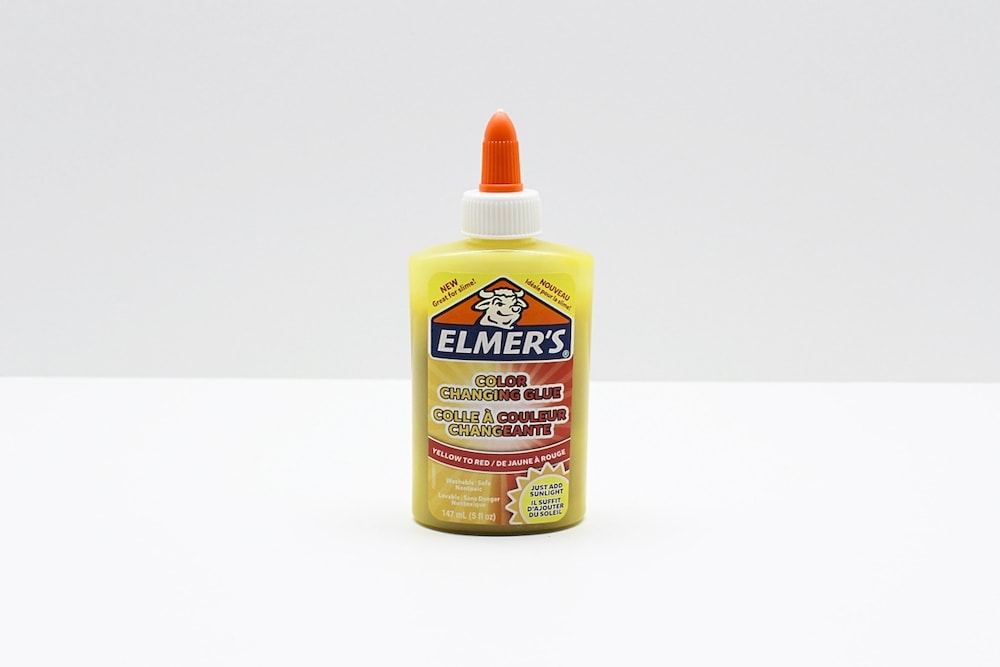
Heat-Activated Color-Changing Glue
The other type of Elmer’s color-changing glue changes colors when it’s exposed to heat. This is the kind of glue you’ll want to buy for this recipe. You’ll know you’ve found it if you see the words “changes color as you play” on the bottle!
At the moment, this type of glue also comes in two color combinations: purple/pink and dark green/light green.
Required Ingredients
Here’s what you’ll need to make your very own color-changing slime at home—without the need for expensive thermochromic pigment:
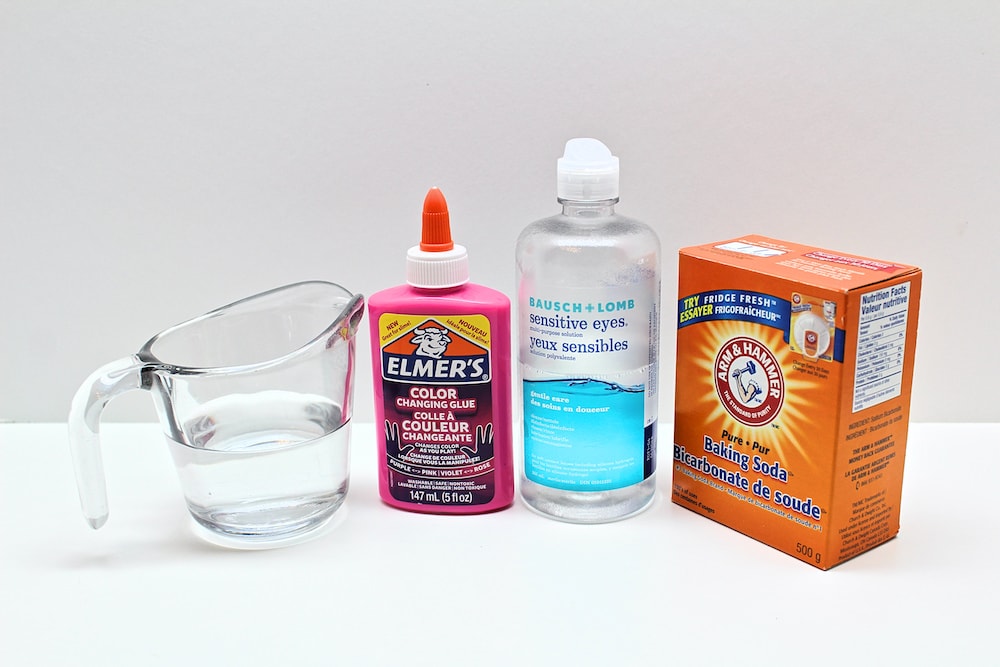
- Elmer’s color-changing glue (see above notes)
- Water
- Baking soda
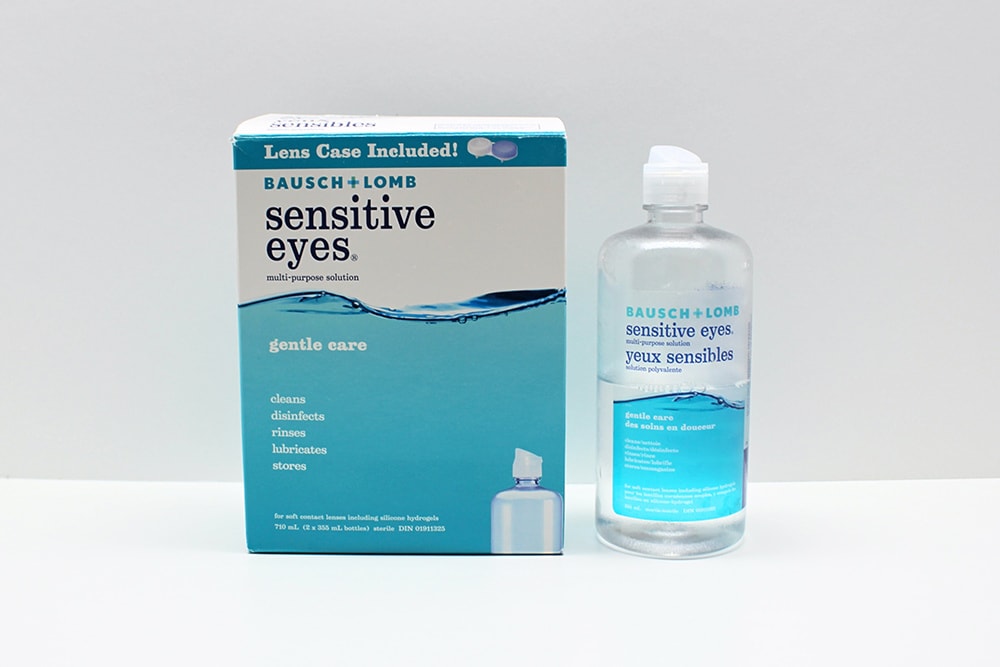
- Contact lens solution
Note: The contact lens solution you use must list “boric acid” and “sodium borate” as ingredients in order for the chemical reaction to occur. We bought ours at Walmart and carefully compared ingredients and prices before choosing the brand pictured below.
Alternatively, you could follow a recipe that calls for Liquid Starch and simply swap out the glue for the type mentioned in this recipe. Though personally, I prefer to use contact lens solution as a slime activator because it’s more widely available and less harsh on the skin!
Grab our 12 best sensory recipes!
By submitting your email address, you are agreeing to the terms of our Privacy Policy. You can unsubscribe at any time.
How to Make Heat-Sensitive Color-Changing Slime (Step-by-Step)
1. Pour Glue into Bowl
Start by emptying an entire 5-oz container of Elmer’s color-changing glue into a small mixing bowl.
2. Add Water
Add ¼ to ½ cup of water and stir to combine. The more water you add, the stretchier your slime will be—we added a full ½ cup. The water and glue didn’t combine perfectly (possibly because the water we used wasn’t warm enough), but the slime still turned out fine.
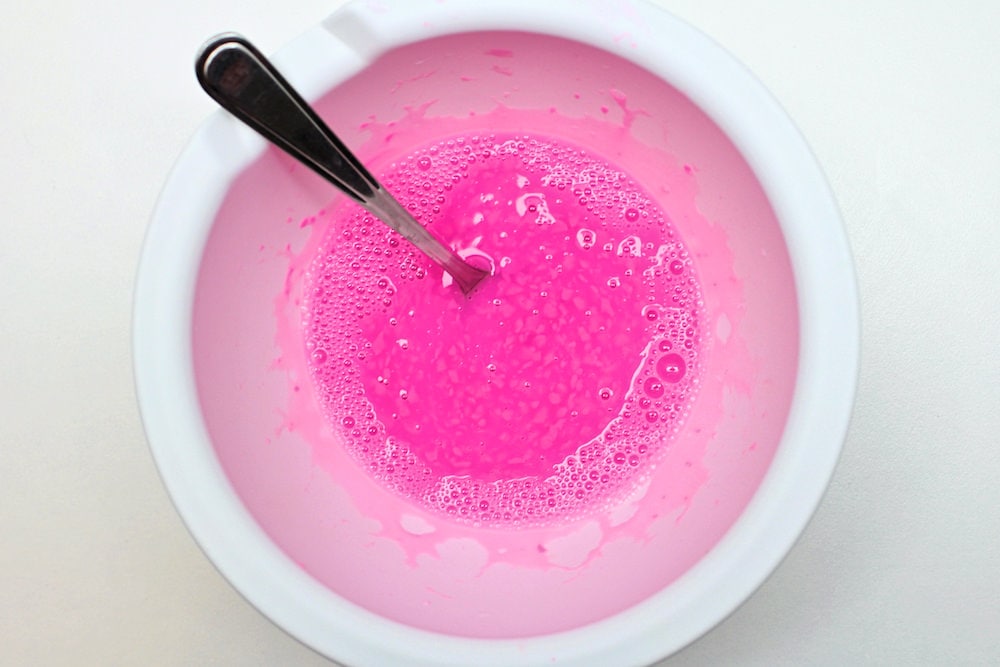
3. Add Baking Soda
Mix in ½ teaspoon of baking soda.
4. Add Contact Lens Solution
It’s time to add the slime activator! Start with 1 tablespoon of contact lens solution and stir until well combined.
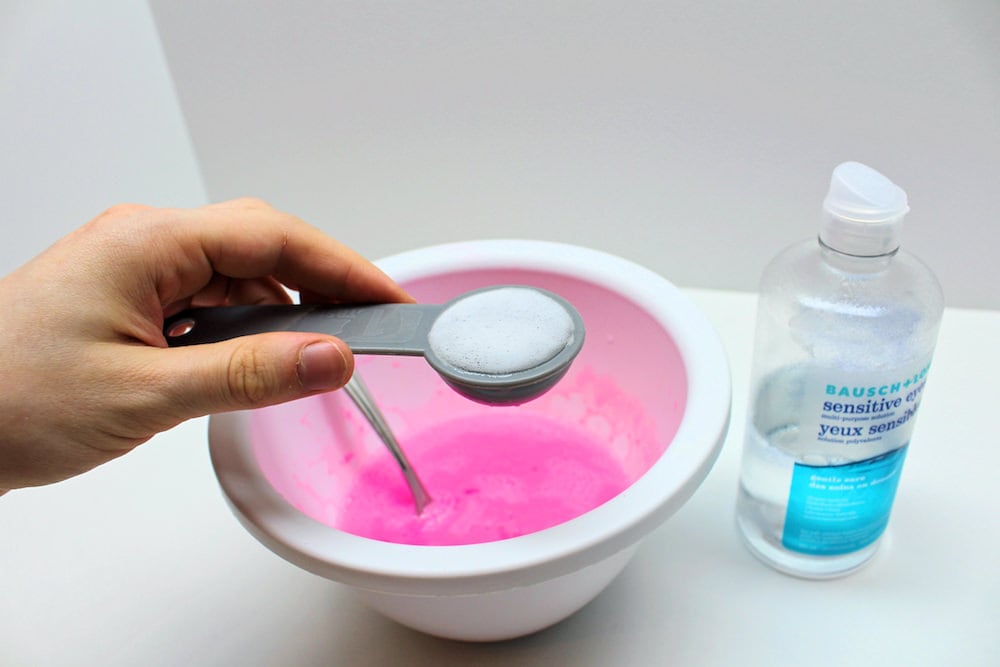
You may notice the mixture starting to solidify a little, but 1 tablespoon likely won’t be enough to fully activate your slime. You’ll probably end up needing somewhere between 1 tablespoon and 1 ½ tablespoons.
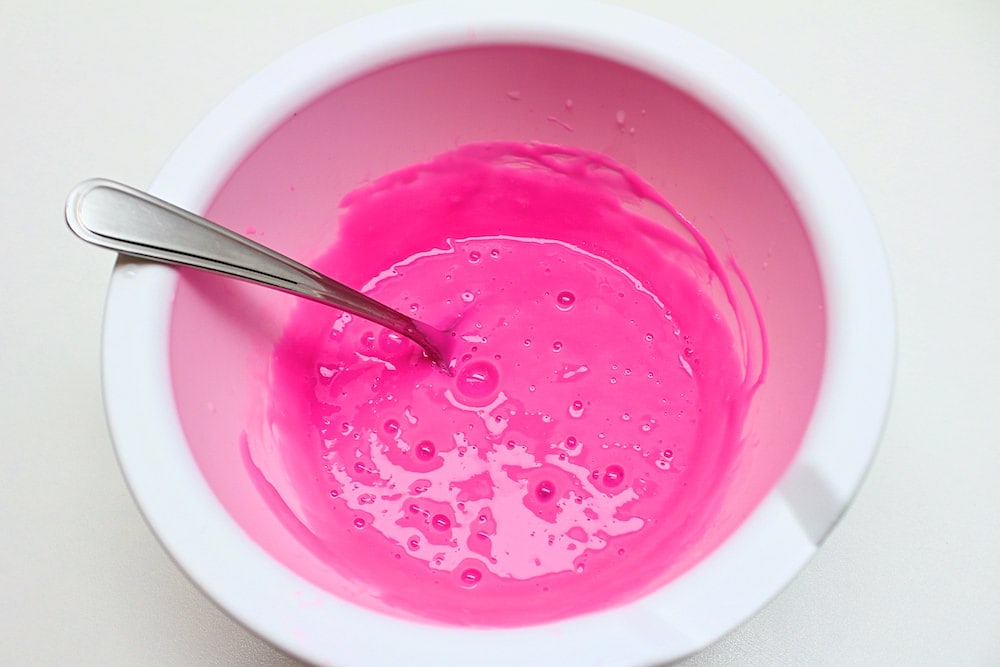
Once I’ve added the initial tablespoon, I usually add one small squirt at a time, mixing well between each addition. Don’t add too much at a time or your slime will become rubbery! (You can fix this by adding warm water and gently working it in with your hands, but it’s much simpler to prevent this issue altogether by adding the activator slowly.)
I usually stop adding contact lens solution when the mixture stops behaving like a liquid and starts sticking to the sides of the bowl, as pictured below.
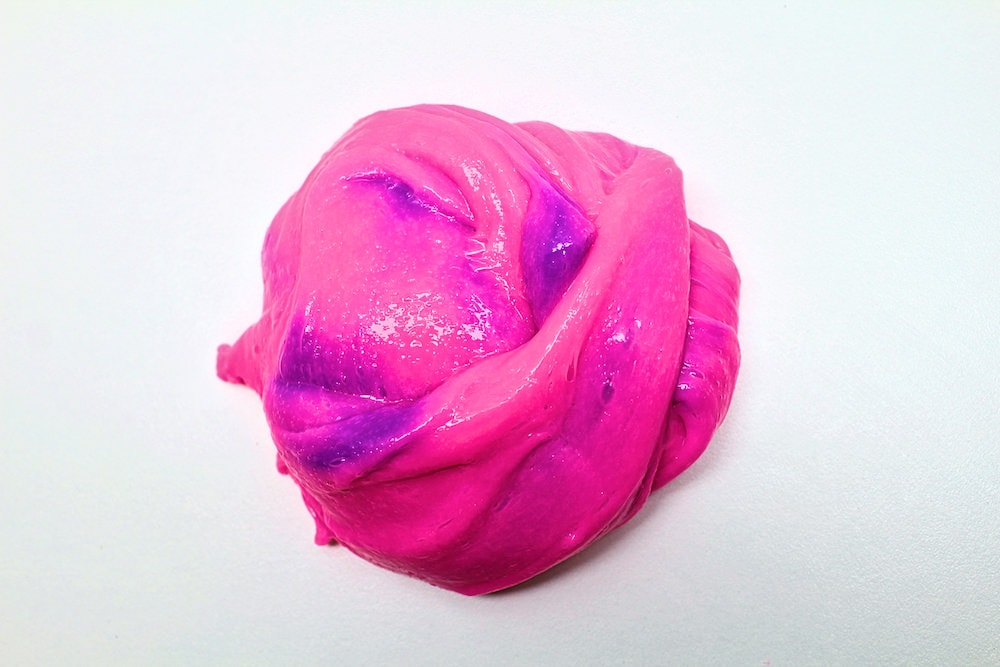
5. Knead Slime
Once you’ve added enough activator, it’s time to knead! The slime might be very sticky initially, but the more you knead the slime, the less sticky it should become. Don’t be surprised if it takes a lot of kneading!
Note: If you like to wear rings, please remove them before kneading the slime. I forgot to remove my wedding ring a few times while making slime with my four-year-old, and some of the mixture found its way into a crevice on the underside of the ring and caused a rash on my finger. I had to soak the ring in isopropyl alcohol before I could start wearing it again, and it took quite a while for the rash to fully disappear.
If ever your slime is simply too sticky to knead, you can always add a little bit of extra contact lens solution to your hands to make things easier. Once the slime stops sticking to your hands, it’s ready to play with!
How to Play with Heat-Sensitive Color-Changing Slime
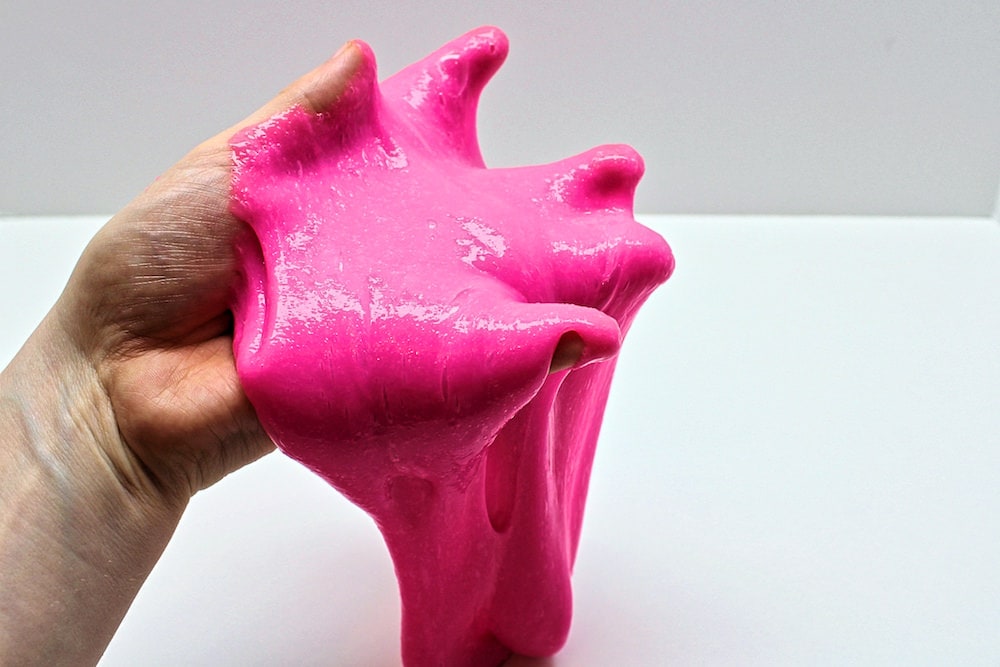
The reason this slime is so cool is that it changes colors when it’s exposed to heat—including body heat. This means that it will actually change colors while your child plays with it as the warmth from their hands changes the temperature of the slime!
But what do you do if the ambient temperature is already high enough to trigger the color change?
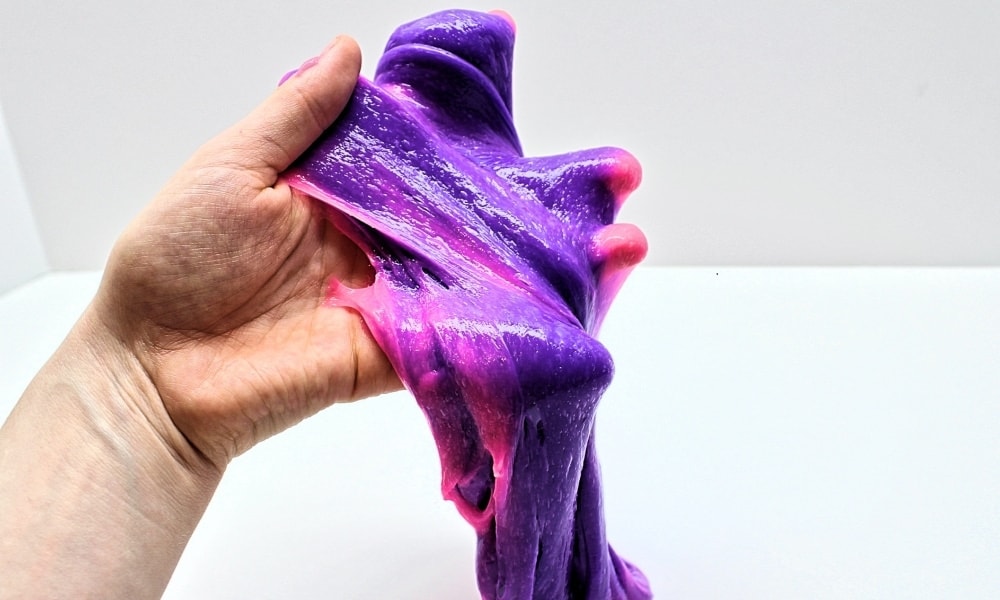
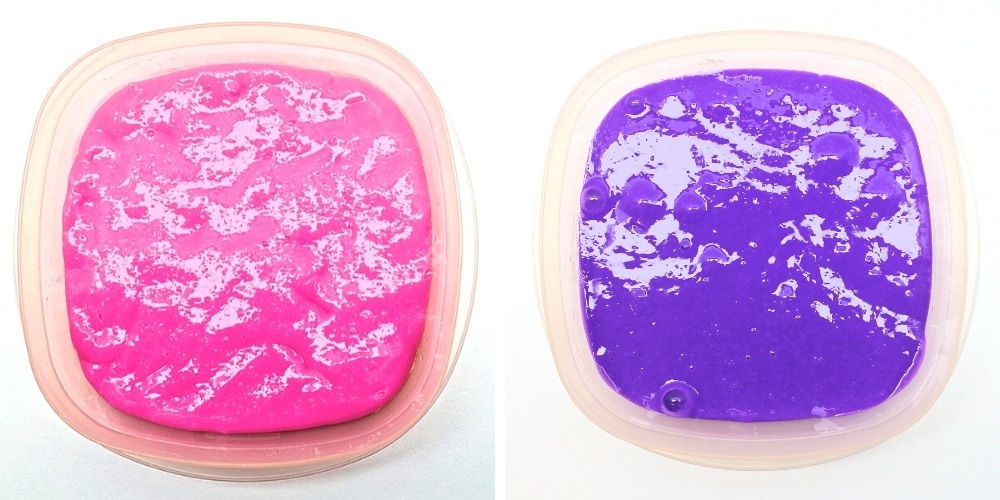
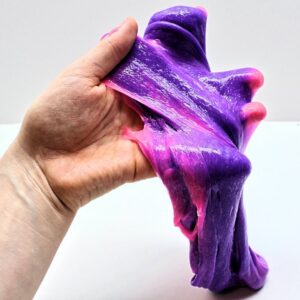
We chose to use the purple-to-pink glue, which is ordinarily purple, but turns pink when it’s exposed to heat. And sure enough, when it was kept at room temperature, it stayed pink, which meant that manipulating it with warm hands didn’t bring about any changes.
Thankfully, there’s a very simple solution: just store your slime in the fridge when it’s not in use!
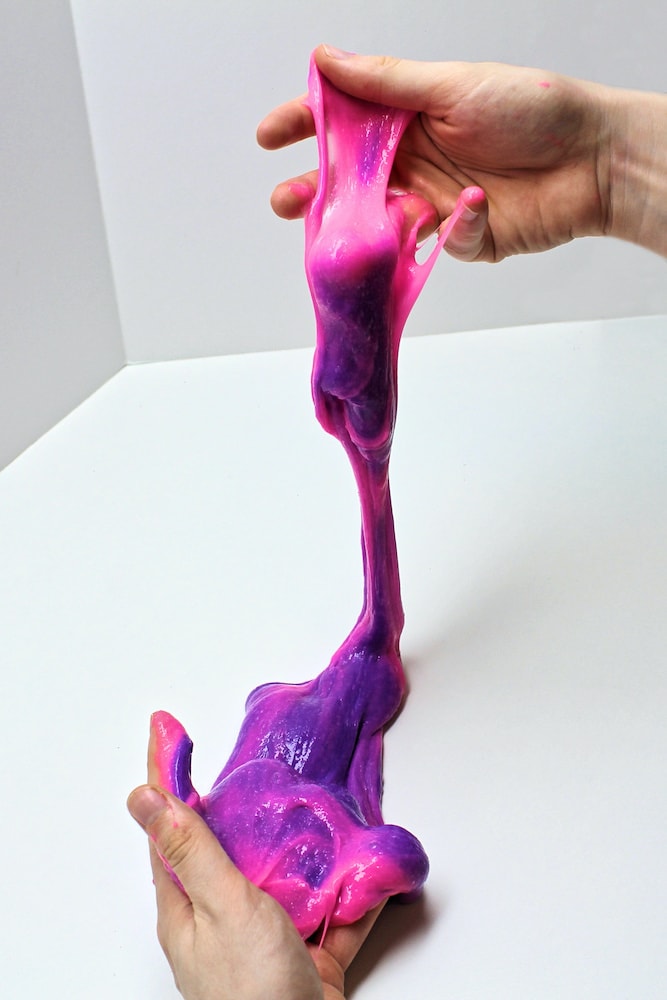
At room temperature, our slime remained pink. But this is what happened when it was placed in the fridge for a little while:
So in order to take full advantage of the slime’s color-changing capabilities, all you need to do is simply place it in the fridge in a sealed container when not in use, and take it out when your child is ready to play with it. The warmth of their hands will take care of the rest!
Once the color transformation is complete, you can even extend the fun by placing cold objects on your slime (for instance, a spoon that has been kept in the freezer) and watching as they leave a darker imprint by bringing the temperature of the slime back down!
Note: Slime that has been stored in the fridge is a little stiffer than normal, but it quickly becomes stretchy again when it’s played with. For best results, store it in the fridge when not in use, but leave it out at room temperature for about 10 minutes before your child starts playing with it.
Heat-Sensitive Color-Changing Slime
Ingredients
- 1 bottle (5 oz) Elmer's heat-sensitive color-changing glue
- ½ cup water
- ½ tsp baking soda
- 1 ½ tbsp contact lens solution
Instructions
- Combine the glue and water in a small bowl.
- Stir in baking soda.
- Add 1 tablespoon of contact lens solution and stir with a spoon. Slowly add the rest of the contact lens solution, mixing well and making sure to stop before the slime gets too rubbery.
- Remove the slime from the bowl and knead it with your hands. It will start out sticky, but the more you knead it, the less sticky it will feel.
- When the slime no longer feels sticky, it's time to play! To make the color changes more pronounced, explore various temperature changes by storing the slime in the refrigerator and warming it up with your hands, or by cooling down room-temperature slime using an ice cube.
Notes
Related Slime Articles
Can’t get enough of homemade slime? Check out this cool recipe that also uses contact lens solution:
Join my mailing list using the form below to receive 12 of the most popular sensory recipes on my site in PDF format! You’ll be the first to know when I publish new recipes, and you’ll also gain receive to lots of free printable activities for your kids.
Grab our 12 best sensory recipes!
By submitting your email address, you are agreeing to the terms of our Privacy Policy. You can unsubscribe at any time.
Only your name will be made public. Please note that by submitting your comment, you are agreeing to the terms of our Privacy Policy.