Looking for a fun and easy Halloween craft to try with your kids? This spooky Halloween sponge painting craft is perfect for toddlers, preschoolers and older kids—and it includes a set of free printable Halloween templates that you can download and print out at home!
JUMP TO…
It’s officially the time of year to start making spooky crafts and decorations for your house—who else is excited?!
I’ve been working on lots of new craft and templates for you to use this Halloween, but I thought I’d start us off with a craft idea that is easy enough for toddlers and preschoolers to help with.
This easy Halloween painting activity requires very few supplies, but the end result is so cute. The printable template includes a jack-o’-lantern, a ghost and a skull, but you can also try creating your own—I can picture a candy corn shape working great for this project!
Our kids can’t wait to start making DIY Halloween crafts and decorations for our home, and this easy craft was a great place to start.
Also, while it’s appropriate for younger kids, our kindergarten and 1st grade kiddos had a blast with it… and I’m sure older kids would, too!
Related: DIY Glow-in-the-Dark Halloween Window Clings
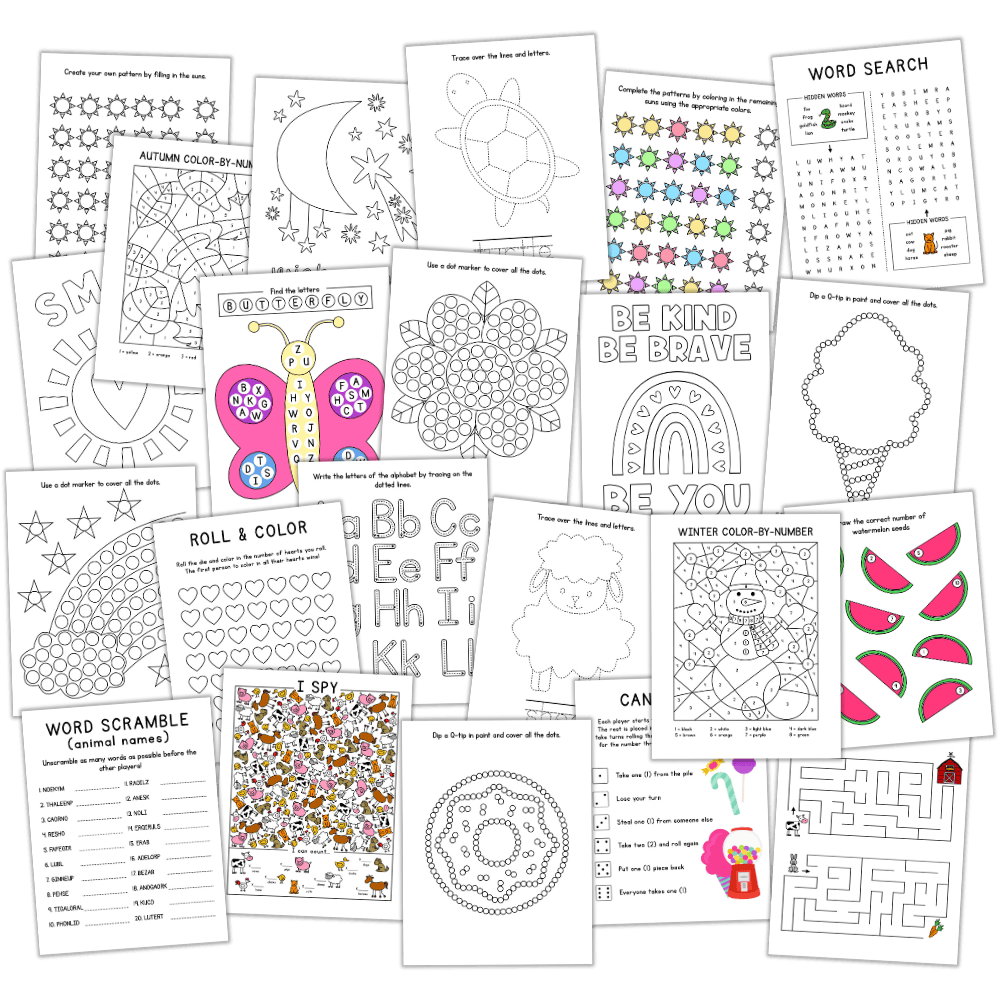
GRAB OUR FREE 30-PAGE ACTIVITY BUNDLE!
By submitting your email address, you are agreeing to the terms of our Privacy Policy. You can unsubscribe at any time.
Required Materials
Here’s what you’ll need to do some sponge painting with your kids this Halloween:
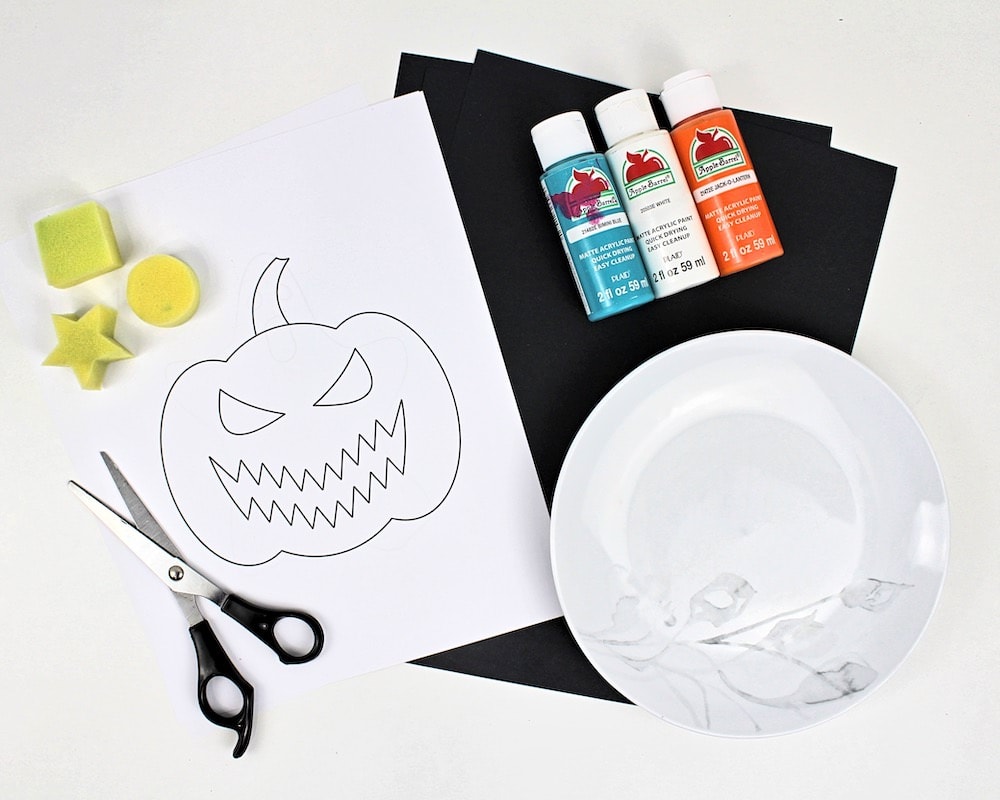
- Black construction paper
- My free Halloween templates, which you can download using the form below (there’s another form at the bottom of the article if you’d rather keep reading)
- Scissors
- Acrylic paint or washable kids’ paint in orange, green, white and blue
- Paint palette or ceramic plate
- Sponge (ours were bought at the dollar store)
Note: The sponges we used were pre-cut into various shapes, but if ever yours are not, feel free to cut them down to size to make them more manageable to paint with. The shape doesn’t really matter as long as the sponge is small enough for little hands to hold.
How to Do Halloween Sponge Painting (Step-by-Step)
1. Print Template
Start by printing the templates on US Letter-sized paper (8.5 x 11 inches).
I used all three templates for this article, but feel free to choose whichever one you prefer. The ghost is the most difficult due to the size of its facial features, so I recommend sticking with the pumpkin or skull if you’re crafting with young kids.
2. Cut Template
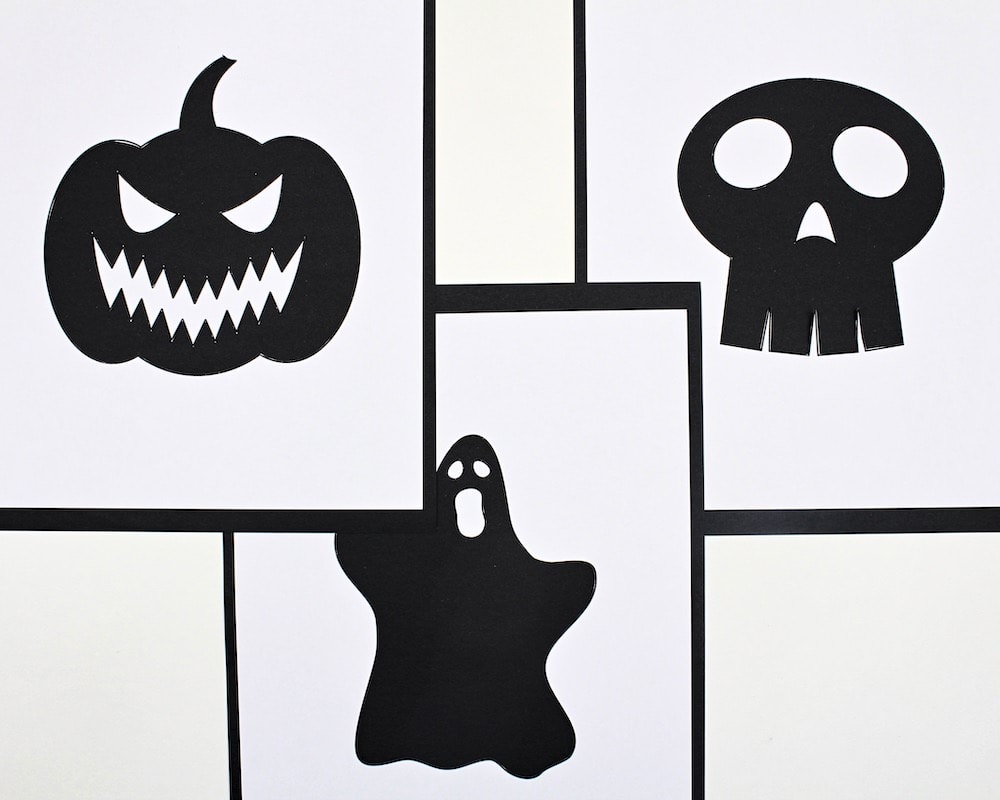
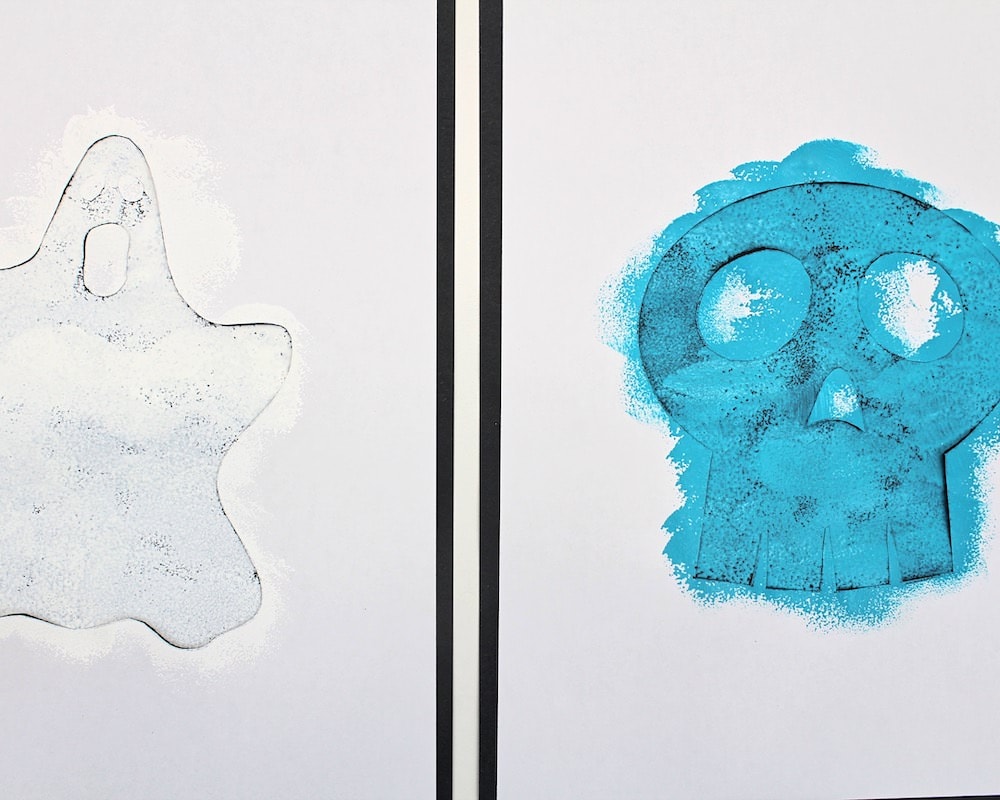
For the next step, grab a pair of scissors and cut out the template designs. You can discard the inside of the pumpkin, ghost and skull shapes, but make sure to keep the eyes, nose and mouth intact.
The picture below shows which parts of the template you should keep. The white template has been placed on top of black construction paper for contrast.
3. Pour Paint Onto Palette
Pour some paint onto a paint palette or small ceramic plate. We used orange and green for the jack-o’-lantern, white for the ghost and blue for the skull.
4. Paint Halloween Shapes
Place each template on a sheet of black construction paper and hold the different parts of the template in place as you dab the sponge into the paint, then onto the construction paper to create a colorful design.

The process is pretty simple, but since there are multiple pieces to hold in place, you may want to encourage your kids to help each other with this step (or offer to help yourself if you are making this craft with one child).
The facial features of the ghost were particularly difficult to hold in place because of how small they were, but once we started holding it in place with a pencil instead of with our fingers, it became much more manageable.
Regardless of size, all the facial features had a tendency to stay in place once there was enough paint around them.
Note: You may be able to keep the larger template pieces in place using rolled-up painter’s tape, but I can’t say with 100% certainty because I haven’t personally tried it. If you do try it, I’d love it if you could leave a comment and let me know how it went!
5. Let Paint Dry
Let the designs rest undisturbed until the paint has fully dried.
6. Peel Off Template
Once the paint is done drying, it’s time to peel off the template and reveal the sponge-painted shapes!
Simply grab one corner of the template and slowly pull it up so that the black construction paper is revealed.
Be gentle as you do this—sometimes, a small amount of paint that gets under the template will cause it to stick to the paper when it dries, and pulling it off too quickly can cause the paper to tear. But it should be fine as long as you do it slowly.
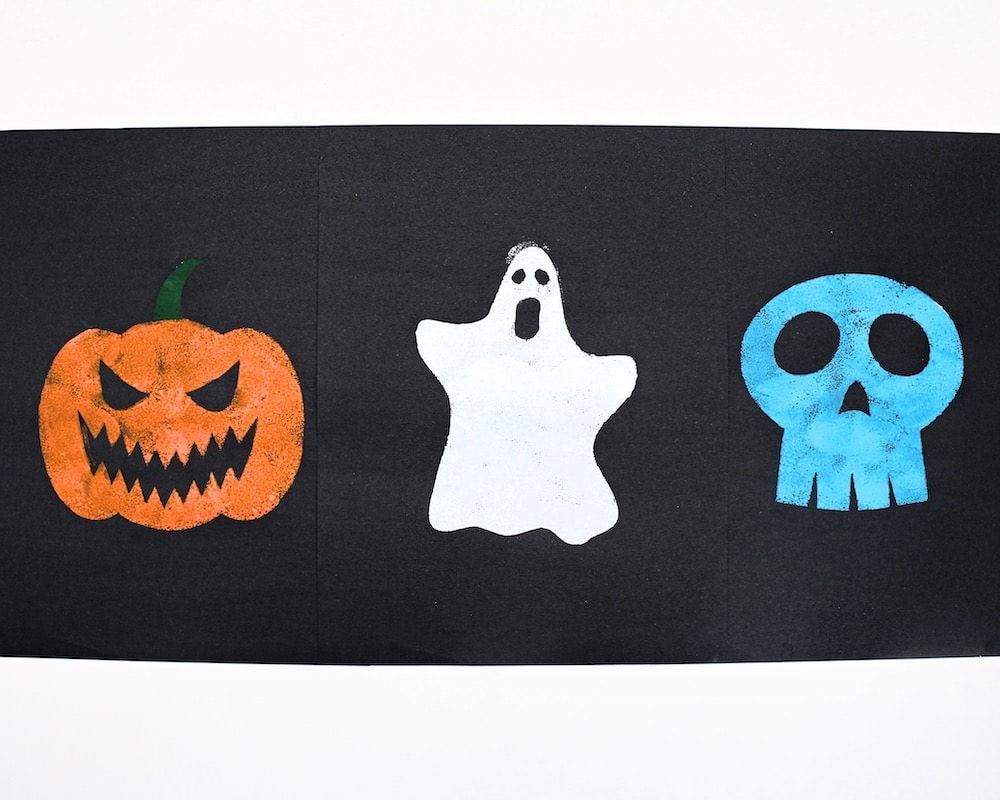
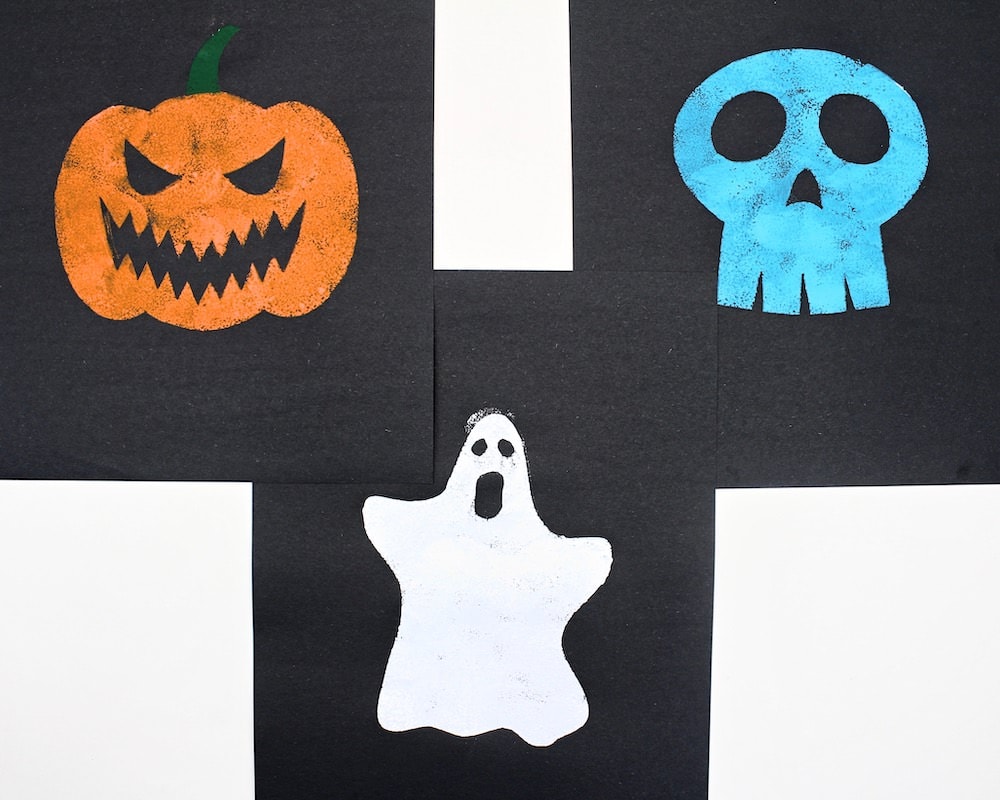
When you have also peeled off the facial features, your sponge painted shapes will be revealed. We just love how they turned out!
Related Halloween Crafts
Love making spooky crafts at home? Check out these articles:
- 7 Cutest Halloween Lollipop Crafts for Kids
- Easy Blow Painted Ghosts
- DIY Glow-in-the-Dark Halloween Window Clings
- Paper Plate Spider Craft for Kids
- Sparkly Spiderweb Window Clings
Only your name will be made public. Please note that by submitting your comment, you are agreeing to the terms of our Privacy Policy.