
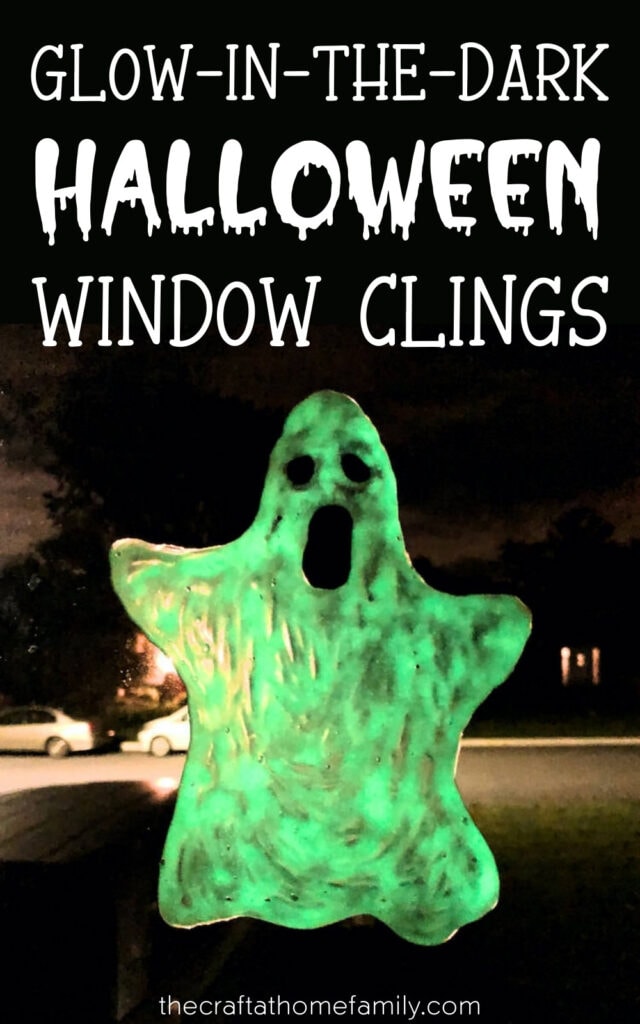
Looking to decorate your house for Halloween? These large DIY window clings shaped like ghosts, jack-o’-lanterns and skulls are the perfect way to dress up your windows—and they even glow in the dark!
JUMP TO…
In case it wasn’t clear by now, I love pretty much any craft that I can hang on or in front of our windows.
There’s just something about having windows covered with cute seasonal designs like colorful butterflies, spooky spiderwebs or frosty snowflakes that I can’t get enough of. Thankfully, the kids love them too!
I also love any project that glows in the dark, and with the spooky season fast approaching, now seemed like the perfect time. So we dug up the glow-in-the-dark puffy paint that we had bought last year and got to work.
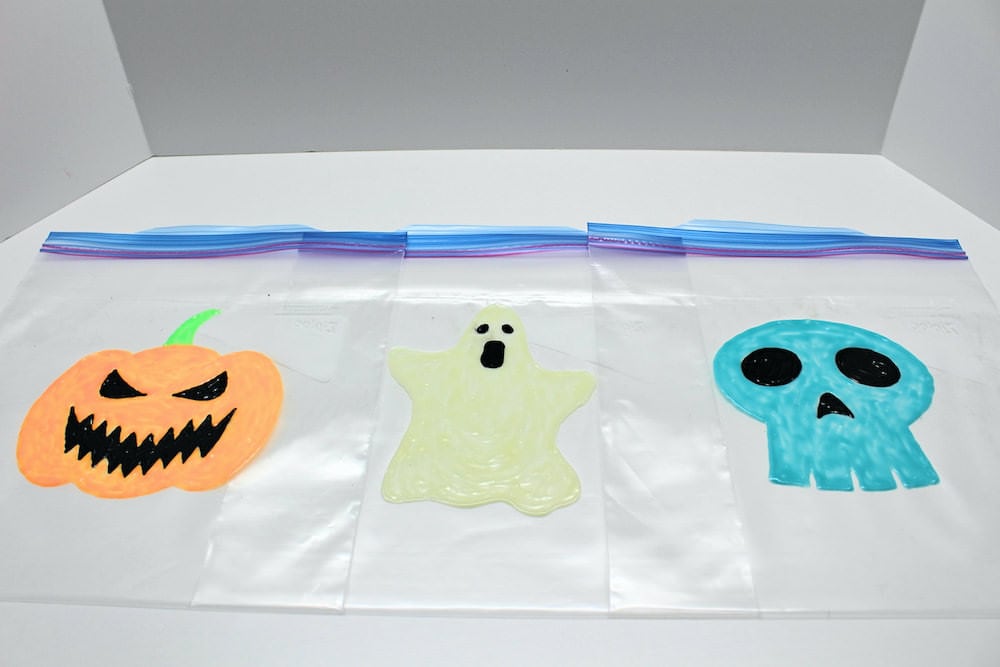
The result was a set of awesome window clings that work great as DIY Halloween decorations!
Making your own window decals to display in your home is actually surprisingly easy. But because I like to make things even easier for you, I also created a free template that you can download and print at home.
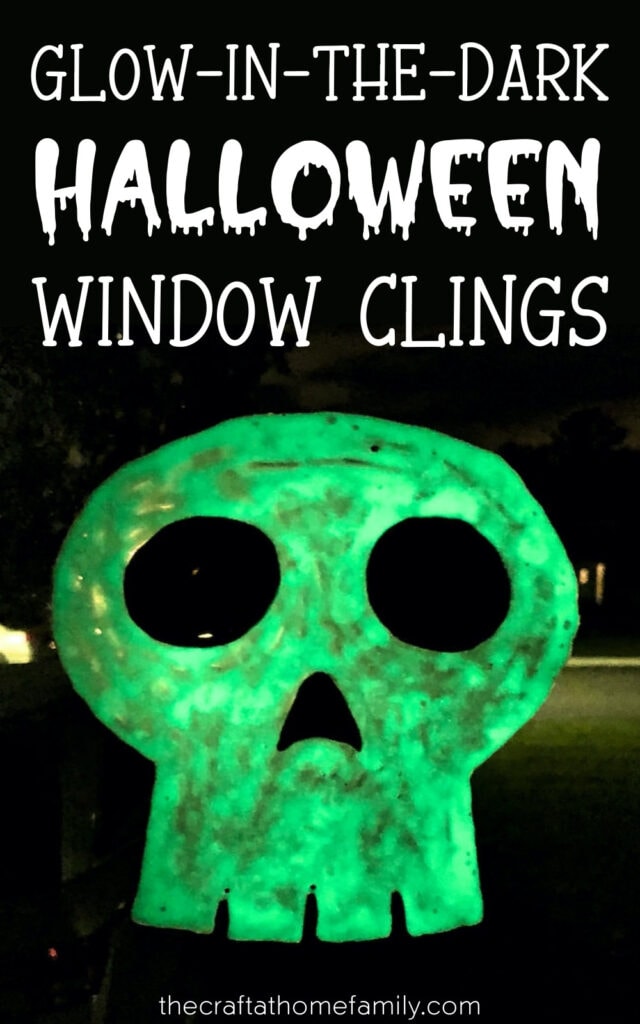
The PDF template includes a large ghost, pumpkin and skull… so feel free to choose your favorite, make all three or even use them for something completely different!

Get hundreds of pages of activities!
Get access to all our paid printables, as well as monthly activity planners, for just $5/month. (New printables added twice per month!)
Required Materials
Here’s what you’ll need to make some spooky glow-in-the-dark window decals to decorate your windows for Halloween:

- My free printable Halloween templates, which you can download using the form below
- Gallon-sized freezer bags (we buy ours at Costco when they go on sale)
- Glow-in-the-dark puffy paint
- Black puffy paint or black dimensional fabric paint (I used dimensional fabric paint, but both can work)
Note: To make window clings that don’t glow in the dark, follow all the same steps, but skip the glow-in-the-dark puffy paint. Instead, simply use regular puffy paint or dimensional fabric paint.
How to Make Glow-in-the-Dark Halloween Window Clings (Step-by-Step)
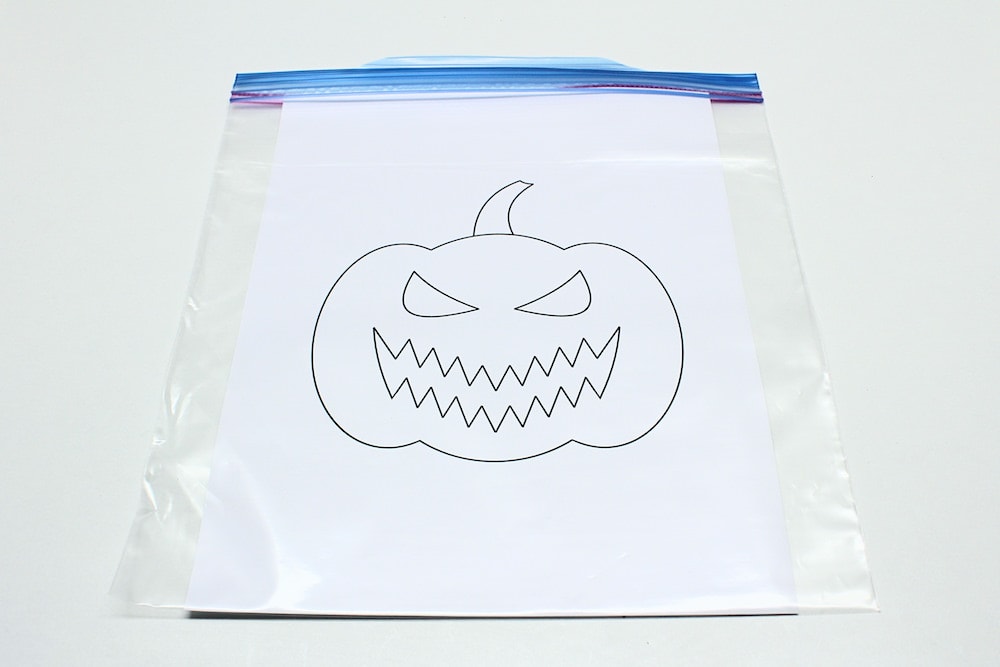
1. Print Template
Start by printing the template on Letter-sized paper. The download includes three separate designs; choose whichever one you prefer, or make all three like we did!
2. Place Template in Bag
Place each of the pages you’ve printed inside a separate gallon-sized freezer bag. You won’t be able to seal the bag, but the template should otherwise fit quite nicely.
3. Trace Facial Features
Grab a bottle of black puffy paint or dimensional fabric paint and use it to cover the facial features of your pumpkin, ghost or skull.

Don’t use glow-in-the-dark paint for this—by using regular paint, you will create a nice contrast between the facial features (which won’t glow) and the rest of the face (which will).
4. Trace Template
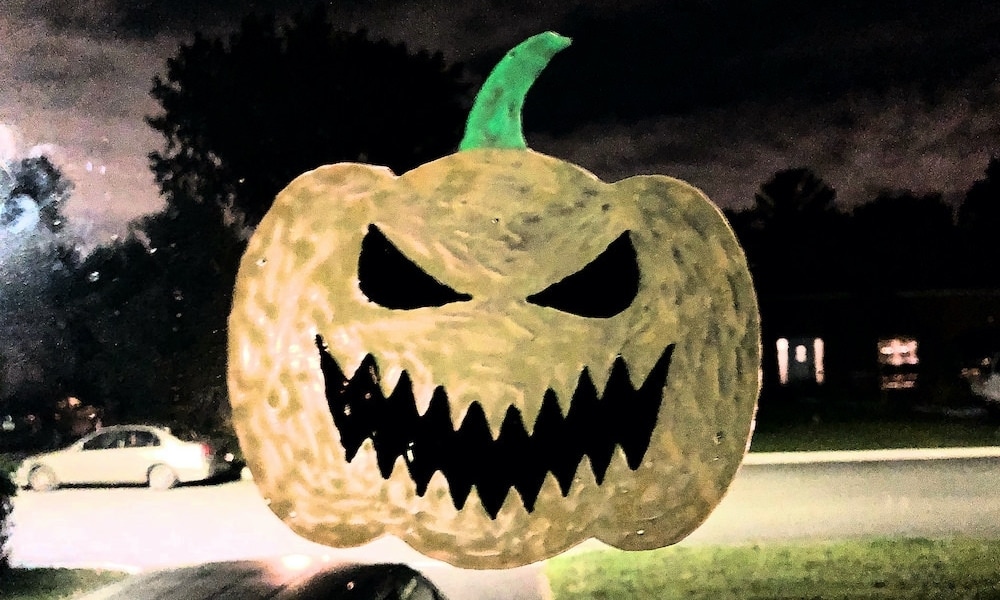
Use glow-in-the-dark puffy paint to trace the rest of template around the facial features. We used orange and green for the pumpkin, white for the ghost and blue for the skull, but feel free to choose whichever colors work for you.

Don’t be stingy with the puffy paint—the thicker you make your window clings, the less trouble you’ll have peeling them off and manipulating them once they’re dry.
5. Let Dry
Once you’re done tracing the designs, let them sit undisturbed until the paint is fully dry. Because I wanted to be absolutely sure, I waited a full 48 hours, though I’m sure they were dry long before then.
If you’re not certain whether the paint is dry yet, err on the side of caution and let it sit longer.
Trying to peel off the window clings before they’re fully dry can damage them or render them unusable, so you’re better off waiting a little longer rather than rushing things and having to start over.
6. Peel Off & Place on Window
Once you’re certain that the fabric paint is completely dry, gently peel off the window clings and stick them onto a window. This can be tricky, so go slowly and proceed with caution.
Be very careful not to let the backing stick to itself, because if it does, you won’t be able to get it un-stuck and the entire project will be ruined. Since these window clings are quite large, this is especially difficult, but I assure you it can be done.
If you’re having trouble peeling off the window clings and you’re afraid the backing will stick to itself, try peeling off only the top half and sticking it to the window before peeling off the bottom half.

My husband suggested this and it made things SO much easier because it meant I didn’t have to worry about the backing sticking to itself while I peeled off the second half!
Just make sure you place them carefully, because once the window clings are hanging in the window, you won’t be able to move them.
How to Make the Window Clings Glow in the Dark
Once you’re done peeling the window clings off the freezer bag, bear in mind that the glow-in-the-dark pigment from the puffy paint will need to charge before it can glow in the dark.
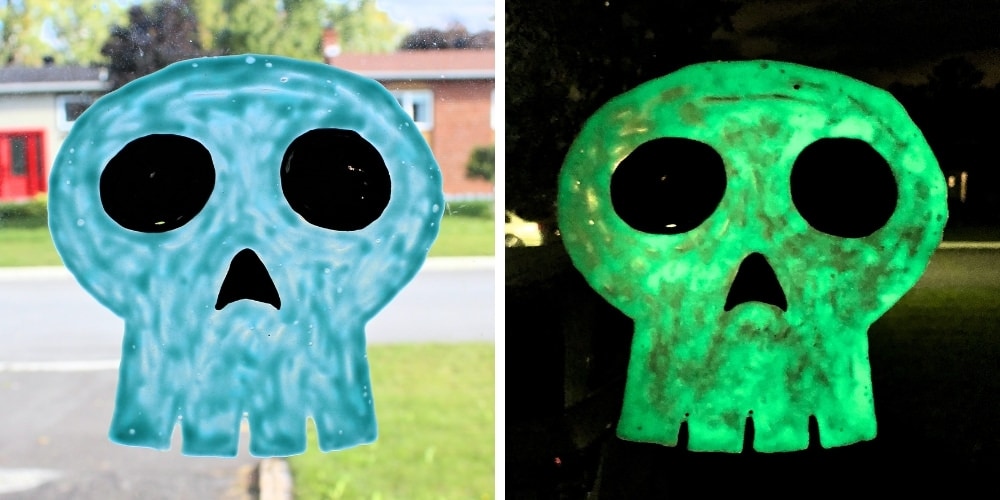
Thankfully, this process isn’t very complicated. All you’ll need to do to charge the pigment is expose it to light. (Though don’t be surprised if you don’t get exactly the same glow from all the colors—we found that blue shone the brightest!)
The trouble with using sunlight is that you can’t see the glow while it’s still bright out, but the pigment tends to need charging again by the time it’s dark enough to see it. So if you want to see the window clings glow, you’ll need to find another method of charging them.
Black lights can work, but the simplest thing is to simply turn on the light in the room (if the light source is close enough to the window) or to shine a flashlight onto the window clings to charge them. The longer they’re exposed to light, the longer and brighter they should shine.

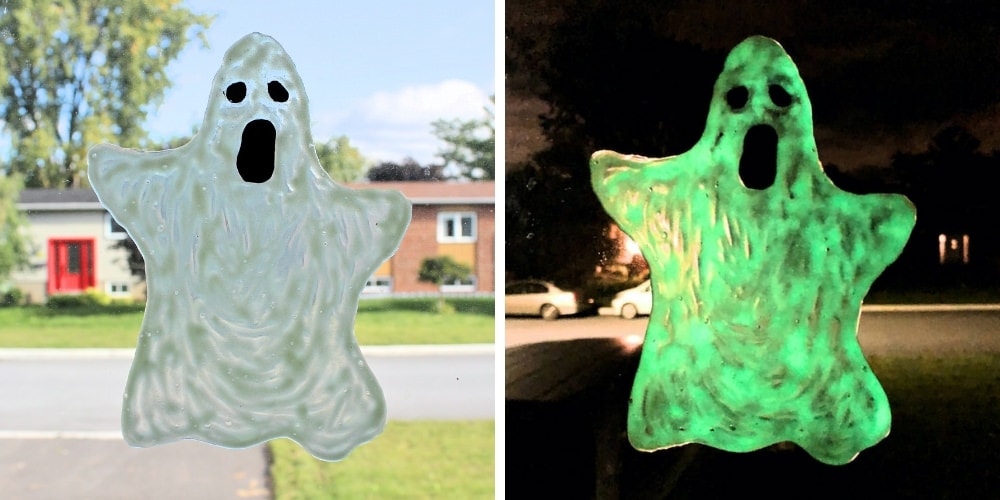
I used the flashlight from my cellphone when taking the pictures for this article, and as you can see, it worked perfectly. The kids loved seeing the difference between the regular and glowing window clings—it was like a little science experiment.
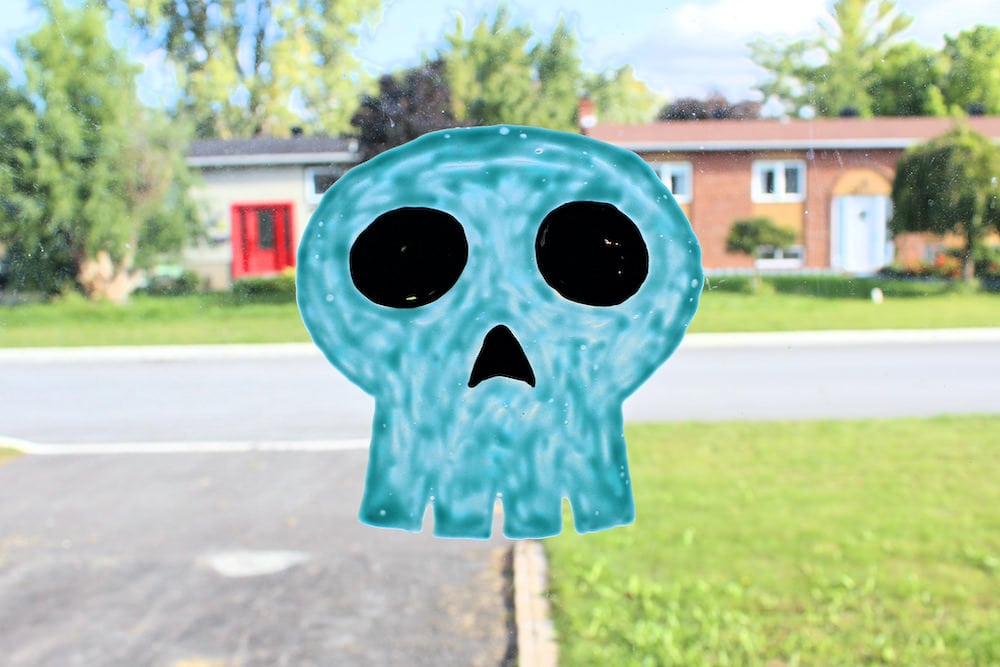
Of course, the window clings look awesome during the day as well, even when they’re not glowing. What a cool way to decorate your house for Halloween!
Related Halloween Crafts
Looking for more DIY Halloween projects? Check out these articles:
- Easy Blow Painted Ghosts
- Sparkly Spiderweb Window Clings (with Free Template!)
- Paper Plate Spider Craft for Kids
How do you get them off the window after the holiday?
You should be able to simply peel them off. (It’s always worked for us.) You probably won’t be able to reuse them the next year though, as they may tear or end up sticking to themselves while you’re removing them.