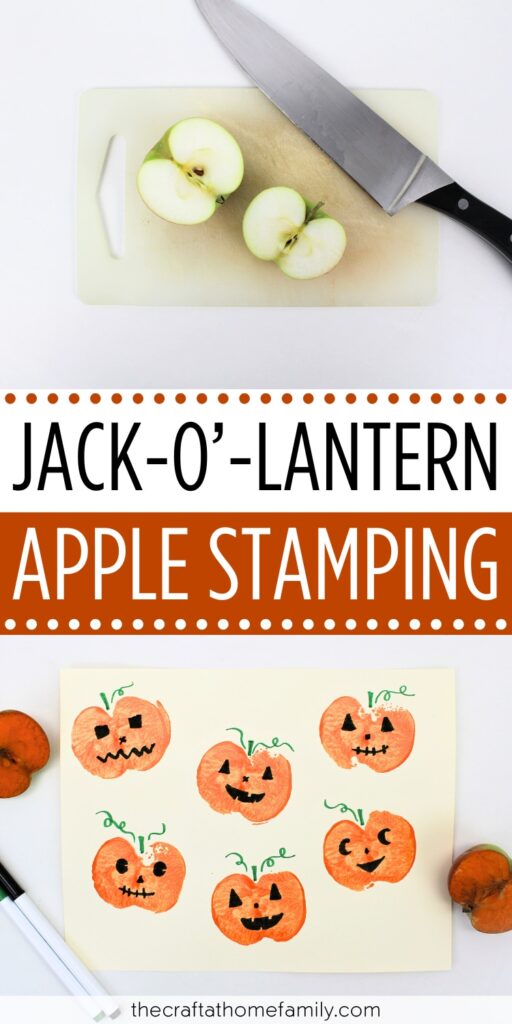
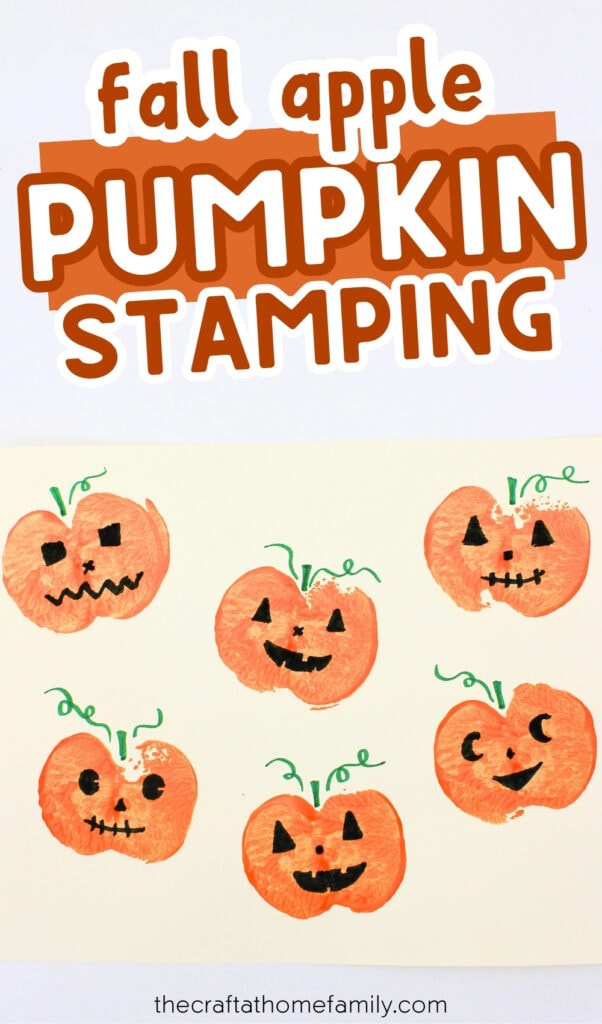
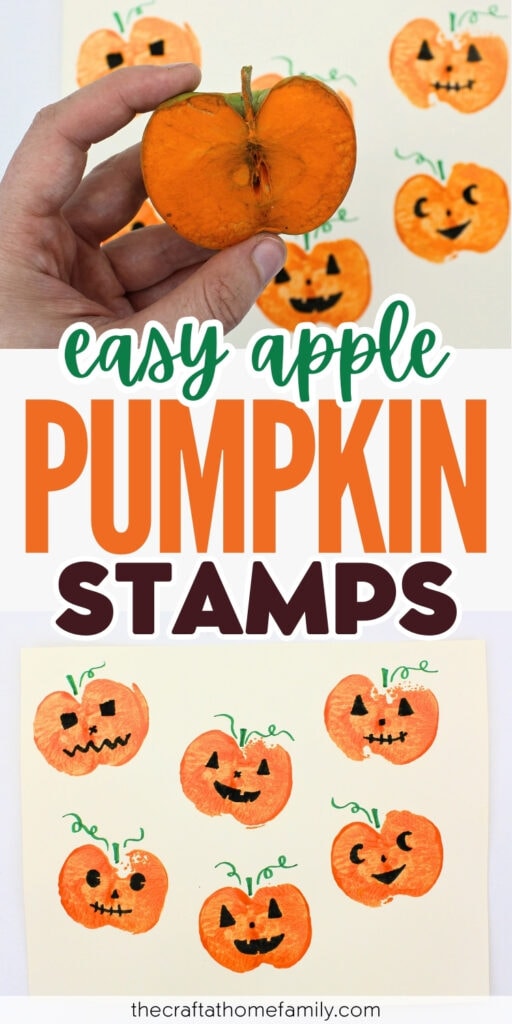
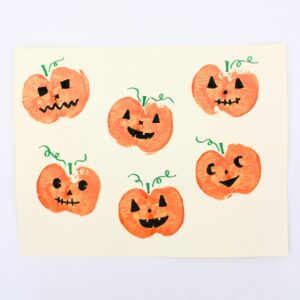
Have more apples than you know what to do with? Use them to make this adorable pumpkin apple stamping craft with your kids! This easy art project is lots of fun for kids of all ages, and it only requires a few simple supplies.
JUMP TO…
Apple picking is one of the fall traditions our kids most look forward to! We usually go twice a year, and end up with a freezer full of applesauce and other apple-based recipes.
If your family likes to go apple picking as well, and you’re looking for something fun to do with the apples that are bitten, bruised, soft or wrinkled, this easy fall art project is the perfect solution! It’s appropriate for both younger and older kids, and you probably already have everything you need to make it.
Why You’ll Love This Craft
- Easy to make: This project comes together in just a few easy steps. Once the apple has been cut in half by an adult, your child should be able to do the rest on their own!
- Simple supplies: You’ll only need a few simple supplies, like cardstock and paint, in order to make this craft. If you like to make crafts with your kids, you probably already have all the materials you need at home.
- Fun for kids: If your kids are anything like mine, they’ll love the opportunity to paint without a paintbrush and use apples as homemade stamps!
Looking for more pumpkin-themed fun? Check out this Edible Pumpkin Play Dough, this Jack-o’-Lantern Lollipop, this Free Pumpkin Carving Template or this Jack-o’-Lantern Sensory Bottle!
GRAB OUR FREE 30-PAGE ACTIVITY BUNDLE!
By submitting your email address, you are agreeing to the terms of our Privacy Policy. You can unsubscribe at any time.
Required Materials
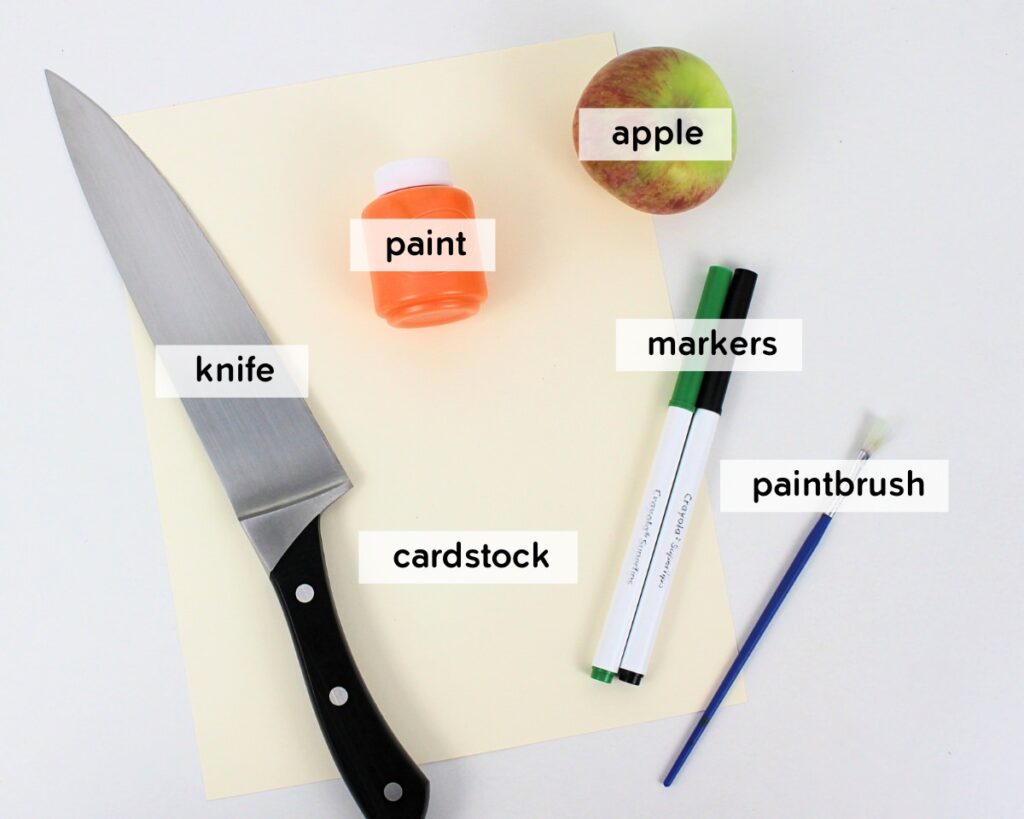
- Apple: Any type will do. This craft is a good way to use up apples with soft spots, bug bites, wrinkles or other imperfections that make them less appealing to eat.
- Knife: Make sure you use a sharp knife with a large blade that will make a clean cut. When I tried cutting the apples with a steak knife, the stamps were uneven and didn’t work well.
- Cardstock: I used cream-colored cardstock, but you can use white or any light color. If you don’t have cardstock, you can use regular paper instead, but it will likely become wavy once the paint is added.
- Paint: Washable kids’ paint and acrylic paint will both work for this project—just use whatever you have on hand. (I used washable paint.)
- Paintbrush: You won’t need anything fancy. Mine was a medium-sized flat paintbrush from the dollar store. Just make sure it’s large enough to easily cover the apple with paint.
- Markers: I used regular fine tip washable markers, but anything you have at home is fine, including permanent markers.
The full supply list and instructions can be found in the how-to card.
GRAB OUR FREE 30-PAGE ACTIVITY BUNDLE!
By submitting your email address, you are agreeing to the terms of our Privacy Policy. You can unsubscribe at any time.
How to Make Apple Stamped Pumpkins (Step-by-Step)
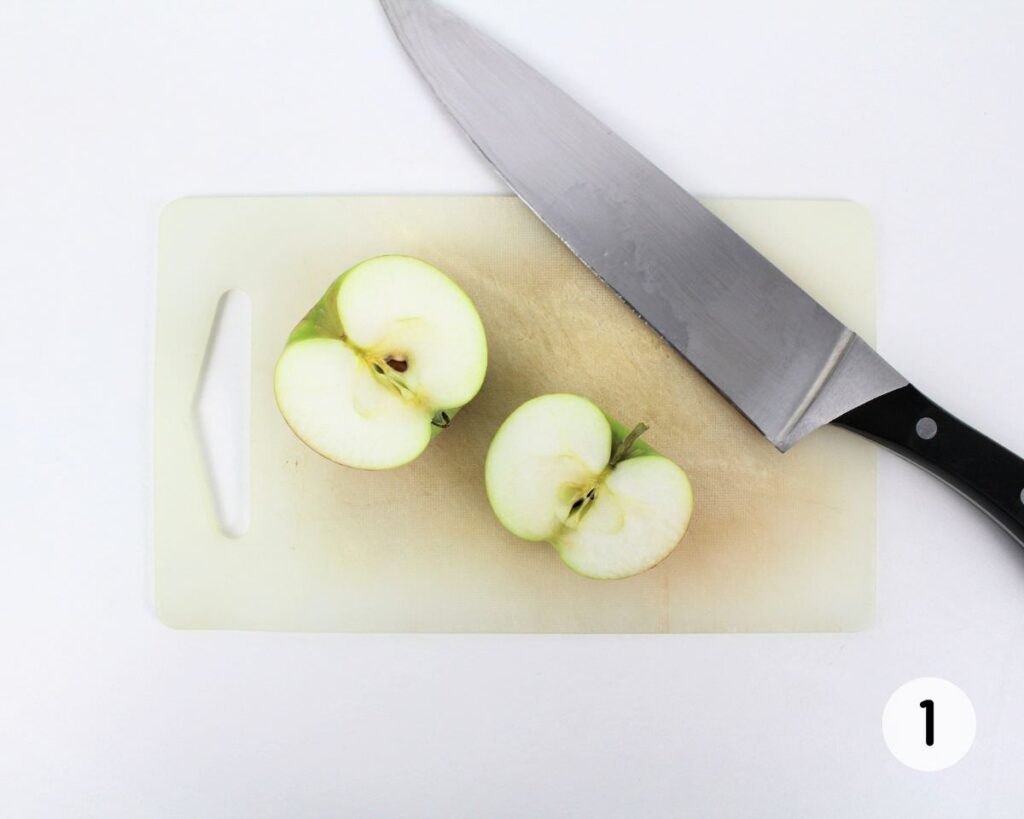
Step 1: Cut apple. Use a sharp knife to slice an apple neatly in half right along the core. Please note that while other steps can be done by children, this step should be completed by an adult.
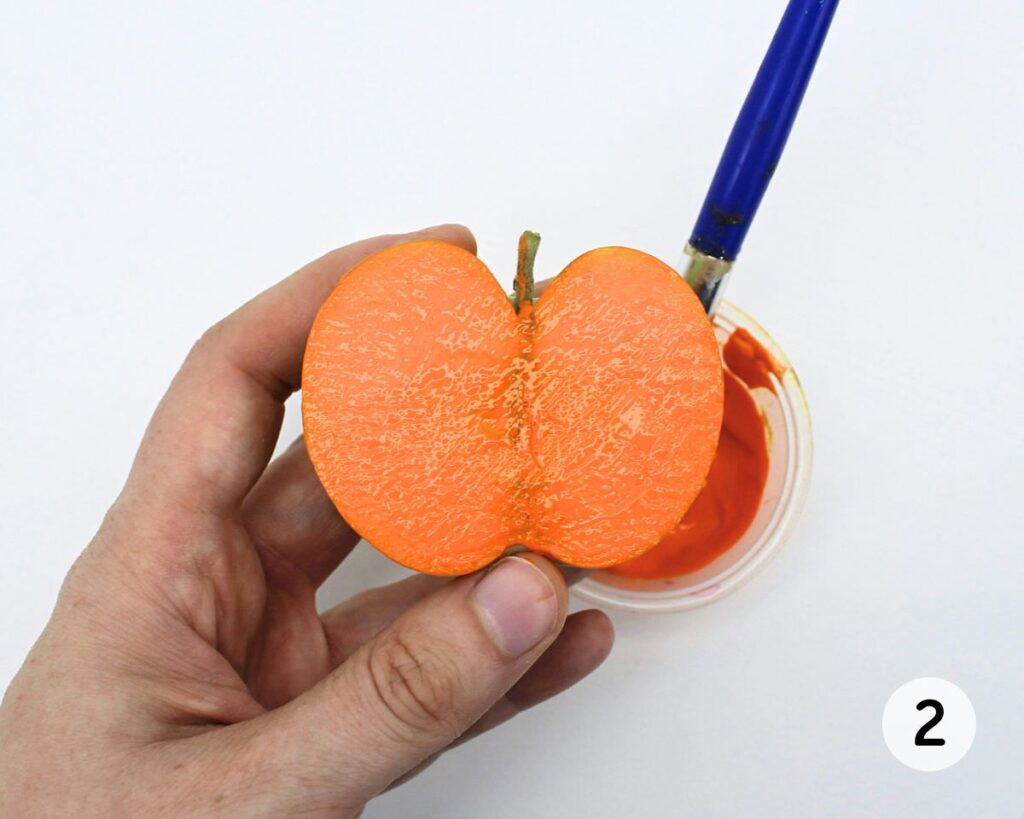
Step 2: Add paint. Cover the flat side of the sliced apple with orange paint. (If needed, you can pat the apple dry with a paper towel in order to make its surface less slippery.)
Tips for Making Perfect Apple Stamps
To create the nicest possible imprints using your apple, start by making a clean, straight cut with a sharp knife in order to make its surface as flat and even as possible. Use a paper towel to pat dry the flat side of the sliced apple and remove any excess moisture, then add a thick, even coat of paint to the entire surface.
When pressing your apple stamp onto the sheet of cardstock, make sure to press down firmly and gently rotate your wrist in order to ensure that every edge of the sliced apple comes into contact with the cardstock and leaves an imprint.
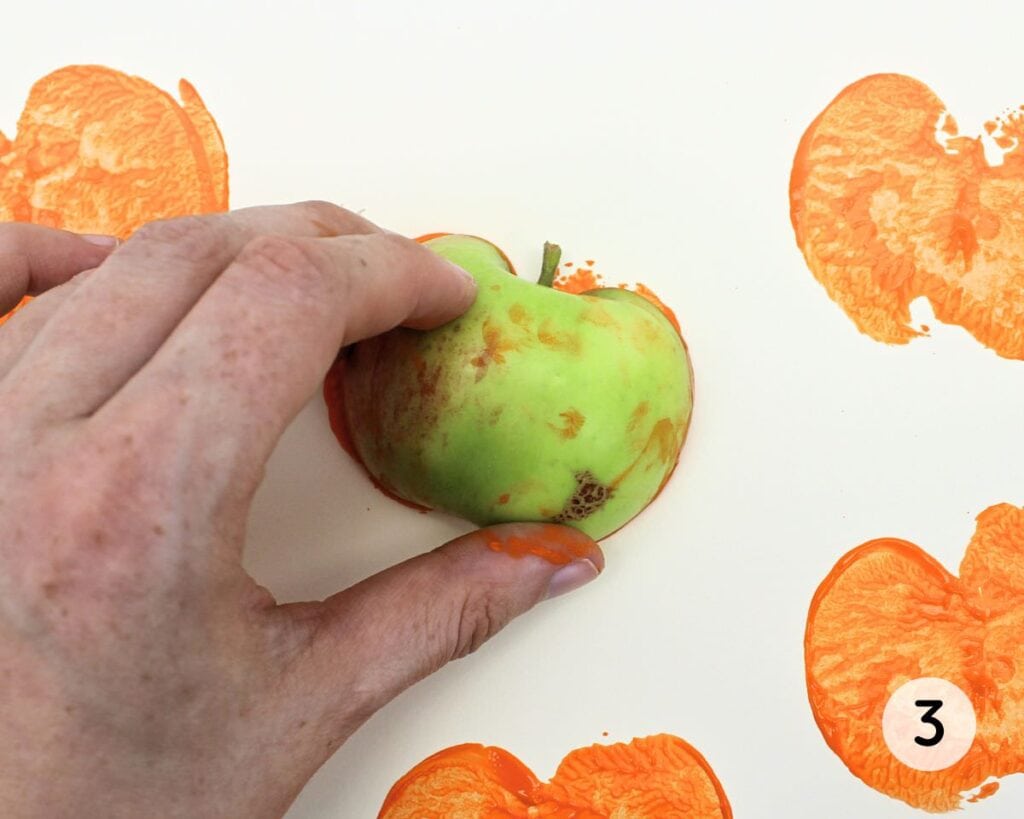
Step 3: Use stamp. Place the paint-covered apple face down, so that the painted side is turned toward the bottom, and press it down firmly onto the cardstock to create an imprint, gently applying pressure in a rotating fashion so that every outer edge of the apple slice comes into contact with the cardstock. Repeat as many time as you wish, adding more paint to apple between each print, then allow the paint to dry fully before you move on to the next step.
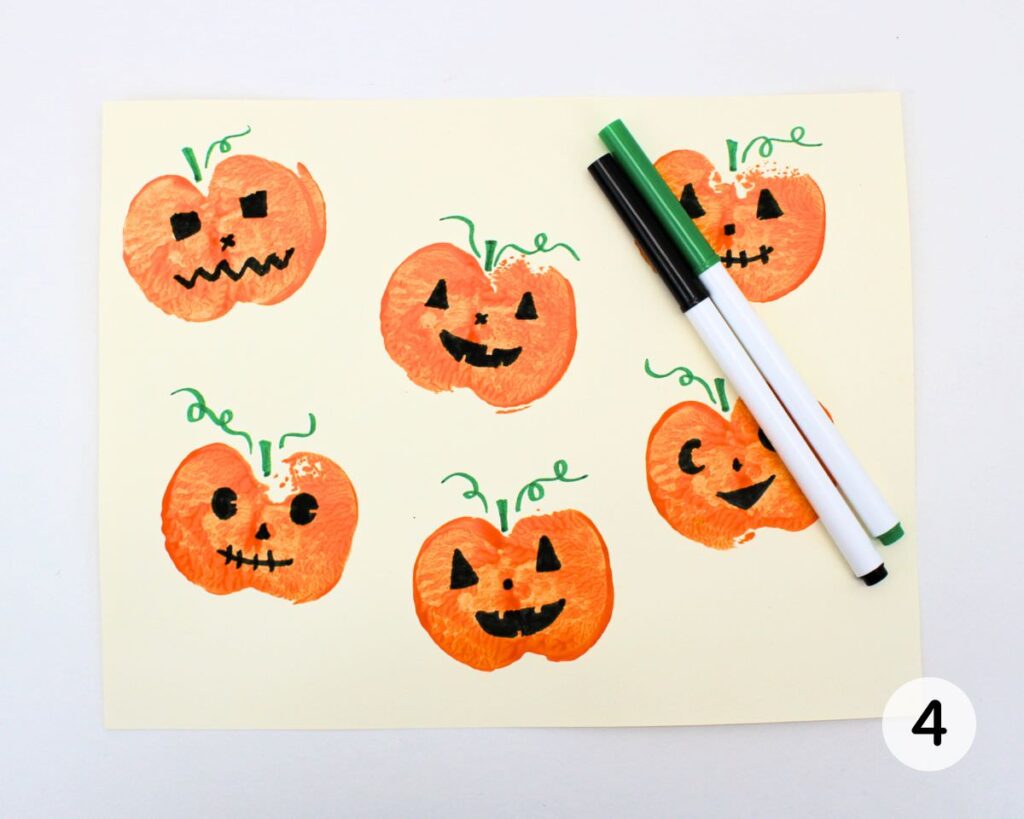
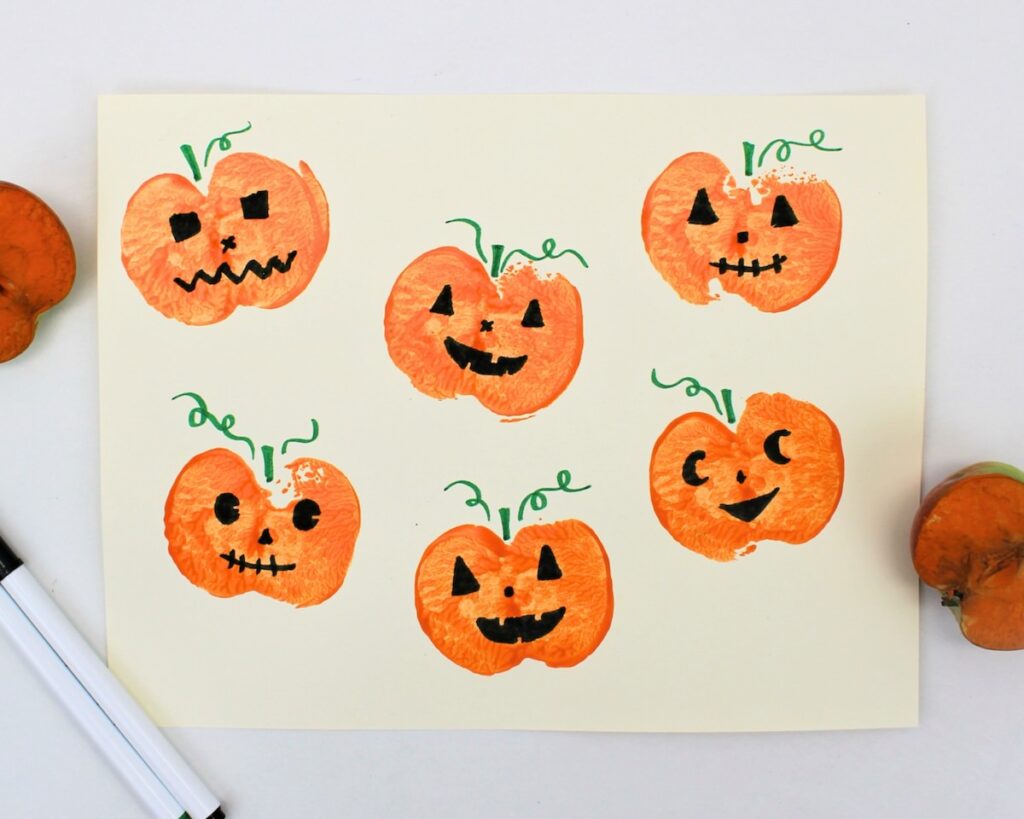
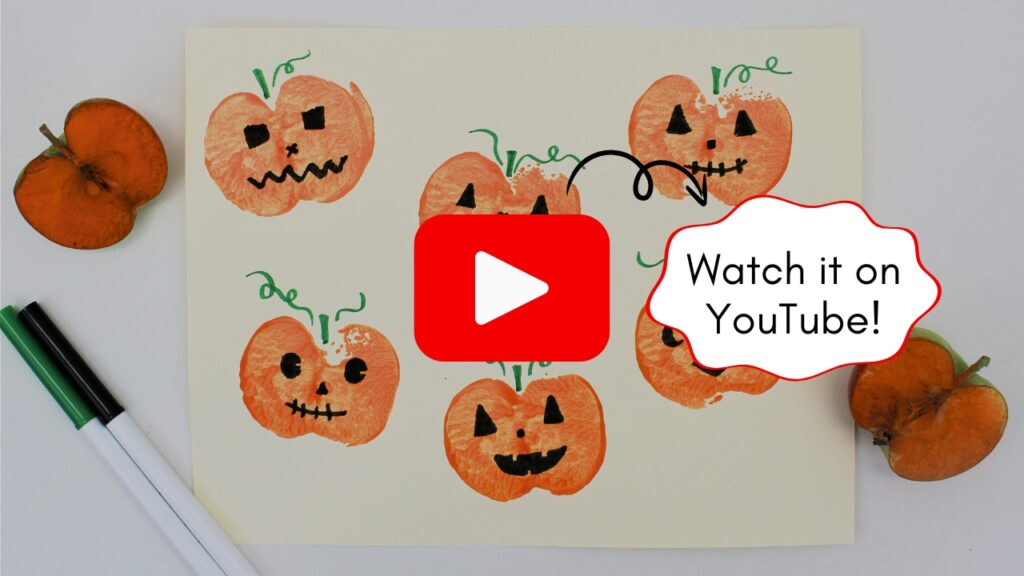
Step 4: Add details. Once the paint has dried, use a black marker to add jack-o’-lantern features to your pumpkins. (You can skip this step if you simply want regular pumpkins.) Then, finish off the craft by drawing stems—and vines, if desired—with a green marker.
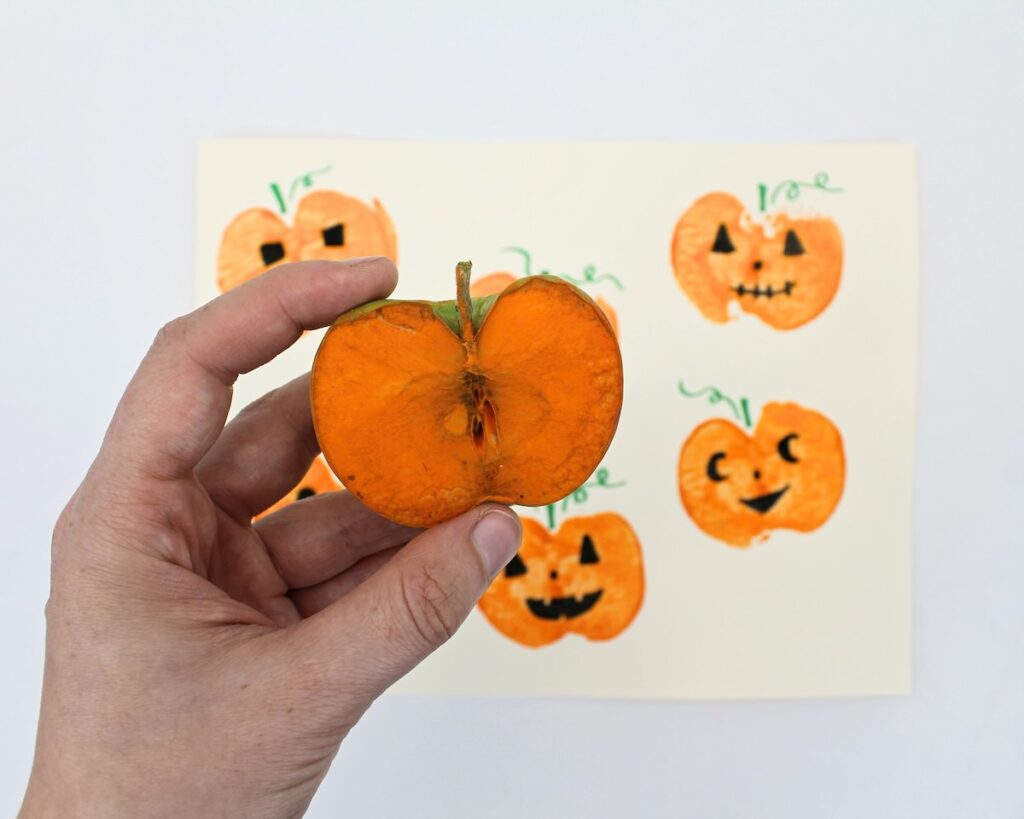
This project turned out so adorable! I loved that it was easy enough for my younger kids to participate, that they were able to use their imagination to create their own unique jack-o’-lanterns.

Helpful Tips
- Make a straight cut: When cutting the apples in half, use a large, sharp kitchen knife and make the cut as neat and straight as possible. (You can always shave off a bit extra if needed to clean it up and make it more even.) If you use a dull knife, or a knife that is too small, the stamp will be uneven and won’t work properly.
- Pat the apple dry: Certain varieties of apple will be more humid when cut. To help the paint adhere to the surface of the apple instead of sliding off due to the moisture, use a paper towel to gently pat the inside of the apple dry after cutting.
- Rotate your wrist: Make sure that every part of the apple stamp comes into contact with the paper by gently rotating your wrist as you press down, applying pressure onto every outer edge of the apple to ensure that the entire stamp comes into contact with the cardstock and leaves an imprint.
More Fall Crafts for Kids

If you have tried this Pumpkin Apple Stamping Craft or any other project on my website, please let me know how it went in the comments below. I can’t wait to hear from you!
Jack-o’-Lantern Apple Stamping
Materials
- 1 apple
- 1 sharp knife
- 1 sheet light-colored cardstock
- orange paint washable or acrylic
- 1 paintbrush
- 1 black marker optional
- 1 green marker
Instructions
- Use a large, sharp knife to slice an apple neatly in half along the core. This step should be completed by an adult.
- If needed, pat the inside of the apple dry with a paper towel in order to remove humidity and make its surface less slippery. Then, cover the flat surface of the apple with an even coat of orange paint.
- Place the paint-covered apple face down, so that the painted side is turned toward the bottom, and press it down firmly onto the cardstock to create an imprint. For best results, gently apply pressure in a rotating fashion so that the entire outer edge of the apple slice comes into contact with the cardstock. Repeat as many time as you wish, adding more paint to the apple between each print. Allow the paint to dry fully before you move on to the next step.
- Once the paint has dried, use a black marker to add jack-o’-lantern features to the pumpkins. (You can skip this step if you want regular pumpkins.) Then, finish off the craft by drawing stems—and vines, if desired—with a green marker.
Video
Notes
- Make a straight cut: For apple stamps that work properly, use a large, sharp knife to make a cut that is as clean, straight and even as possible.
- Rotate your wrist: Gently rotate your wrist as you press down, applying pressure onto every outer edge of the apple to ensure that the entire stamp comes into contact with the cardstock.

Only your name will be made public. Please note that by submitting your comment, you are agreeing to the terms of our Privacy Policy.