


This free build a monster printable is low-prep, low-mess and lots of fun for kids. It’s the perfect way to let your children get creative without the need for any complicated supplies—simply color, cut and assemble your monster any way you like!

JUMP TO…
If your child loves crafts, but you’re not feeling particularly crafty, this build a monster printable is the perfect solution. Simply print out the black-and-white template and let your child color, cut and glue the pieces together to create their very own Halloween monster.
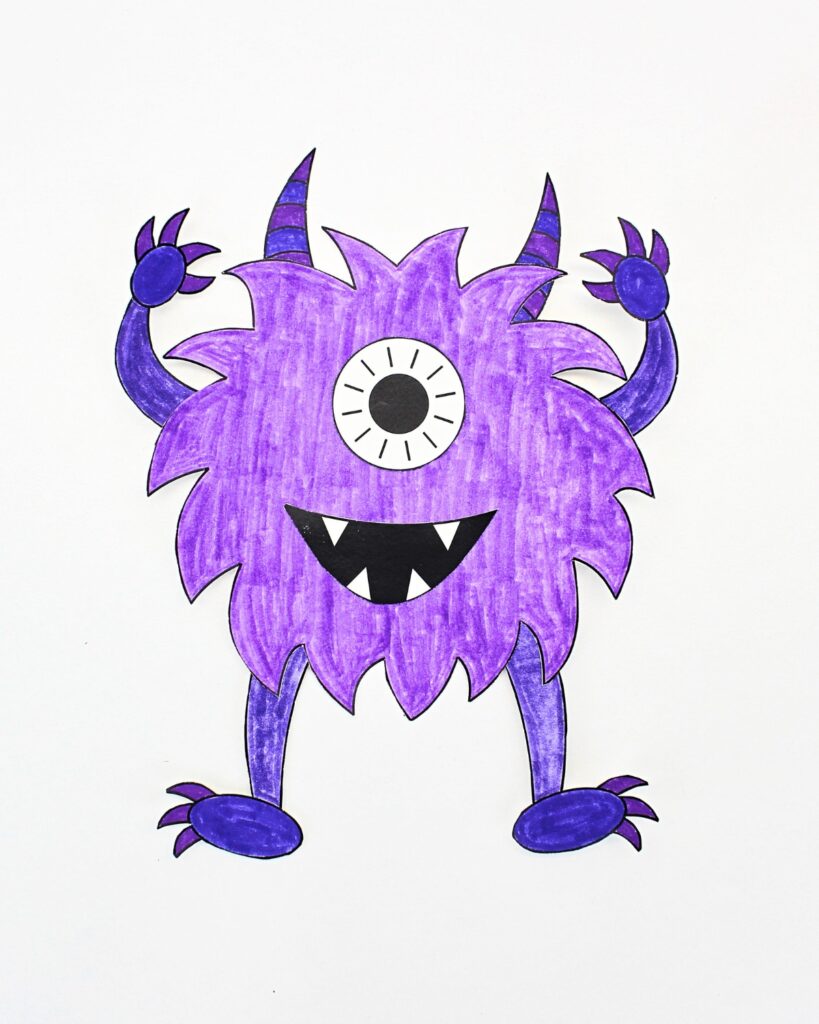
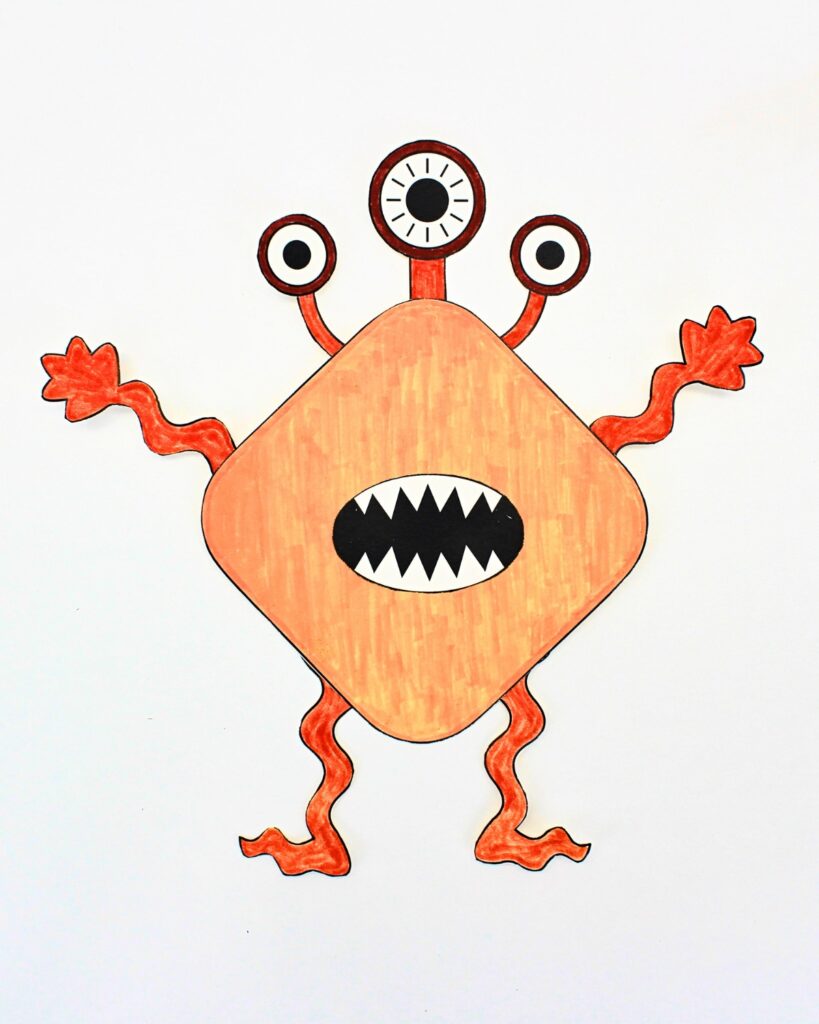
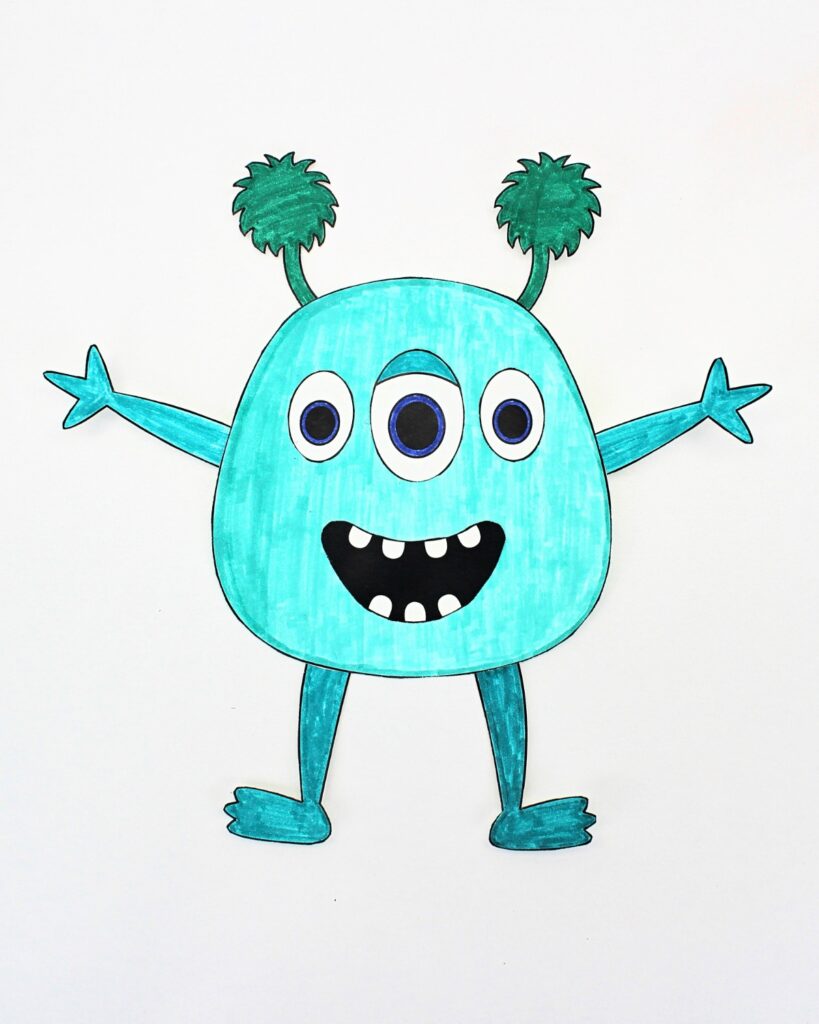
Our free set includes lots of different bodies and monster features that will allow you to create something unique every time. Print it out for multiple children, or let the same child use their imagination to create multiple creative designs!
And if you love crafts that you can simply color, cut and assemble, check out this Free “Build an Ice Cream Cone” Printable or this Free Build a Santa Printable!
Why You’ll Love This Project
- Totally free to download: No need to provide your email address or log into a resource library—this files are available right in the article, so you can start crafting right away!
- Easy to make: Unlike some crafts, this project doesn’t require much artistic ability—all the shapes are already provided, and they simply need to be colored in, cut and assembled.
- Good for fine motor practice: This project is a great way to help kids practice coloring within the lines and cutting with scissors. You don’t need to cut out every single shape unless you’re planning on making several monsters, but you’ll get lots of practice even with one!
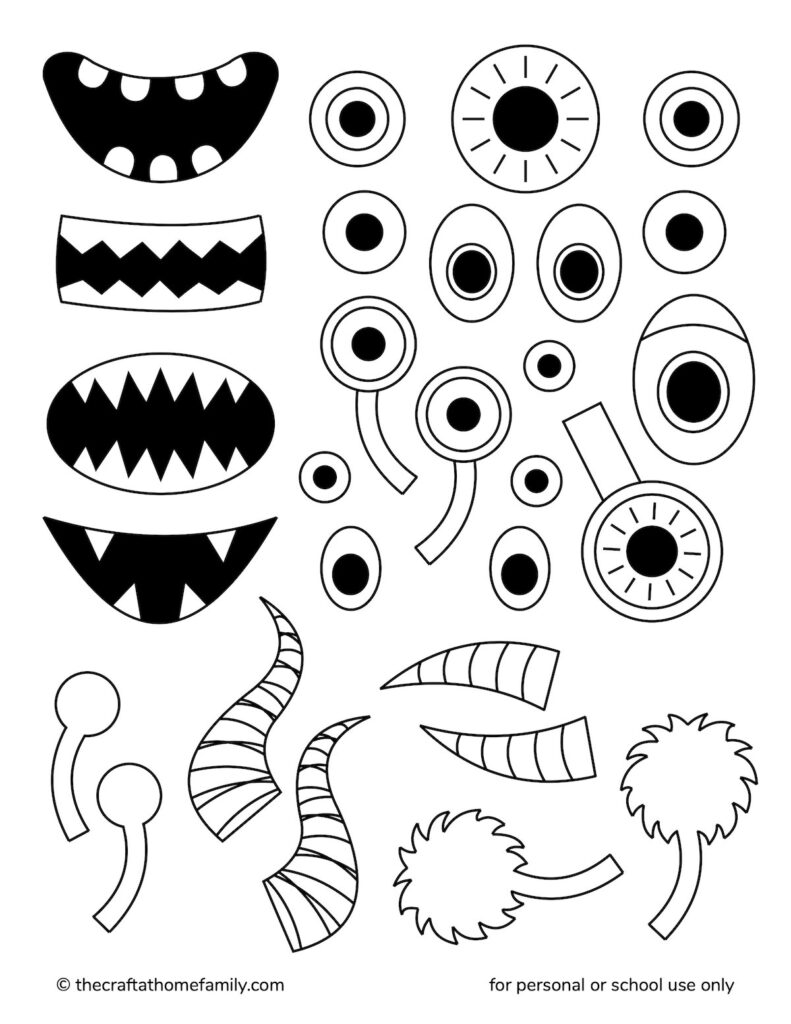
- Varied designs: This set includes not just one, but multiple different options for bodies, mouths, eyes, horns, arms and legs that can be combined in a variety of different ways. Whether you are doing this activity with one or several children, they’re sure to come up with lots of unique possibilities.

Looking for more monster-themed Halloween activities? Check out this Googly Eye Sensory Bag, these Halloween Paper Chains or this Monster Lollipop Craft.
GRAB OUR FREE 30-PAGE ACTIVITY BUNDLE!
By submitting your email address, you are agreeing to the terms of our Privacy Policy. You can unsubscribe at any time.
Required Materials
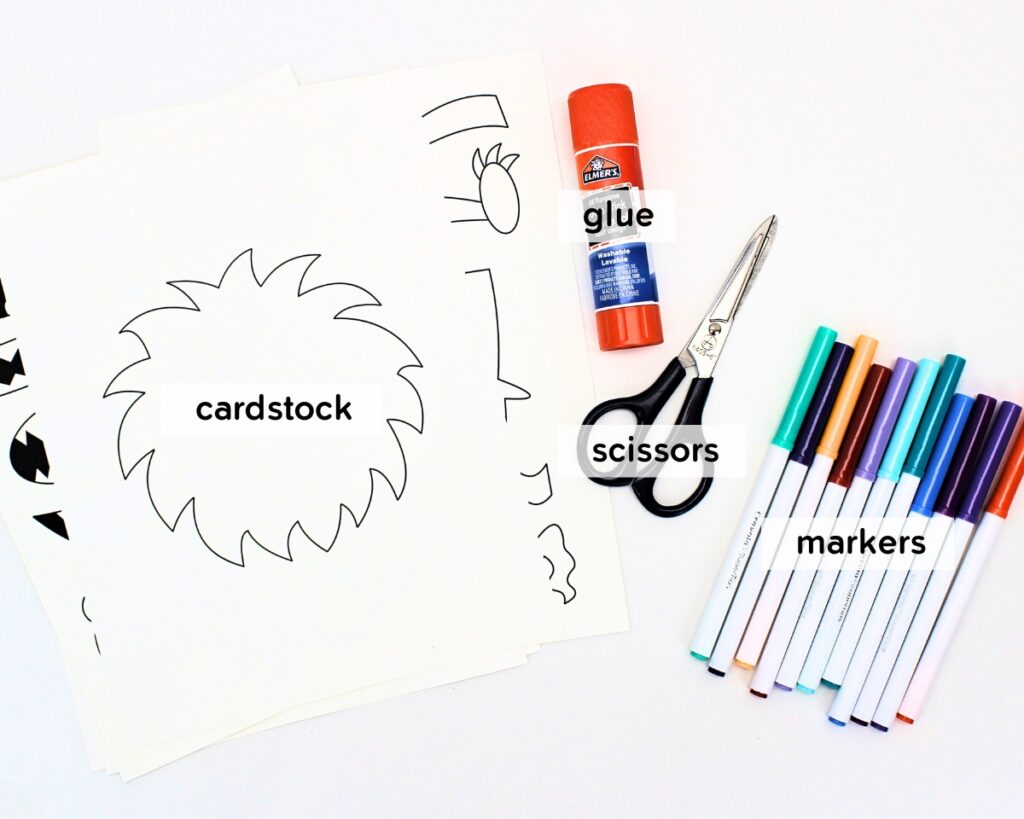
- Cardstock: White cardstock is best for this project because it is thicker and sturdier than regular paper, and will tear less easily. If you don’t have any, you can use regular printer paper, but you’ll need to handle the monster with care to prevent it from breaking.
- Markers, colored pencils or crayons: Whichever your child prefers is fine. If you decide to use markers, make sure you print the template on cardstock, which is thicker and will hold up better.
- Scissors: Make sure they are sharp and comfortable to use, because this craft requires a lot of cutting.
- Glue: A glue stick is best because it dries quickly and prevents the paper from becoming wavy, but if you don’t have one, you should be able to use a small amount of liquid school glue.
The full supply list and instructions can be found in the how-to card.
Download Your Free Build a Monster Template
Click the text links below the images to be redirected to the PDF files. (The preview images are not print resolution.)
Please note that this template is for school and personal use only and cannot be redistributed. When sharing this free printable, please link to this article rather than directly to the files. You can read our full printables terms of use here.


GRAB OUR FREE 30-PAGE ACTIVITY BUNDLE!
By submitting your email address, you are agreeing to the terms of our Privacy Policy. You can unsubscribe at any time.
Printing Instructions
This file was designed to be printed on US Letter-sized (8.5 x 11 inches) paper or cardstock. If you wish to print it on A4 paper, adjust the “Scale to Fit” setting on your printer to ensure that none of the printable area is being cut off.
How to Build a Monster (Step-by-Step)
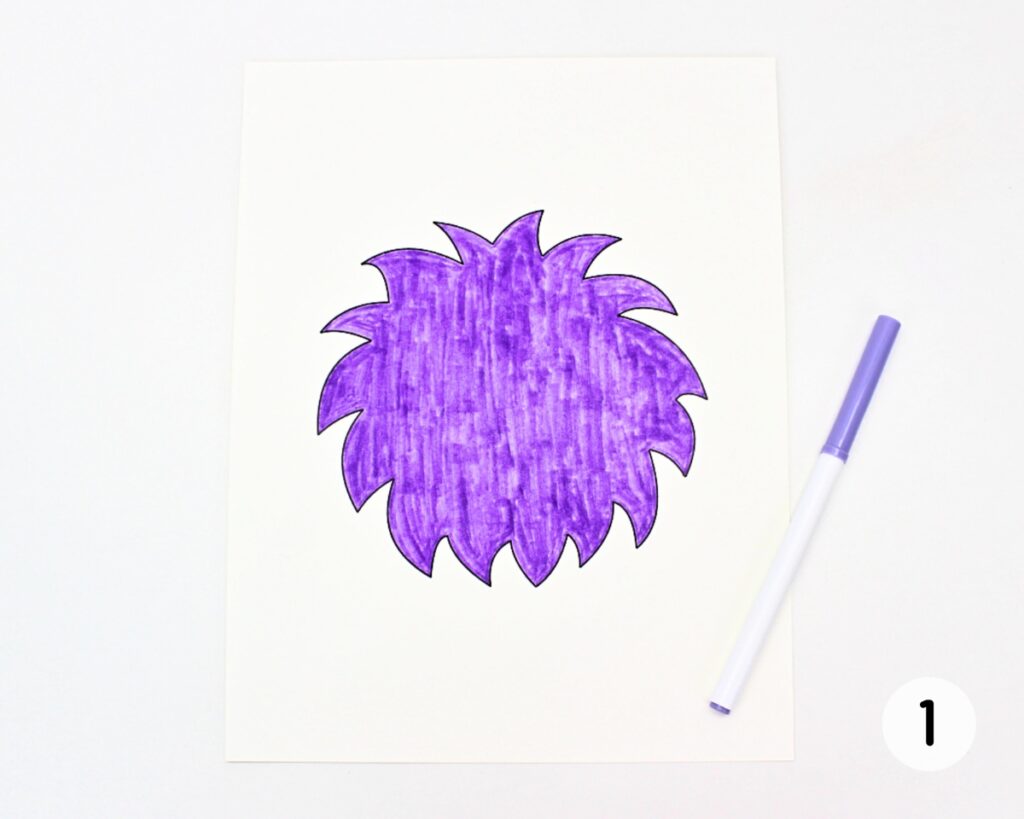
Step 1: Color shapes. Choose a body (page 1, 2 or 3) and print it on cardstock along with pages 4 and 5. Color in all the shapes you’ll need to build your monster.

Step 2: Cut shapes. Once you have colored in your monster’s body and all its other features, use scissors to cut out the shapes you’ll need.
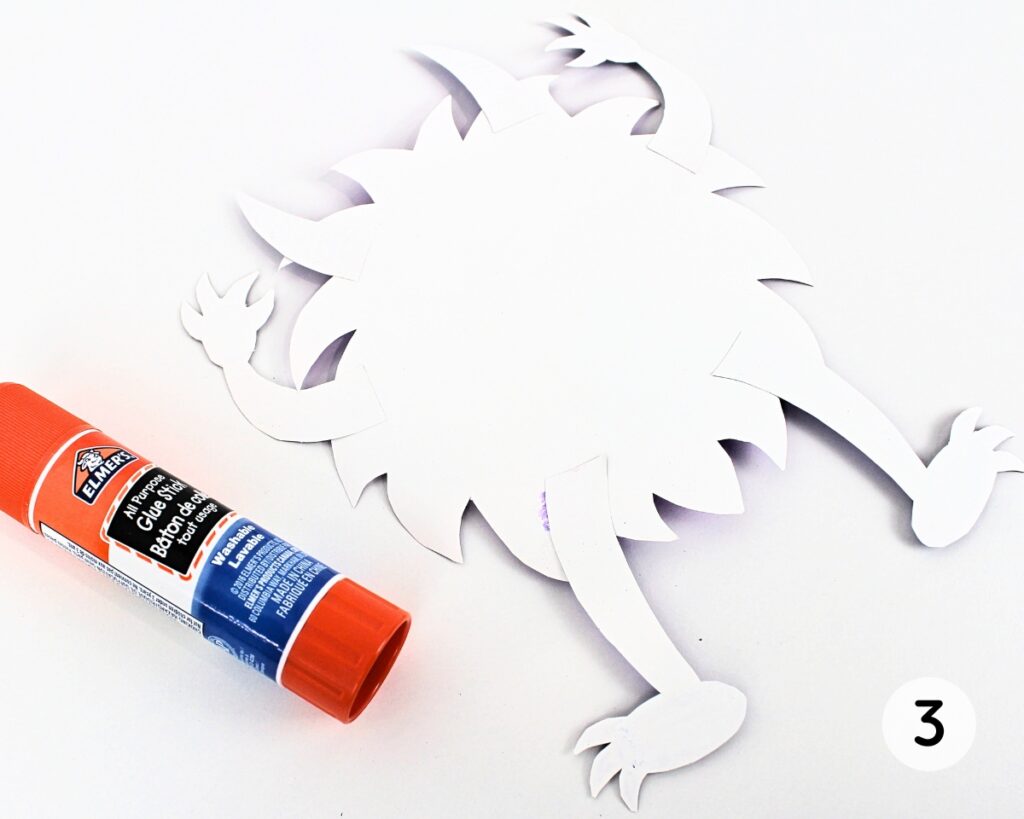
Step 3: Glue horns, arms and legs. Use a glue stick to give your monster limbs (and horns or eye stalks, if desired) by adding a bit of glue to one end, with the front side facing upward, and pressing it against the back of the monster’s body.

Step 4: Glue facial features. Give your monster a face by adding glue to the back of its mouth and (regular) eyes, with the back side facing upward, and pressing it against the front of the monster’s body.
This craft may be simple to make, but it is so much fun! My kids all loved it. And because of all the provided options, you can reuse the template multiple times and end up with a completely different monster.

Helpful Tips
- Stick with cardstock: While you could technically print the template on regular paper, I highly recommend that you use cardstock. It is much sturdier and less prone to tearing, and will ensure that your child’s monster lasts a long time. (This is especially important if you’re using markers, since the ink can bleed through regular paper.)
- Start with the edges: To help your child stay within the lines, start by coloring in the edges of the shapes, then fill in the inside. (Because the shapes will be cut out with scissors, it’s not a big deal if they color outside the lines, but why not use this craft as an opportunity to practice?)
- Avoid dry markers: The monster bodies are pretty big, so if you’re coloring them in with markers, make sure the markers have enough ink that you won’t run out halfway through. I made the mistake of using an marker set, and ended up having to start over.
- Try isolating each shape: When you’re cutting out the smaller shapes like mouths or arms, try isolating each one first by cutting around it and detaching it from the sheet of cardstock with the other shapes. This will make it easier to handle and cut.
- Use your imagination: Feel free to get creative and add other details to your monster that aren’t included in the template, like multiple body colors or unique patterns!
Love activities that you can print out at home? Check out these Ghost Coloring Pages, this Halloween I Spy Game or these Halloween Tracing Worksheets!
Frequently Asked Questions
Have a question that wasn’t answered here? Let me know in the comments and I’ll be happy to help!
More Halloween Crafts with Free Templates


If you have tried this Build a Monster Craft or any other project on my website, please let me know how it went in the comments below. I can’t wait to hear from you!

Build a Monster Craft
Materials
- free build a monster template
- 3 sheets white cardstock
- colored markers, pencils or crayons
- 1 pair scissors
- 1 glue stick
Instructions
- On white cardstock, print the mouths, eyes, horns, arms and legs (pages 4 and 5) along with a body of your choice (page 1, 2 or 3).
- Color in the body and the features you want using markers, colored pencils or crayons. Use scissors to cut them out.
- Assemble the different parts of the monster with glue. The mouth and eyes should be glued to the front of the body; the horns, arms and legs should be pressed against the back.
Video
Notes
- Start with the edges: To help your child practice coloring inside the lines, start by coloring along the edges before filling in the rest of the shape.
- Isolate each shape: When cutting smaller shapes, make the cutting process a little easier by cutting around each shape to detach it from the sheet of cardstock.
- Avoid dry markers: If you choose to use markers, make sure they have enough ink to fill in the entire shape of the monster’s body.
- Use your imagination: Feel free to add additional details to your monster that aren’t included in the template.
Only your name will be made public. Please note that by submitting your comment, you are agreeing to the terms of our Privacy Policy.