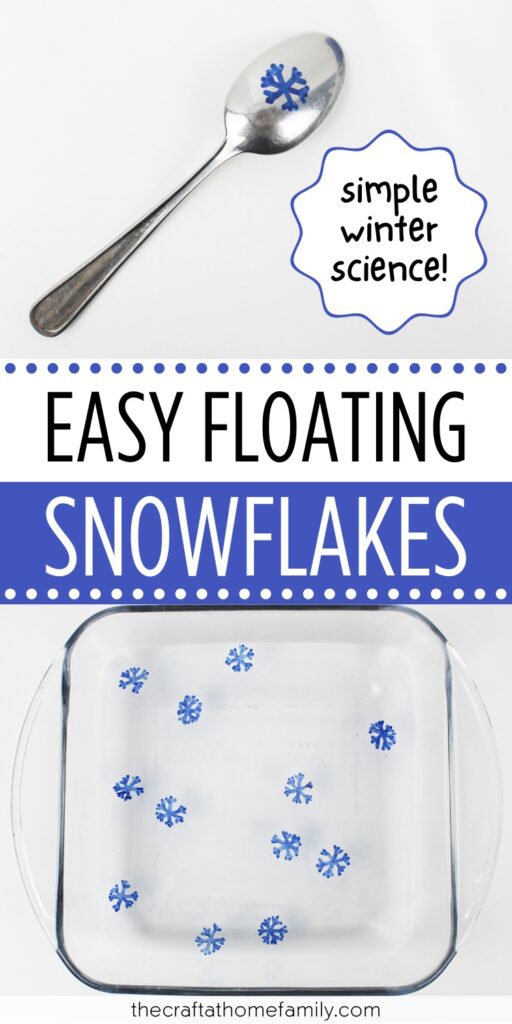
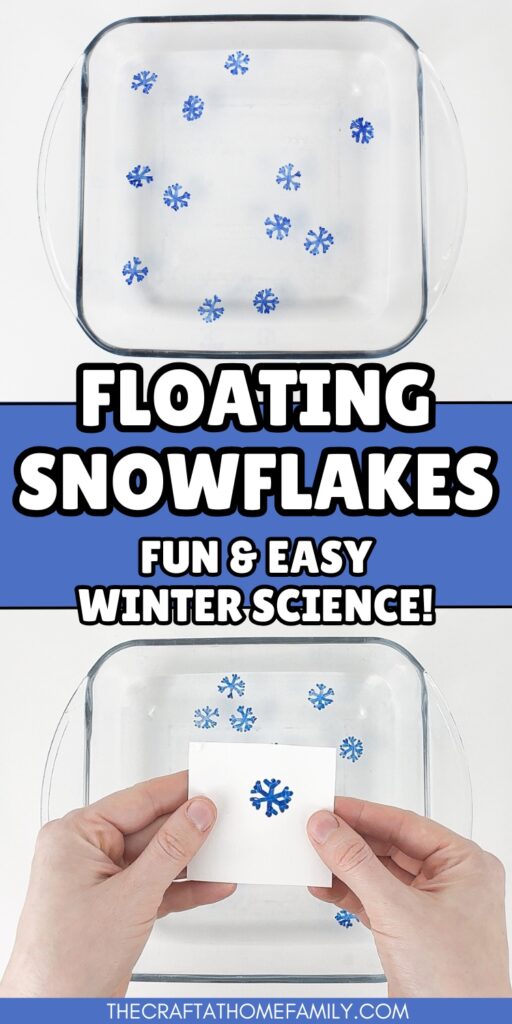
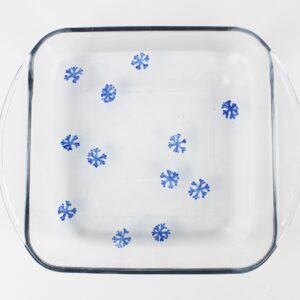
Love simple science experiments? This easy floating snowflake experiment is super simple to set up and lots of fun for kids! You’ll only need a few simple supplies to do this cool winter science experiment at home, and your kids are sure to love it.
JUMP TO…
Have you ever tried using dry erase markers to create floating drawings? If not, you’ll definitely want to save this tutorial! This simple science experiment is one of my kids’ favorites, and we love how easy it is to customize it for various occasions.
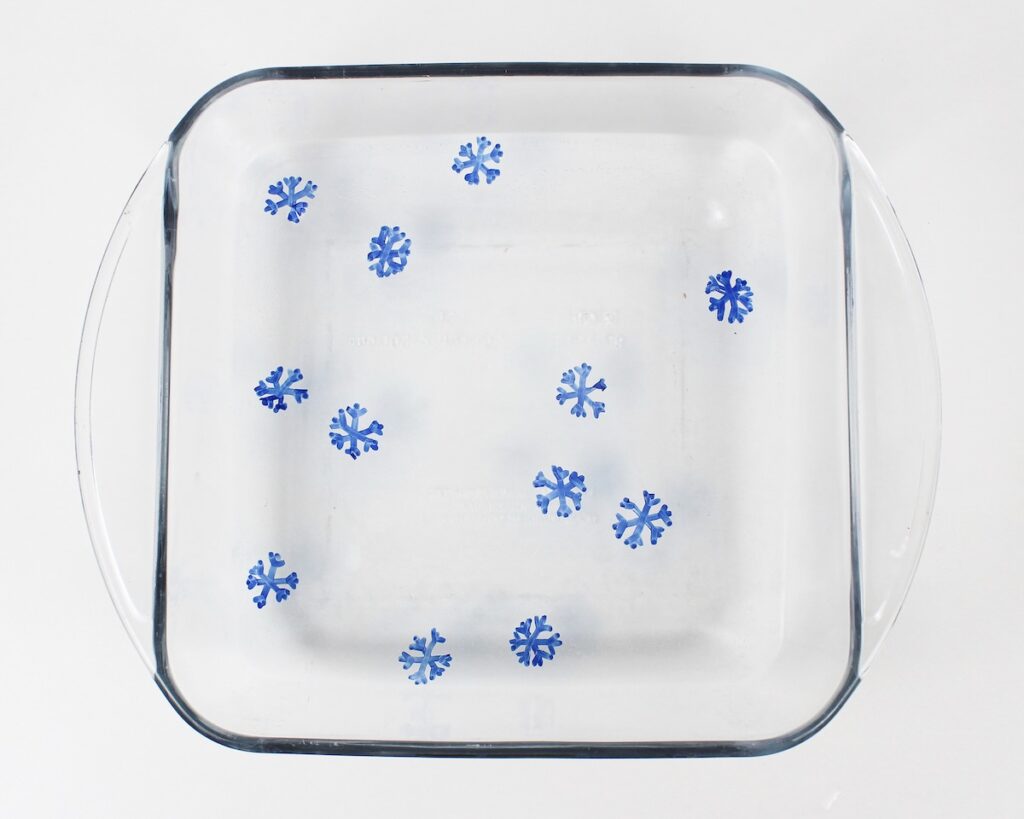
This winter-themed STEAM activity features cute little snowflakes that float around in water, and it only requires a few inexpensive supplies that you probably already have at home. Give it a try and let me know what you think in the comments!
Why You’ll Love This Activity
- Easy to do: This activity is perfect for both younger and older kids, and even preschoolers should be able to do most or all of it with minimal adult intervention.
- Simple supplies: This experiment only requires a few inexpensive supplies that you probably already have at home, making it perfect for days when you’re looking like a last-minute activity and don’t have time to go to the store!
- Fun for kids: This experiment is one of my kids’ favorites, and they are always amazed to see the snowflakes that they drew start to peel off the spoon and float around in the water.
Looking for more winter activities? Check out this Fake Snow Recipe, this Melted Snowman Sensory Bag, this Snow Volcano or this Printable Winter Bucket List with 100+ activity ideas!
GRAB OUR FREE 30-PAGE ACTIVITY BUNDLE!
By submitting your email address, you are agreeing to the terms of our Privacy Policy. You can unsubscribe at any time.
Required Materials
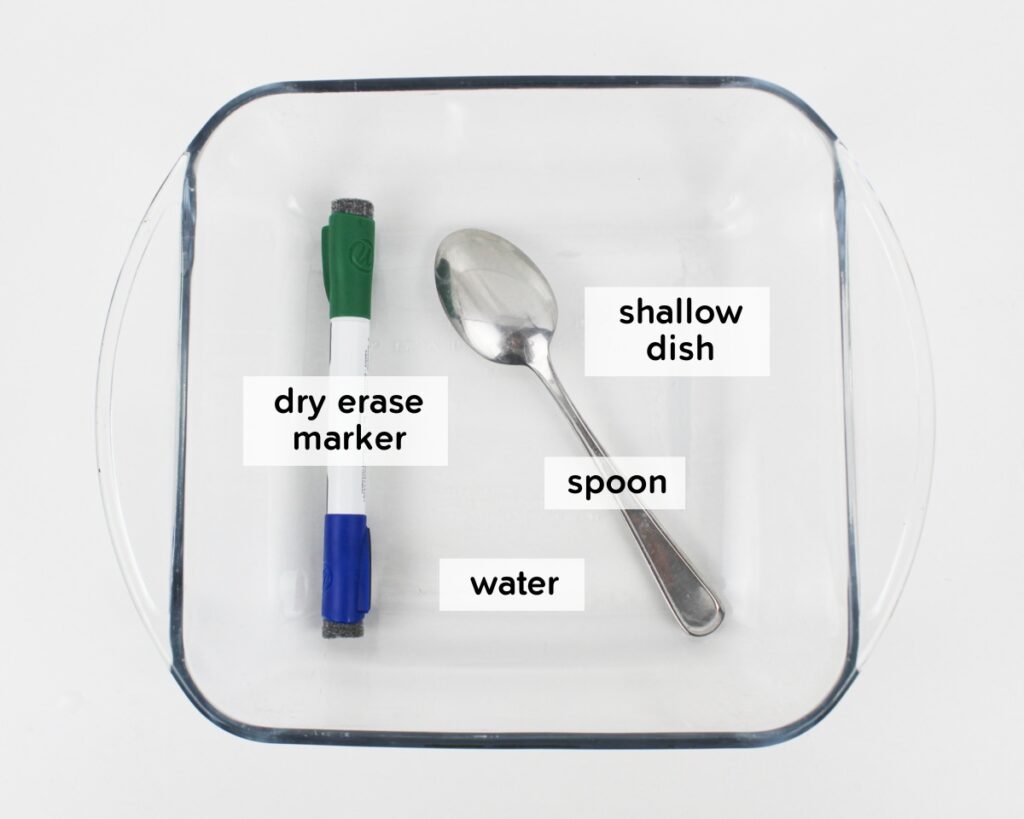
- Dry erase marker: Any brand is fine—just make sure it’s not dried out, as this can cause the experiment not to work. I used dark blue (from this set of double-ended U Brands markers) because it felt like an appropriate color for snowflakes.
- Spoon: I used a regular metal spoon, but plastic should work too.
- Shallow dish: Any shallow dish or container that can accommodate about an inch of water at the bottom will work. I used a square glass baking dish.
- Water: Tap water is fine.
- Paper (optional): If you wish to “catch” the floating snowflakes, you can do so using small squares of regular printer paper or construction paper. Anything you have on hand will do, including scrap paper left over from other projects.
The full supply list and instructions can be found in the how-to card.
GRAB OUR FREE 30-PAGE ACTIVITY BUNDLE!
By submitting your email address, you are agreeing to the terms of our Privacy Policy. You can unsubscribe at any time.
How to Make Floating Snowflakes (Step-by-Step)
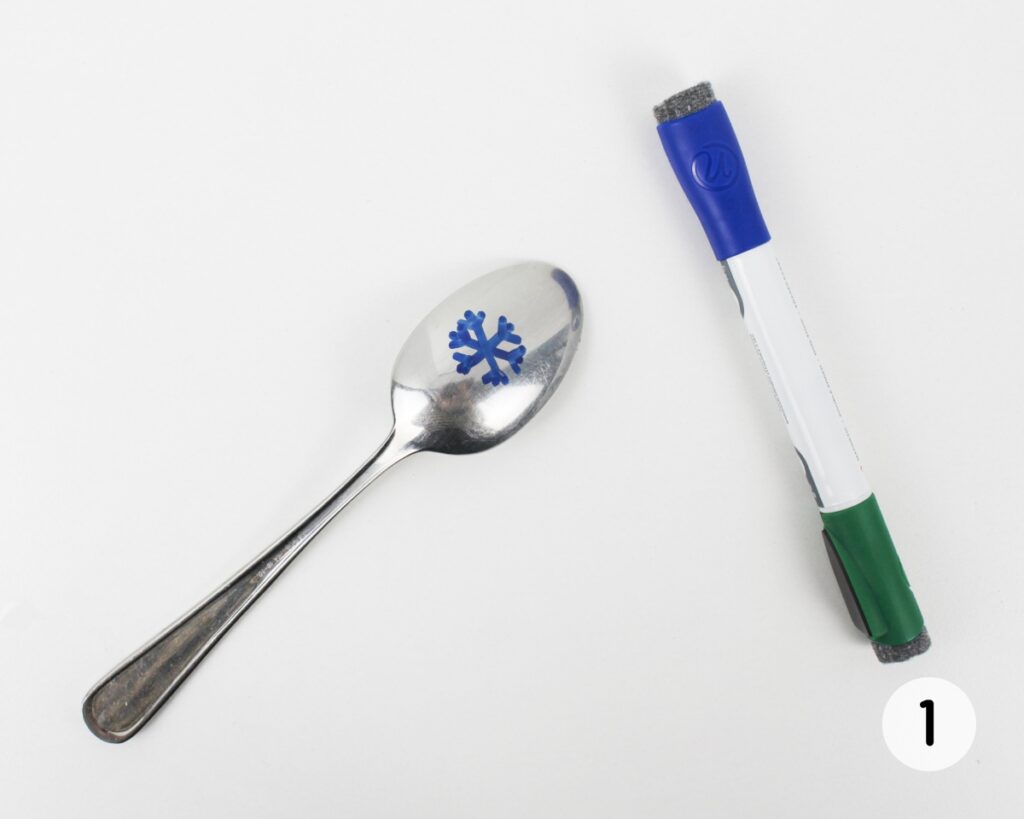
Step 1: Draw snowflake on spoon. Use a blue dry erase marker to draw a snowflake on the back of a spoon. Let the ink dry for about 15 to 30 seconds before moving on to the next step.
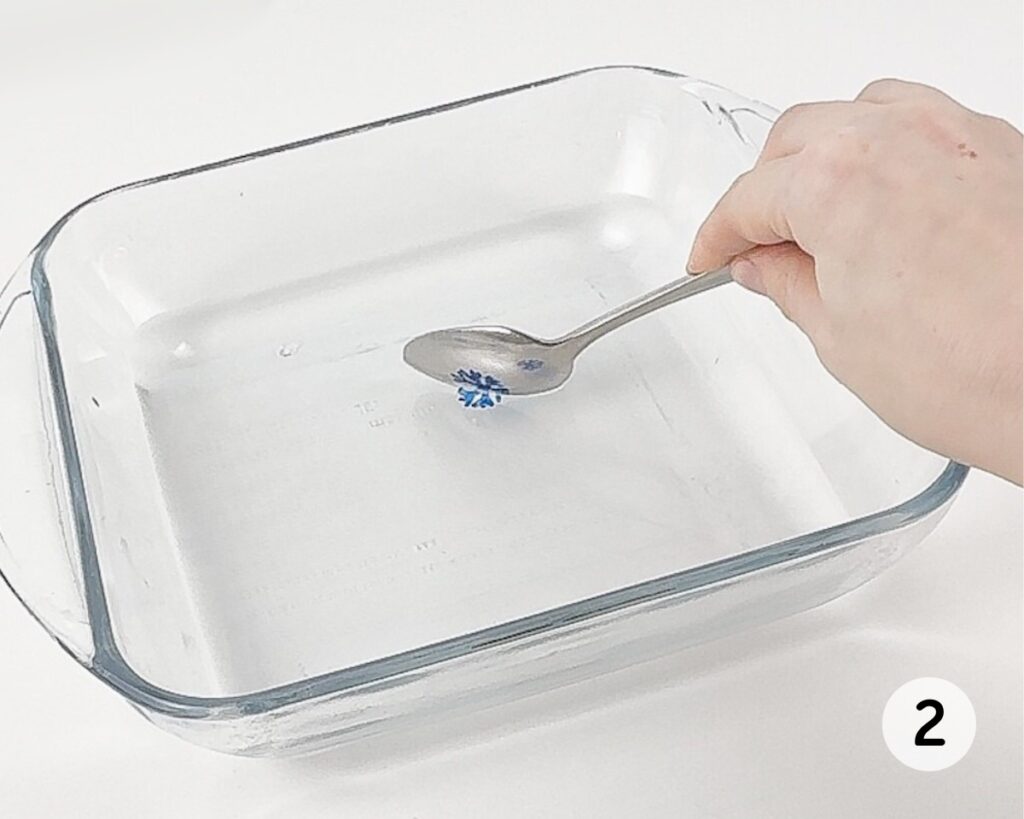
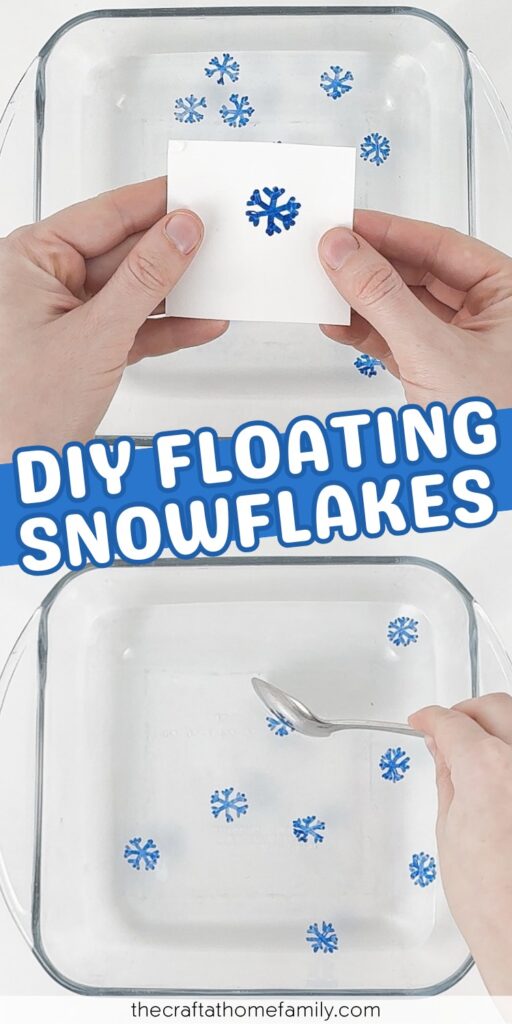
Step 2: Dip spoon in water. Gently lower your spoon into a shallow dish filled with about an inch of water, holding the spoon at an angle so that only one side of the snowflake is touching the water. If the snowflake starts to peel off, gently rotate your spoon to help it along, continuing until it has completely peeled off, then quickly remove the spoon to prevent it from latching back on. If it doesn’t peel off, try inserting the spoon at a different angle—or, if it still won’t peel off, erase the snowflake, dry off the spoon and try again with a slightly different drying time.
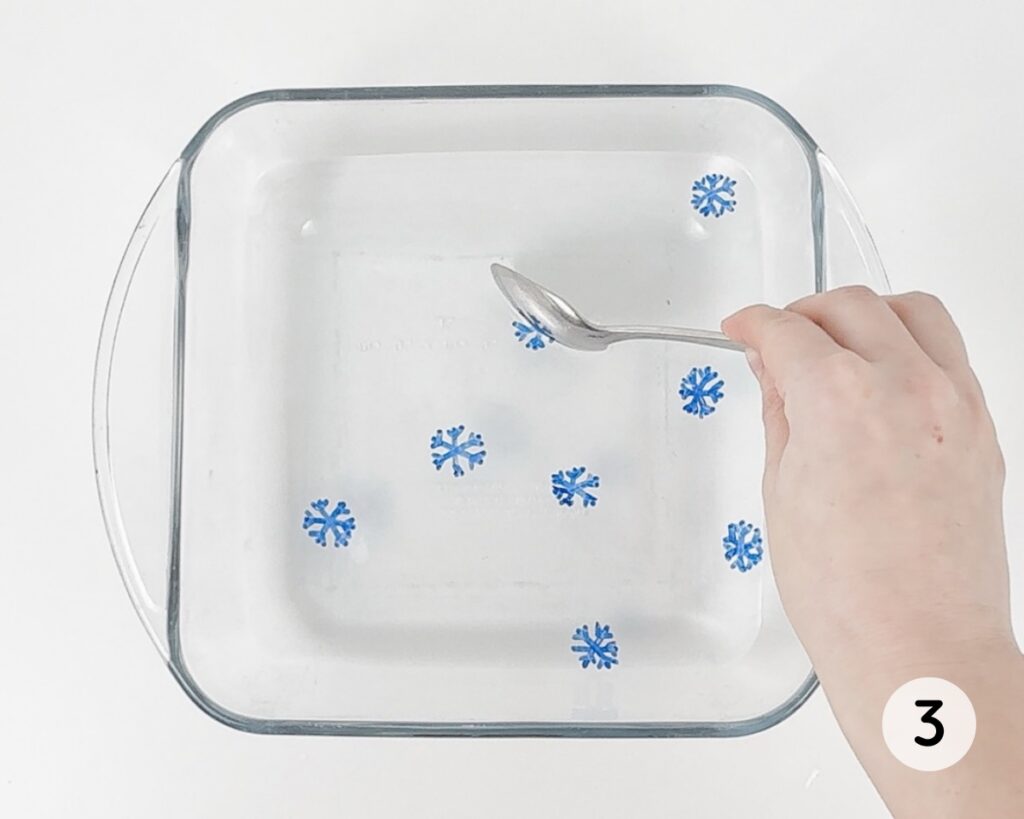
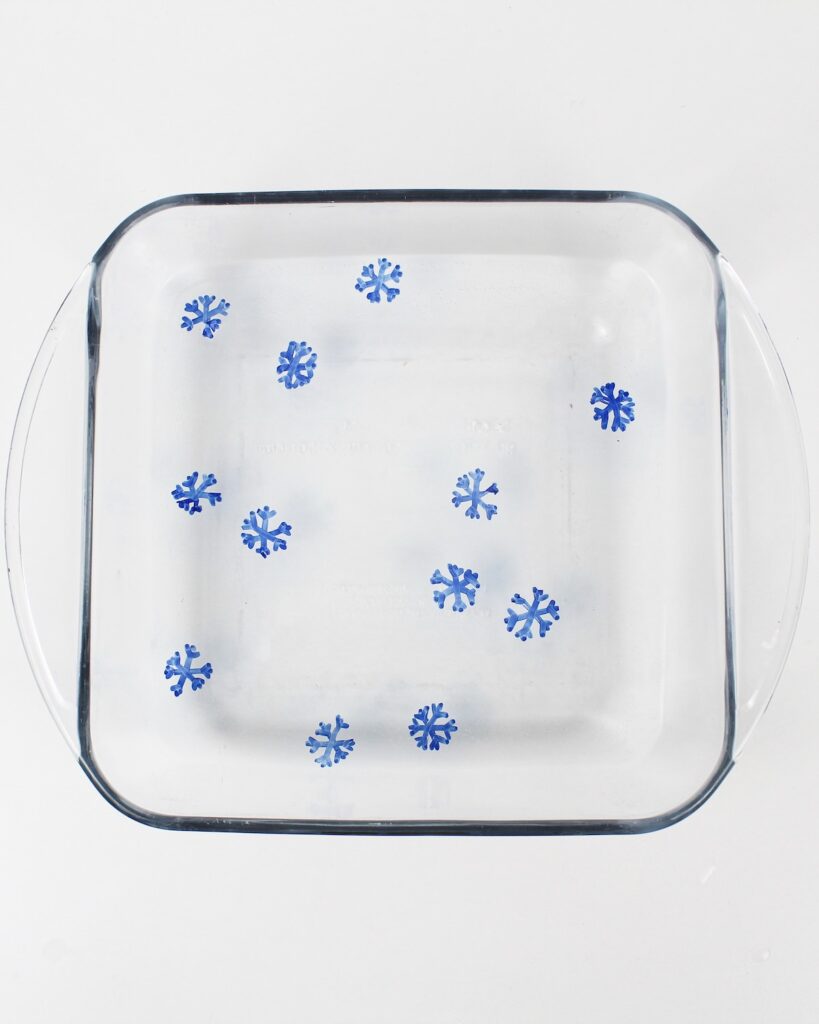
Step 3: Create more snowflakes. Repeat the previous steps as many times as you wish in order to create more floating snowflakes.
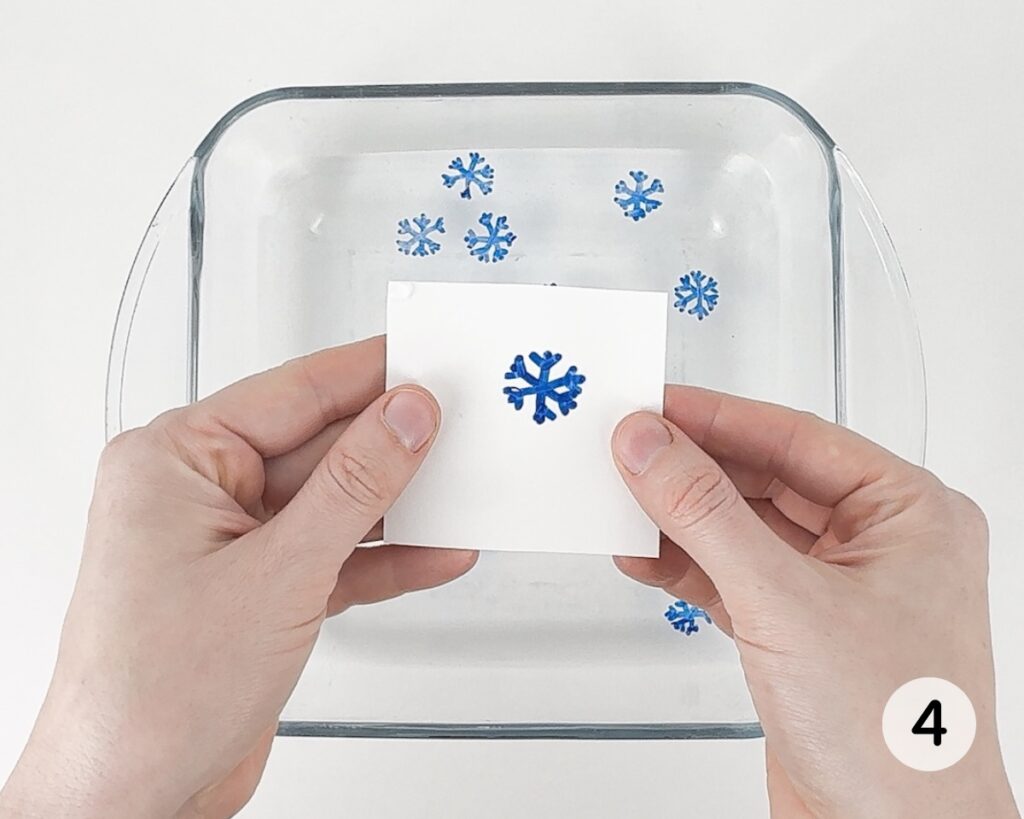
Step 4: “Catch” the snowflakes (optional). If you wish, have fun “catching” the snowflakes by pressing a small piece of paper on top of them as they float—snowflakes that come into contact with the paper will stick to it!
My kids love this floating ink trick every time we try it, and they’re usually able to do the whole thing with little to no help from an adult! I’m a huge fan of how easy and customizable this experiment is, and we’ve adapted it to several different occasions over the years.
Helpful Tips
- Don’t use dried out markers: Using old, dried out markers is the #1 thing that causes this experiment to fail, as the ink tends to stick to the spoon or simply disintegrate in water.
- Experiment with drying times: Depending on the brand of dry erase marker you use and how recently it was opened, you may need to let the ink dry slightly less or slightly more time before submerging the spoon in water. (Older markers with dryer ink require less drying time.) Start with 15 seconds and increase that time as needed until the snowflakes peel off easily.
- Tilt and rotate your spoon: As the snowflakes are peeling off, make sure to gently tilt and rotate your spoon to help them along. It can be a bit tricky to figure out the right way to do it at first, but you should get the hang of it pretty quickly!
- Quickly remove the spoon: Make sure to quickly remove the spoon from the water as soon as the snowflake has peeled off! If you don’t, the snowflake may stick to the surface of the spoon, and you’ll need to peel it off again.
Troubleshooting
Having trouble getting this floating ink trick to work? Here are some common issues and solutions:
- Snowflakes that won’t peel off the spoon: When this happens, it’s usually due to the ink being too dry or not dry enough. Erase the snowflake, thoroughly dry off the spoon and try again, but this time, let the ink dry for a bit less or a bit more time before dipping the spoon in the water. If that doesn’t work, it’s possible that the marker you used was too dried out—consider trying again with a newer marker.
- Snowflakes that break apart in the water: When this happens, it’s usually either because the marker was too dried out, because the lines of the snowflake you drew weren’t fully touching, or because you went over the same lines more than once with your dry erase marker when drawing the snowflake. Place a piece of paper on top of the broken snowflake in the water to “catch” and remove it from the dish, then try again, but be more careful about how you draw the snowflake.
- Snowflakes that fold and stick to themselves: When this happens, it’s usually because the snowflakes started peeling off the spoon, but then came into contact with the spoon again and started sticking to the ink that hadn’t peeled off yet. You won’t be able to unfold it, so I recommend simply wiping the snowflake off the spoon and starting over, making sure to dry the spoon thoroughly before you draw on it again.
- Tried everything else, and nothing is working: If nothing else seems to be working, you may need to use a different brand of dry erase marker. (U Brands markers have always worked for me.) You can also try drawing the snowflakes on the bottom of the glass dish while it is still empty, then slowly adding water to see if it slips underneath the ink.
Customizing This Experiment for Different Holidays
One of the things that makes this experiment so great is how versatile it is, and how easy it is to switch things up for different holidays and occasions! If you child enjoys creating floating snowflakes, here are some fun variations you can try:
- Floating Dry Erase Letters: This educational variant is a great way to add a learning component to this experiment and help your child practice their letter recognition.
- Floating Dry Erase Hearts: Celebrate Valentine’s Day at home by creating colorful hearts that float in water!
- Floating Dry Erase Spiders: This spooky variant of the floating ink trick is super simple to do, and perfect for Halloween.
Frequently Asked Questions
Have a question that wasn’t answered here? Let me know in the comments and I’ll be happy to help!
More Science Activities for Kids


If you have tried this Floating Snowflake Experiment or any other project on my website, please let me know how it went in the comments below. I can’t wait to hear from you!
Floating Dry Erase Snowflakes
Materials
- 1 blue dry erase marker (not dried out)
- 1 metal spoon
- 1 shallow dish
- water as needed
- small paper squares optional, as needed
Instructions
- Use a blue dry erase marker to draw a snowflake on the back of a spoon.
- Let the ink dry for about 15 to 30 seconds, then gently lower your spoon into a shallow dish filled with about an inch of water, holding the spoon at an angle so that only one side of the snowflake is touching the water. If the snowflake starts to peel off, gently rotate your spoon to help it along, continuing until it has completely peeled off. Once it has fully peeled off, quickly remove the spoon to prevent it from latching back on. (If the snowflake doesn’t peel off, try inserting the spoon at a different angle—or, if it still won’t peel off, erase the snowflake, dry off the spoon and try again with a slightly different drying time.)
- Repeat the previous steps as many times as you wish in order to create more floating snowflakes.
- Optional: Have fun “catching” the snowflakes by pressing a small piece of paper on top of them as they float—snowflakes that come into contact with the paper will stick to it.
Video
Notes
- Snowflakes won’t peel off: Try wiping off the snowflake, thoroughly drying the spoon and starting over with a shorter or longer drying time—or, if that doesn’t work, using a marker that is less dried out.
- Snowflakes breaking apart: Make sure that the lines of the snowflake are fully touching, and that you don’t go over the same line several times with your marker when drawing. (You can remove broken snowflakes from the dish by pressing a paper on top.)
- Snowflakes sticking to themselves: Make sure not to let the snowflake partially peel off, then come back into contact with the ink that remains on the spoon.
- Nothing else working: Try a different brand of markers, or draw the snowflakes on the bottom of an empty glass dish and slowly pour in some water to see if the drawings start to peel off the bottom.
- Avoid dried out markers: Dry marker ink can cause the experiment not to work.
- Tilt and rotate spoon: This will help the snowflakes peel off and prevent the ink from sticking to itself.
- Quickly remove the spoon: Quickly remove the spoon from the water to prevent the snowflakes from latching back on.

Only your name will be made public. Please note that by submitting your comment, you are agreeing to the terms of our Privacy Policy.