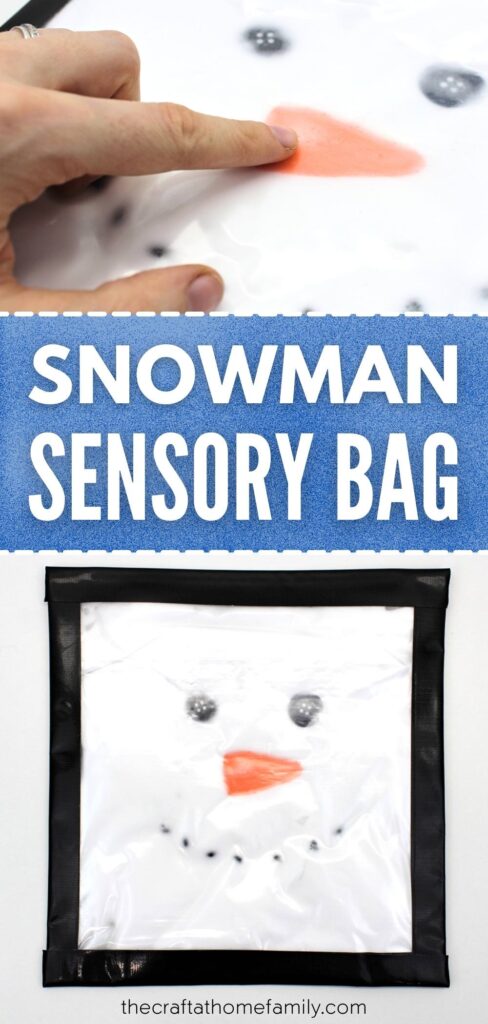
Whether you’re looking for an easy indoor activity to do when it’s cold outside or you’re putting together a winter theme for your preschooler, this melted snowman sensory bag is sure to be a hit—and it’s also a great way to let infants and toddlers explore new textures!
JUMP TO…
With four young kids at home, we’ve done our fair share of sensory exploration.
But the thing about sensory activities is that they can get messy. So sometimes, it’s nice to have some activities planned that won’t need to be scrubbed off our table and floors when the kids are done playing.
That’s where sensory bags come into play. Sensory bags are so squishy and fun to play with, and there are SO many different things you can put in them.
And because the bags are sealed, you don’t have to limit yourself to fillers that are taste-safe or too large for babies to choke on. So sensory bags can be a great way to let infants and toddlers safely explore objects that you wouldn’t normally let them touch.
So whether you’re doing a winter or snowman theme with your preschooler or you’re just excited to start doing some winter activities at home, you’ll definitely want to give this one a try.
(And once the shaving cream has lost its airiness, you can always save the buttons and nose for next time!)
P.S. Love snowmen? Check out this Melted Puffy Paint Snowman or this Recycled Puff Container Snowman!
Related: 2-Ingredient Fake Snow for Sensory Play

Get hundreds of pages of activities!
Get access to all our paid printables, as well as monthly activity planners, for just $5/month. (New printables added twice per month!)
Required Materials
Here’s what you’ll need to make your own snowman in a bag:
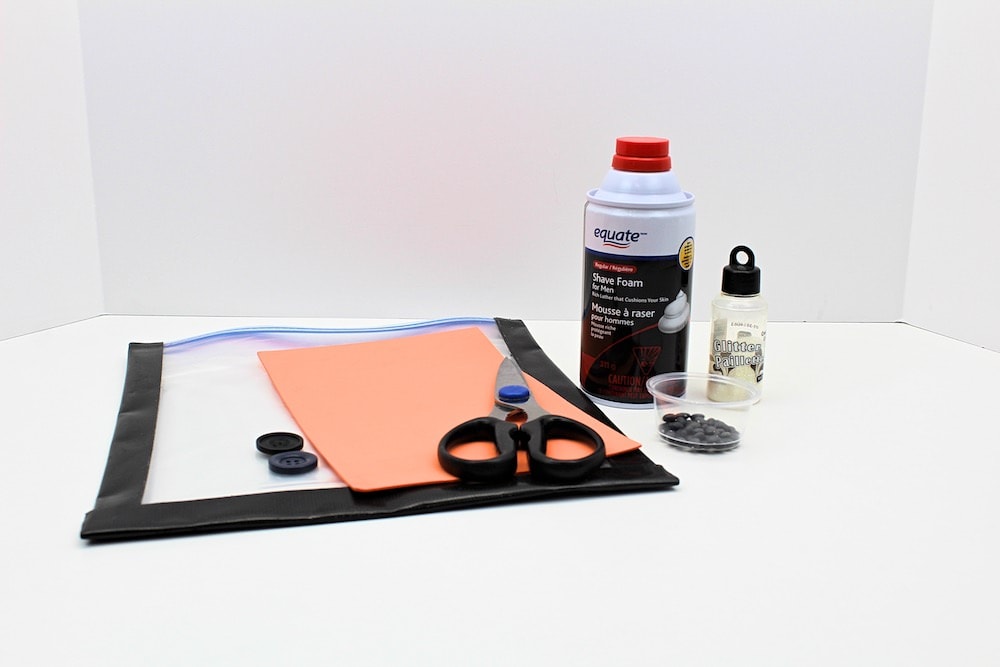
- Gallon-sized freezer bags (we buy ours at Costco when they go on sale)
- Gorilla Tape (optional)
- 2 large black buttons
- Orange craft foam
- Scissors
- Dried black beans or small black buttons or small black pom-poms (I used 10)
- Shaving cream
- White or iridescent glitter (optional)
Note: I used black beans for the mouth, but after a while, they started to disintegrate and left a brown trail in the white shaving foam. This bag has a limited shelf life and only lasts until the shaving foam loses its airiness, but if you’d rather keep the shaving foam nice and white, I recommend sticking with small black buttons or pom-poms.
Grab our 12 best sensory recipes!

By submitting your email address, you are agreeing to the terms of our Privacy Policy. You can unsubscribe at any time.
Note About Prepping Bags
I always prep my sensory bags in advance by double-bagging them and taping the seams shut. This doesn’t make them completely leak-proof, but it does make them last a lot longer and minimizes the mess from any leaks that may occur.
We love sensory bags, but we hate when they leak, and freezer bags tend to be pretty weak at the seams. I like to prep several bags in advance so I always have some ready to go whenever we want to make new sensory bags!
How to Make a Melted Snowman Sensory Bag (Step-by-Step)
1. Create Snowman Nose
For the first step, you’ll want to create the snowman’s nose out of craft foam.
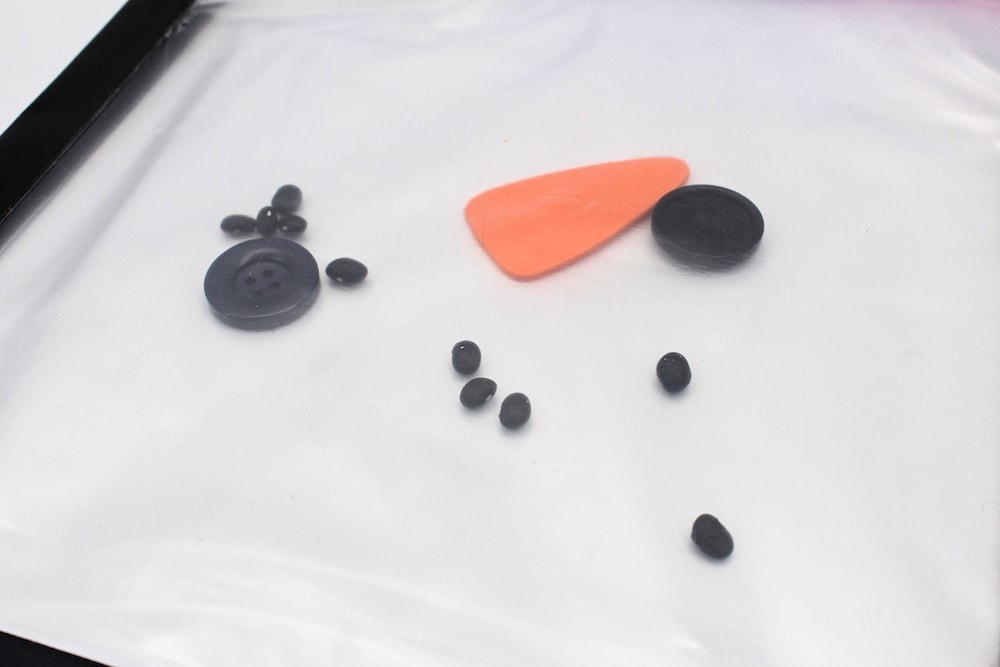
It size will vary depending on the size of the buttons you’re using, so I decided to arrange the buttons and black beans into a face to help me determine how big to make the nose.
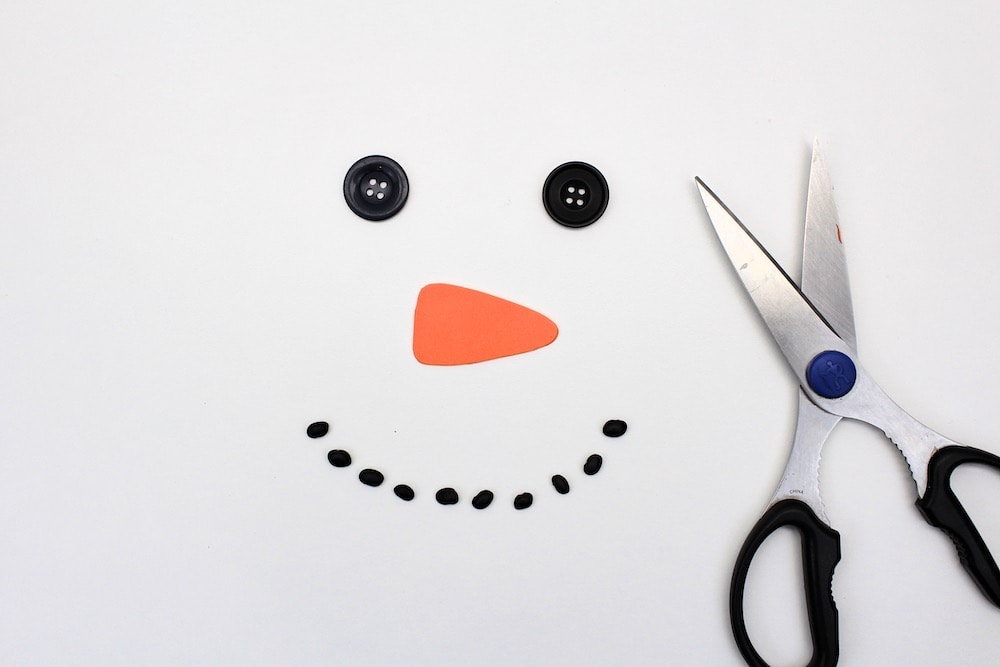
Once I knew how big I wanted to make it, I used a pencil to lightly trace its shape, then cut it with scissors.
2. Place Items in Bag
Place the button eyes, foam nose and black beans (or small buttons/pom-poms) into the bag.
If you’re using two bags to prevent leaks, make sure you place all the items in the inside bag and not in between the two bags. (I’ve made that mistake before and it can get messy when hair gel or shaving cream are involved.)
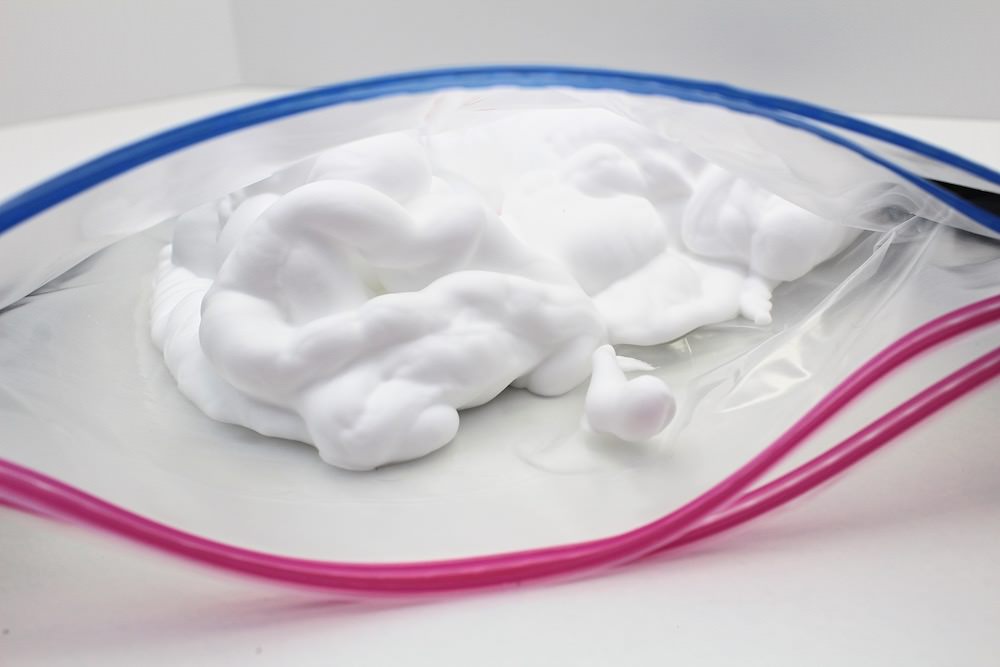
3. Add Shaving Cream
Because shaving cream takes up a lot of room, only add a bit to start with, then seal the bag and spread the shaving cream around.
Once you’re done spreading the shaving cream around, find the eyes, nose and mouth and try to arrange them into a snowman’s face.
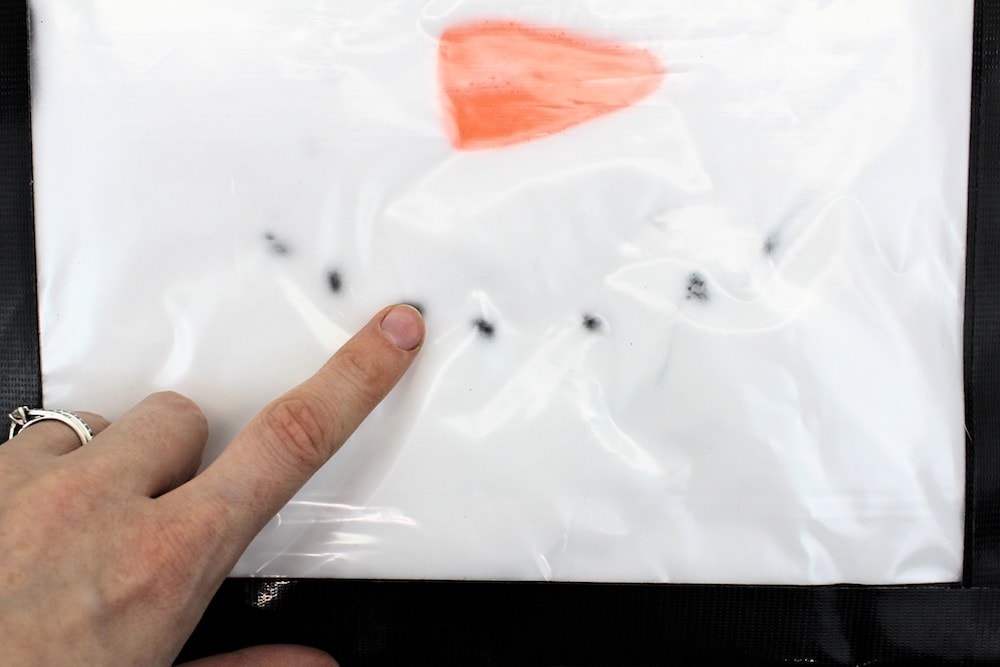
If you’ve added too much shaving cream, you won’t be able to see the entire face at once, because every time you press down on one of the items, the others will become covered in shaving cream and will no longer be visible.
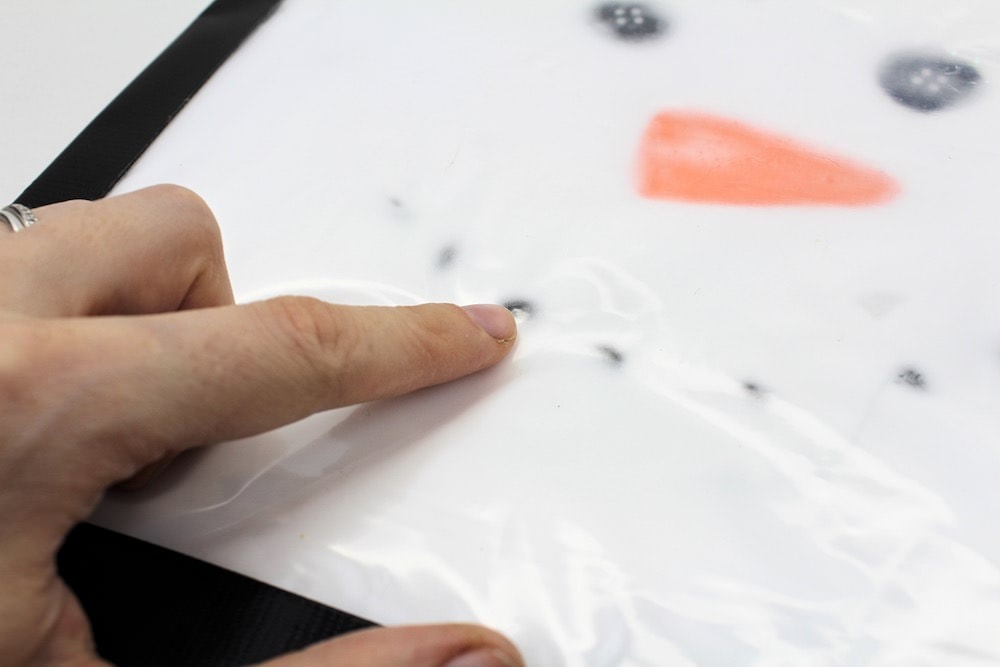
If this is the case, open up the bag and remove some of the shaving cream. Then, seal it up and test it again.
Once you can see all the facial features simultaneously, you’ve added the right amount and are ready to move on to the next step.
4. Add Glitter (Optional)
Open the bag and sprinkle a bit of white or iridescent glitter into the shaving cream before sealing it up again. If you’re not a fan of glitter, feel free to skip this step.
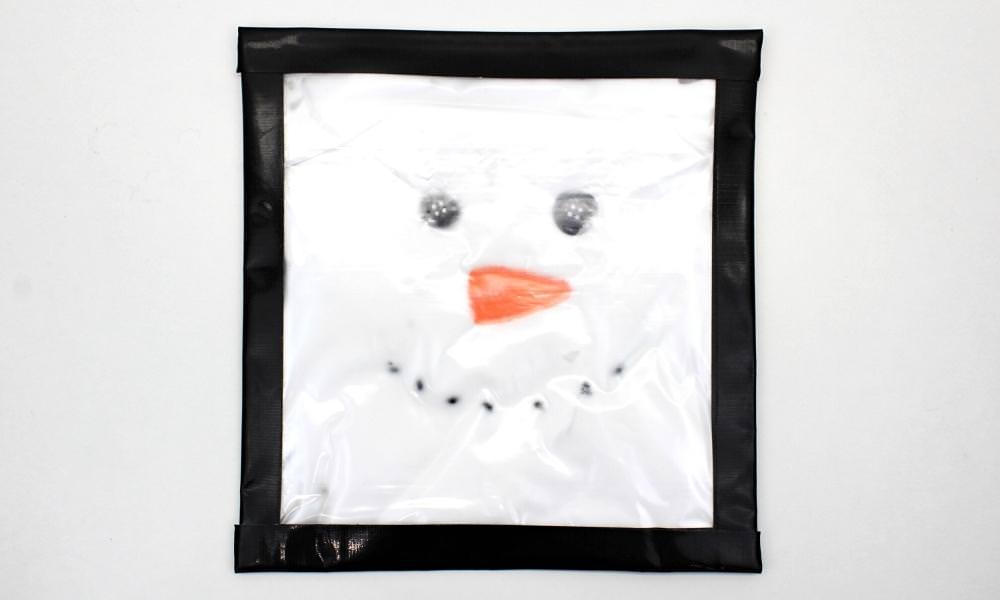
5. Seal Bag
Once you’re happy with how your bag looks and feels, seal it up for the final time, making sure to push out as much air as possible from both bags. I always tape ours up using Gorilla tape to help prevent leaks.

Then, give it to your little ones to play with and ask them to build a snowman by arranging all the facial features.
Related Sensory Bag Ideas
Love sensory bags as much as we do? Check out these articles:
- How to Prep Sensory Bags to Make Them Last
- Surprise Water Bead Sensory Bag
- Starry Night Sensory Bag (with Glow-in-the-Dark Stars!)
- Pom-Pom Rainbow Sensory Bag
- Monster Sensory Bag with Googly Eyes
- DIY Shape Matching Sensory Bag
Join my mailing list using the form below to receive 12 of the most popular sensory recipes on my site in PDF format! You’ll be the first to know when I publish new recipes, and you’ll also gain receive to lots of free printable activities for your kids.
Grab our 12 best sensory recipes!
By submitting your email address, you are agreeing to the terms of our Privacy Policy. You can unsubscribe at any time.
Only your name will be made public. Please note that by submitting your comment, you are agreeing to the terms of our Privacy Policy.