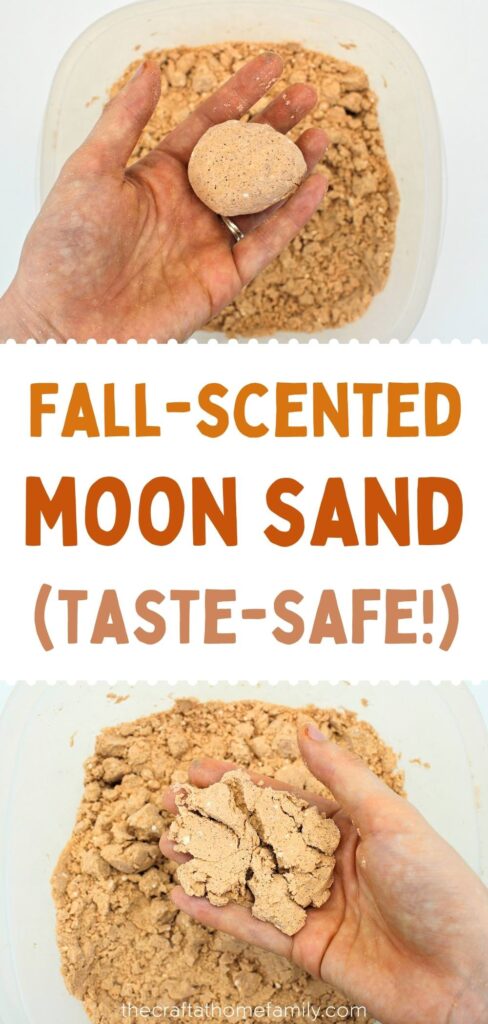
Love the smell of fall spices? This easy fall-scented moon sand recipe is super simple to make, and it only requires a few taste-safe ingredients. Fall moon sand is perfect for toddlers and preschoolers who love to explore their environment with all five senses!
JUMP TO…
What is your favorite thing about autumn?
Mine is probably the colors, but the aroma is a close second—both the earthy smell from the leaves outdoors and the sweet scent of fall spices like cinnamon, cloves and allspice.
Sensory play is a staple in our house, and of course, adding a lovely scent to any sensory recipe makes it 100% better. So naturally, I had to find a way to incorporate fall aromas into the activities I prepare for my kids.
We made a batch of Cinnamon Vanilla Play Dough a few weeks ago that makes our whole kitchen smell like cinnamon, and they’ve been having fun playing with it in the mornings before breakfast.
But if you’re looking for something that you can throw together in just a few minutes, this fall-scented moon sand recipe is a must-try. Not only is it super simple to make, but if you happen to have a baby or toddler at home who will be joining in the fun, you can even make it taste-safe!
I’ve also shared these 50+ fall-themed sensory activities for those of you who are looking for lots of fun activities to do during the months of September to November.
Grab our 12 best sensory recipes!

By submitting your email address, you are agreeing to the terms of our Privacy Policy. You can unsubscribe at any time.
P.S. Love moon sand? You can also try this Classic Moon Sand or this Beach Moon Sand that is perfect for summer!
Required Ingredients
Here’s what you’ll need to create a batch of fragrant fall moon sand at home:
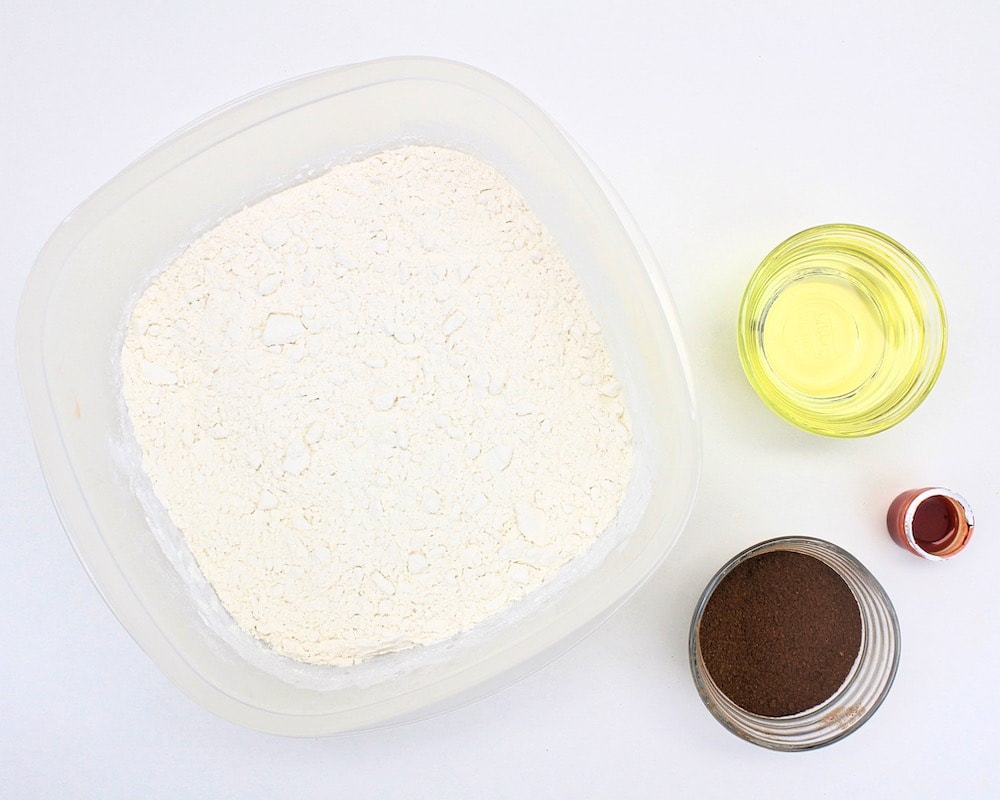
- All-purpose flour (if you need this recipe to be taste-safe, make sure to heat treat the flour by baking it in the oven before you use it)
- Vegetable oil
- Oil-based candy coloring (optional)
- Pumpkin pie spice (if you don’t have any, you can make your own by blending a few fall spices together) or cinnamon
We used 4 cups of flour and ½ cup of oil, but you can use whichever quantities you like as long as you maintain an 8 : 1 ratio of flour to oil.
The recipe card below shows how to make a small batch using 2 cups of flour, but you can divide or multiply the recipe to make as little or much as you like!
Note: We used vegetable oil, but you can also use refined coconut oil as long as you melt it first to ensure it is in its liquid form. I don’t recommend using unrefined coconut oil or baby oil for this recipe because their smell will conflict with the scent of the fall spices.
Grab our 12 best sensory recipes!
By submitting your email address, you are agreeing to the terms of our Privacy Policy. You can unsubscribe at any time.
How to Make Fall-Scented Moon Sand (Step-by-Step)
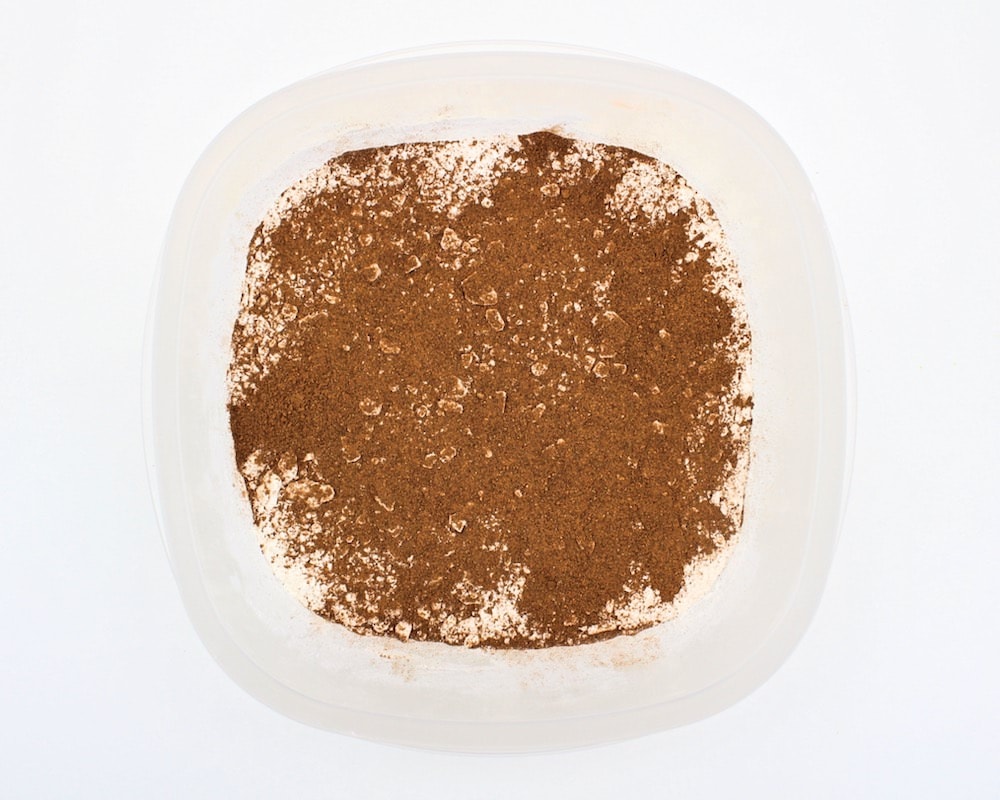
1. Combine Dry Ingredients
Pour the pumpkin pie spice into the flour and stir with a spoon until combined. We used 4 cups of flour and 2 tablespoons of pumpkin pie spice, but feel free to adjust the quantities according to your needs.
2. Add Candy Coloring to Oil (Optional)
This step is optional, but if you want your autumn moon sand to be colorful, you’ll need to add the coloring before you add the oil to the flour. I went with orange because it reminded me of pumpkin pie.
You won’t be able to use regular food coloring for this because it doesn’t mix with oil. Instead, you can use candy coloring, which is oil-based.
To color your moon sand, simply mix the candy coloring in with the oil. (We used ½ cup of oil for 4 cups of flour.) Pour a little bit of coloring into the oil and use a toothpick to stir it.
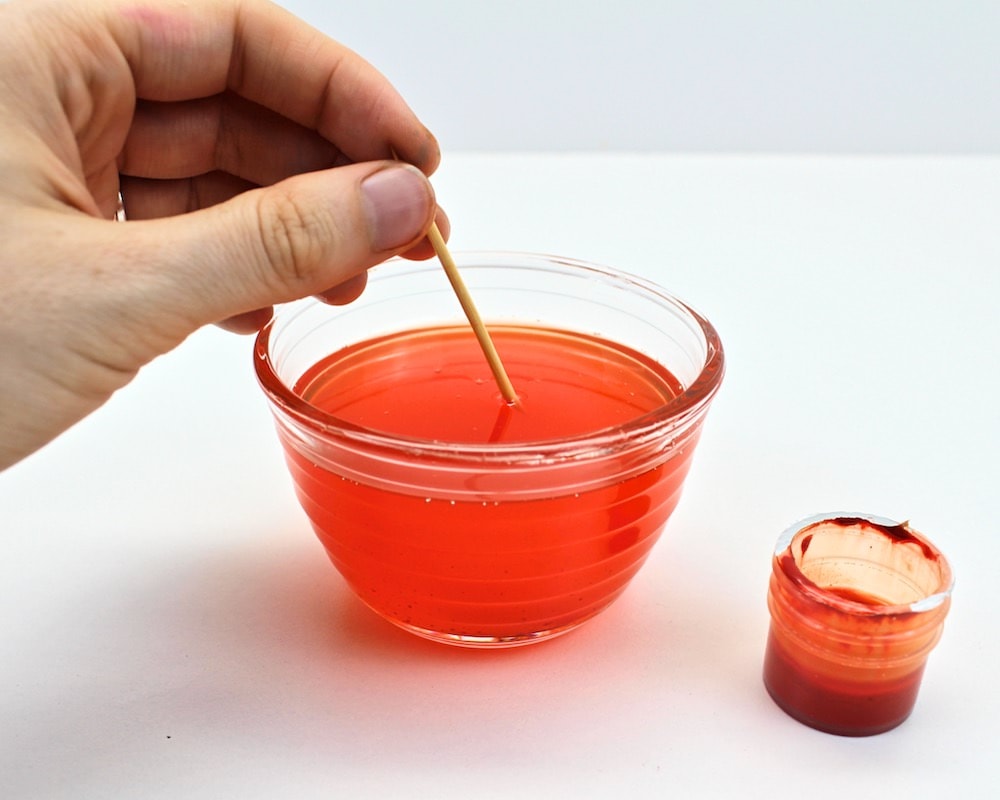
If you choose to color your moon sand, you’ll want to keep adding candy coloring until the oil looks nice and saturated. Don’t be stingy with it or you’ll end up with very pale colors once the ingredients are combined!
Note: If you would rather let the spices color the moon sand light brown, that is totally fine too! Or, if you do want to color the moon sand but don’t need the recipe to be taste-safe, you can always use powder paint instead of candy coloring.
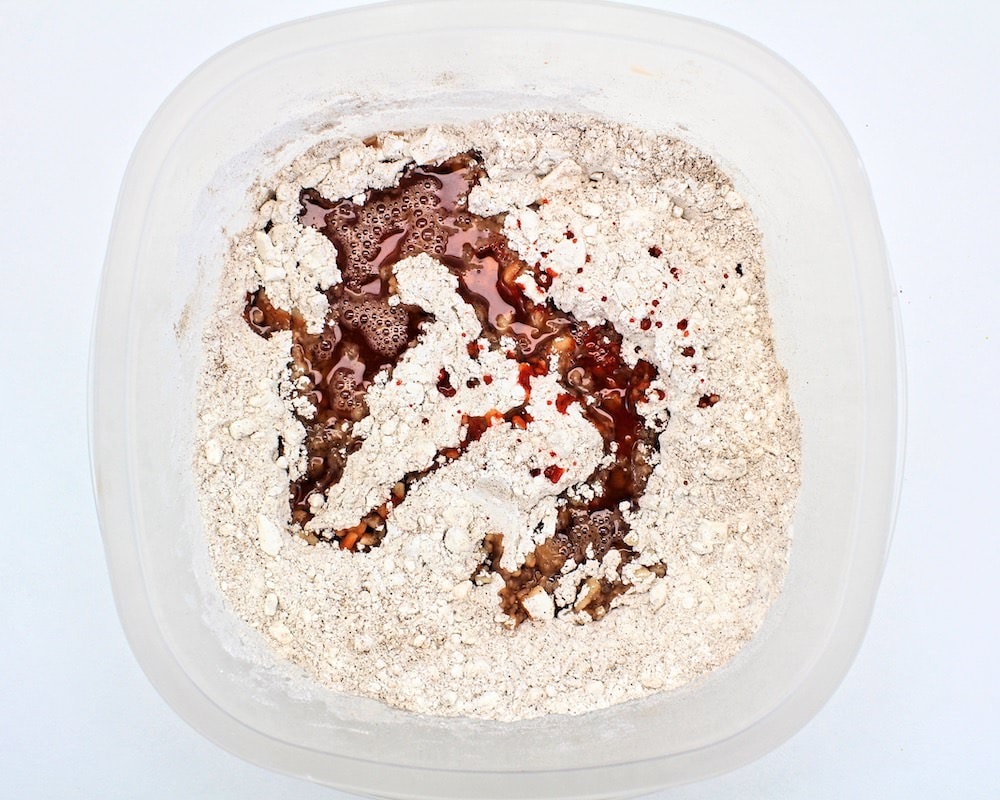
3. Add Oil
Once you’re satisfied with the hue of the oil, pour it into a bowl of flour and mix them together. You might have to break up a few clumps to combine them properly, especially if you heat treated the flour.
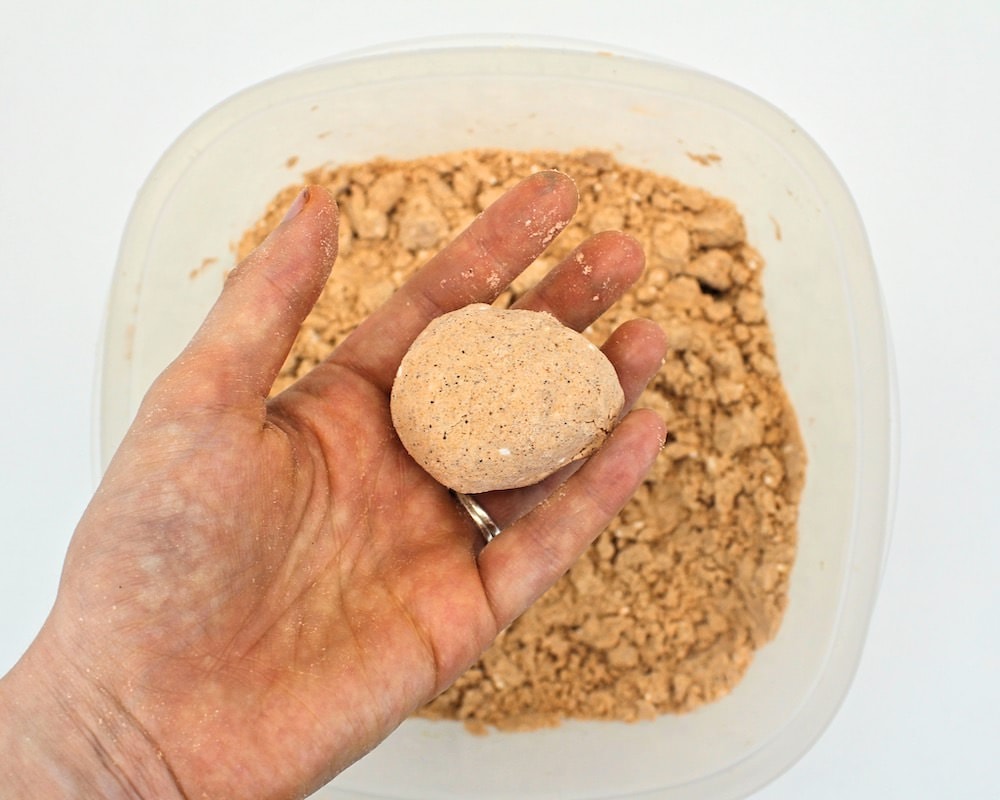
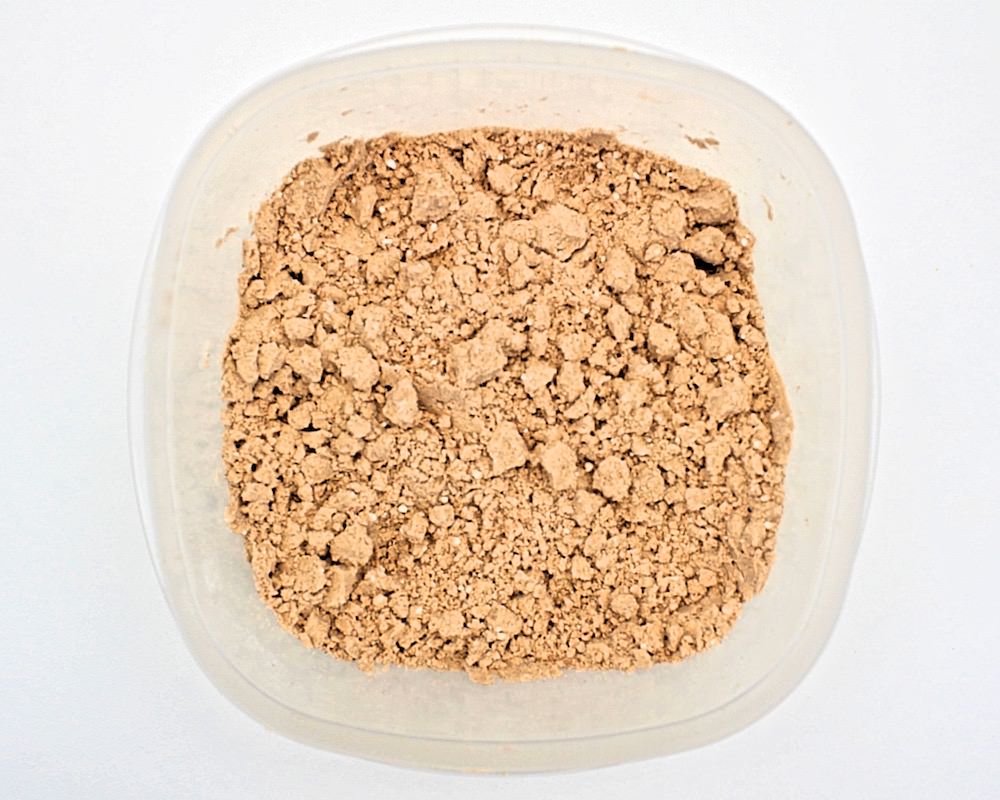
When the flour and colored oil have been properly combined, it’s time to play! Place your pumpkin moon sand in a bin and let your child enjoy it.
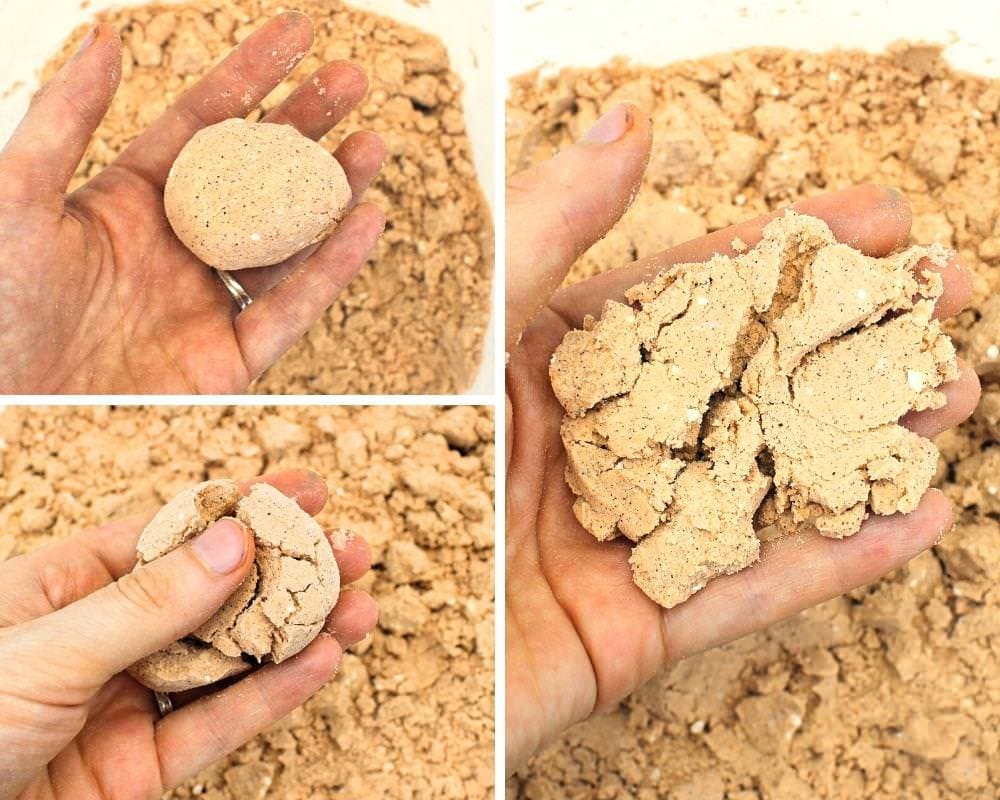
Moon sand has a really cool texture. It feels crumbly most of the time, but when pressure is applied, it can be shaped into a ball—sort of like wet sand.
Note: Moon sand is really fun, but it can get pretty messy. If possible, I recommend doing this activity outside. If that isn’t possible (I know it gets pretty cold in the fall in my part of Canada), you may want to consider placing a tarp or shower curtain on the ground underneath your sensory bin to make the cleanup a little bit easier.
How to Store Homemade Moon Sand
To store your DIY moon sand after your child is done playing with it, simply scoop it up and place it in an airtight container or zip-top bag. Provided your child’s hands were clean and nothing else has been added to it, moon sand can last for weeks or even months!
Just make sure you check the moon sand for mold before you let your child play with it, especially if you think they’ll try to put it in their mouths. You’ll probably have to throw it out sooner if you need the moon sand to be taste-safe.

Fall Scented Moon Sand
Ingredients
- 2 cups all-purpose flour
- 1 tbsp pumpkin pie spice or cinnamon
- ¼ cup vegetable oil
- oil-based candy coloring as needed
Instructions
- Place the flour on a baking sheet and bake it in the oven for 5 minutes at 350°F to kill any harmful bacteria. (You can skip this step if you don't need the moon sand to be taste-safe.)
- In a large bowl, combine all-purpose flour and pumpkin pie spice. Stir until combined.
- Use a toothpick to mix some orange candy coloring into the oil. Make sure you use enough as the color will become a lot lighter once the oil is mixed into the flour.
- Pour the oil into the flour and stir until combined, breaking up clumps of flour as needed. Then, give the moon sand to your child and let them play!
Notes
Related Fall Sensory Activities
Looking for more fun sensory activities to do with your toddler or preschooler this autumn? Check out these articles:
Join my mailing list using the form below to receive 12 of the most popular sensory recipes on my site in PDF format! You’ll be the first to know when I publish new recipes, and you’ll also gain receive to lots of free printable activities for your kids.
Grab our 12 best sensory recipes!
By submitting your email address, you are agreeing to the terms of our Privacy Policy. You can unsubscribe at any time.
Only your name will be made public. Please note that by submitting your comment, you are agreeing to the terms of our Privacy Policy.