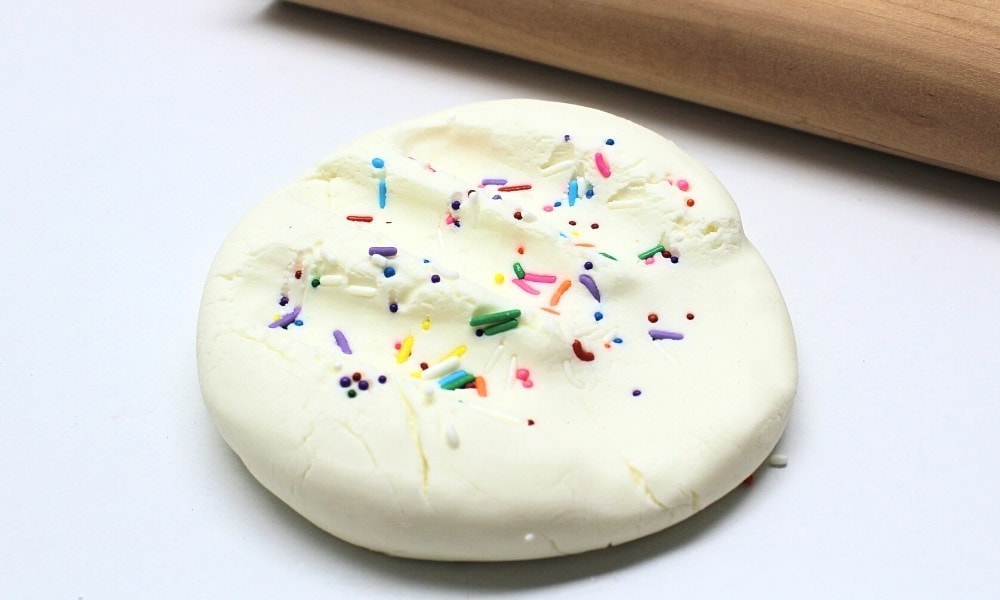
If your little ones like to put everything in their mouths, this edible frosting play dough is a great way to let them explore. Made using frosting, cornstarch and icing sugar, this easy no-cook play dough is both taste-safe and silky smooth—and it only takes a couple minutes to prepare!
This post may contain affiliate links, which means I may receive a commission, at no extra cost to you, if you make a purchase through a link. As an Amazon Associate, I earn from qualifying purchases. Please see my full disclosure for further information.
JUMP TO…
We have four kids under the age of six, so as you can imagine, play dough is a pretty big deal around our house.
Ever since we started making our own, we haven’t bought a single container from the store. Why waste the money when a batch of homemade play dough makes WAY more for a fraction of the price?
Homemade play dough lasts forever when properly stored, and it’s incredibly soft. Plus, you can add all sorts of spices and mix-ins to give it whatever scent, texture or quality you like—including thermochromic pigment to make it change colours while you play. So cool!
But what my kids seem to like most of all is sensory activities that they can eat as well as play with.
That’s not to say that I encourage them to eat our sensory materials. Obviously they’re not meant to be treated like snack food.
But taste-safe sensory activities are a great way to engage all of your child’s senses while also being safe for babies and toddlers who like to put everything in their mouths!
And not only does this edible frosting play dough smell and taste great, but it’s also soft, silky and super simple to make. So if your kids like to play with play dough, it’s definitely worth a try!
Related: Best Chocolate-Scented Play Dough Recipe
GRAB OUR 12 BEST SENSORY RECIPES!
Subscribe to our email newsletter to receive 12 of our most popular sensory recipes in PDF format as a welcome gift:
Already a subscriber? Don’t worry, you won’t be subscribed twice. By submitting your email address, you are agreeing to the terms of our Privacy Policy. You can unsubscribe at any time.
Required Ingredients
Here’s what you’ll need to whip up a batch of edible frosting play dough for your kids:
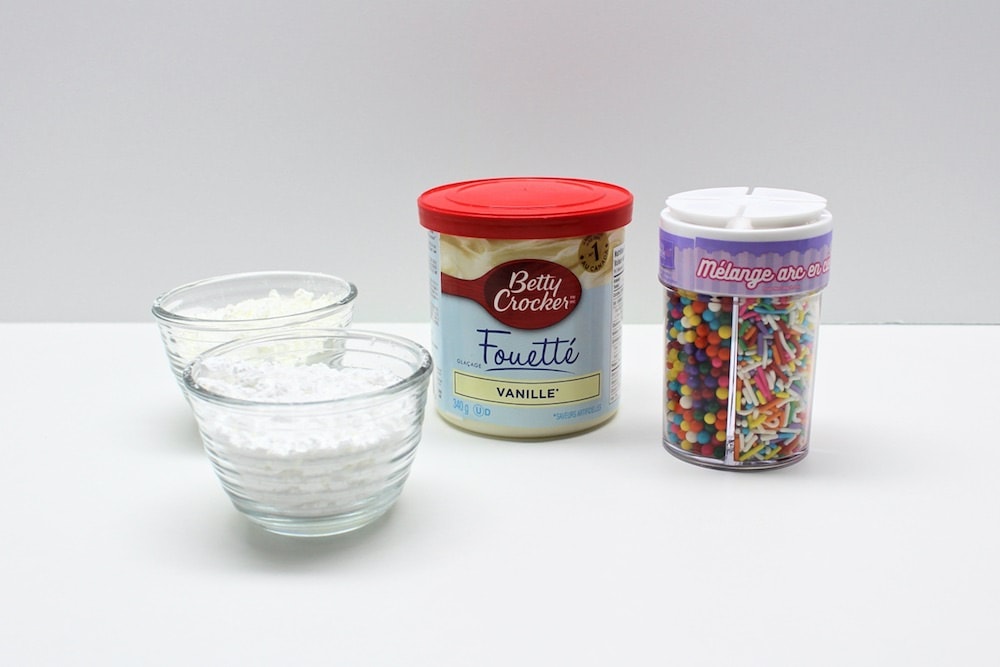
- Frosting (we used vanilla, but you can also use strawberry or chocolate)
- Cornstarch
- Icing sugar (also called “confectioner’s sugar”)
- Food colouring (optional)
- Sprinkles (optional)
Some recipes call for cornstarch and some call for icing (confectioner’s) sugar, but we chose to use both. This gave our play dough the smoothness of cornstarch while preserving the taste of the frosting thanks to the confectioner’s sugar!
Note: From what I could tell, the frosting didn’t contain any gluten, meaning this recipe could be a good gluten-free alternative to regular play dough. However, please be sure to check the ingredients for yourself before giving it to a child who is sensitive or intolerant to gluten!
How to Make Edible Frosting Play Dough (Step-by-Step)
1. Combine Cornstarch & Icing Sugar
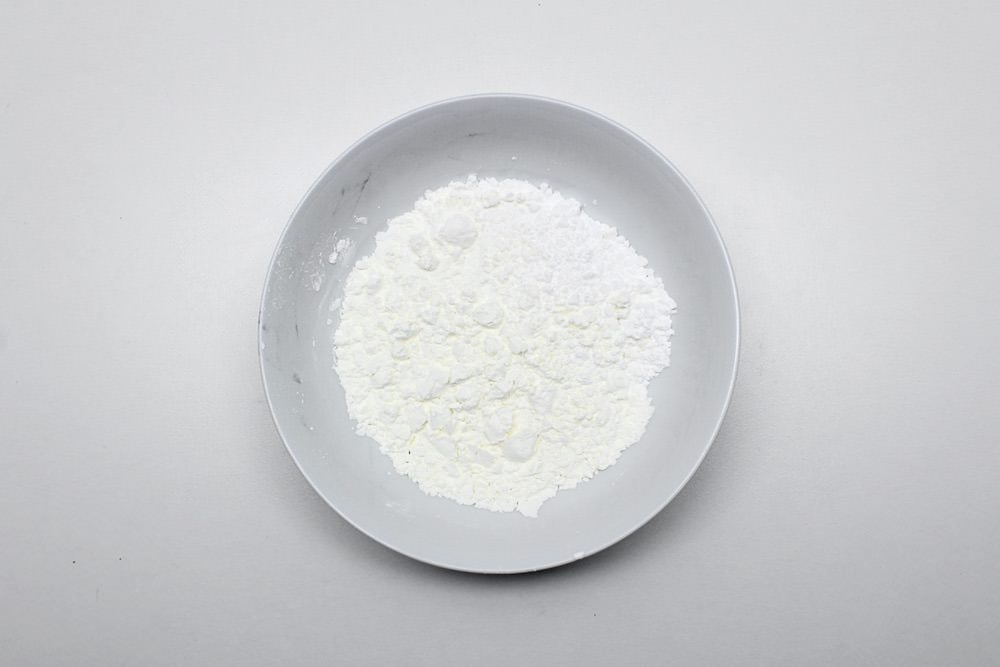
Start by combining ½ cup of cornstarch and ½ cup of icing sugar in a medium bowl and stirring them with a spoon.
2. Add Food Colouring (Optional)
We were going for vanilla birthday cake, so we chose to skip this step. But feel free to add colours to your play dough if you think it would be fun for your kids!
If you want to add colour to your play dough, spoon 1 cup of frosting into a small bowl and stir in a few drops of food colouring before moving on to the next step. (Feel free to divide the quantities if you’d rather make smaller batches of different colours.)
If you’re not a fan of food colouring but still want to shake things up, try experimenting with different icing flavours to make edible strawberry or chocolate play dough!
3. Add Frosting
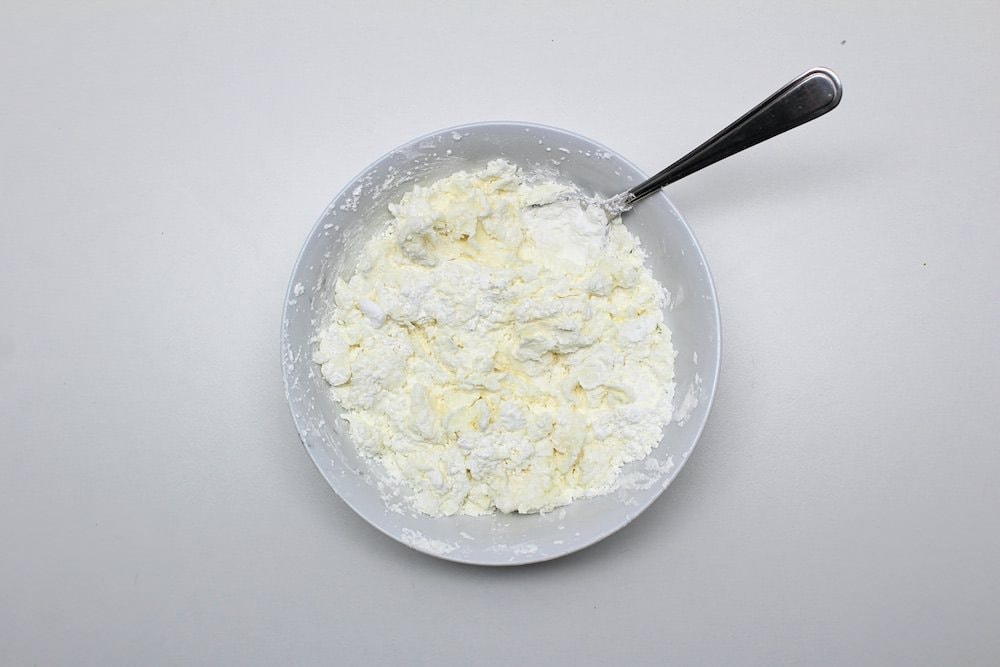
Add 1 cup of frosting (coloured or not) to the dry ingredients and stir until combined.
4. Adjust Texture
After combining the icing and dry ingredients, the play dough will probably be too sticky to play with.
Add a couple tablespoons of icing sugar and mix it in with your fingers. (You can use cornstarch if you prefer, but my five-year-old was helping me make ours and made an executive decision to use icing sugar.)
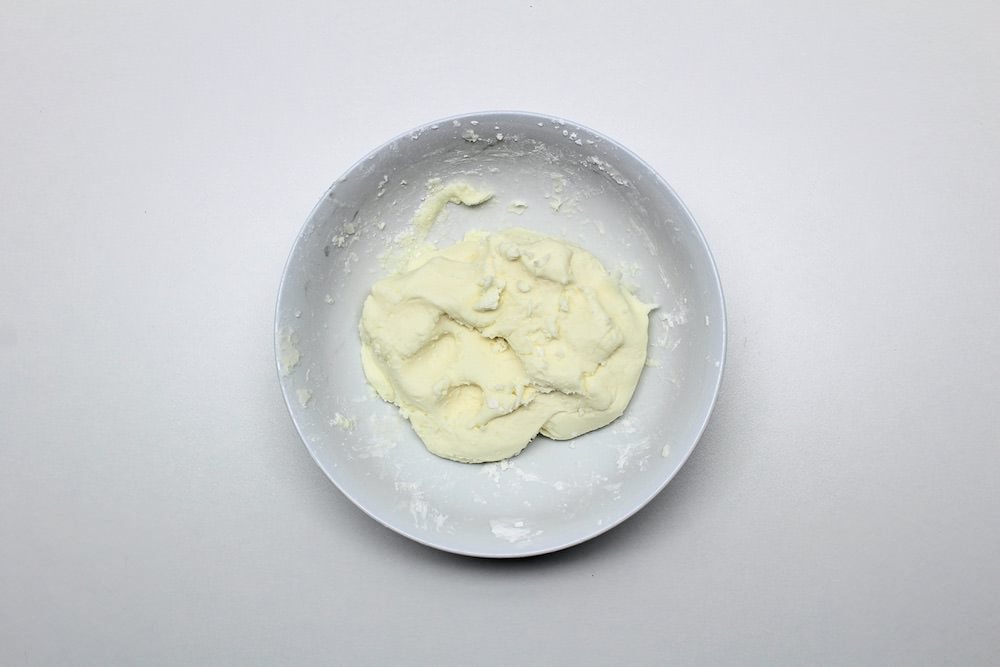
We ended up adding somewhere between ¼ cup and ½ cup of icing sugar before reaching the consistency we wanted. Feel free to start with less and see how it goes before adding more…but even if you do add too much, you can always add more frosting to compensate!
5. Knead Play Dough
Keep adding icing sugar and kneading the play dough until it has a silky-smooth texture.
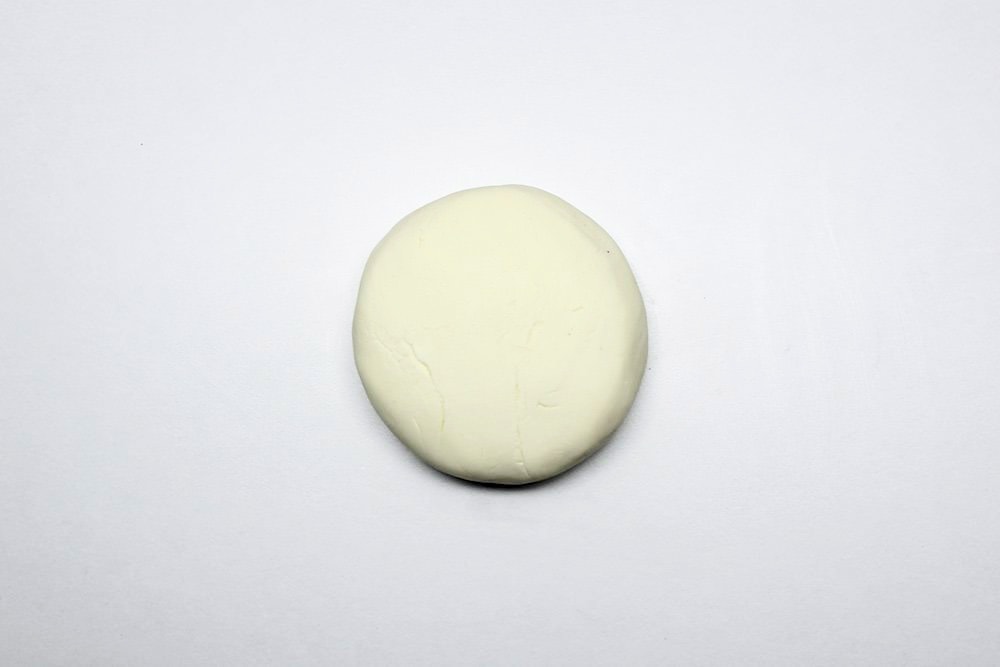
The first time I made this play dough, I was actually pretty surprised at how soft it was. It’s way smoother than regular play dough (even the homemade stuff) and it’s super fun to squish between your fingers!
6. Add Sprinkles (Optional)
If you want to add sprinkles, now is the time to do it!
Depending on the type of sprinkles you’re using, you may want to form a little cavity with your thumb in the middle of the ball of play dough and fold in the sprinkles.
We used both small and large sprinkles and while we had no issues with the large ones, the small ones kept rolling off and going all over the place.
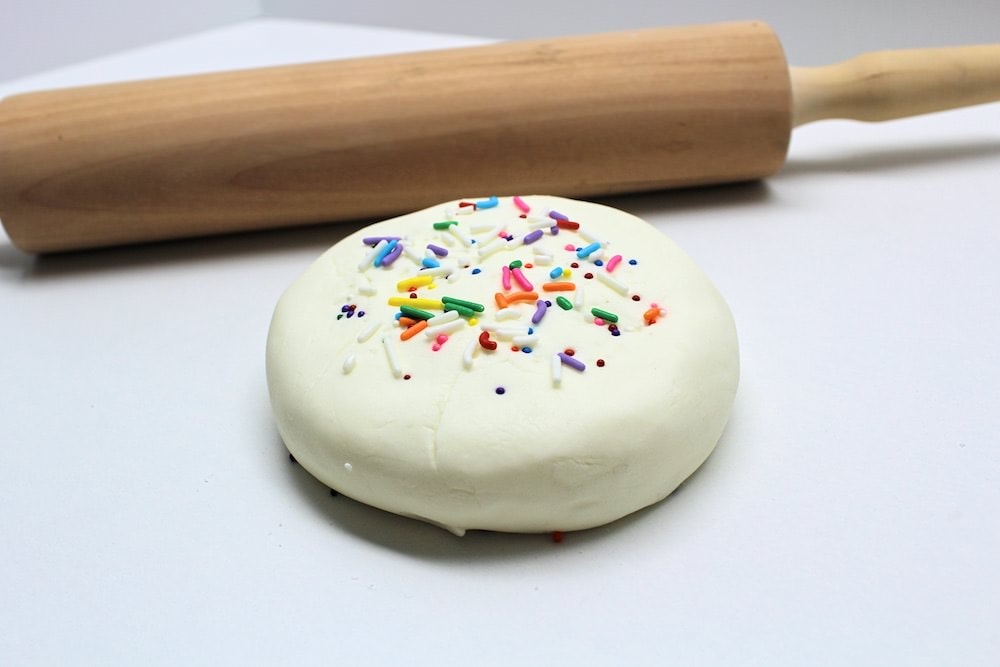
Once we made a small cavity in the play dough and poured the sprinkles into it before kneading them into the dough, things started to go a lot more smoothly.
And that’s it—so simple! Our kids had a blast playing with it (as well as sneaking a few bites)!
The play dough was so smooth that flattening it with a rolling pin was completely effortless, and the more we played with it, the more the sprinkles created little pockets of colour. So fun!
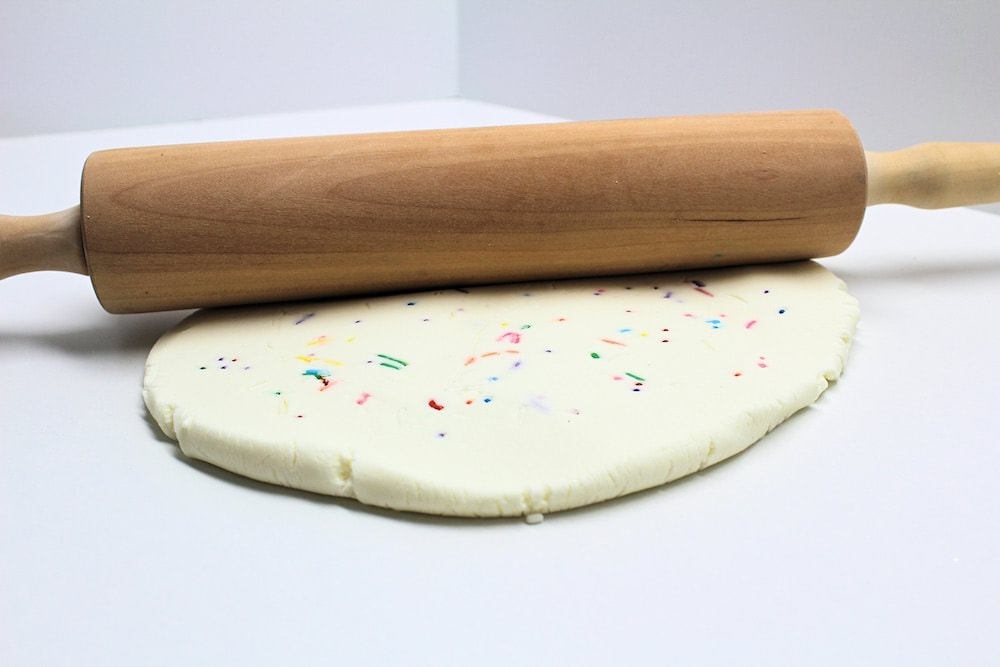
You may be able to store this play dough for a couple days in an air-tight container if it doesn’t get played with a lot, but it’s meant more as an activity that you set up for that day and then throw out once your kids are done playing with.
You can also try storing it in the fridge, but you’ll have to bring it back to room temperature in order to play with it. I hope your kids enjoy this activity as much as ours did!
Edible Frosting Play Dough
Ingredients
- 1 cup frosting
- ½ cup icing sugar
- ¾ cup cornstarch
- sprinkles optional
Instructions
- Combine icing sugar and ½ cup cornstarch in a medium bowl and stir with a spoon.
- Add frosting and stir until combined. If needed, continue kneading with your hands until the dry ingredients are fully incorporated.
- Add more cornstarch, one tablespoon at a time, and knead until play dough is soft enough to play with and no longer feels sticky.
- Keep kneading until the dough feels super soft and smooth. Add sprinkles if desired, and start playing immediately.
Related Taste-Safe Sensory Activities
Looking for more taste-safe sensory recipes to try with your toddler? Check out these articles:
- Colourful Taste-Safe Moon Sand
- DIY Edible Water Beads
- Taste-Safe Sensory Foam (Baby-Safe Play Foam!)
- Edible Jell-O Slime
- Rainbow Marshmallow Slime
Join my mailing list using the form below to receive 12 of the most popular sensory recipes on my site in PDF format! You’ll be the first to know when I publish new recipes, and you’ll also gain access to my free printables library, which is filled with lots of printable activities for kids.
GRAB OUR 12 BEST SENSORY RECIPES!
Subscribe to our email newsletter to receive 12 of our most popular sensory recipes in PDF format as a welcome gift:

Already a subscriber? Don’t worry, you won’t be subscribed twice. By submitting your email address, you are agreeing to the terms of our Privacy Policy. You can unsubscribe at any time.
Only your name will be made public. Please note that by submitting your comment, you are agreeing to the terms of our Privacy Policy.