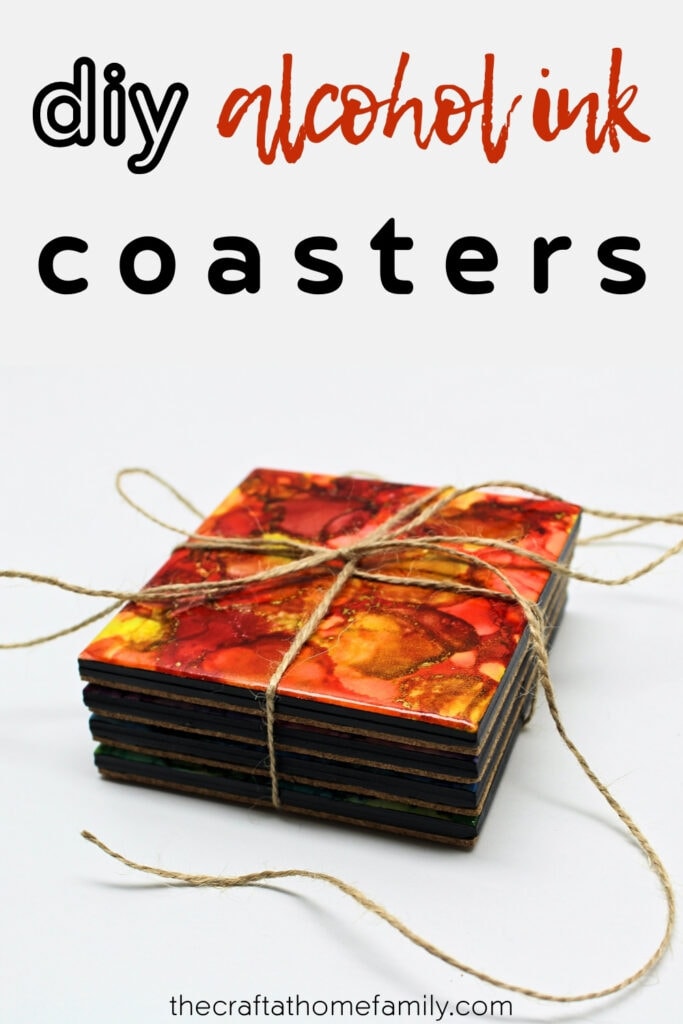
These DIY alcohol ink coasters are both gorgeous and great for practicing new alcohol ink techniques. They would make such a unique handmade gift, and you can even sell them at craft fairs or through online marketplaces like Etsy!
This post may contain affiliate links, which means I may receive a commission, at no extra cost to you, if you make a purchase through a link. As an Amazon Associate, I earn from qualifying purchases. Please see my full disclosure for further information.
JUMP TO…
Every year, when Christmas comes around, my husband and I like to show our appreciation for the important people in our lives by giving gifts to all our closest relatives and friends.
We’re happy to do it, but the cost of those gifts can add up pretty quickly. So a couple years ago, we decided to offer up our time instead, and challenged ourselves to start making Christmas presents for all our loved ones.
This resulted in some delicious-looking mason jar soup mixes, a couple handprint keepsakes made with the kids and a TON of homemade cookies in all sorts of flavours.
I had also just discovered alcohol ink at the time and was excited to start working with it, so I decided to try my hand at creating some artwork to give away. The first project I attempted was alcohol ink bookmarks, and I just loved how they turned out!
So I decided to try something a little more complicated—and as it turns out, making alcohol ink coasters really isn’t as complicated at it seems. (In fact, it may even be less complicated than bookmarks.)
The coasters I made that year were a first attempt, but I’ve made more since then, and as a result, I’ve improved upon the original project. I’ll be sharing my best tips in this tutorial so that you too can craft a set of gorgeous homemade alcohol ink coasters to use, to gift or even to sell!
Note: If you’ve never used alcohol ink before, be sure to read all the way to the bottom! I’ve included an entire section full of helpful alcohol ink tips right below the tutorial.
Required Materials
Here’s what you’ll need to make your very own set of beautiful handmade alcohol ink coasters:
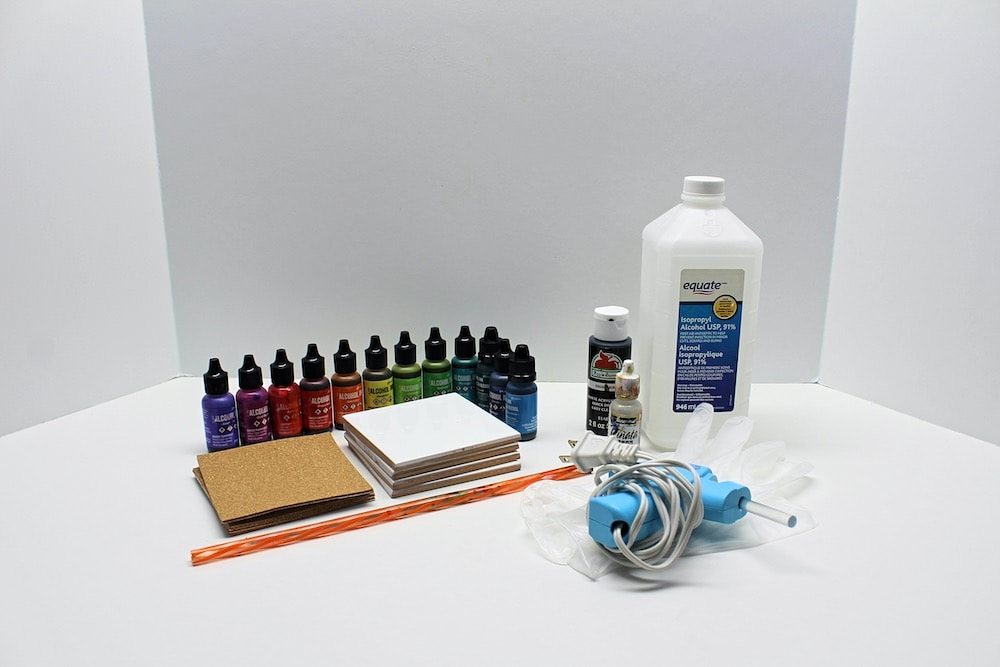
- Square 4”x4” white ceramic tiles (we bought them at our local hardware store)
- Alcohol ink in several colours
- Alcohol ink metallic mixatives (optional)
- Isopropyl alcohol
- Dropper (for the isopropyl alcohol)
- Krylon Kamar Varnish
- Black acrylic paint
- Paintbrush
- Square 4”x4” self-adhesive cork backing sheets (you can also use regular cork backing sheets and a hot glue gun, but the self-adhesive ones are so much easier to use and they hold up surprisingly well)
Note: I used square tiles, but you can choose another shape if you want (e.g. a circle or hexagon) as long as you use appropriately-shaped cork mats for the backing.
Additional Recommended Supplies
All the materials listed above are absolutely required for this project, but I also recommend using the following supplies:
- Parchment paper (to protect your work surface)
- Vinyl/latex/nitrile gloves (to avoid staining your hands)
- Plastic straw and/or low-temperature hair dryer and/or compressed air
Additionally, you’ll need ONE of the following two options in order to seal and protect the coasters:
I’ve provided more details on this in section 6, so be sure to read that if you’re not sure which to choose.
How to Make DIY Alcohol Ink Coasters (Step-by-Step)
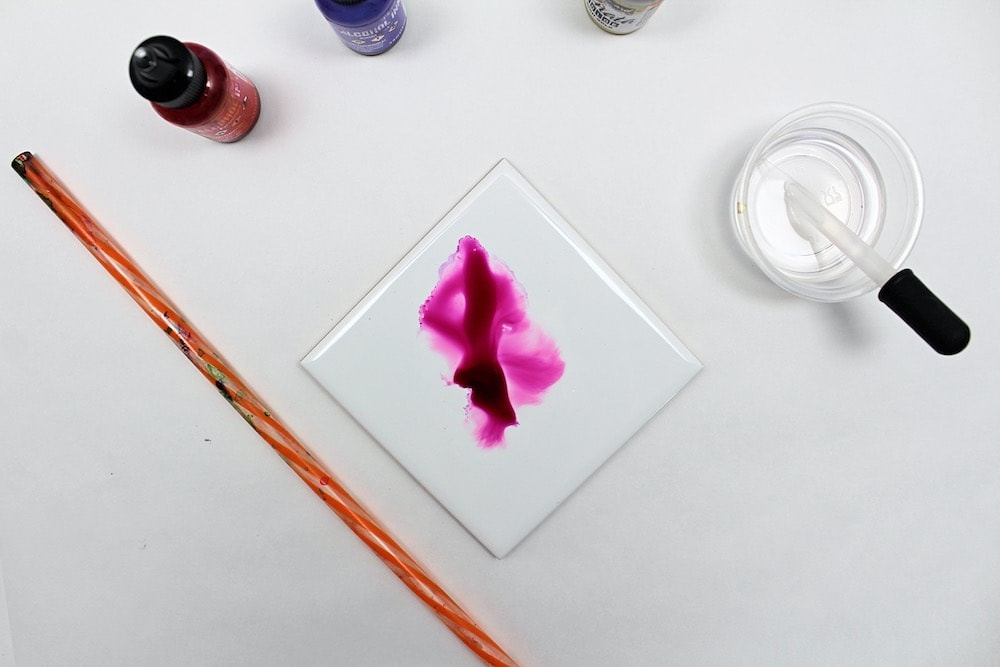
1. Add Isopropyl Alcohol to Tile
Start by squirting a bit of isopropyl alcohol onto one of the tiles, either with a dropper or by gently tipping over the bottle. (We’ll be decorating each coaster separately, so if you’re creating a set of four like I was, set the other three aside for now.)
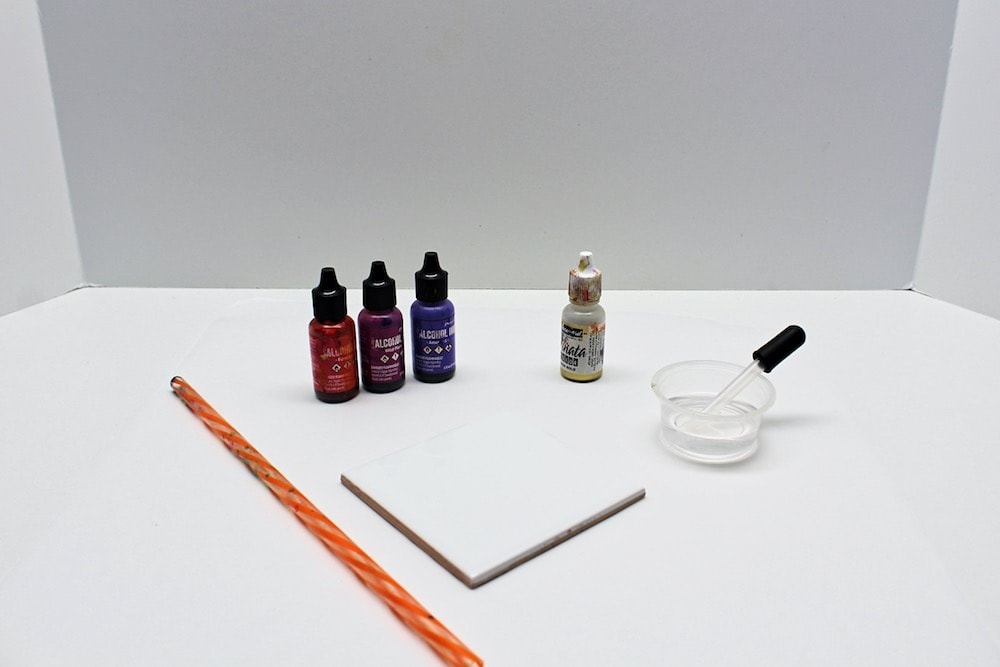
2. Add Alcohol Ink to Tile
Grab a bottle of alcohol ink and add a drop or two to the isopropyl alcohol. The ink should immediately start spreading wherever there is alcohol.
At this point, you’ll want to move the ink around to help it spread and create a pattern. Here are some of the ways you can do this:
- Tilt the tile and move the ink using the force of gravity;
- Blow the ink around using a straw;
- Use a can of compressed air to send the ink wherever you want;
- Move the ink around using a low-temperature hair dryer.
My personal favourite is using a straw to blow the ink around, because I like the level of control that it gives me. (Not that you can really control what alcohol ink does—it sort of has a mind of its own.)
However, you may prefer another method, so I encourage you to try things out and see what you prefer! You’ll probably achieve a softer look if you use a hair dryer or gravity, so you may like those options better.
The good news is that alcohol ink designs are never permanent unless you seal them with Krylon Kamar Varnish. This means that if ever you’re experimenting and you’re not happy with how your coasters look, you can always add more isopropyl alcohol to reactivate the ink and move it around.
You should even be able to wipe everything off and start over from scratch provided you use enough alcohol. So feel free to experiment as much as you like since there’s really very little you can do to mess it up!
(Note: If you’re a beginner, keep reading till the end as I’ve included lots of helpful tips for working with alcohol ink!)
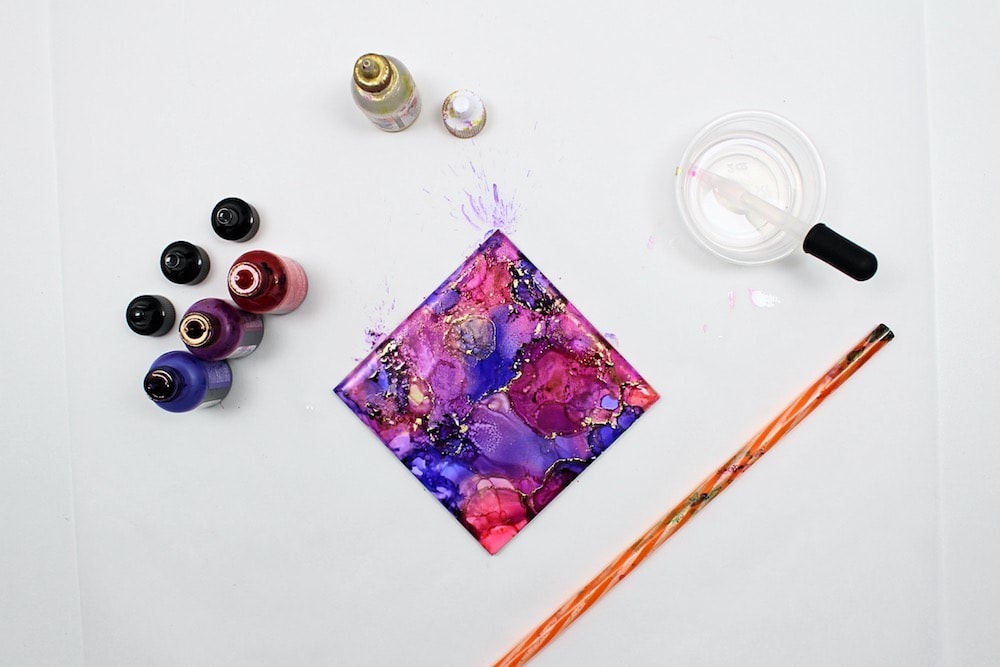
3. Create Design on Tiles
Keep adding more drops of isopropyl alcohol and alcohol ink, moving them around using your preferred method (you can use several) until you’re happy with the look of your coasters.
Try not to mix too many dark colours together, but if ever you do and aren’t happy with the way they look, simply add more isopropyl alcohol to thin out the ink.
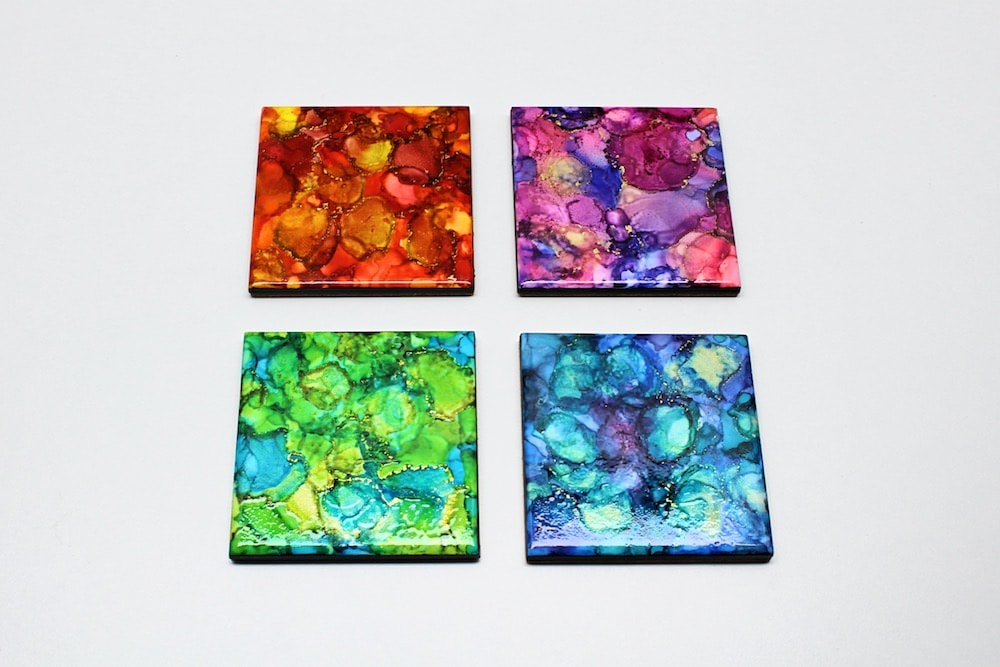
Try to choose colours that complement each other nicely. In case you’re interested, here are the colours I used (all from the Ranger/Tim Holtz collection):
- For the red coaster: Poppyfield, Valencia and Dandelion;
- For the purple coaster: Flamingo, Wild Plum and Amethyst;
- For the blue coaster: Stream, Denim and Sailboat Blue;
- For the green coaster: Limeade, Botanical and Mermaid.
If you want, you can also experiment with metallic mixatives. I added some gold mixative to my coasters and loved how they turned out!
Keep in mind that metallic mixatives don’t behave quite the same way as regular alcohol ink and the metallic flecks tend to stay in place once they’ve dried, so I recommend using them sparingly in the beginning until you’ve figured out how to work with them.
I personally LOVE the gold metallic mixative in particular and use it quite often. It really adds something special to my designs!
4. Let Dry
Once you’re happy with the look of your first coaster, repeat the previous steps for all four coasters, then let the ink dry for about 24 hours before moving on to the next step.
5. Seal Alcohol Ink
When creating alcohol ink artwork, I typically use at least two types of spray to seal and protect my work: Krylon Kamar Varnish and Krylon UV-Resistant Varnish. (The third spray will be discussed in a couple of steps.)
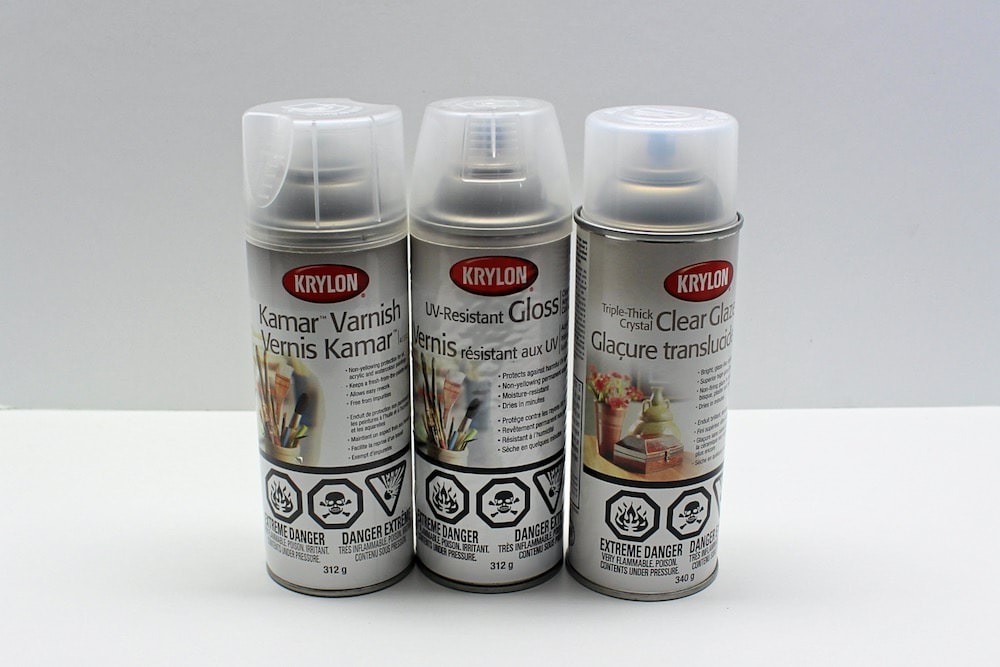
These two sprays seal the artwork, preventing the ink from being reactivated by alcohol, and protect it from fading due to exposure to sunlight.
Start with 3 coats of Kamar Varnish, letting the spray dry for about an hour in between coats.
Whatever you do, make sure that you cover the entire surface of the coasters in spray. This is crucial because the purpose of this spray is to seal the alcohol ink and prevent it from being reactivated by alcohol. If you miss a spot, your artwork will start running when you apply the next type of spray.
So if you’re not sure whether you managed to cover the entire surface of the coasters, err on the side of caution by adding more spray—better to overdo it than to have your artwork be ruined after all the hard work you put into it!
After you’ve added 3 coats of Kamar Varnish, let it dry for at least 24 hours. Then, apply 3 coats of UV-Resistant Varnish, letting the spray dry for about an hour between coats, and let it dry for another 24 hours.
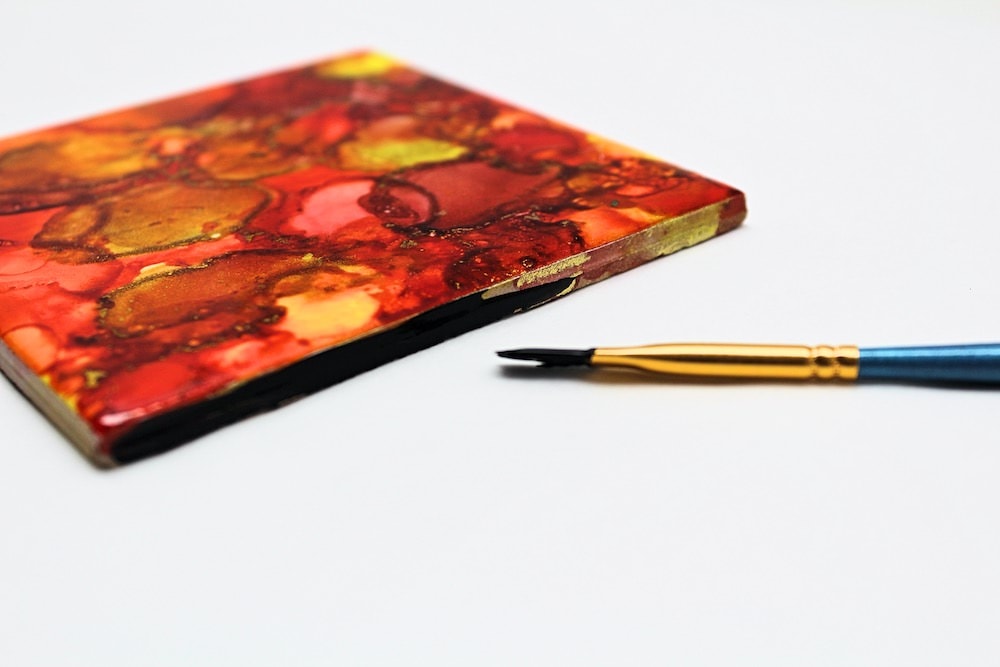
6. Paint Sides
Once the first two coats of spray are dry, use a fine-tipped paintbrush and some black acrylic paint to paint the sides of the tiles. This will make the finished coasters look cleaner and more polished.
Let the paint dry completely before moving on to the next step.
7. Protect Coasters
Step 5 involved sealing and protecting the artwork using Kamar Varnish and UV-Resistant Varnish.
This is usually sufficient for artwork that will be framed and displayed. But since the coasters will be manipulated and come into contact with glass and condensation, you’ll want to add some extra protection to make sure they don’t get ruined.
The simplest way to do this is with Krylon Triple-Thick Glaze. Like with the other sprays, I usually apply 3 coats, waiting about an hour in between each, then let it dry for at least 24 hours.
Applying these three types of spray typically works well for me, but if you want the coasters to be even more protected, you can skip the Triple-Thick Glaze and instead cover them in epoxy resin.

I didn’t do this for the purposes of this tutorial because it’s a bit more complicated, but it’s a fantastic way to preserve the coasters.
If you decide to go this route, you’ll need to mix the resin according to the instructions provided on the bottles, pour it evenly over the coasters and let the resin dry before moving on to the next step.
Whichever method you choose, I recommend waiting until the black acrylic paint has dried in order to provide a bit of protection to the paint as well!
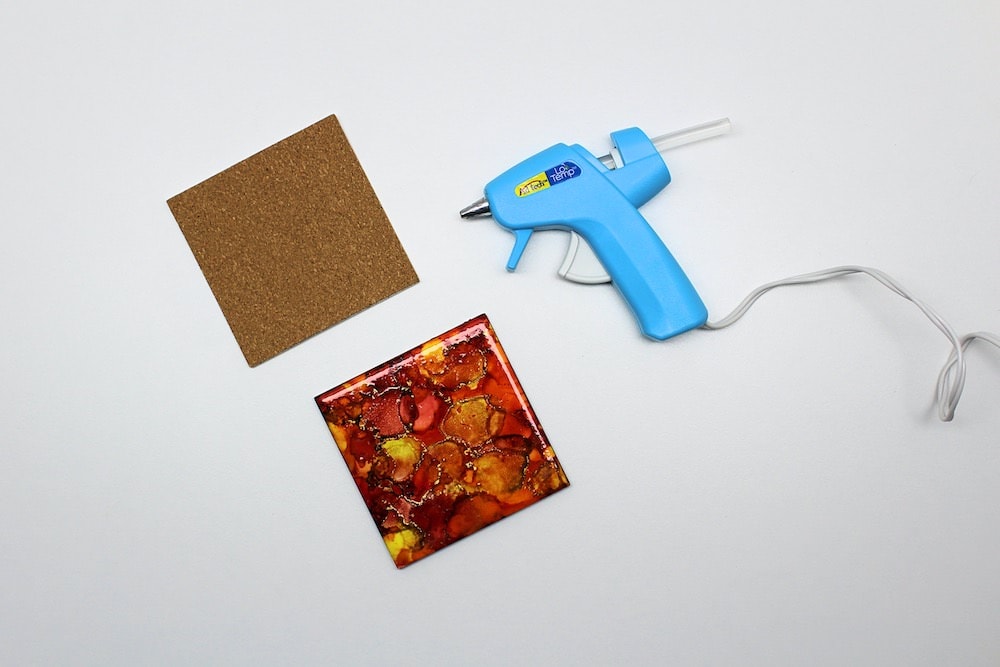
8. Add Cork Backing
Once the Triple-Thick Glaze or epoxy resin is completely dry, it’s time to add the cork backing.
The cork backing that I used was self-adhesive. I was a bit worried that it wouldn’t stick properly and tried adding some hot glue to make sure it wouldn’t detach, but that turned out to be unnecessary. The hot glue just made the cork lumpy, and the backing stuck way better once I removed it.
If you can’t find self-adhesive cork backing sheets, you may need to use a hot glue gun or another strong adhesive to affix them to the tiles.
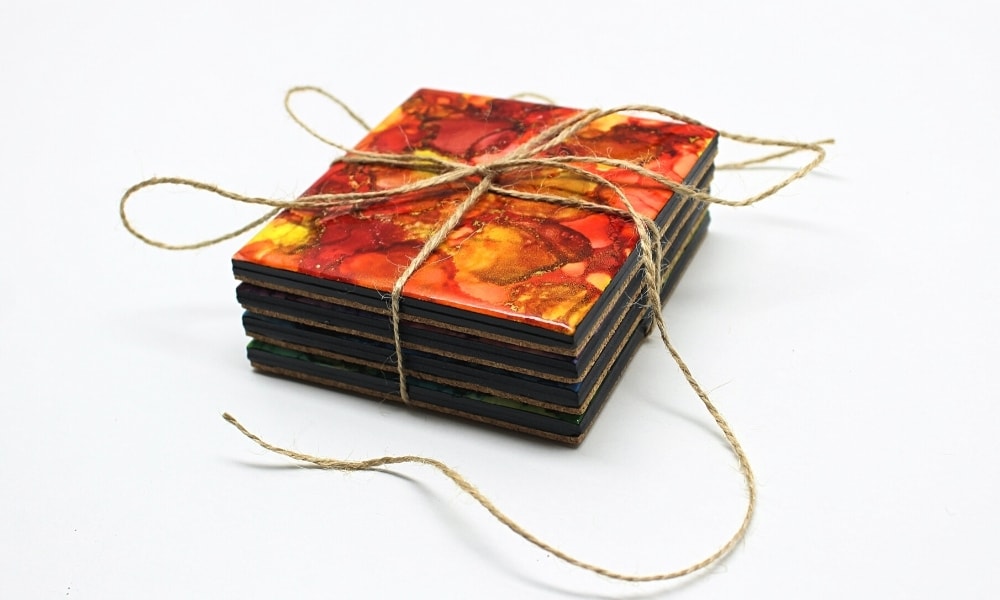
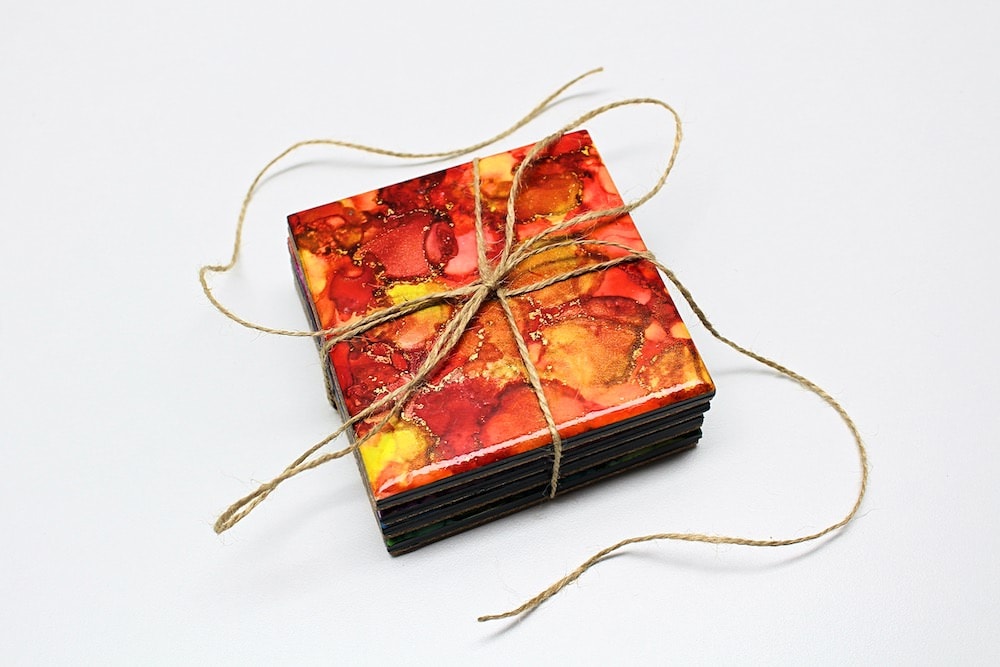
Once you’ve added the cork backing, the coasters are ready! You can stack them up neatly, wrap them up and gift them to your loved ones—or keep them for yourself. You can even sell them on a handmade marketplace like Etsy!
I’ve made several sets and each one was so beautiful and unique! I love that no two alcohol ink pieces are identical!
Alcohol Ink Tips & Troubleshooting
Since not everyone has worked with alcohol ink before, I’ve put together a little troubleshooting guide below to help you out! I’ve tried to answer most of the questions you may have, but feel free to comment with any questions that I haven’t answered!
Is Alcohol Ink Safe to Breathe in?
Alcohol ink shouldn’t be harmful to you, but both alcohol ink and the isopropyl alcohol you’ll need to activate it can emit fumes, so it’s important that you take proper precautions when working with it.
This includes working in a well ventilated area, and if you feel so inclined, wearing a mask. (You can take it off when blowing around the alcohol ink with a straw.) You’ll also want to make sure that you leave the bookmarks in a well ventilated area while the sealer sprays and/or art resin are drying, since those can also emit harmful fumes.
Keeping that in mind, I wouldn’t recommend making these coasters—or any other alcohol ink project—while pregnant. I’m sure it can be safe as long as all the right precautions are taken, but I personally didn’t feel comfortable being around all those fumes while I expecting.
Where Can I Buy It?
Alcohol ink can typically be found in craft stores or online. Most of mine was ordered from Amazon, but I’ve also purchased a few sets from Michaels because they were overpriced or difficult to find online.
Which Surfaces Can I Use It On?
Unlike most paints, alcohol ink is meant to be used on non-porous surfaces such as plastic, metal, ceramic or glass. You can’t even use it on canvas unless the canvas has been specially prepared with a latex primer!
As it turns out, ceramic tiles are actually a great medium for alcohol ink. They’re compact, tend to be quite cheap at the hardware store, and if ever you’re not happy with the way your artwork looks, they’re really easy to wipe clean. That makes them perfect for beginners who want to experiment with alcohol ink!
If ever you decide to get a little more serious about alcohol ink, keep in mind that it will not work on regular paper. If you want to practice on a larger surface, you’ll need to purchase Yupo paper—a special type of synthetic paper that is non-porous. I usually buy mine on Amazon.
If you want to test things out before investing in Yupo paper, you can also use a spare piece of clear plastic or glass from the recycling.
How Do I Clean It?
It’s quite possible that even if you protect your work surface with parchment paper, you’ll still end up with a few small droplets of alcohol ink in places you don’t want them.
Your first instinct may be to try cleaning up the ink with a wet cloth—and panic when it doesn’t come off. So I wanted to reassure you that it can indeed be cleaned. It just can’t be cleaned with water!
If you find any droplets of alcohol ink on your counter, table or floor, simply pour a little bit of isopropyl alcohol onto it and use a cloth or paper towel to wipe it up. The alcohol should make the ink come right off!
How Can I Fix My Mistakes?
If you go through all the steps listed in the tutorial and aren’t happy with the result, there’s no need to worry! Even when it seems dry, alcohol ink art is never permanent until you spray it with Krylon Kamar Varnish (see step 5) to prevent it from being reactivated by alcohol.
So if ever you’re unhappy with how your bookmarks look, simply pour a little bit of isopropyl alcohol onto them to reactivate the alcohol ink!
You can even restart the whole project from scratch if you use enough alcohol—the colours don’t always disappear completely, but they’ll fade enough that you should be able to cover them up with more ink. This works particularly well with ceramic tiles!
Related Alcohol Ink Crafts
Looking for more crafts to make with your new set of alcohol inks? Check out these projects:
You can also join my mailing list to receive fun craft and activity ideas right in your inbox! Subscribers gain access to my free printables library as well as to fun bonuses that will never be available on my site!
Thank you so much for the useful information! If you plan to resin the coasters, you don’t really need to do all of the different sprays is that correct? If you were going to resin them, would you tape the sides? I was thinking probably because then it would drip all underneath the bottom.Thanks again!
So sorry for the delay, I never got notified of your comment. If you’re planning on using resin, then you can simply use the very first spray (Kamar Varnish) in order to seal the alcohol ink, but omit the two other sprays. Taping the sides isn’t strictly necessary, but it’s a good idea if you’re worried about drips!
Thank you! I enjoyed reading what you wrote about alcohol ink! It’s very helpful! 😊
I’m so glad you found it helpful! Good luck with your alcohol ink projects!