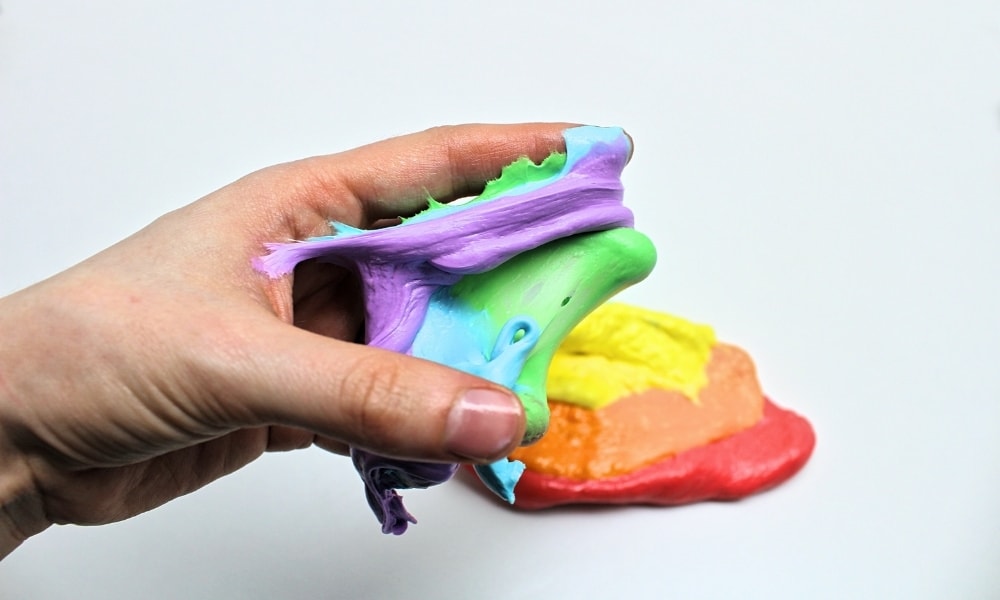
It may be hard to believe, but this colourful marshmallow slime is made using nothing but edible ingredients! It’s super smooth, super stretchy—and lots of fun to play with. Plus, because it’s 100% edible, you can give it to toddlers and younger kids without having to worry!
This post may contain affiliate links, which means I may receive a commission, at no extra cost to you, if you make a purchase through a link. As an Amazon Associate, I earn from qualifying purchases. Please see my full disclosure for further information.
JUMP TO…
Our eldest daughter was never one to put everything in her mouth. But even though we’ve never had to worry about her eating soap or choking on water beads, she’s always loved having a taste (or several) of any activity that’s prepared using edible ingredients.
She loves rescuing animals trapped in Jell-O. She loves washing “muddy” farm animals covered in wet cake or pudding mix. And she loves having a taste of whatever sensory materials I’ve created for her younger siblings, who are the sort of children who like to put everything in their mouths.
Some of the activities we try, like Psyllium Husk Slime or Edible Water Beads, are more “taste-safe” than edible—they’re not harmful to ingest, but they also don’t taste great. We mostly make them so that her younger siblings can participate while she plays with “big kid” materials.
But we’ll also occasionally create edible activities that are meant for the whole family. For instance, we had lots of fun making snow ice cream this winter. And now that Saint Patrick’s Day is coming up, I thought this was the perfect time to make some edible rainbow slime!
GRAB OUR 12 BEST SENSORY RECIPES!
Subscribe to our email newsletter to receive 12 of our most popular sensory recipes in PDF format as a welcome gift:
Already a subscriber? Don’t worry, you won’t be subscribed twice. By submitting your email address, you are agreeing to the terms of our Privacy Policy. You can unsubscribe at any time.
Required Ingredients
Here’s what you’ll need to make some colourful (and edible!) marshmallow slime for your kids:
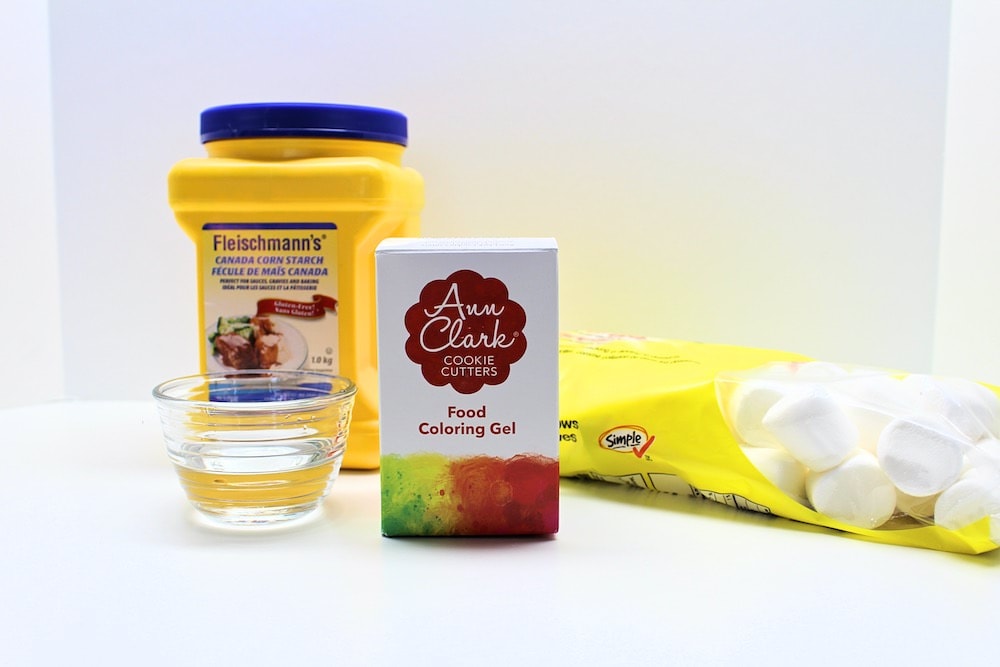
- 36 large marshmallows
- ⅓ cup coconut oil (or another cooking oil of your choice, but I went with coconut because it’s colourless)
- Food colouring
- ⅓ cup cornstarch
Note: For best results, it’s important that you follow the recipe exactly, especially as far are cooking times and quantities are concerned. I did a lot of experimenting while creating this slime, and the instructions I’ve shared should yield the smoothest, stretchiest slime possible. Please read the notes at the end if you run into any issues.
How to Make Edible Rainbow Slime Using Marshmallows (Step-by-Step)
1. Heat Marshmallows
Start by placing six marshmallows in a bowl with ½ teaspoon of coconut oil, then heating them in the microwave. (Don’t add too much coconut oil or you’ll have trouble stirring the marshmallows once they’re melted!)
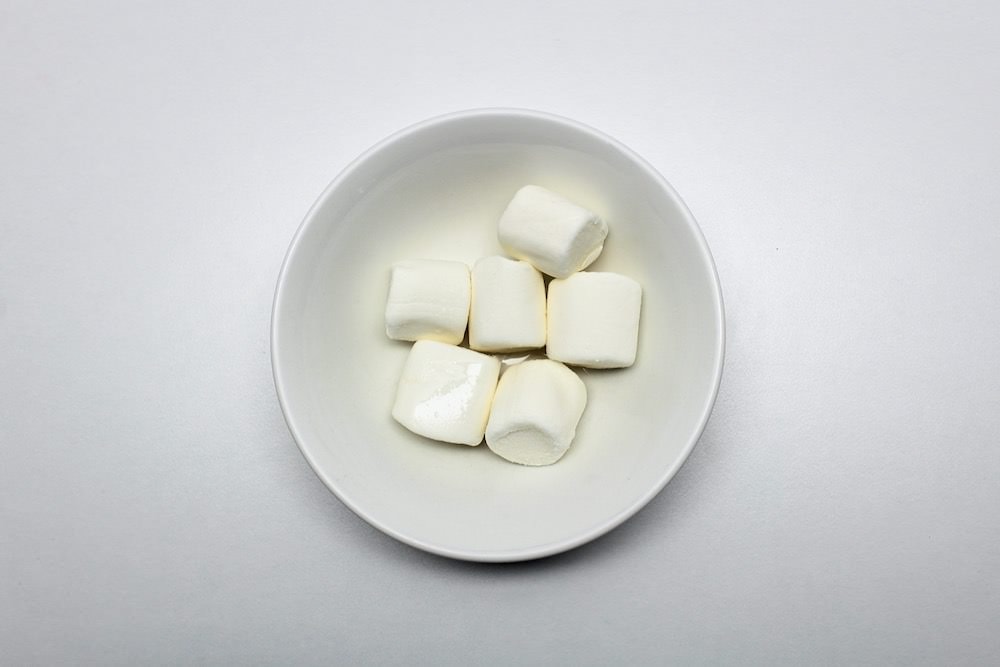
I heated mine for about 30 seconds at full power. You’ll want to heat the marshmallows long enough to soften them up for stirring, but not so long that they start to cook. Overheating the marshmallows will make your slime lumpy and stiff.
2. Stir Marshmallows
Use a small spoon to stir the melted marshmallows. If you’re having trouble stirring them, you can place the bowl back in the microwave for a few seconds to make it easier—but be sure not to overcook them if you want your slime to be smooth and stretchy!
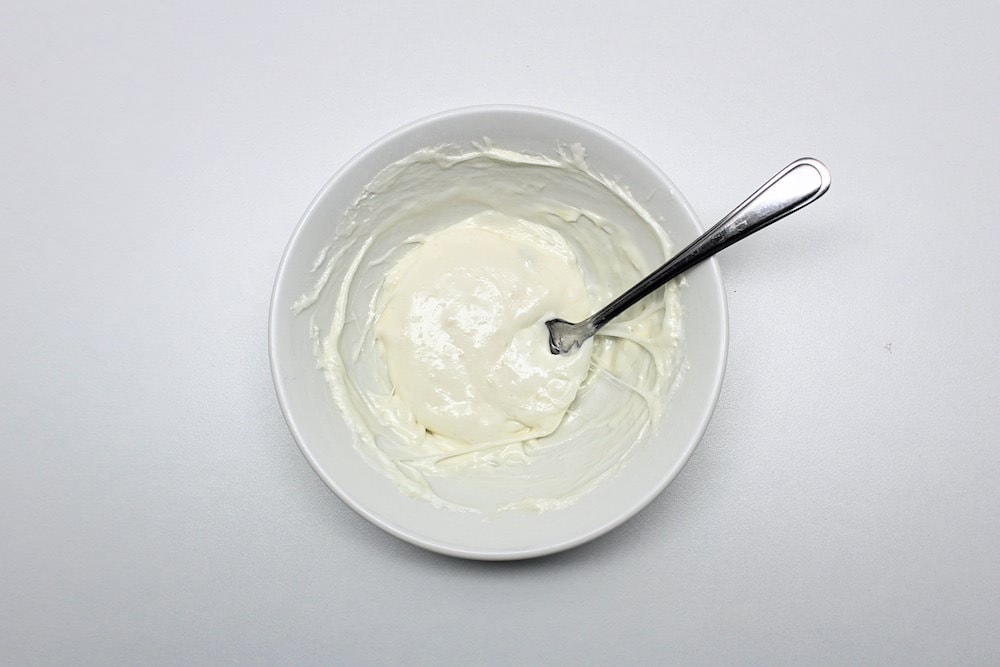
3. Add Food Colouring
Add a bit of food colouring and stir until well combined. Make sure the resulting colour is nice and bright.
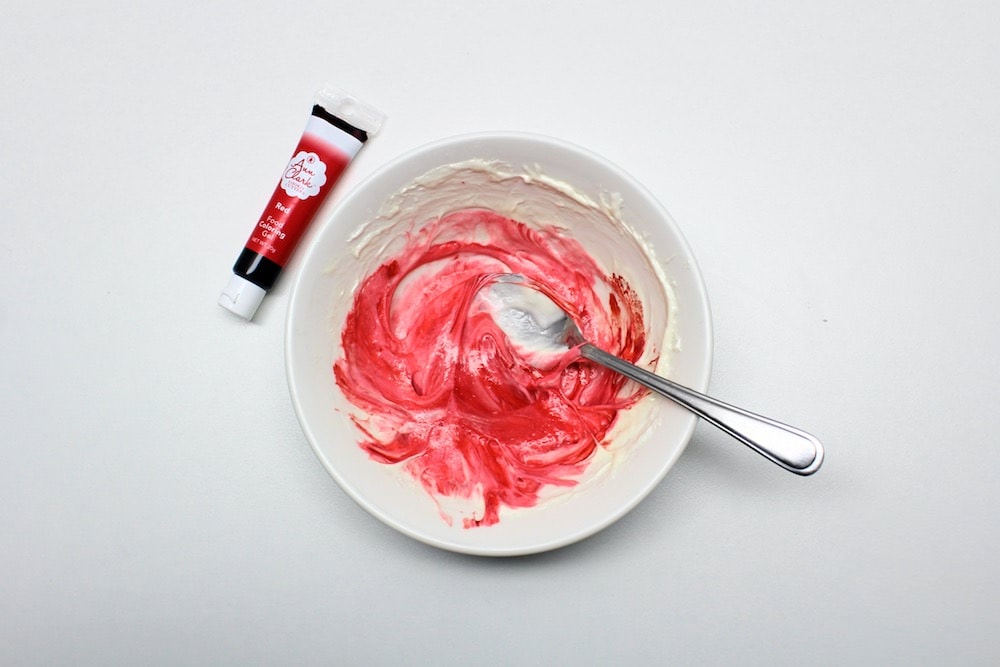
4. Add Cornstarch
Add 1 tablespoon of cornstarch to the bowl and stir it in with a spoon. You may have trouble working it all in, but don’t add any less than 1 tablespoon or your slime will end up too sticky.
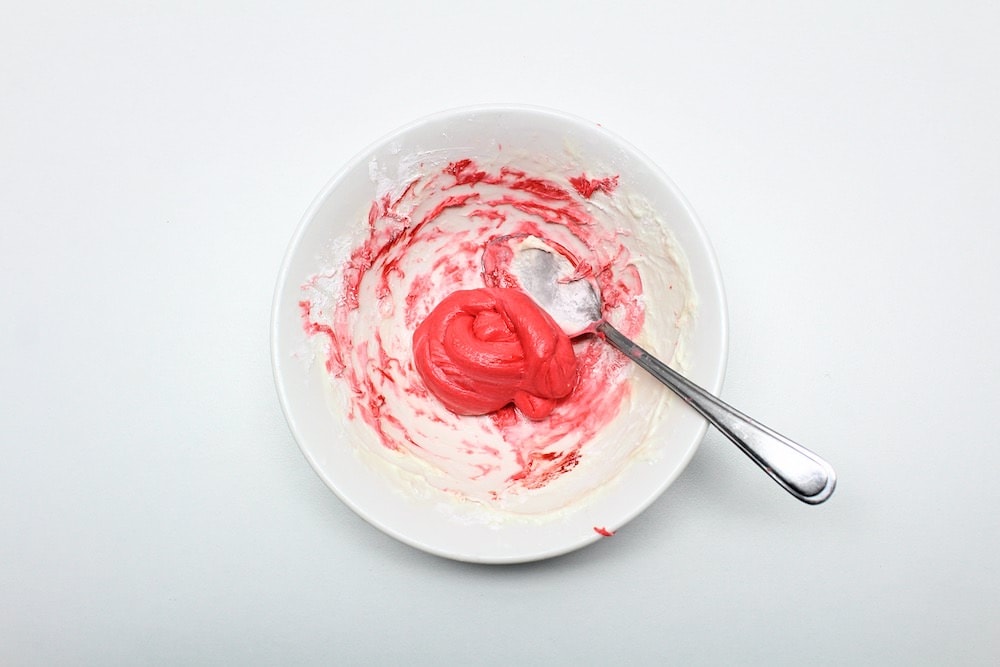
5. Knead Slime
Once you’ve gotten as far as you can with the spoon, use your hands to knead the slime and work in as much cornstarch as you can. Feel free to cover your hands with a bit of coconut oil to make it stick less.
6. Add Coconut Oil
As you’re kneading the slime, slowly add about 2 teaspoons of coconut oil and work it in with your fingers. This will make the slime stretchier and less sticky.
7. Repeat Previous Steps
When you’re done with your first batch, place the slime on a plate or in a bowl (you can cover the bottom with cornstarch to prevent it from sticking) and repeat the previous steps five times to create six different colours. We used purple, blue, green, yellow, orange and red.
8. Create Rainbow
After all six colours of slime have been created, stretch each one into an elongated shape and arrange them all in rainbow order one next to the other. If placed close together, they should stick to each other and form one large blob of rainbow slime!
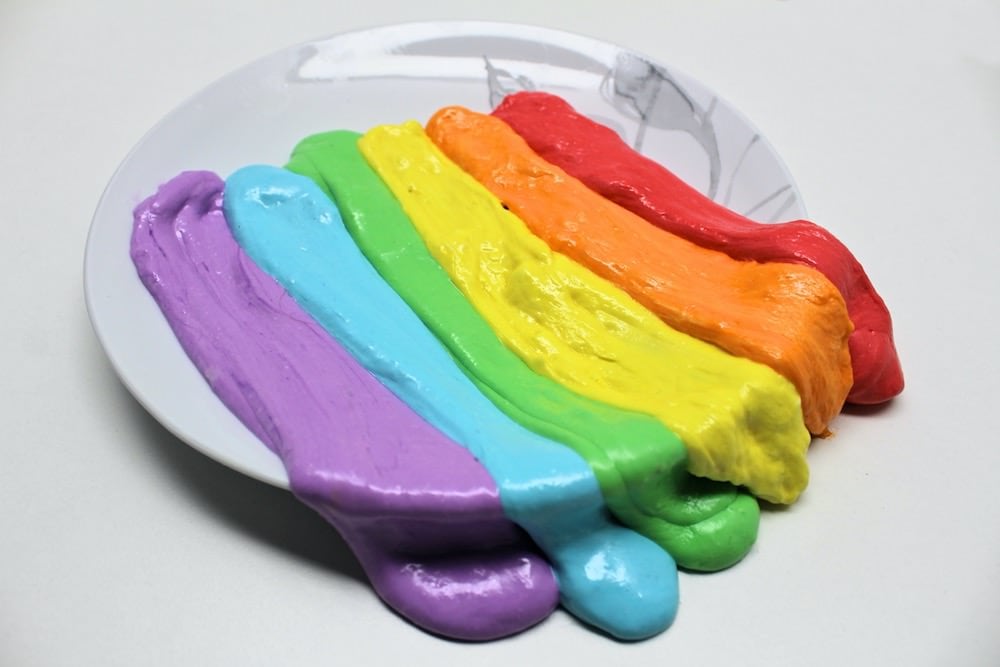
(Note: You may have noticed that in the above picture, some of the colours don’t look as smooth. This is because I was experimenting with different proportions and cooking times to come up with the best possible recipe for you. Provided you follow my instructions, your slime should look more like the blue and purple colours!)
9. Play with Slime!
Once your colours have been arranged into a rainbow, give the slime to your child to play with! The colours may eventually blend together, but that actually requires a surprising amount of playing!
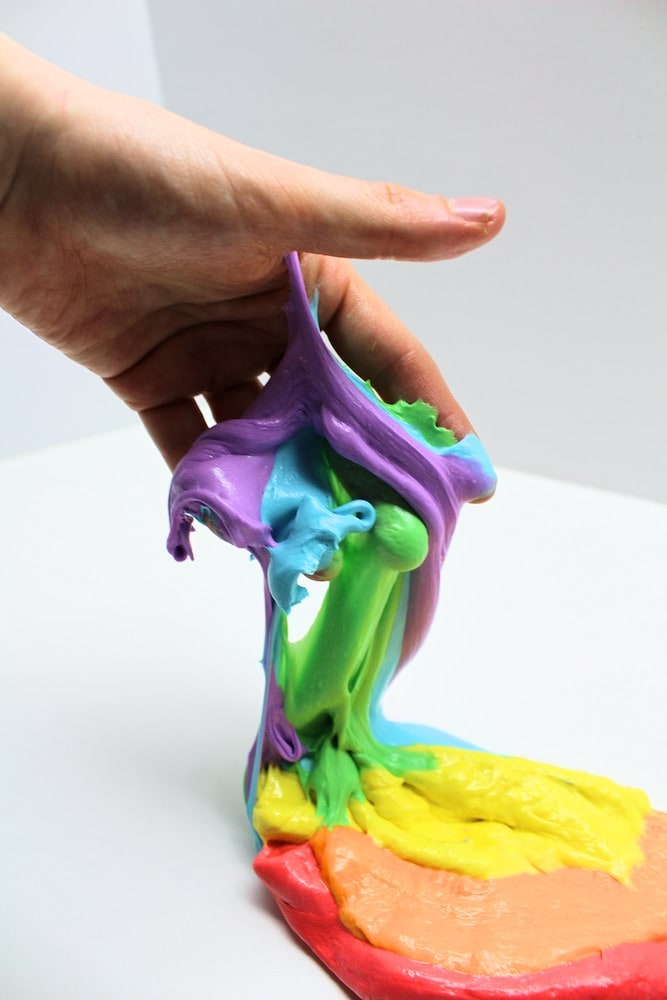
You can’t really tell from the pictures, but as long as you followed the directions exactly, your slime should be super stretchy and smooth. My four-year-old had fun stretching it several feet across the dining table!
I’m just glad I took a few pictures before handing the slime over to my kids, because they were way too excited to let me photograph them. And of course, they all enjoyed taking a nibble once in a while as they played!
How Do I Store It?
If the slime is still usable when your kids are done playing with it (and if they didn’t spend too much time licking it or putting it in their mouth), you can place it in an airtight container in the fridge and take it out again the next day.
The slime will likely be hard when you take it out again, but you can solve this issue by heating it in the microwave in 10-second increments until it’s stretchy again. Just make sure not to overheat it! (We found that about 35 seconds worked perfectly in our microwave.)
My Slime Is Lumpy!
If your marshmallow slime is lumpy instead of smooth, you probably overcooked the marshmallows during the first step.
You only need to heat them enough to make them stirrable—if you heat them so much that they start cooking, the parts that are cooked will form lumps as they cool down. Try making another batch and reducing the heating time.
My Slime Is Stiff!
This is most likely also due to overcooking, but it could also mean you didn’t add enough coconut oil. Try working in some more coconut will your fingers—and if that fails, then you’ll want to make another batch and reduce the heating time.
My Slime Is Too Sticky!
If your slime is so sticky that you’re having trouble getting it off your fingers, you probably added too little cornstarch or too little coconut oil. Start by adding more coconut oil and if that fails, try working in some more cornstarch.
Keep in mind that the cornstarch may be harder to work in at this stage, so you’re better off adding more right off the bat when you make the next colour!
Rainbow Marshmallow Slime
Ingredients
- 36 large marshmallows
- ⅓ cup coconut oil
- food colouring
- ⅓ cup cornstarch
Instructions
- Place six marshmallows in a bowl with ½ teaspoon of coconut oil and heat them in the microwave for 30 seconds at full power.
- Use a spoon to stir the melted marshmallows. If you’re having trouble stirring them, place the bowl back in the microwave for a few seconds, but make sure not to overcook the marshmallows.
- Add food colouring and stir until combined.
- Add 1 tablespoon of cornstarch to the bowl and stir it in with a spoon. Once you’ve gotten as far as you can with the spoon, use your hands to knead the slime and work in as much cornstarch as you can. (Cover your hands with a bit of coconut oil to make the slime stick less.)
- As you’re kneading the slime, slowly add about 2 teaspoons of coconut oil and work it in with your fingers.
- Repeat the previous steps five times to create six different colours: purple, blue, green, yellow, orange and red. Then, arrange the different colours of slime in rainbow order next to each other and let your child play!
Related Taste-Safe Activities
Do your kids love to put things in their mouths? Check out these taste-safe sensory activities:
- Stovetop Psyllium Husk Slime
- Moon Sand Colour Mixing
- Edible Glow-in-the-Dark Marshmallow Slime
- Homemade Chocolate Play Dough
Join my mailing list using the form below to receive 12 of the most popular sensory recipes on my site in PDF format! You’ll be the first to know when I publish new recipes, and you’ll also gain access to my free printables library, which is filled with lots of printable activities for kids.
GRAB OUR 12 BEST SENSORY RECIPES!
Subscribe to our email newsletter to receive 12 of our most popular sensory recipes in PDF format as a welcome gift:

Already a subscriber? Don’t worry, you won’t be subscribed twice. By submitting your email address, you are agreeing to the terms of our Privacy Policy. You can unsubscribe at any time.
Hi Sacha. Thanks for an amazing recipe and activity. Can I use vegan marshmallows with same results? We are vegetarian and dont use regular marshmallows. I get mine from health food stores. Thank you.
Hi Suta! Great question!
Unfortunately, I’ve never tried this recipe using vegan marshmallows, so I couldn’t tell you whether it would work or not. I would imagine that the texture might turn out a little different or that you may need to make some adjustments to the recipe. Perhaps you could use the marshmallows you buy to try to create just one colour and see how it turns out? If you do, I’d love for you to share the results!
I’ll also keep an eye out for them so I can test things out on my end!