

Looking for a simple winter craft to do with your kids? This melted puffy paint snowman is easy to make, appropriate for various age groups, and only requires a few simple supplies!

JUMP TO…
If you’re looking for a simple winter craft that your child will love, this easy melted snowman craft made using DIY puffy paint is one you’ll definitely want to try! It is simple enough for younger kids (with a bit of help), and doesn’t require any complicated supplies.
Not only is homemade puffy paint easy to make, but it has a fun three-dimensional texture that lends itself perfectly to this craft. Let your kids get creative with this project, and have fun seeing what they come up with!
Why You’ll Love This Craft
- Easy to make: This craft is easy enough for younger kids to make with the help of an adult, and for older kids to make completely on their own, which makes it appropriate for a variety of age groups.
- Simple supplies: No need to make a special run to the store—you probably already have all the supplies you need to make this craft.
- Fun for kids: My kids love painting with puffy paint, and this craft is such a fun way to make use of its airy quality. The fact that the snowman is melted and its limbs can be placed anywhere is also a great opportunity for kids to let their creativity shine!
- Three-dimensional: Homemade puffy paint retains most of its puffiness when it dries, which gives a cool three-dimension texture to the finished craft.
Looking for more fun things to make and do this winter? Try this Snow Volcano, this Fake Snow Recipe, these Color-Changing Snowflake Window Clings, or download this Printable Winter Bucket List with 100+ ideas!

Get hundreds of pages of activities!
Get access to all our paid printables, as well as monthly activity planners, for just $5/month. (New printables added twice per month!)
Required Materials

- Liquid school glue: You can use Elmer’s glue or any other brand of white school glue.
- Shaving cream: Any brand will do. I usually get the generic one from Walmart, which costs less than $2.
- Paintbrush: You’ll be using this to stir the puffy paint and paint the snowman’s body. If you don’t have one, you can use a popsicle stick instead.
- Glitter (optional): I used chunky iridescent glitter to give the “snow” a sparkly, shimmering appearance. Chunky glitter will be more visible, but fine glitter can also work. White, silver and iridescent are all good choices. You can also just omit it if you’re not a fan of glitter or don’t have any on hand.
- Cardstock: I used the light blue from a set of multicolored cardstock, but any color can work for the background as long as it allows the white to “pop”. (I don’t recommend using white or beige because it will make the snowman harder to see.)
- Construction paper: You’ll need black for the top hat, orange for the nose and brown for the arms. A bulk construction paper set with multiple colors should contain everything you need.
- Scissors: Metal is best—you’ll need to cut out little pieces of construction paper for the arms, and plastic safety scissors may not be capable of that kind of precision.
- Googly eyes: The size of the googly eyes will depend on how big you’re planning on making your snowman. The ones I used were about 7-8 mm. A self-adhesive backing is not necessary since the glue in the puffy paint is enough to keep them in place.
The full supply list and instructions can be found in the how-to card.
How to Make a Melted Snowman with Puffy Paint (Step-by-Step)
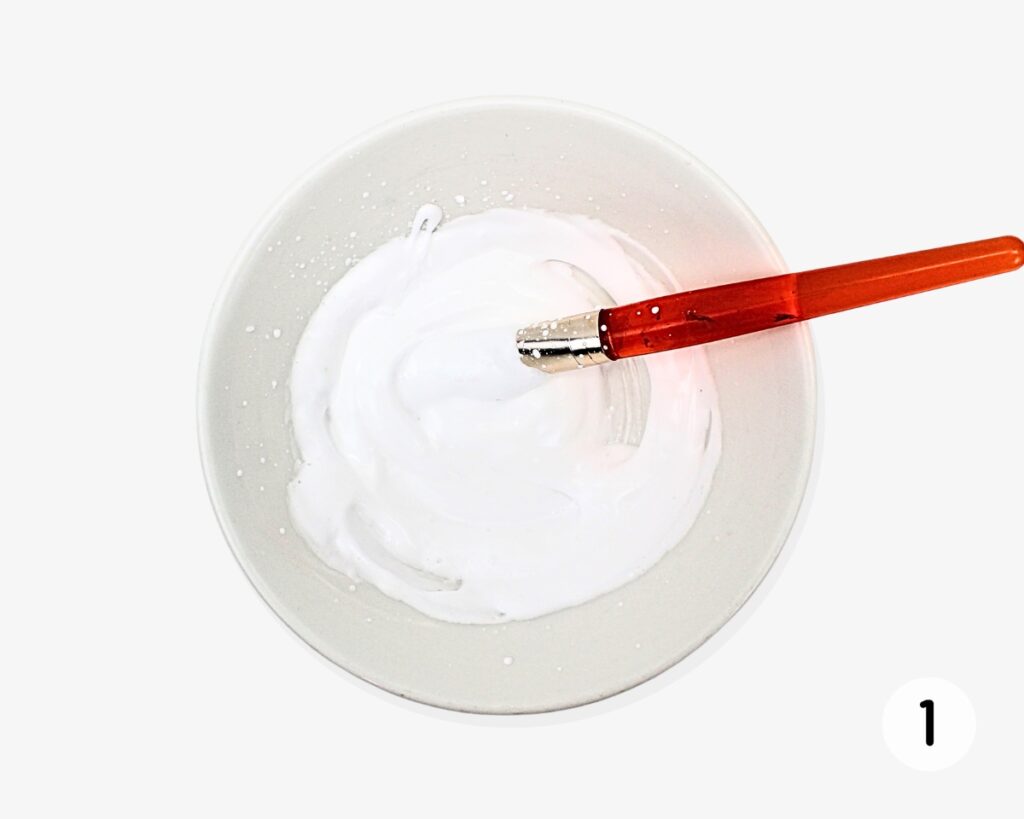
Step 1: Create puffy paint. In a small bowl, combine school glue and shaving foam in approximately equal amounts.
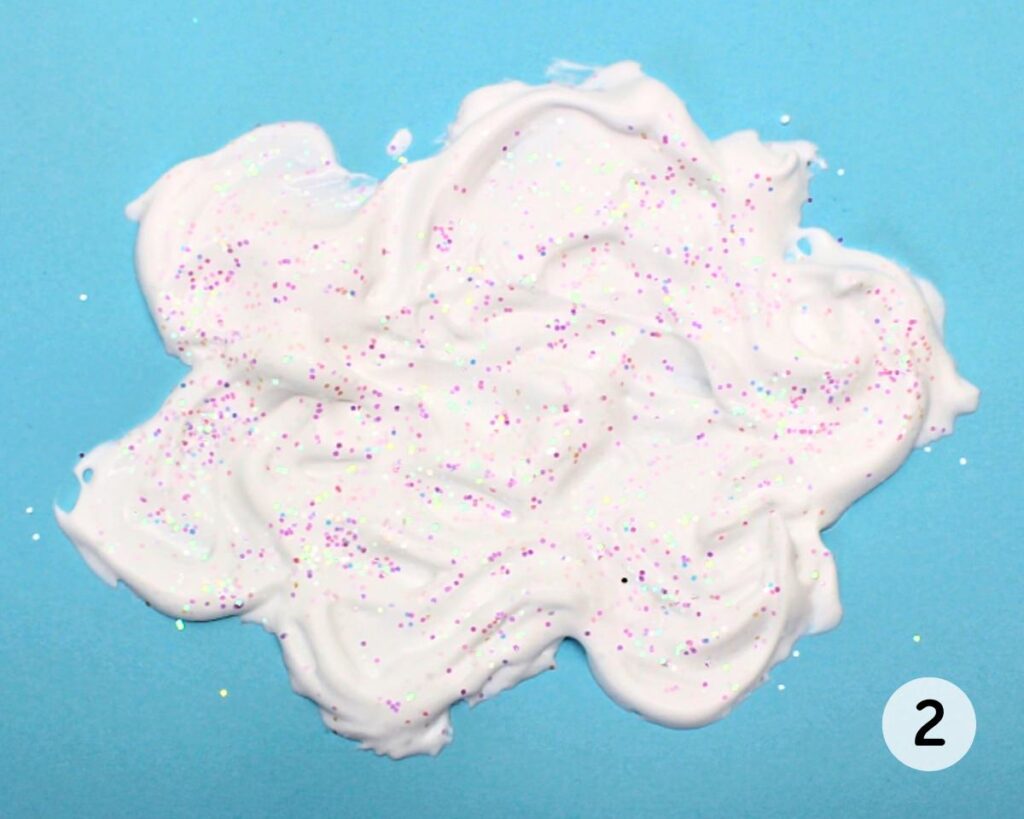
Step 2: Paint snowman body. Grab a paintbrush and use it to paint a white blob in the middle of the sheet of cardstock. If desired, sprinkle a bit of glitter on top after painting.

Step 3: Cut snowman features. Use scissors to create two brown stick arms, a black top hat and an orange nose from construction paper. (You can watch the video tutorial for step-by-step guidance.)

Step 4: Add snowman features. Arrange the construction paper shapes, along with two googly eyes, in random locations on top of the wet puffy paint, pressing down lightly to make sure they stick. Allow the paint to dry fully before displaying.
I love how cute this craft turned out, and the fact that the paint retains some of its puffiness once it dries! This craft is perfect for younger kids, because there is very little you can do to “mess it up”—the snowman’s shape, and the location of its features, don’t need to be precise.

Helpful Tips
- Add a bit more shaving cream: While a lot of puffy paint recipes call for equal amounts of glue and shaving cream, I prefer to add a bit of extra shaving cream to make the paint extra puffy. (Just don’t add too much or it will deflate when it dries.)
- Don’t press down on the puffy paint: Because it has a fun texture, you may be tempted to poke the puffy paint once it has dried. But unfortunately, this can cause it to break or deflate, so I recommend not touching it too much if you want to preserve your craft.
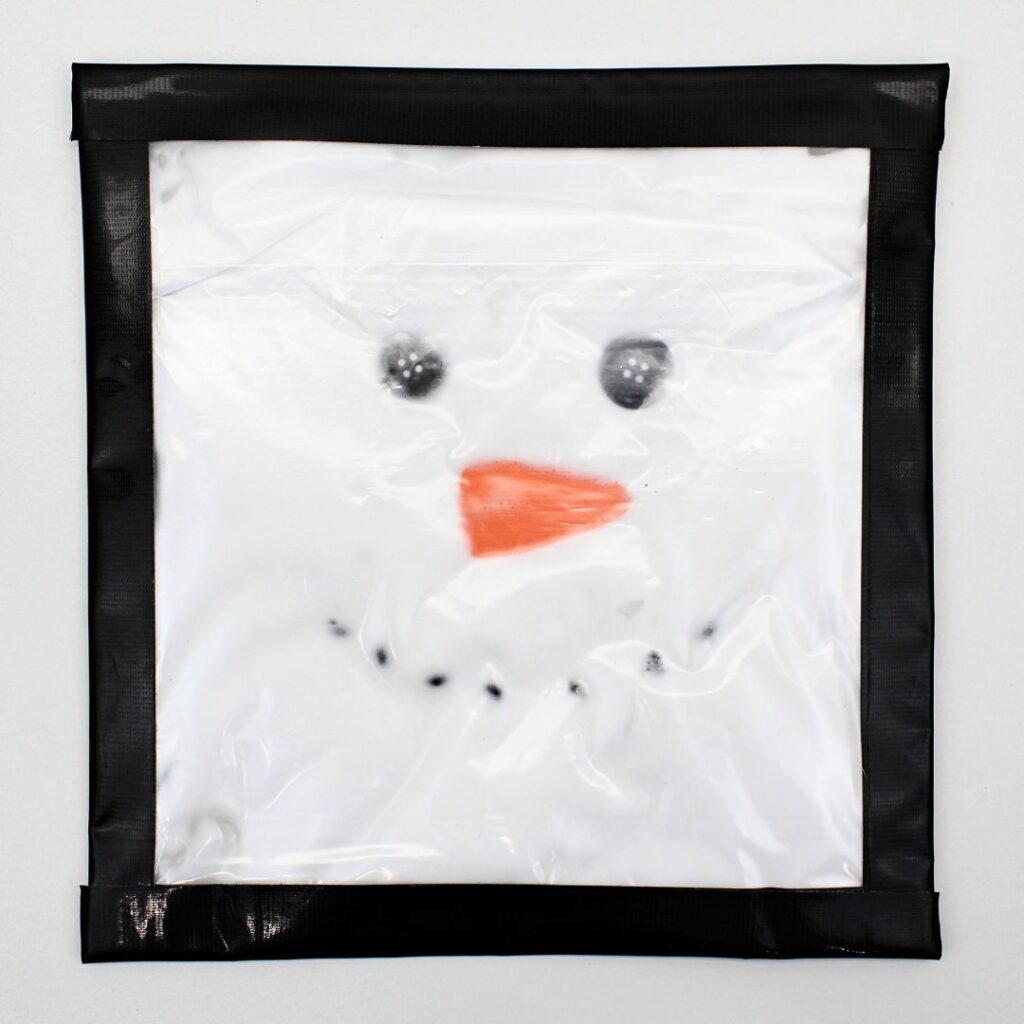
Looking for more snowman-themed ideas? Check out this Recycled Puff Container Snowman or this Melted Snowman Sensory Bag!
Frequently Asked Questions
Have a question that wasn’t answered here? Let me know in the comments and I’ll be happy to help!
More Winter Crafts & Activities for Kids


If you have tried this Melted Puffy Paint Snowman or any other project on my website, please let me know how it went in the comments below. I can’t wait to hear from you!

Melted Puffy Paint Snowman
Materials
- 1 sheet blue cardstock or any color except white
- white school glue as needed
- shaving cream as needed
- 1 paintbrush for stirring and painting
- chunky or fine glitter (iridescent, white or silver) optional, as needed
- 1 sheet orange construction paper
- 1 sheet black construction paper
- 1 sheet brown construction paper
- 1 pair scissors
- 2 googly eyes
Instructions
- In a small bowl, combine school glue and shaving foam in approximately equal amounts.
- Grab a paintbrush and use it to paint a white blob in the middle of the sheet of cardstock. If desired, sprinkle a bit of glitter on top after painting. (Chunky iridescent glitter works best.)
- Use scissors to create two brown stick arms, a black top hat and an orange nose from construction paper. You can watch the video tutorial for step-by-step directions.
- Arrange the construction paper shapes, along with two googly eyes, in random locations on top of the wet puffy paint, pressing down lightly to make sure they stick. Allow the paint to dry fully before displaying.
Video
Notes
- Add a bit more shaving cream: Instead of using equal amounts of glue and shaving cream, add a bit of extra shaving cream to make the paint more puffy. (Don’t add too much or it may deflate when drying.)
- Don’t press on dry puffy paint: Touching the puffy paint after it has dried can cause it to break or deflate.
Only your name will be made public. Please note that by submitting your comment, you are agreeing to the terms of our Privacy Policy.