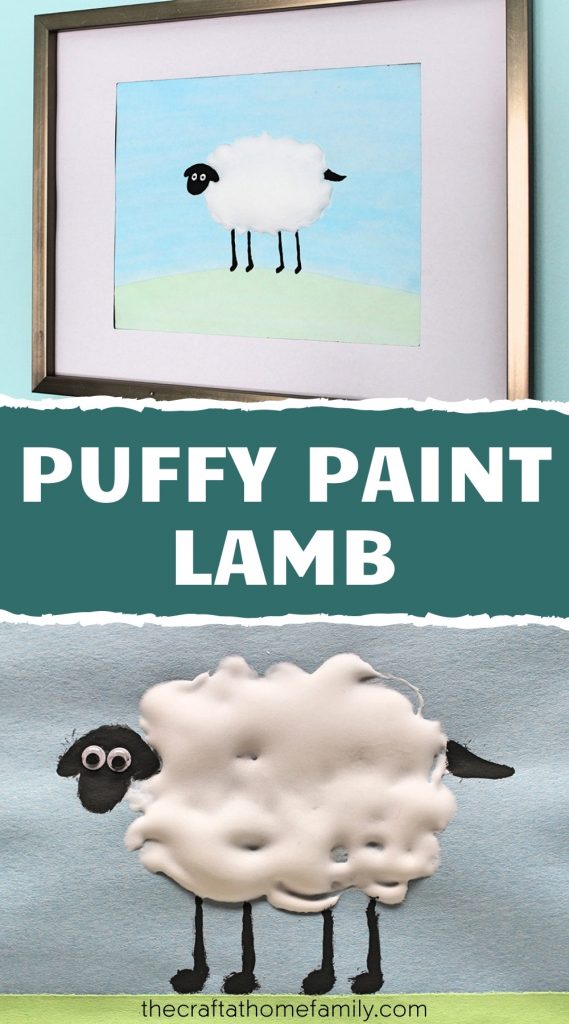
This adorable craft is simple to make and nice enough to hang on your wall! You’ll only need school glue and shaving cream to create the homemade puffy paint that will give your lamb a cool, 3D texture. What a great way to personalize your baby’s nursery decor!
JUMP TO…
I love puffy paint. It’s so simple to make and creates such a lovely effect on paper! My kids are still too young to make figurative artwork without loads of help, but puffy paint has such a cool texture that it looks just as good in abstract form.
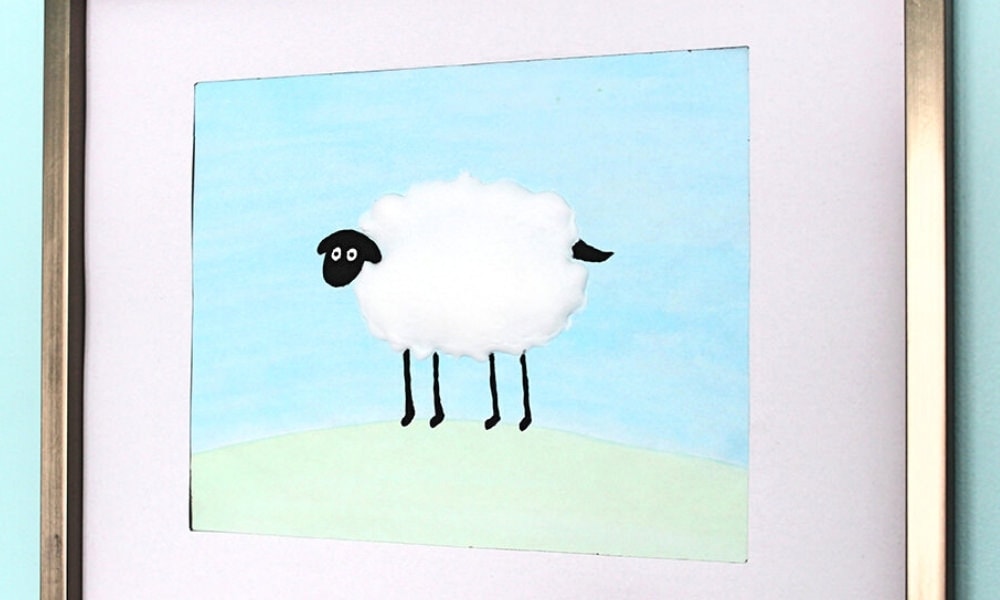
This project isn’t abstract, but it’s easy to make and the end result is nice enough to hang on your wall. We put ours in the nursery and it looks adorable hanging right above our eight-month-old’s crib!

Get hundreds of pages of activities!
Get access to all our paid printables, as well as monthly activity planners, for just $5/month. (New printables added twice per month!)
Required Materials
Here’s what you’ll need to make a cute puffy paint lamb for your child’s nursery:
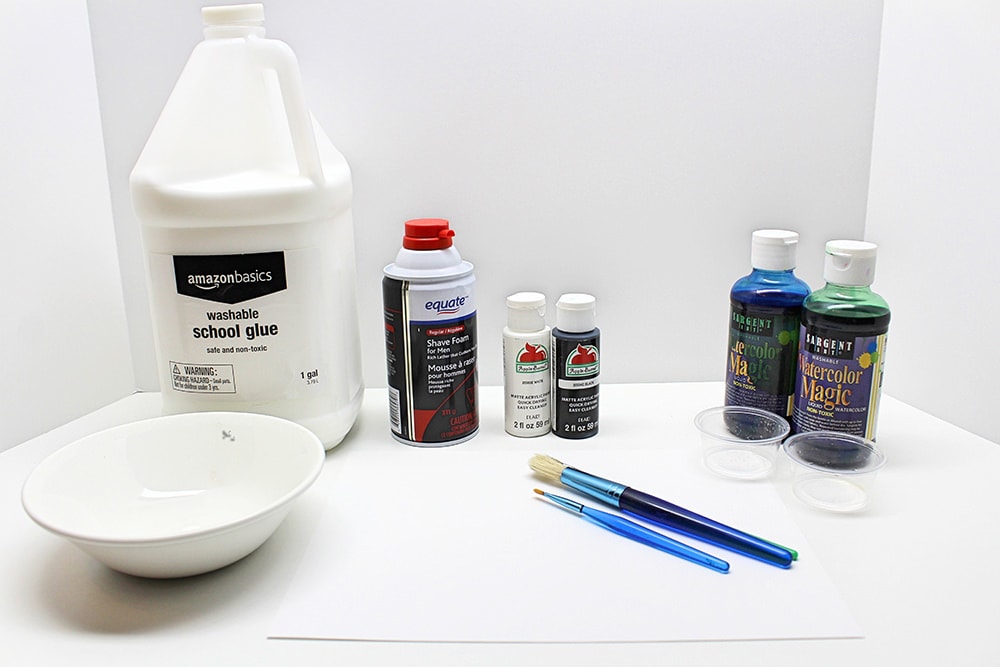
- Watercolor paper (you don’t need to use expensive artist-grade paper—a kids’ pad will work just fine and set you back a lot less)
- Liquid watercolors in blue and green (liquid food coloring can work too)
- Acrylic paint in black and white
- White school glue (we buy ours in bulk)
- Shaving foam (we get ours at Walmart for under $2)
- Paintbrushes
- Popsicle stick (for stirring the puffy paint)
- Plastic cups or bowls (for mixing the puffy paint and liquid watercolors)
Note: I used liquid watercolors for the background to make the process and materials more accessible, but you can easily adapt the project depending on what you have available. For instance, I love soft pastels and I’m sure they would work great for this project. Use your imagination!
I’ve also included some tips at the end of this article for those looking to simplify this project in order to make it with younger kids, so be sure to scroll all the way to the bottom if you feel that would be relevant to you!
How to Make a Puffy Paint Lamb (Step-by-Step)
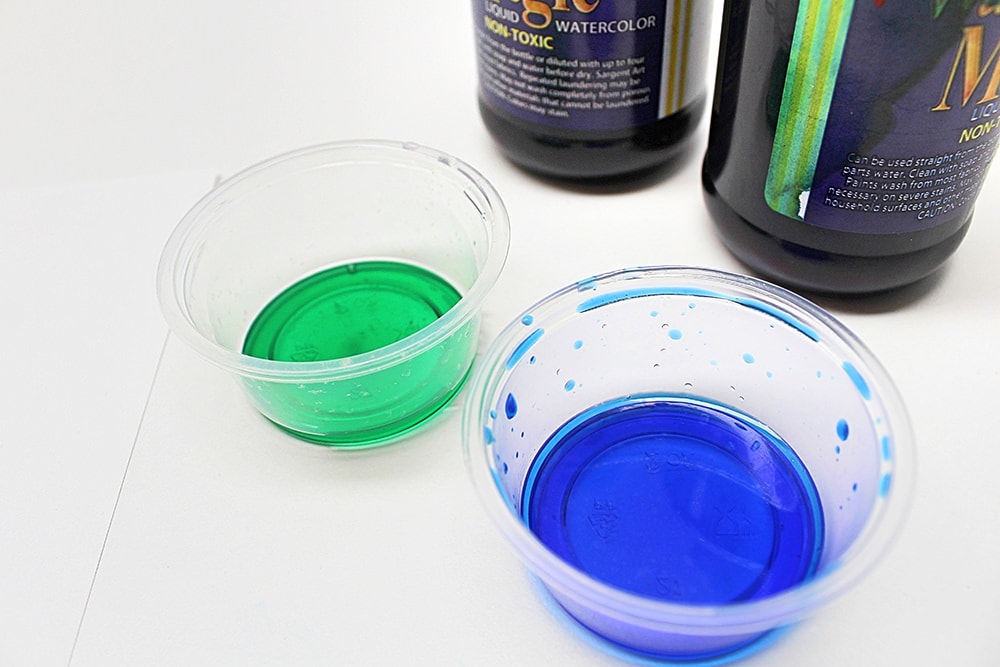
1. Dilute Paint (Optional)
The first step of this project is to make the background.
Start by pouring a few drops of liquid watercolor into a small amount of water. You can dilute it as much or as little as you want depending on how vibrant you’d like the colors to be. I was going for pastel tones so I only used two or three drops.
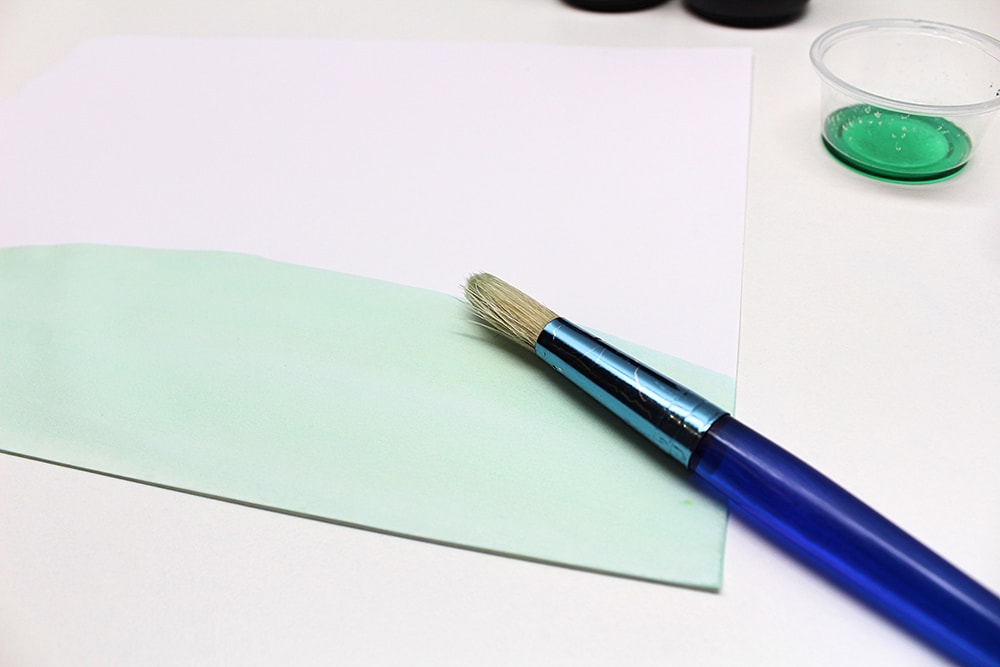
2. Paint Grass
Once your watercolor paint is ready, use it to paint the bottom of the page green with a large paintbrush—I used a curved line to create a hill.
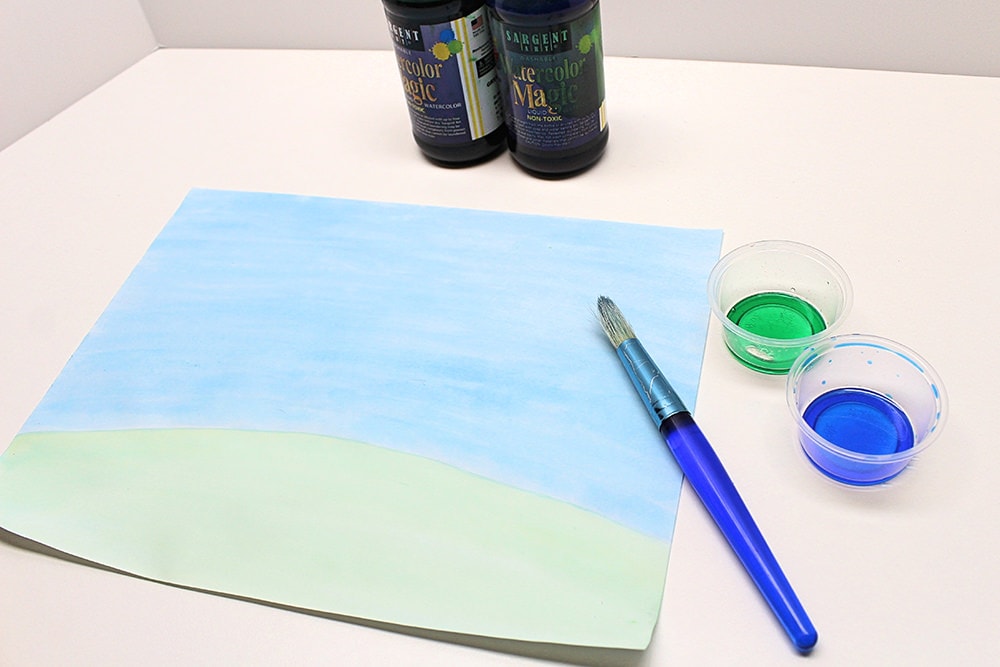
3. Paint Sky
Once you’re done with the grass, paint the rest of the background blue.
4. Make Puffy Paint
While the paint is drying, mix a little bit of white school glue with some shaving cream using the popsicle stick. I generally try to use an even amount of both, but I don’t bother to measure out the quantities.
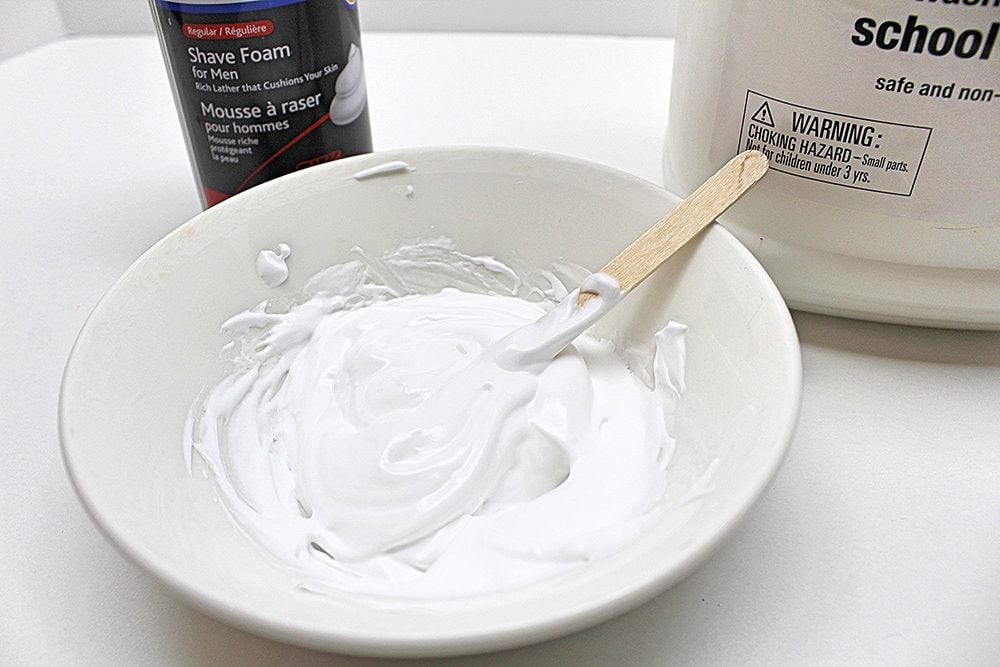
You won’t need to make much for this project since the lamb is the only part of the painting that requires it. And since you need the color to remain white, you won’t even need to add any coloring!
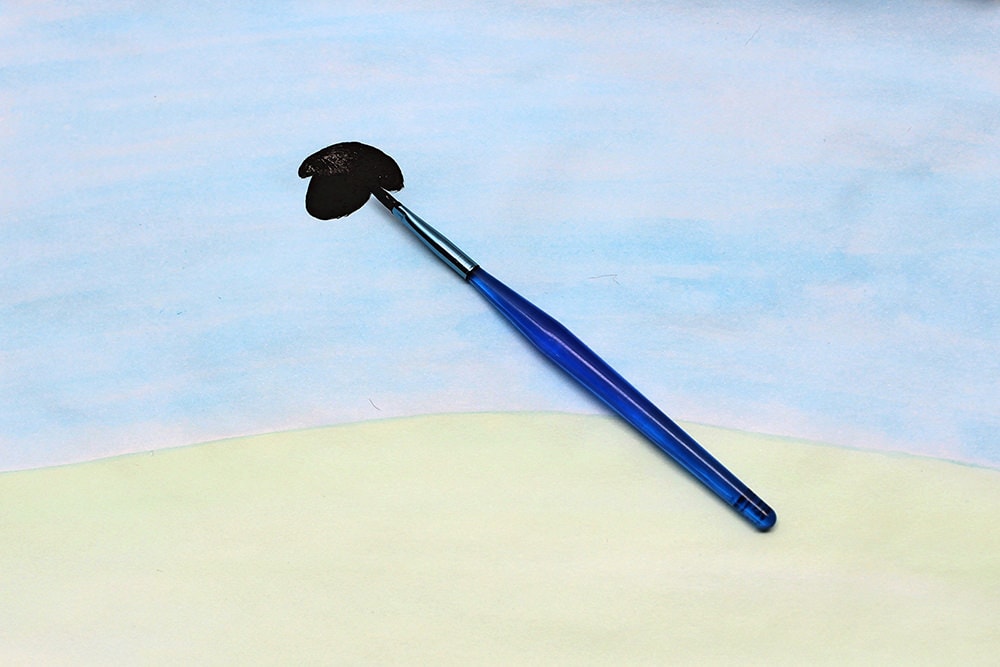
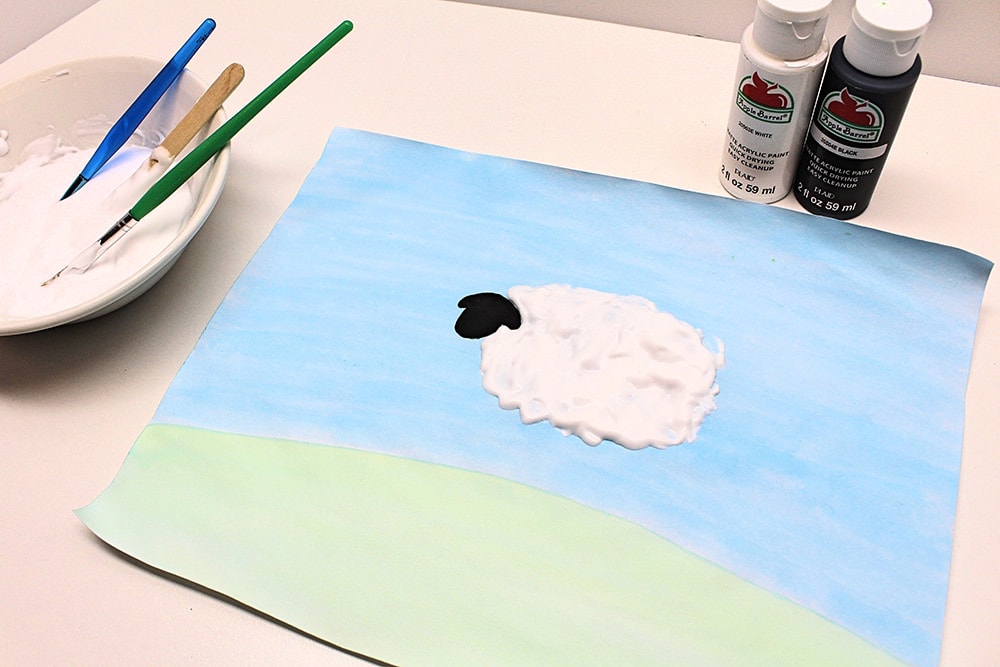
5. Paint Lamb
Once the watercolor paint has dried sufficiently (which shouldn’t take much time if you didn’t overdo it and soak the paper), paint a head and ears for your lamb using a small paintbrush and black acrylic paint.
Then, use a paintbrush to dab puffy paint liberally onto the image next to the lamb’s head. This will create the wool coat.
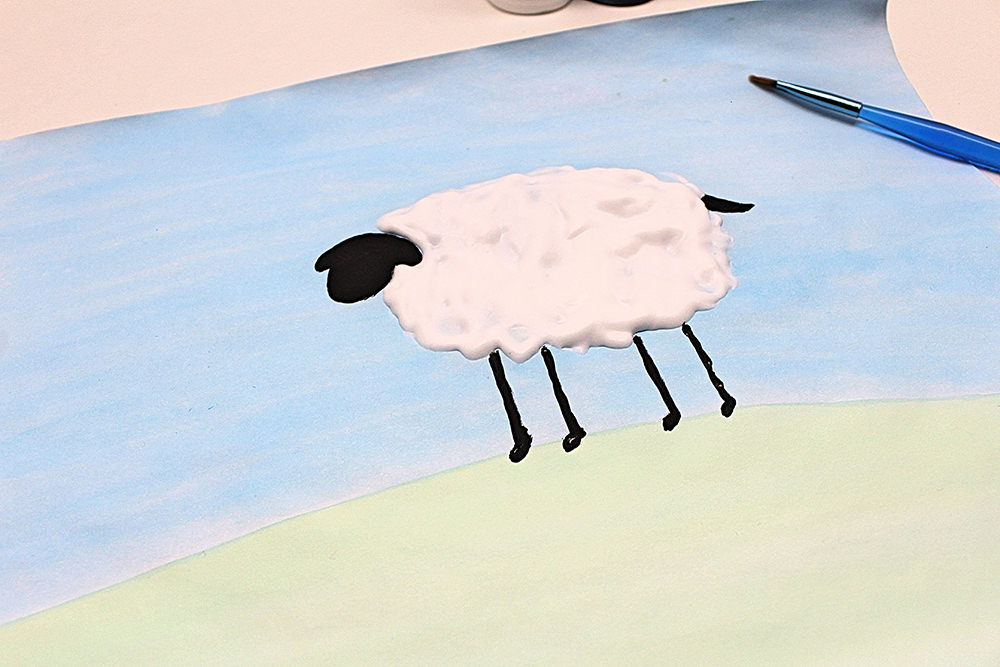
Once you’re satisfied with how it looks, paint the lamb’s tail and legs using black acrylic paint!
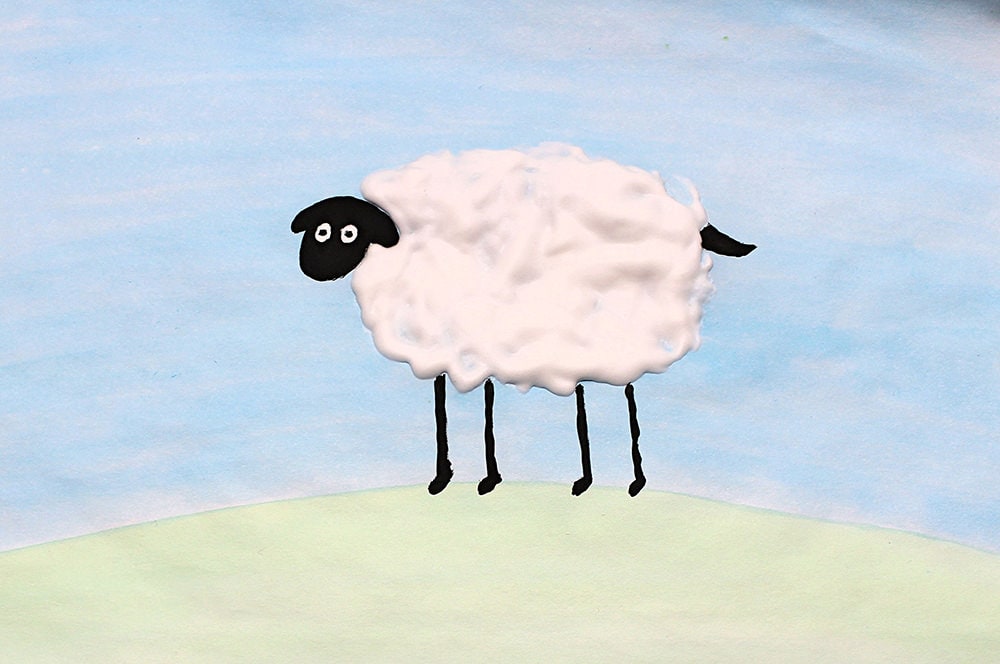
6. Add Details
By now, the head should be dry enough for you to be able to add two small white dots of acrylic paint for the eyes. (If it’s still too wet, just wait a little longer.)
Then, using a very fine paintbrush or a toothpick, add two tiny black dots of acrylic paint to the middle of the white dots.
7. Let Dry
And that’s it! The puffy paint actually stays fluffy once it dries and adds a cool textural element to the painting—it’s fragile though, so be sure to handle it with care so your hard work doesn’t get ruined!
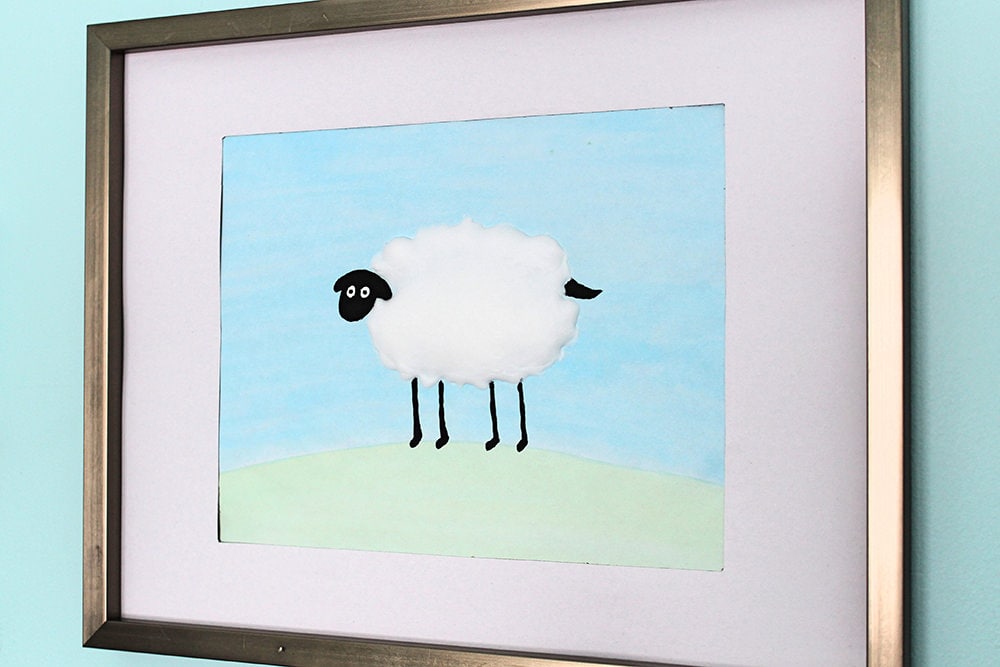
How to Frame Your Puffy Paint Lamb
Once everything dries, you can frame the image and hang it on your wall. However, due to the textural element I just mentioned, you will need to remove the glass from the frame.
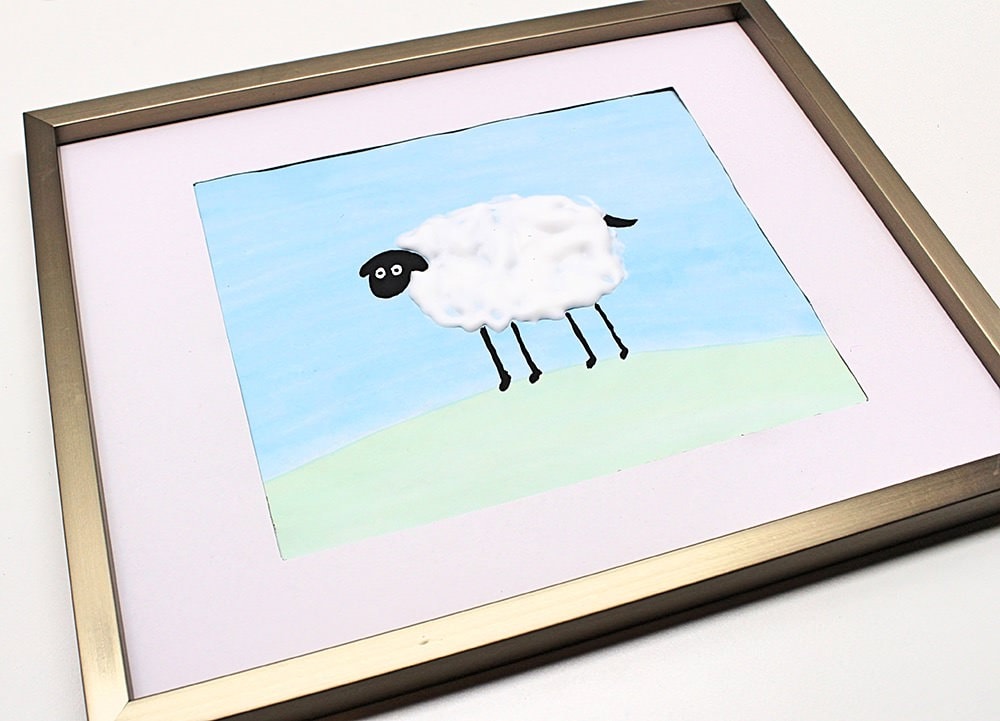
I used a dollar-store frame matted to 8 x 10” and glued the artwork to the matting for extra stability. Removing the glass means the image is not pressed up again anything and might be at risk of sliding down, which could damage the puffy paint.
I haven’t had any issues since I glued it to the matting, though in retrospect, I probably should have created my own matting since the one that came with the dollar-store frame is not a great color. Perhaps someday I’ll add a nicer layer to cover it up!
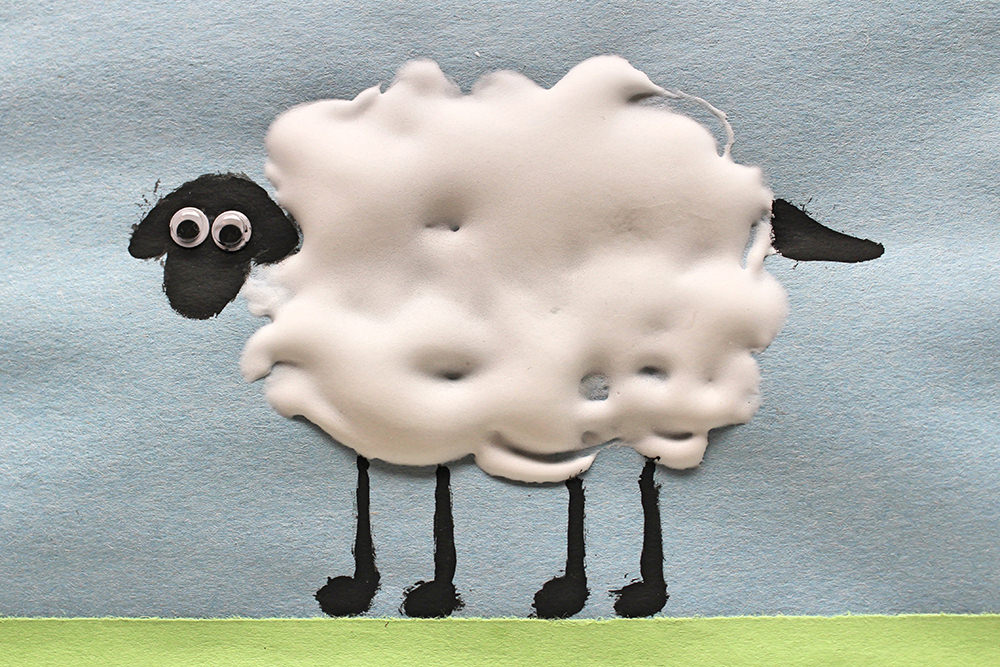
How to Make this Project with Younger Kids
If you’re making this project with younger kids, there are a few tweaks you can make to simplify the process.
My two- and three-year-old were really excited about it, but they’re not so good with liquid watercolors—or really with anything that involves paper and water. They always use way too much water and the paper turns into a soggy mess.
I tried giving it to them anyway, but it became clear pretty quickly that we needed to find another alternative. So instead of painting the background ourselves, we decided to use blue construction paper for the sky.
We used the same process to create the lamb (though for fun and simplicity, we used googly eyes instead of acrylic paint!) and finished up by glueing some green construction paper to the bottom of the page.
I hope you have as much fun with this project as we did!
Related Crafts for Kids
Looking for more fun crafts that you can do at home with your kids? Check out these articles:
- Bubble Wrap Butterflies (with Free Printable!)
- Color-Changing Snowflake Window Clings (with Free Printable!)
- Easy Construction Paper Crown
- Fizzing Baking Soda Volcano Craft (with Free Printable!)
If you’d like to receive more craft and activity ideas right in your inbox, sign up for my newsletter using the form below! You’ll be the first to know when I publish new ideas, and I’ll occasionally send you exclusive printables that may never be shared to my site.
Puffy paint looks fun! I want to try it!