


Looking for a fun craft to celebrate the 4th of July? This glitter fireworks craft is super easy to make, and it only requires a few simple supplies. Make this project to celebrate the 4th of July, the New Year, Bonfire Night, or for any other occasion that involves fireworks!

JUMP TO…
This glitter fireworks craft is such a cute way to celebrate Independence Day! It is perfect for anyone who is looking for July crafts to do at home, or who is looking to commemorate an occasion that involves fireworks.
You probably already have everything you need to make this, so break out the craft supplies and start making some gorgeous glittery fireworks! (And if you’re making this for the 4th of July, you’ll also love this Handprint Fireworks Craft and this 4th of July Windsock.)
Why You’ll Love This Craft
- Super sparkly: This is self-explanatory, but if you love glitter… then you’ll definitely love this craft! It was one of the prettiest firework art projects we’re ever done.
- Easy to customize: I made regular fireworks, but there are lots of ways to customize this project. Play around with different firework shapes and colors, or use the same technique to create a single sparkler instead of multiple fireworks.
- Quick to make: This craft only requires a few supplies, and the whole process takes less than 10 minutes from start to finish. Its simplicity makes it perfect for both younger and older kids.
For more summer crafts, check out these Pipe Cleaner Bubble Wands, this Puffy Paint Ice Cream Craft or this Seashell Handprint Keepsake.
GRAB OUR FREE 30-PAGE ACTIVITY BUNDLE!
By submitting your email address, you are agreeing to the terms of our Privacy Policy. You can unsubscribe at any time.
Required Materials
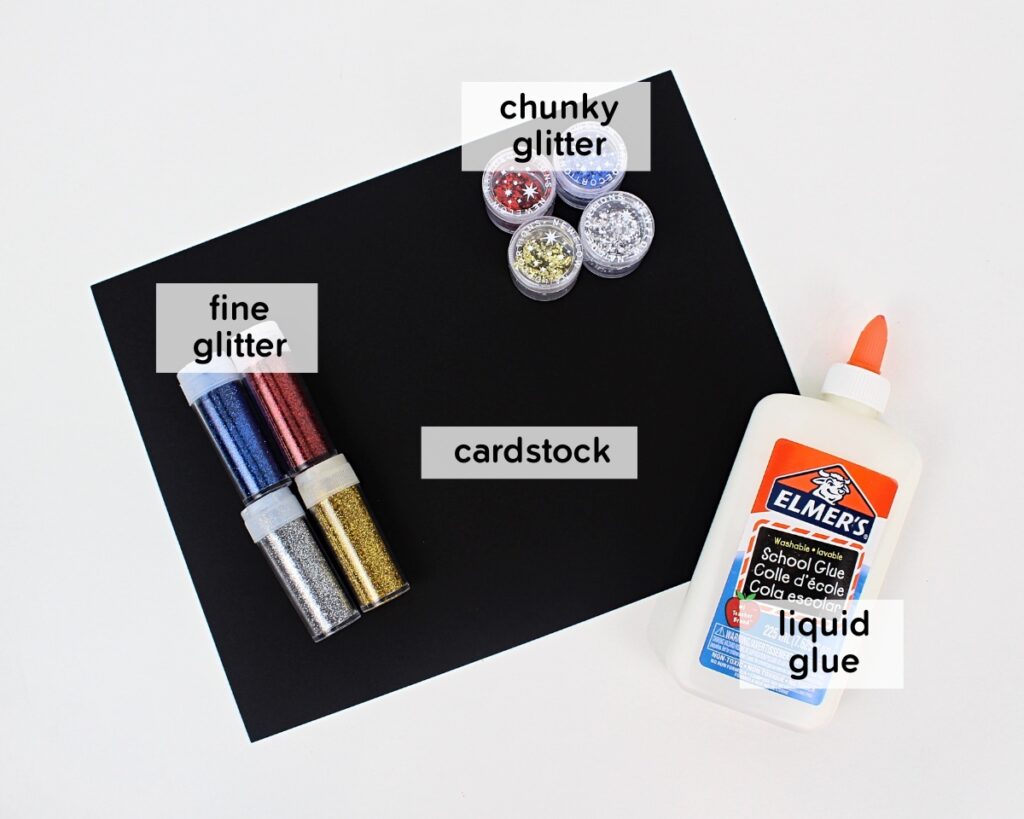
- Cardstock: I used black cardstock because I love the way the dark background makes the color of the fireworks pop, but you can use any color you like. I highly recommend cardstock because it is thicker and will hold up better when the glue is added. You can also use regular paper or construction paper, but it will warp a bit once you add the wet glue.
- Liquid glue: Any type of liquid glue will do. I used Elmer’s white school glue.
- Chunky glitter: I love the look of chunky glitter for this project because the bigger flakes really make the fireworks sparkle. If you don’t have any, you can use fine glitter instead.
- Fine glitter: I used fine glitter for some of the extra details, but you can always use more chunky glitter if you prefer the way it looks.
The full supply list and instructions can be found in the how-to card.
How to Make Glitter Fireworks (Step-by-Step)

Step 1: Draw fireworks with glue. Grab a bottle of liquid glue, and use it to “paint” fireworks. I started with a large dot of glue in the middle, then added curved lines all around it.

Step 2: Add chunky glitter. Sprinkle of a generous amount of glitter on top of the glue. Make sure you use enough glitter to fully cover the glue.
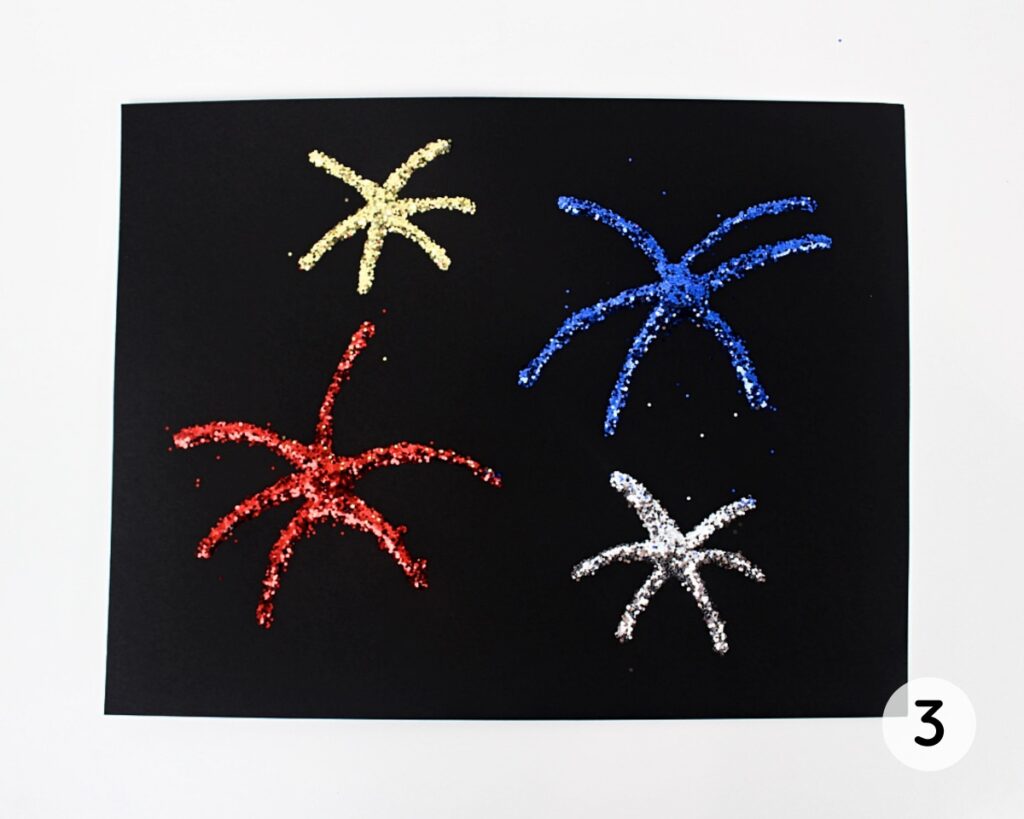
Step 3: Remove excess chunky glitter. Gently lift the sheet of cardstock and shake off the excess glitter. To limit the mess, do this over a garbage can or a sheet of parchment paper.
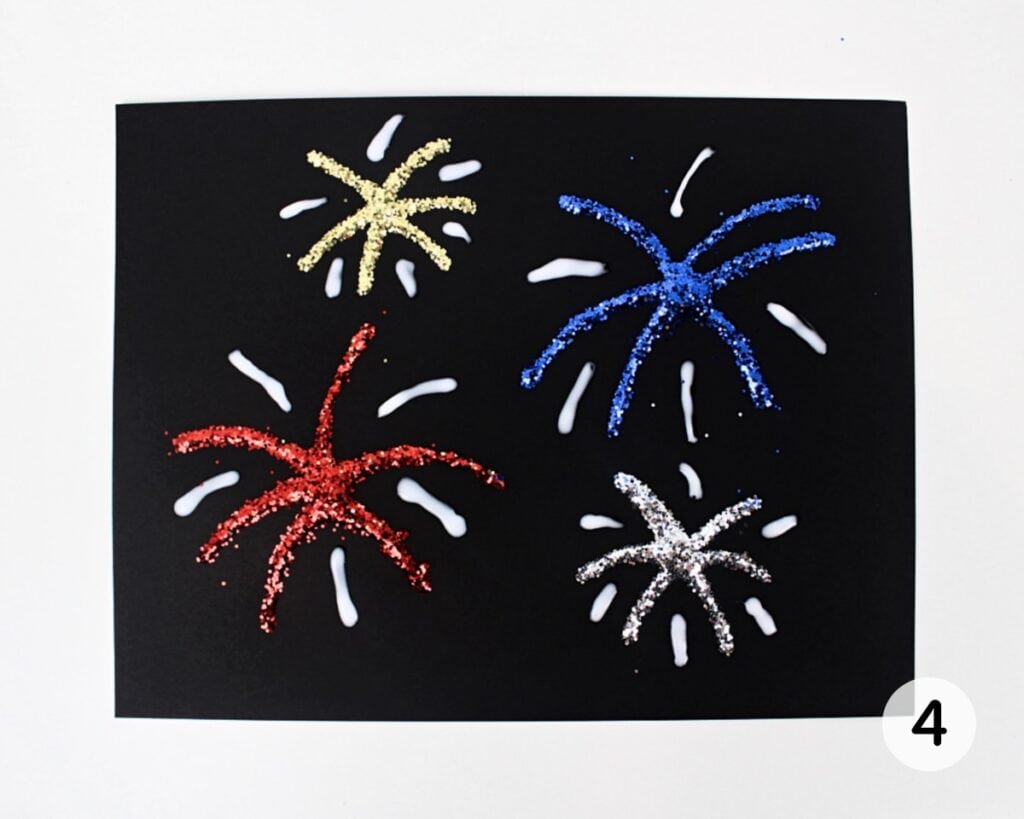
Step 4: Draw details with glue. Use liquid glue to add some details around the fireworks—for instance, curved lines, straight lines, dots, or anything else you think would look nice.
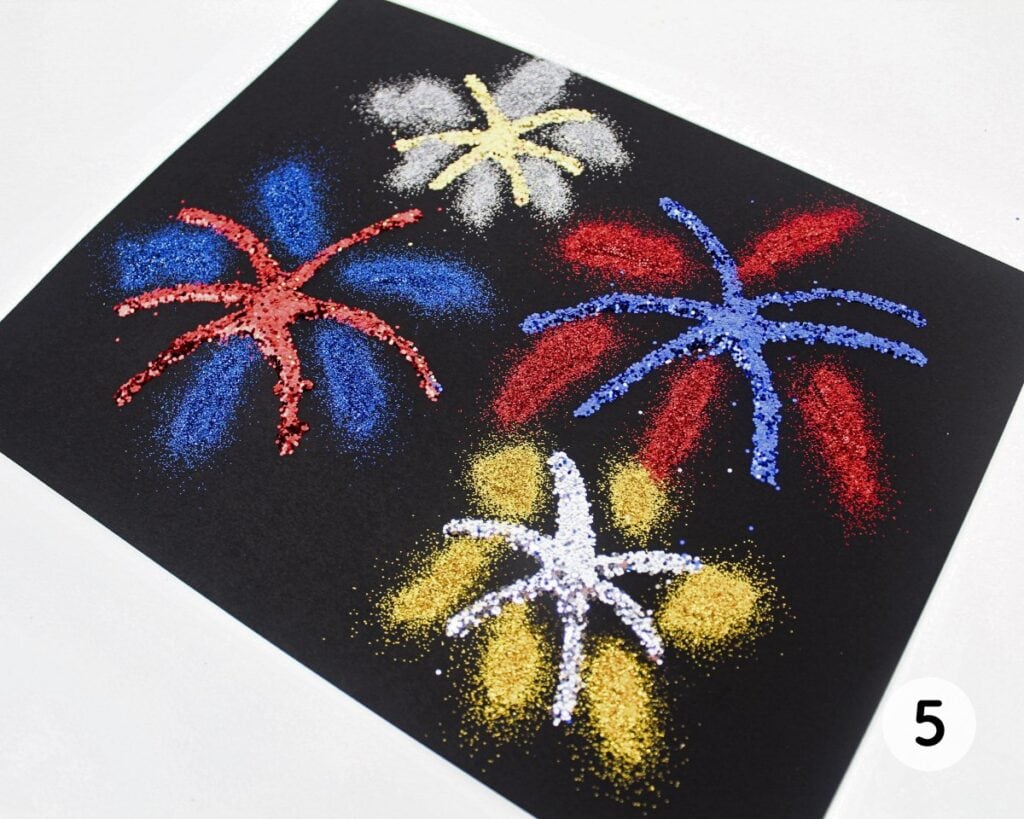
Step 5: Add fine glitter. Pour some fine glitter onto the details you just traced, making sure to fully cover the glue.
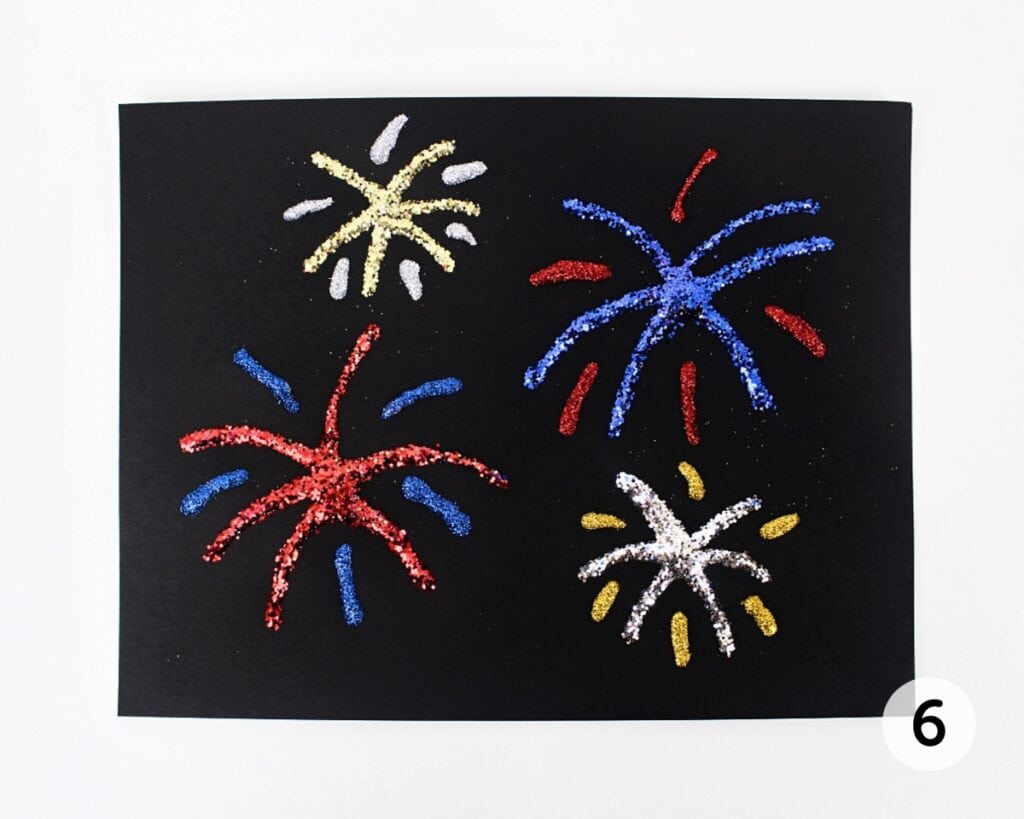
Step 6: Remove excess fine glitter. Once again, lift the sheet of cardstock and shake off the excess glitter. Let the glue dry before displaying your artwork.
The photos don’t quite do it justice, but this is officially one of my new favorite crafts. It turned out so pretty, and I love that’s it’s suitable not only for Independence Day, but also for a variety of other holidays!

Helpful Tips
- Use lots of glitter: The glitter needs to fully cover the glue, so make sure you use enough. If you shake off the excess and realize that you didn’t use enough, you can always add some extra glitter and shake it off again before you switch colors.
- Create colored accents: I used two colors per firework, but feel free to use multiple different colors of glitter, and experiment with different styles of fireworks. You can use red, white and blue for Independence Day, or any other color combination you wish.
- Switch up the glitter: Don’t hesitate to play around with the chunky and fine glitter to see which look you prefer. (I used chunky glitter for the body, and fine glitter for the details.)
- Use one color at a time: If you want to avoid mixing the colors in certain areas, make sure to add just one color at a time in places where the lines of glue are near enough for the colors to spill over.
How to Limit the Mess
- Keep your table covered: To avoid getting glitter all over your table, make this craft on a table that is covered with a plastic tablecloth, or place some parchment paper or newspaper over the area where you’ll be crafting. (I like to use both a plastic tablecloth and parchment paper.)
- Use a baking sheet or box: Instead of making this craft on a table, consider doing it on top of a baking sheet, or inside a shallow box or bin, to keep the glitter contained.
- Take it outside: If you are making this craft on a day that isn’t too windy, try bringing it outside. Make sure you tape down the cardstock using painter’s tape, just in case. (To minimize the environmental impact of any glitter that ends up in your lawn, you can use biodegradable glitter.)
- Catch the glitter: When shaking off excess glitter, place the craft over a garbage can, or catch the glitter with parchment paper or newspaper.
- Clean up in between colors: I like to clean up any messes as soon as I shake off the excess glitter. If using parchment paper, I usually replace it before I add the next color. This prevents the back of the sheet of cardstock from getting covered with glitter.
- Use lint rollers or play dough: To clean up glitter, use a lint roller or press a ball of play dough onto it. The glitter will stick to the play dough, cleaning up the mess, and you’ll end up with glittery play dough for your child to play with.
Frequently Asked Questions
Have a question that wasn’t answered here? Let me know in the comments and I’ll be happy to help!
More Glitter Craft Ideas for Kids
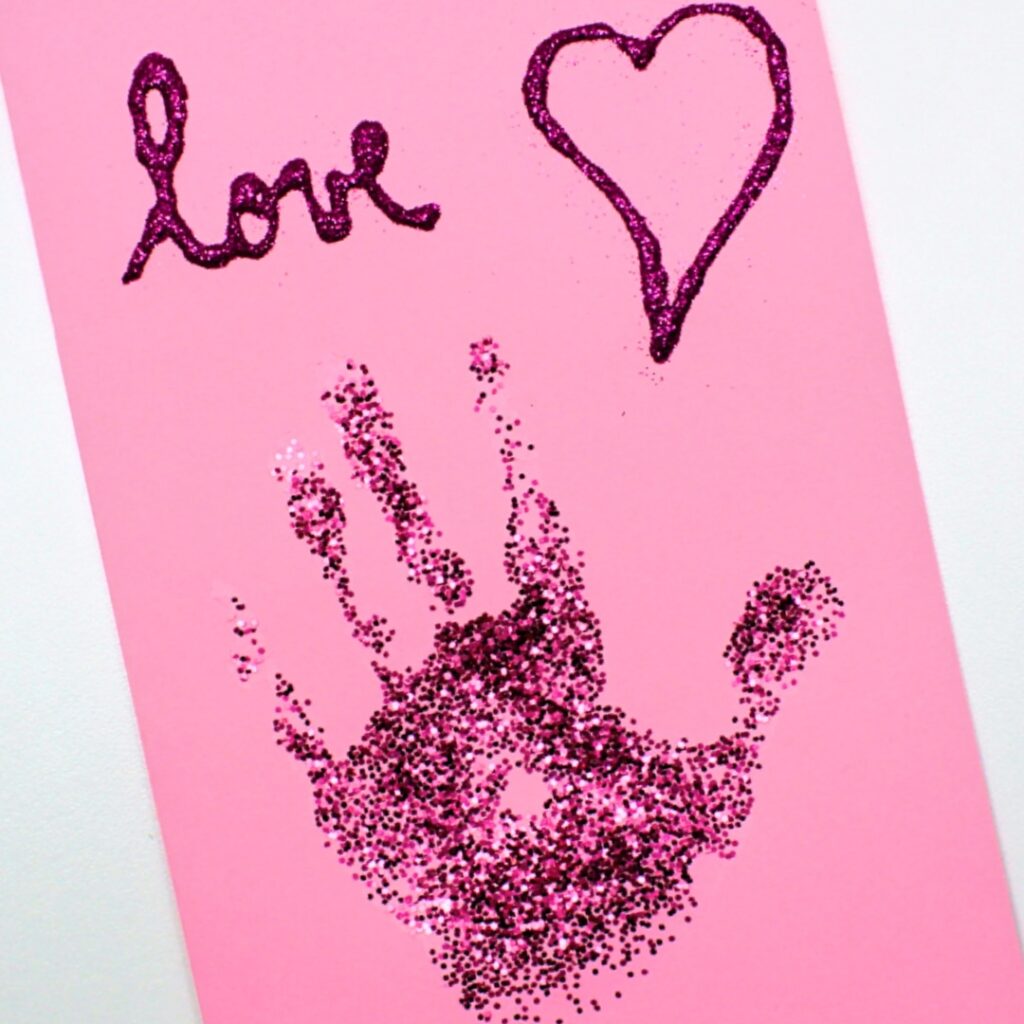

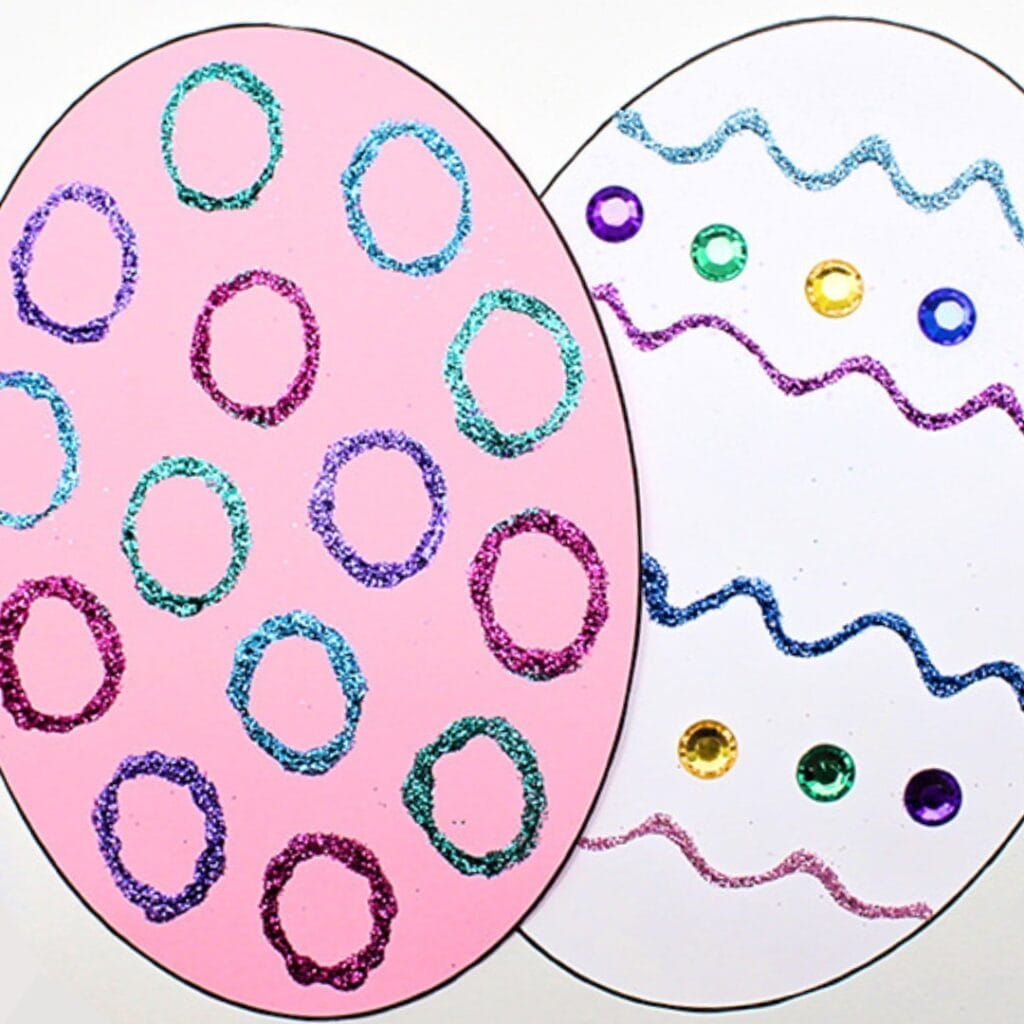
If you have tried this Glitter Fireworks Craft or any other project on my website, please let me know how it went in the comments below. I can’t wait to hear from you!
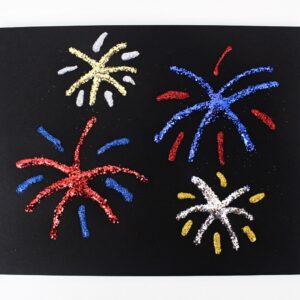
Glitter Fireworks
Materials
- 1 sheet cardstock
- 1 bottle liquid school glue
- chunky glitter
- fine glitter
Instructions
- Use liquid glue to "paint" some fireworks on the sheet of cardstock.
- Sprinkle a generous amount of chunky glitter on top of the glue, making sure that the glue is fully covered. Carefully shake off the excess glitter over a garbage can or a sheet of parchment paper.
- Use liquid glue to create more details around the fireworks.
- Sprinkle fine glitter on top of the glue, making sure that the glue is fully covered. Shake off the excess glitter. Let the glue dry before displaying.
Video
Notes
- Use a lot of glitter: For best results, make sure the glue is fully covered with glitter.
- Create colored accents: Try using multiple different colors of glitter and experimenting with different styles of fireworks.
- Switch up the glitter: Play around with the chunky and fine glitter to see which look you prefer.
- Use one color at a time: If you want to avoid mixing the colors, proceed one color at a time in places where the lines of glue are near enough for the colors to combine.

Only your name will be made public. Please note that by submitting your comment, you are agreeing to the terms of our Privacy Policy.