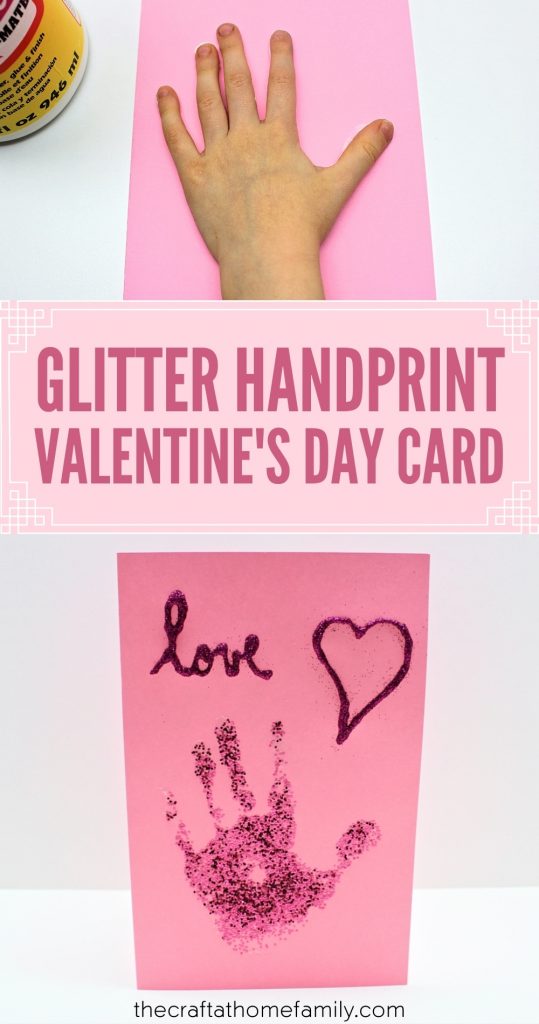
This adorable Valentine’s Day card is so fun for kids to create, and it features your child’s handprint covered in glitter! Such a simple idea that would make a great homemade gift for parents or grandparents!
JUMP TO…
With Valentine’s Day only a couple weeks away, it seems like most of our recent crafts have been pink and heart-themed.
We’ve been hard at work creating hearts from torn strips of construction paper, painting cards using tinted bubble liquid and even making cute little pom-pom love bugs with heart-shaped wings!
But if there’s one type of craft that’s always a hit with our kids, it’s anything that involves handprints. They just love covering their hands in paint and seeing what sticks—and my four-year-old has even been know to cover her hands in washable marker while drawing just to see if it would leave an imprint on the paper!
So it’s not at all a surprise that she would love this craft as well!
Related: Glitter Fireworks Craft

Get hundreds of pages of activities!
Get access to all our paid printables, as well as monthly activity planners, for just $5/month. (New printables added twice per month!)
Required Materials
Here’s what you’ll need to make this cute Valentine’s Day card featuring your child’s handprint:
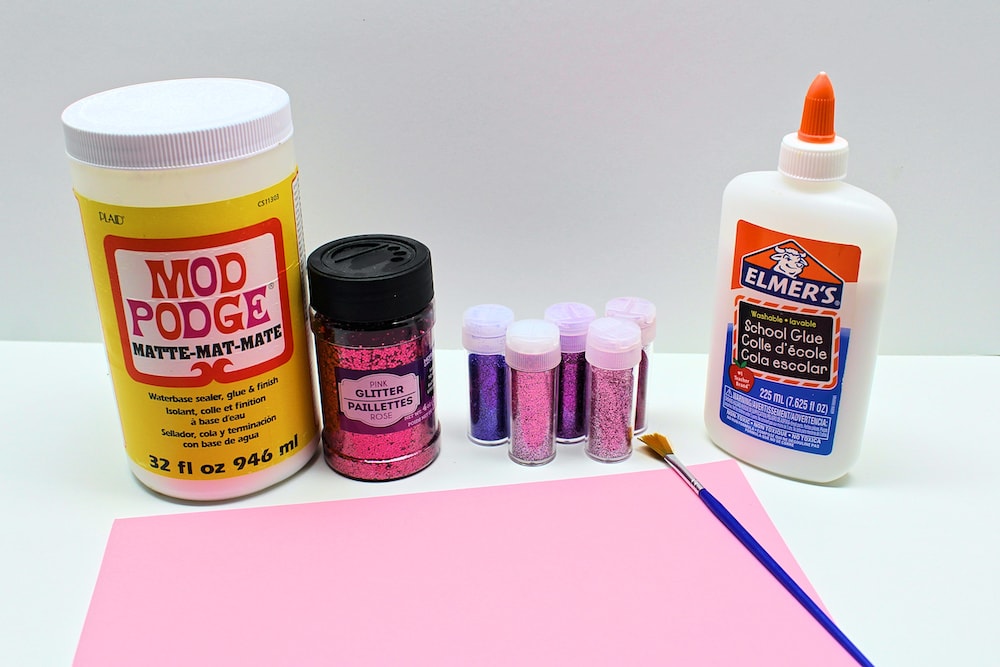
- Pink cardstock (I used some leftover pastel cardstock from our Easter crafts)
- Mod Podge
- Paintbrush (ours was from the dollar store)
- Chunky glitter
- Pencil and eraser (optional)
- Bottle of school glue with precision tip (optional)
- Fine glitter (optional)
Note: The school glue and fine glitter will only be necessary if you decide to trace words or extra designs on your card—if you decide that you only want the handprint, feel free to skip them entirely!
How to Make a Glitter Handprint Card (Step-by-Step)
1. Fold Cardstock
Start by folding the cardstock in half to create a card. I highly recommend doing this step first because it will help you position your child’s hand, and the next couple of steps need to be completed as quickly as possible to prevent the Mod Podge from drying.
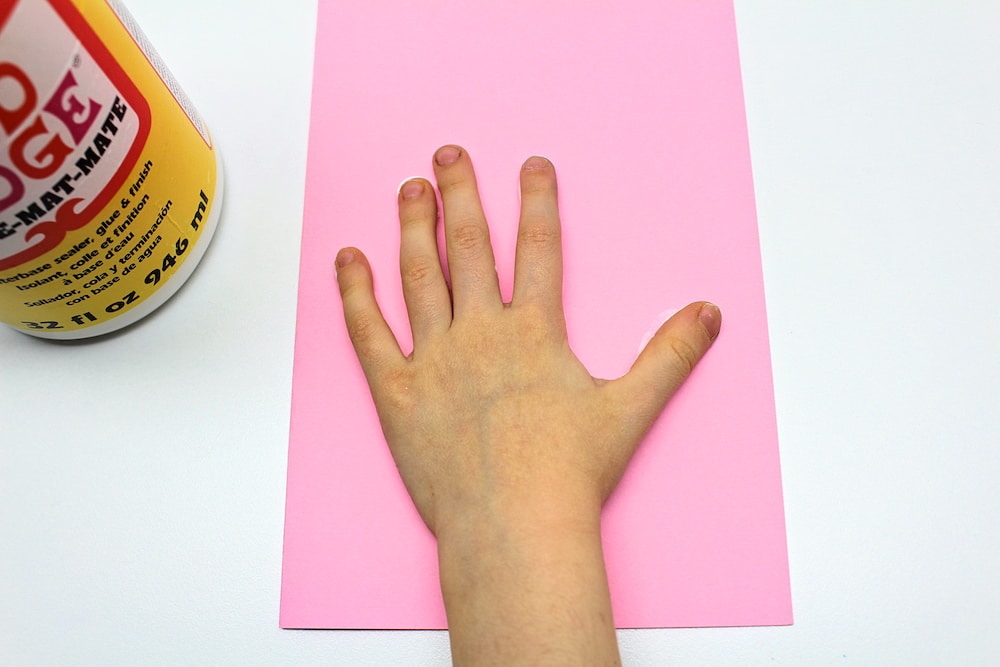
2. Cover Hand in Mod Podge
Use the paintbrush to cover your child’s hand in Mod Podge. (We made sure it was non-toxic first!)
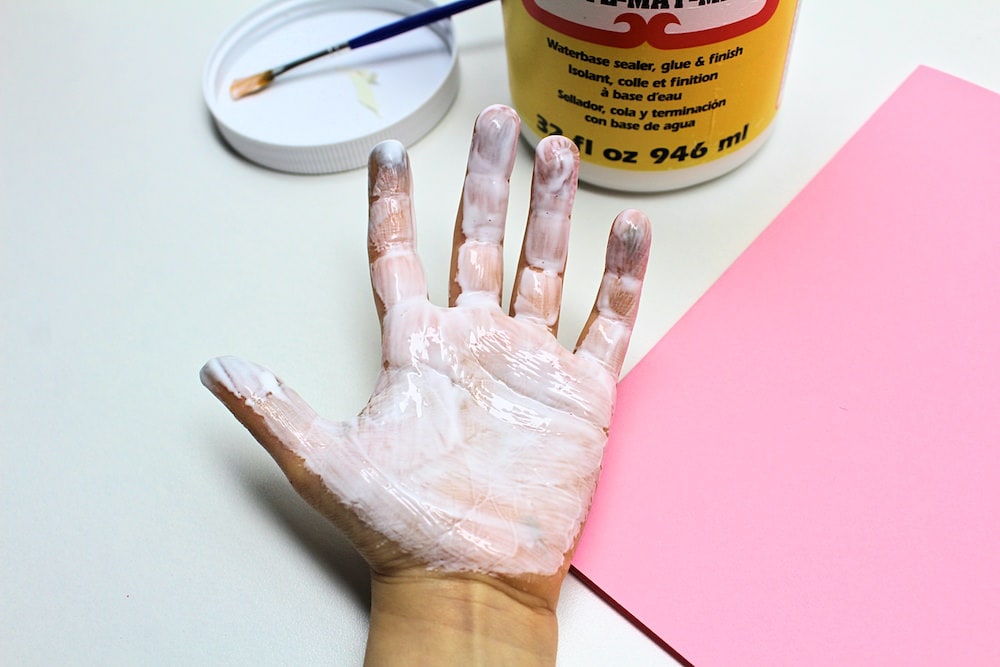
Don’t wait too long between this step and the next as Mod Podge dries pretty quickly!
3. Press Hand to Paper
Once your child’s hand is covered in Mod Podge, quickly press it against the sheet of cardstock and remove it to leave an imprint.
Because my four-year-old is old enough to wash her hands on her own, she went off to do so while I got started on the next step. Mod Podge dries quickly, so it’s better to act as fast as possible.
4. Add Glitter
While the Mod Podge is still wet, sprinkle the handprint with chunky glitter until it’s completely covered.
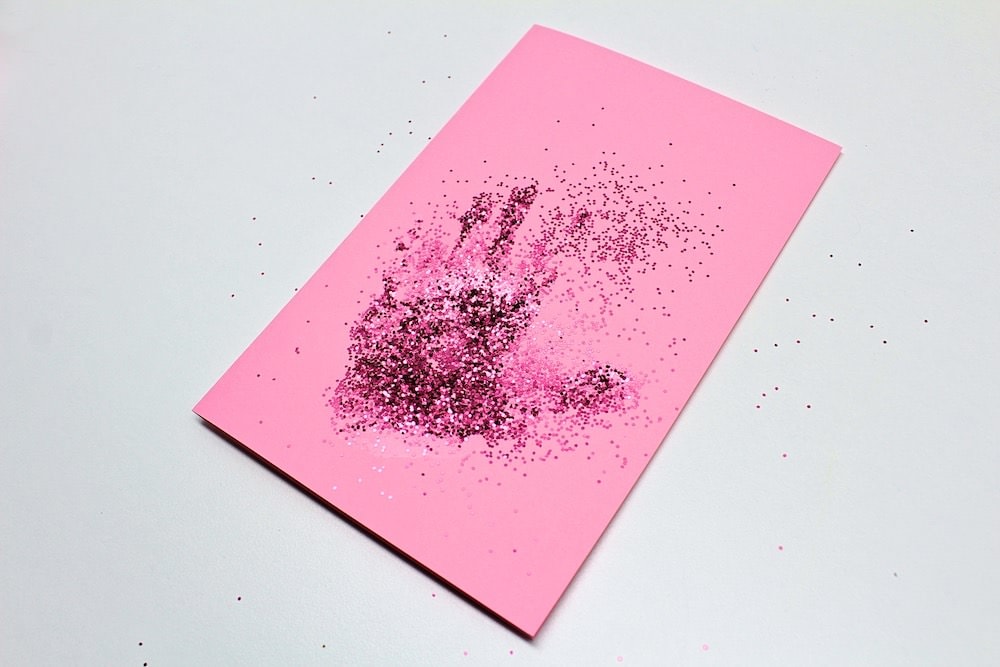
5. Shake Off Excess Glitter
Lift up your card and gently shake it to remove any excess glitter. I did this over parchment paper and poured the loose glitter right back into the container to reduce waste!
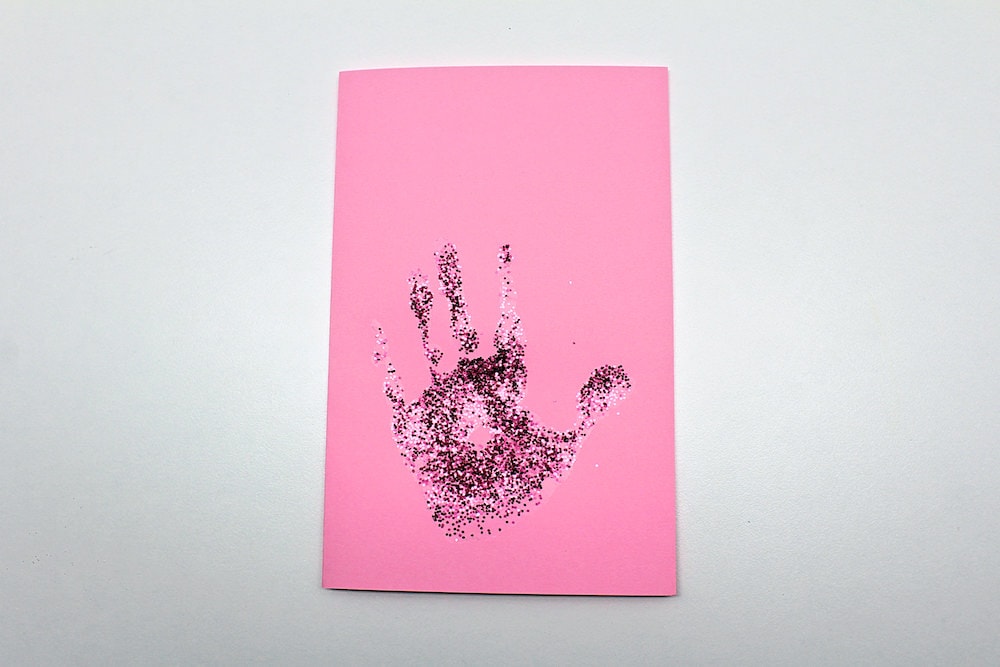
If you like the way the card looks with just the handprint, feel free to stop here and simply let it dry before writing your message inside! If you’d rather add extra embellishments, move on to the next step.
6. Add Extra Designs (Optional)
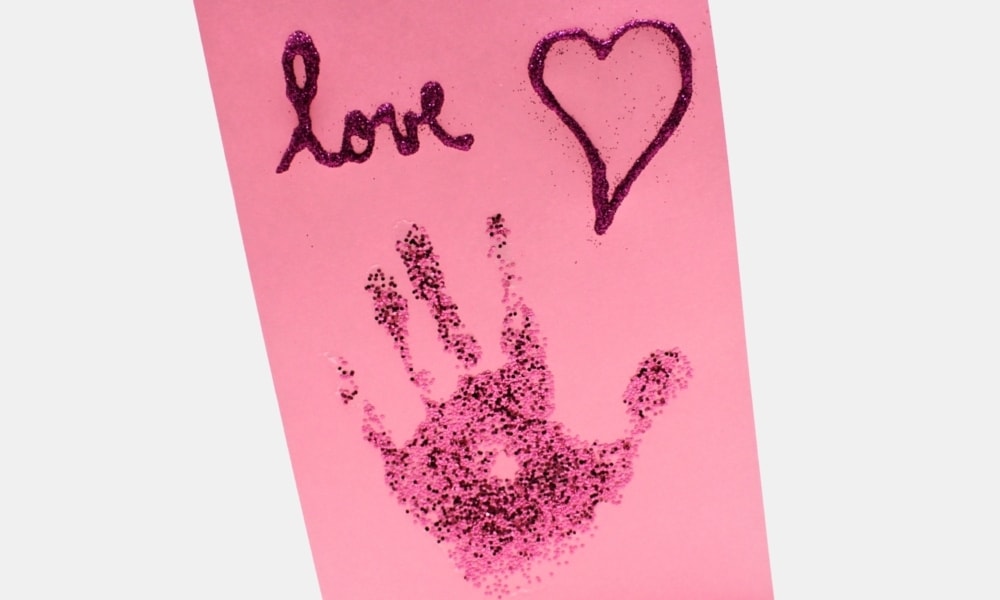
After creating the handprint, we decided to add some extra text and shapes on the front of the card.
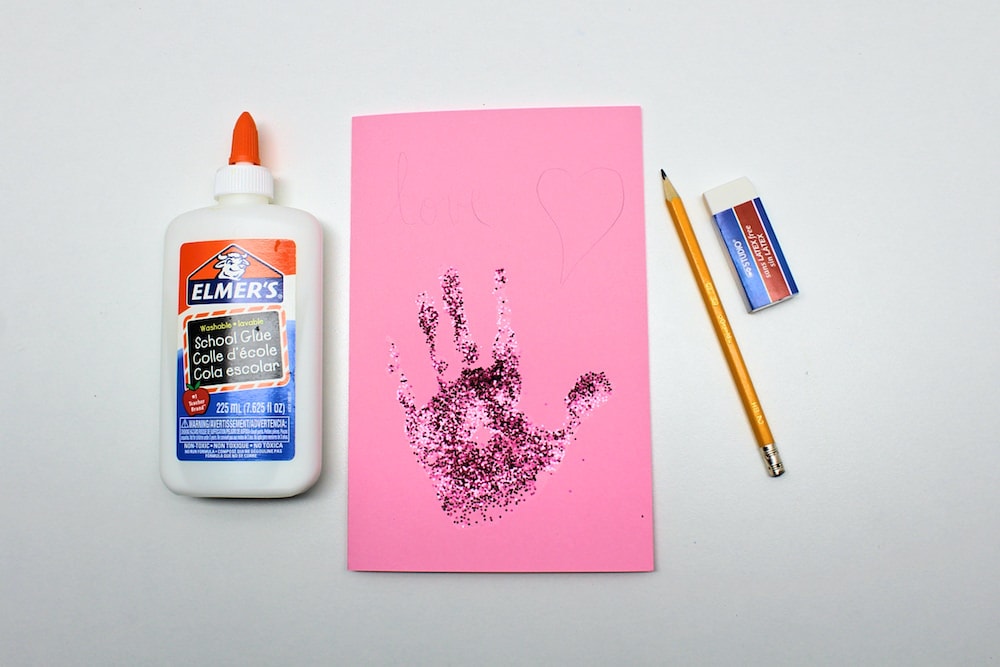
In order to do so, I lightly traced the design using a pencil and readjusted as needed until I was satisfied with how it looked. Then, I used school glue to trace over the pencil markings.
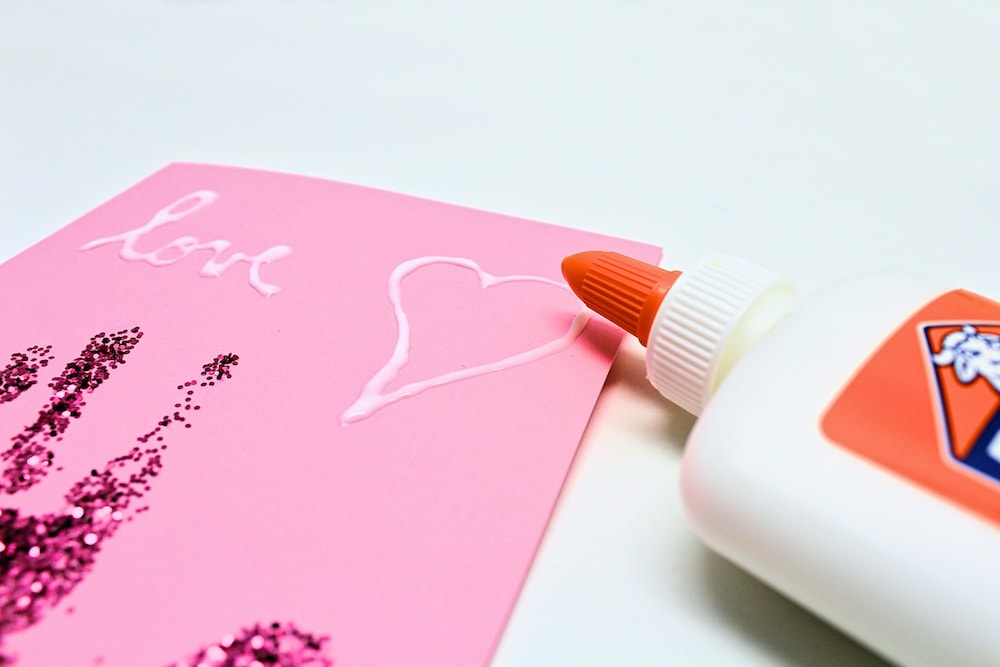
Finally, while the glue was still wet, I sprinkled some fine glitter on top and gently shook off the excess.
7. Let Dry
Once you’re done adding extra embellishments, simply let the glue dry fully and your card will be ready. Write whatever you like in it and gift it to a loved one!

Related Valentine-Themed Crafts
Looking for more Valentine’s Day crafts to do with your child this February? Check out these articles:
Only your name will be made public. Please note that by submitting your comment, you are agreeing to the terms of our Privacy Policy.