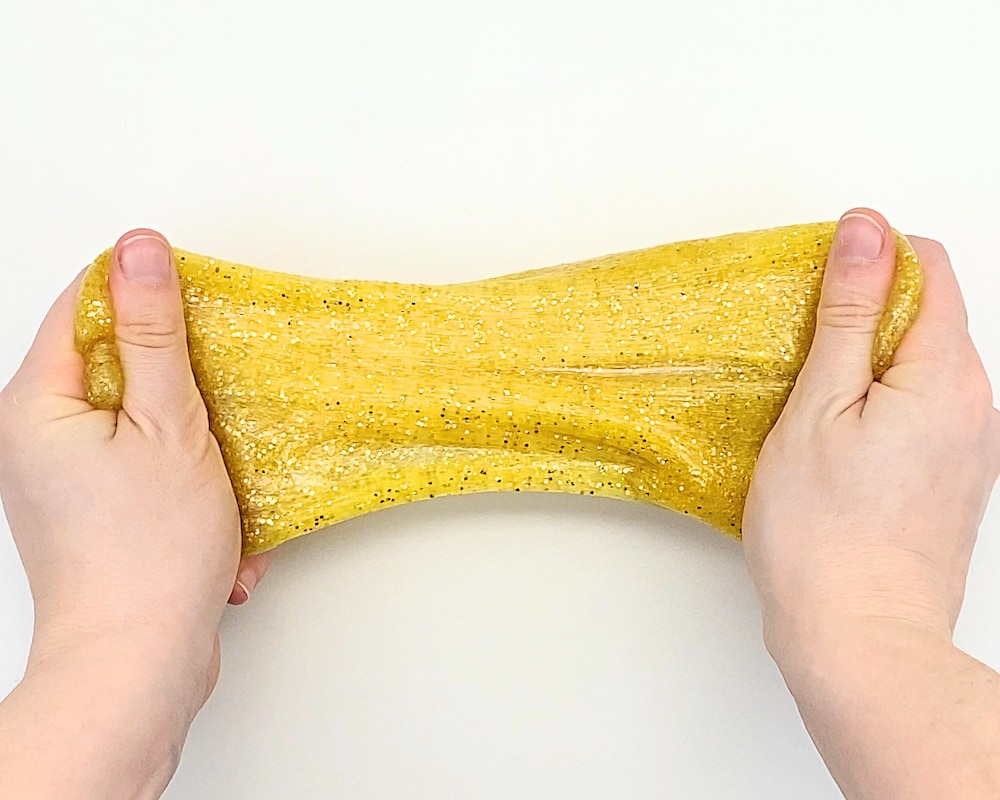
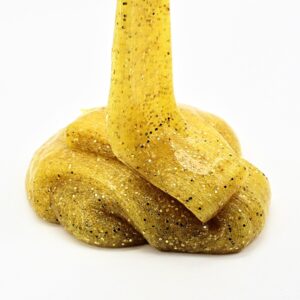
Looking for a fun Saint Patrick’s Day activity to set up for your kids? This easy gold glitter slime is both gorgeous AND super simple to make. You’ll only need a few simple ingredients to whip up a batch of glittery pot of gold slime for your child to play with!
This post may contain affiliate links, which means I may receive a commission, at no extra cost to you, if you make a purchase through a link. As an Amazon Associate, I earn from qualifying purchases. Please see my full disclosure for further information.
JUMP TO…
I have a confession to make: I love homemade slime just as much as my kids do.
I know that it can be controversial and that some parents won’t even let it into their house… and honestly, I thought it was pretty weird before I started making it.
But from the very first time I tried it, I was hooked. There is something SO satisfying about it.
Thankfully, my kids agree, which gives me an excuse to keep making it.
Our older kids have been asking for slime lately, and with St Patrick’s Day coming up, I thought it would be fun to try something unique that we hadn’t done before! That is how this easy gold slime recipe came to be.
This DIY golden slime is so gorgeous, and because it is activated with contact lens solution instead of a harsher chemical like Liquid Starch, it is softer on sensitive skin than some of the other recipes out there.
Our kids absolutely loved it, and I hope yours will too!
GRAB OUR 12 BEST SENSORY RECIPES!
Subscribe to our email newsletter to receive 12 of our most popular sensory recipes in PDF format as a welcome gift:
Already a subscriber? Don’t worry, you won’t be subscribed twice. By submitting your email address, you are agreeing to the terms of our Privacy Policy. You can unsubscribe at any time.
Required Ingredients
Here’s what you’ll need in order to make your own DIY gold glitter slime at home:
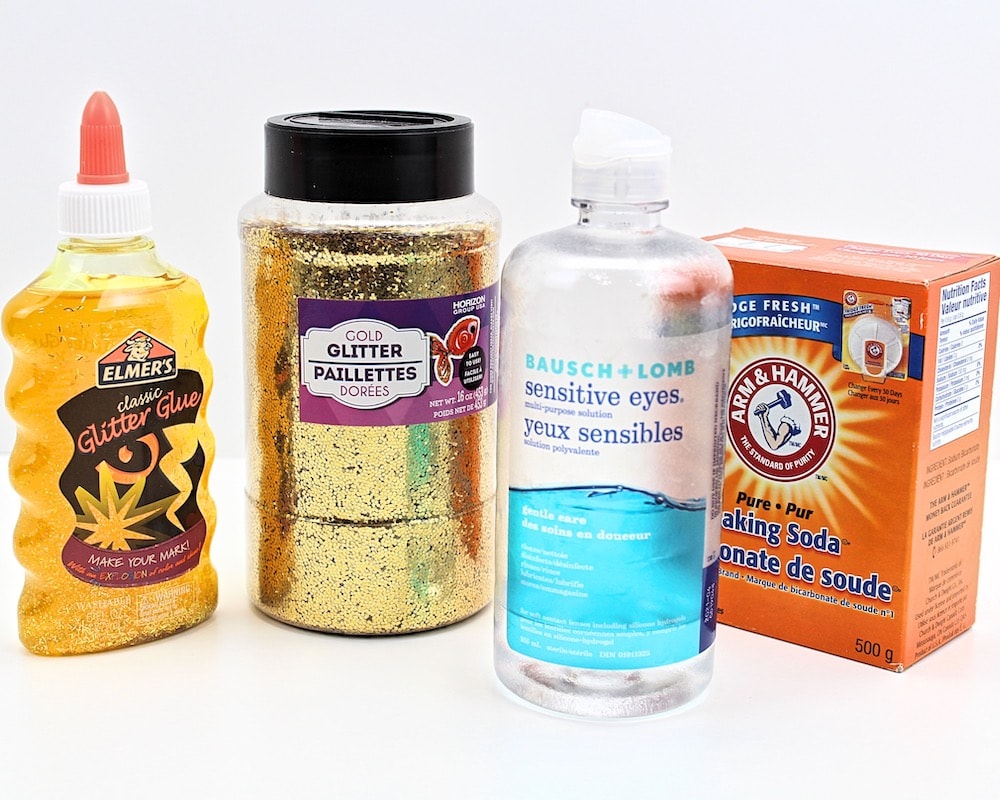
- 6-oz bottle of yellow glitter glue (we used Elmer’s yellow glitter glue)
- ¼ cup water
- Chunky gold glitter
- ½ tsp baking soda
- 1-1 ½ tbsp contact lens solution
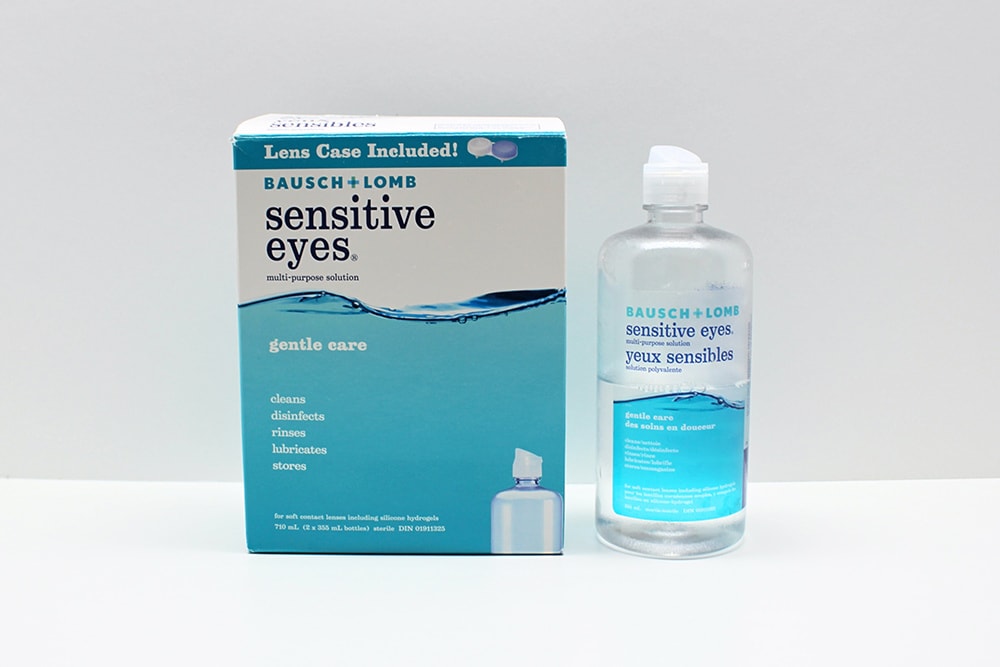
Note: The contact lens solution you use must list “boric acid” and “sodium borate” as ingredients in order for the chemical reaction to occur. We bought ours at Walmart and carefully compared ingredients and prices before choosing the brand pictured below.
How to Make Gold Slime (Step-by-Step)
1. Combine Water & Glue
Pour an entire 6-ounce bottle of yellow glitter glue into a small bowl and add ¼ cup of water, stirring until combined. (The water is optional, but it will make the slime a lot stretchier!)
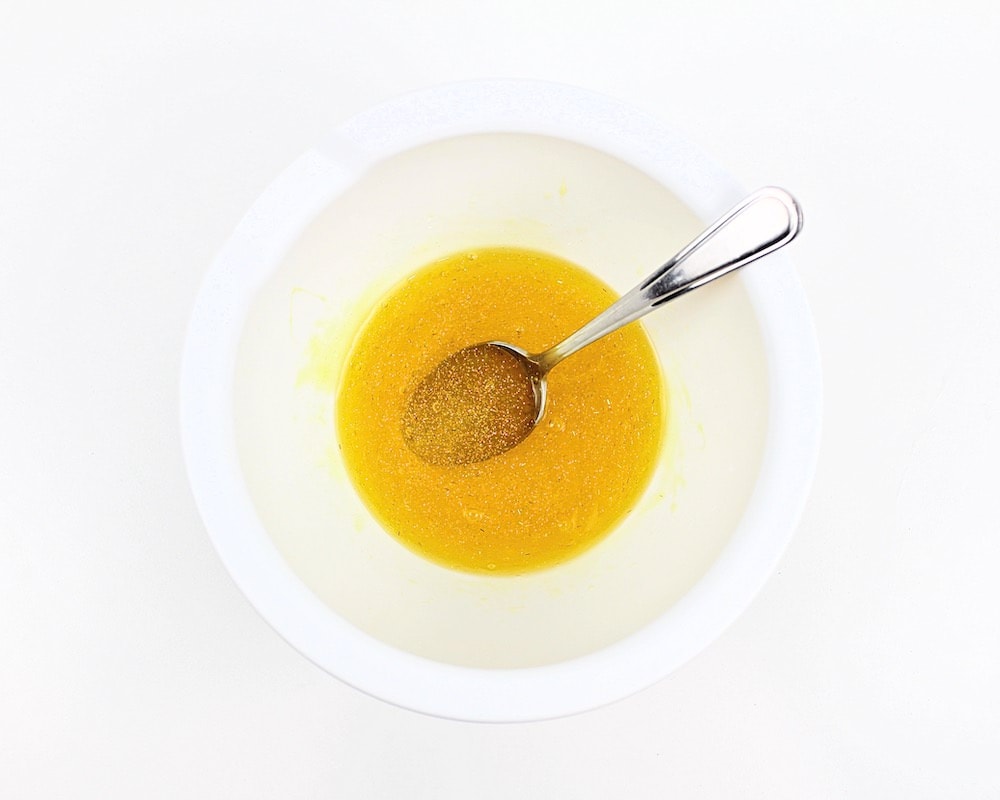
Note: If ever you can’t find yellow glitter glue, you can always use regular clear glue and simply add some yellow food colouring and fine gold glitter to mimic its golden colour.
2. Add Gold Glitter
Stir in some chunky gold glitter. (You can also use fine glitter, but the slime won’t look as glittery.)
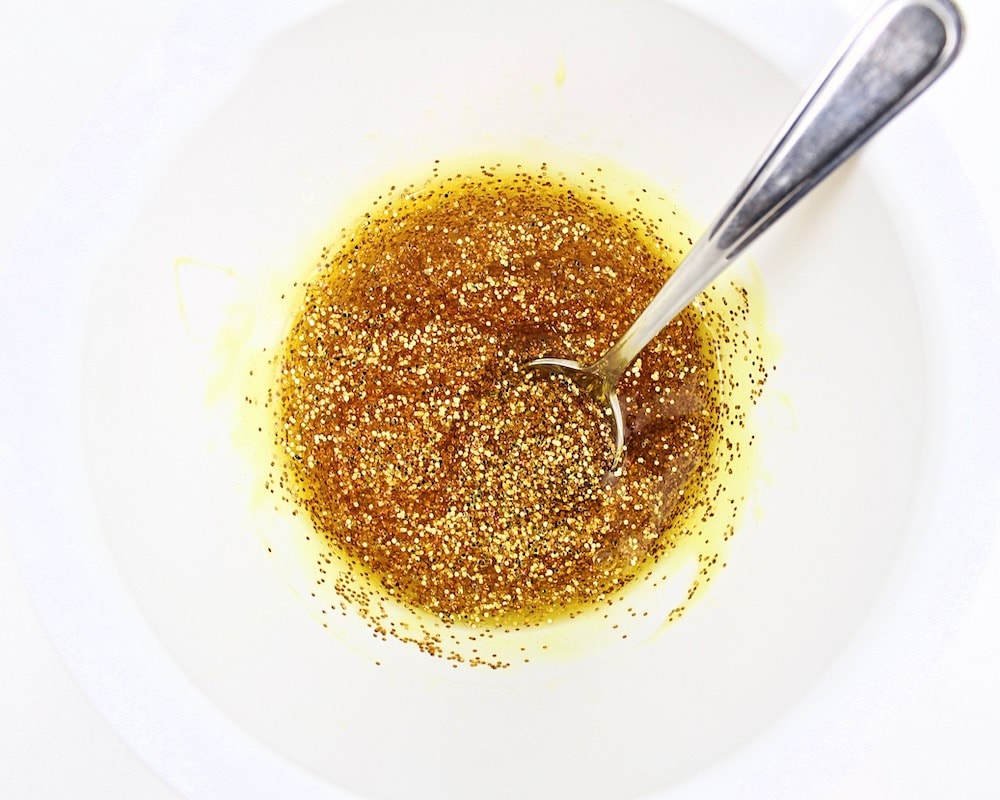
I didn’t measure out the exact quantity of gold glitter I used, but it was probably about 2 to 3 teaspoons. The exact quantity you use doesn’t really matter as you can always add more if you’re not happy with how the slime looks.
3. Add Baking Soda
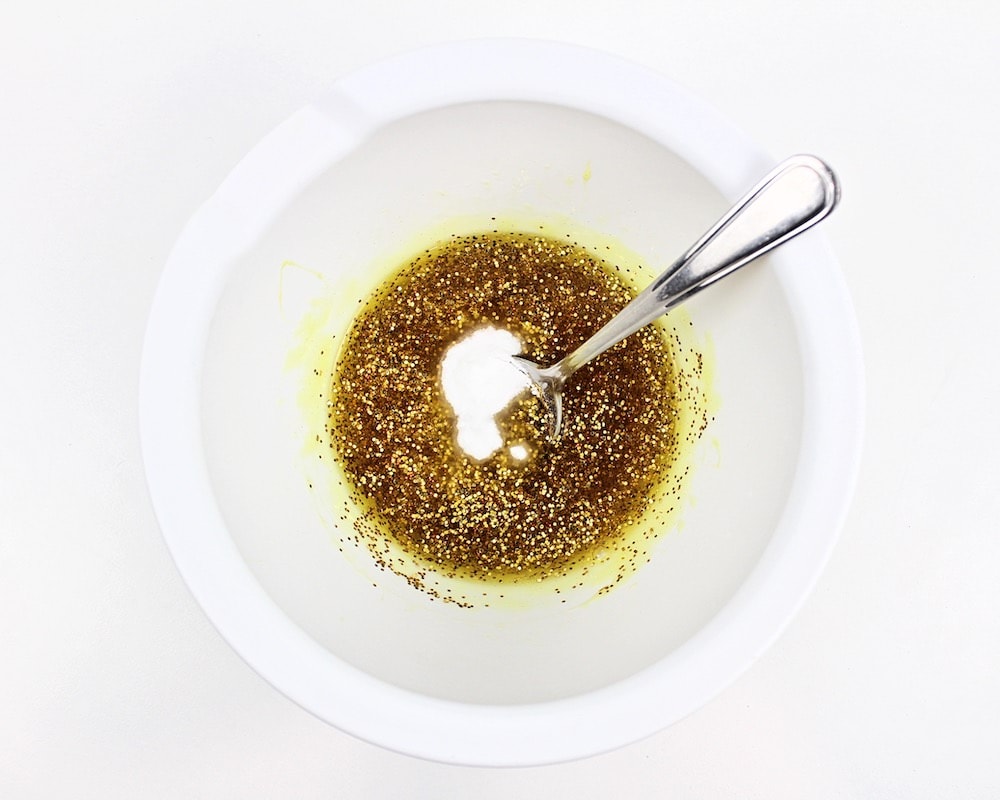
Mix in ½ teaspoon of baking soda.
4. Add Contact Lens Solution
It’s time to add the secret ingredient that will activate the slime! Start with 1 tablespoon of contact lens solution and stir until well combined.
As you stir the mixture with a spoon, it should start to solidify a little, but a single tablespoon may not be enough to fully activate your slime. (You’ll probably end up needing somewhere between 1 tablespoon and 1 ½ tablespoons.)
Once I’ve added the initial tablespoon, I usually add one small squirt at a time, mixing well between each addition. Don’t add too much at a time or your slime will become rubbery!
(Note: You can fix this by adding warm water and gently working it in with your hands, but it’s much simpler to prevent this issue altogether by adding the activator slowly.)
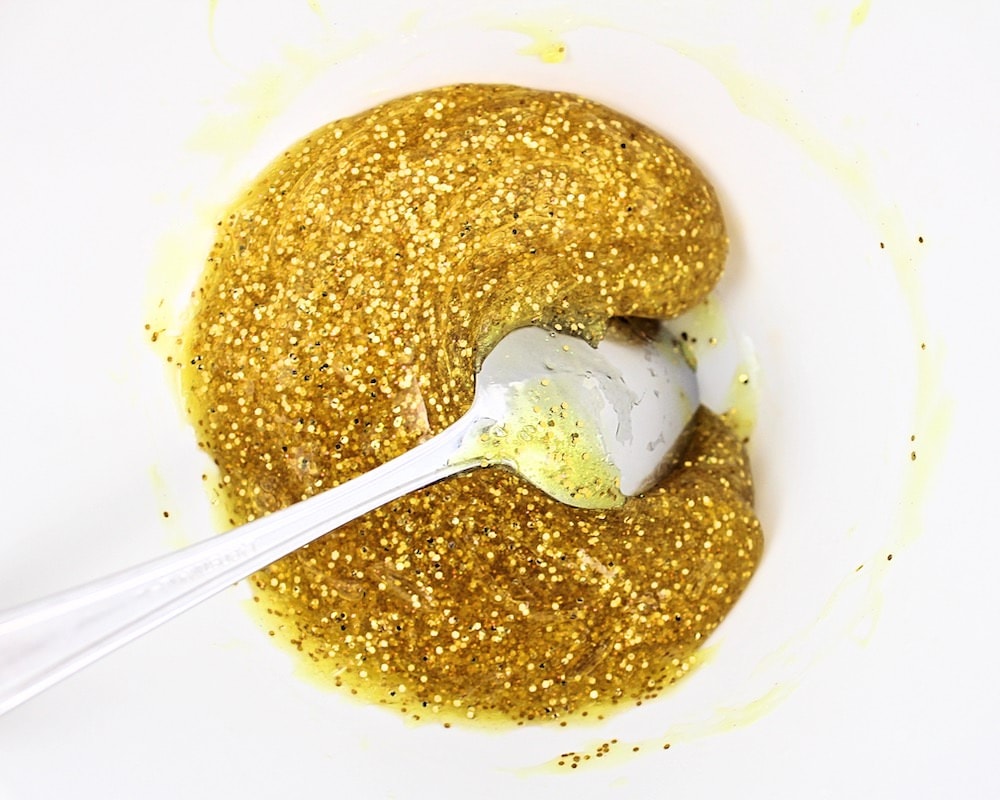
You can stop adding contact lens solution when the mixture starts sticking to the sides of the bowl, and can be peeled off using a spoon. I always try to use as little contact lens solution as possible because this keeps the slime nice and stretchy!
6. Knead Slime
Once you’ve added enough activator, it’s time to knead! The slime may be sticky initially, but the more you knead the slime, the less sticky it should become.
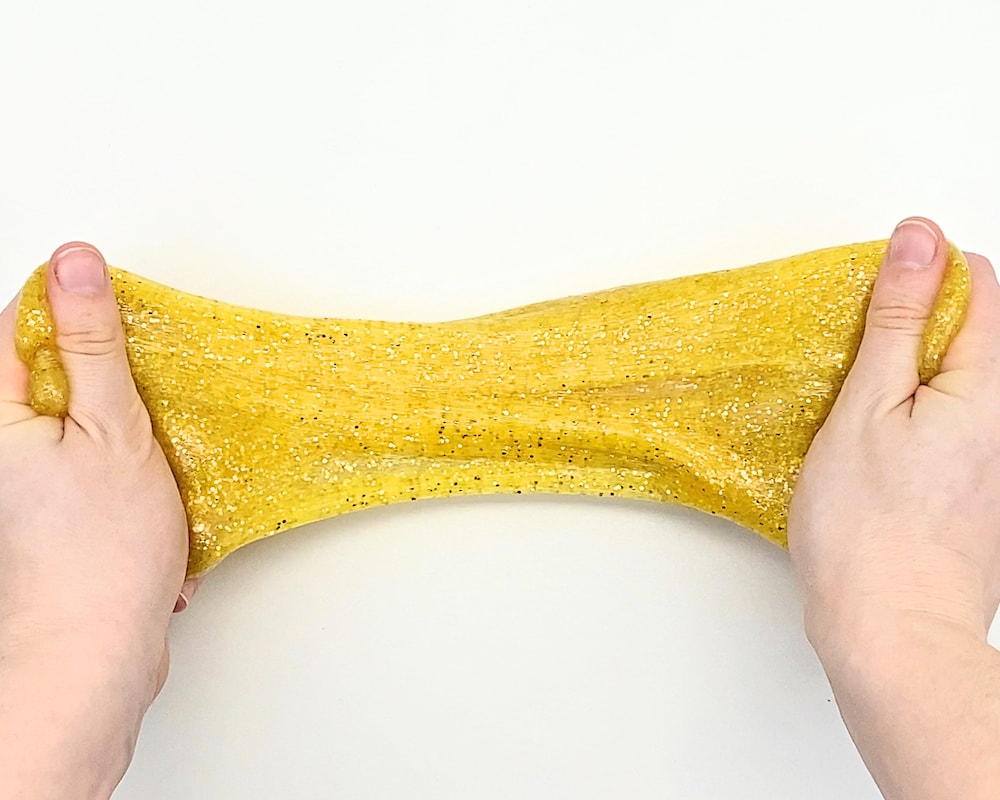
If ever your slime is simply too sticky to knead, you can always add a little bit of extra contact lens solution to your hands to make things easier.
Important: If you like to wear rings, please remove them before kneading the slime. I once kept my wedding ring on while kneading slime, and it ended up getting into some of the crevices of the ring and causing a rash on my finger due to prolonged exposure.
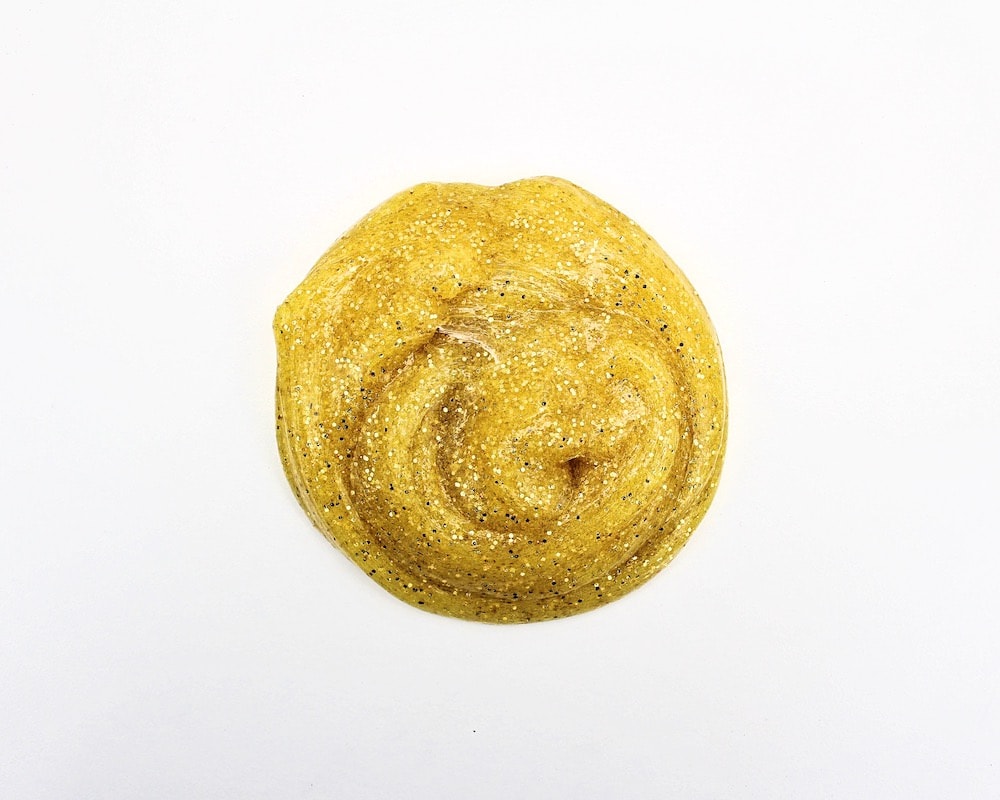
When the slime is no longer sticky, it is ready to play with. Give it to your child and let them have fun stretching it and watching it ooze between their fingers!
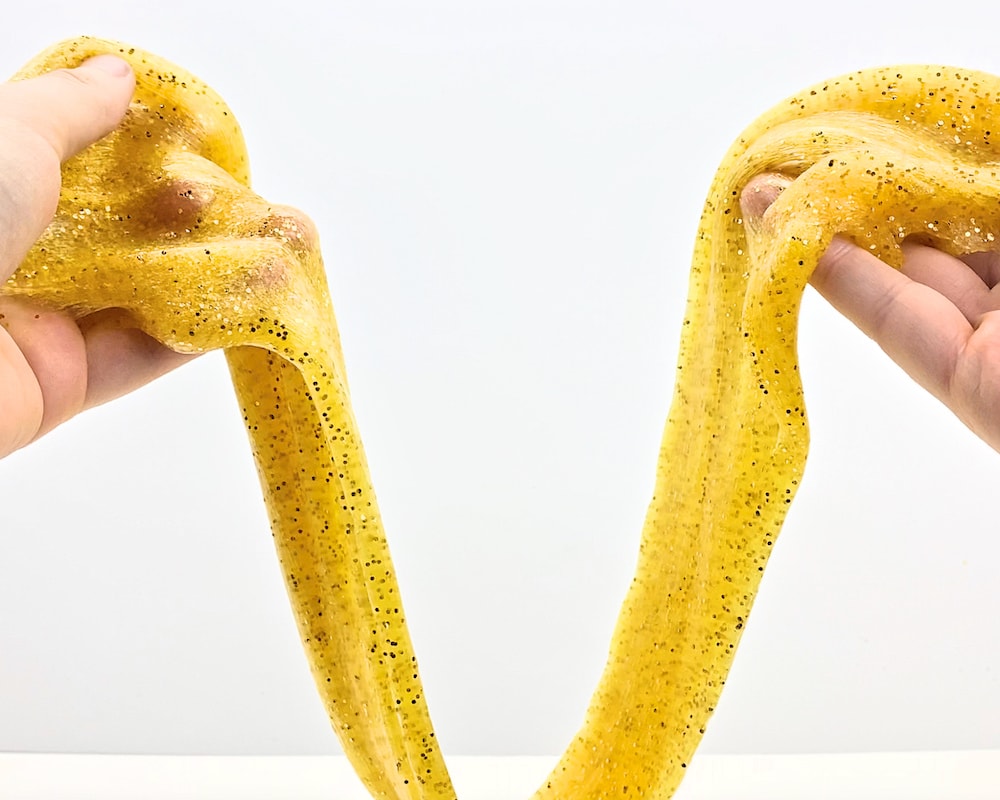
Just keep in mind that unlike some of our other slime recipes, this recipe is not taste-safe. So if your child is still a toddler who has a tendency to put everything in their mouth, you may want to try one of these edible recipes instead.
How to Store Homemade Gold Slime
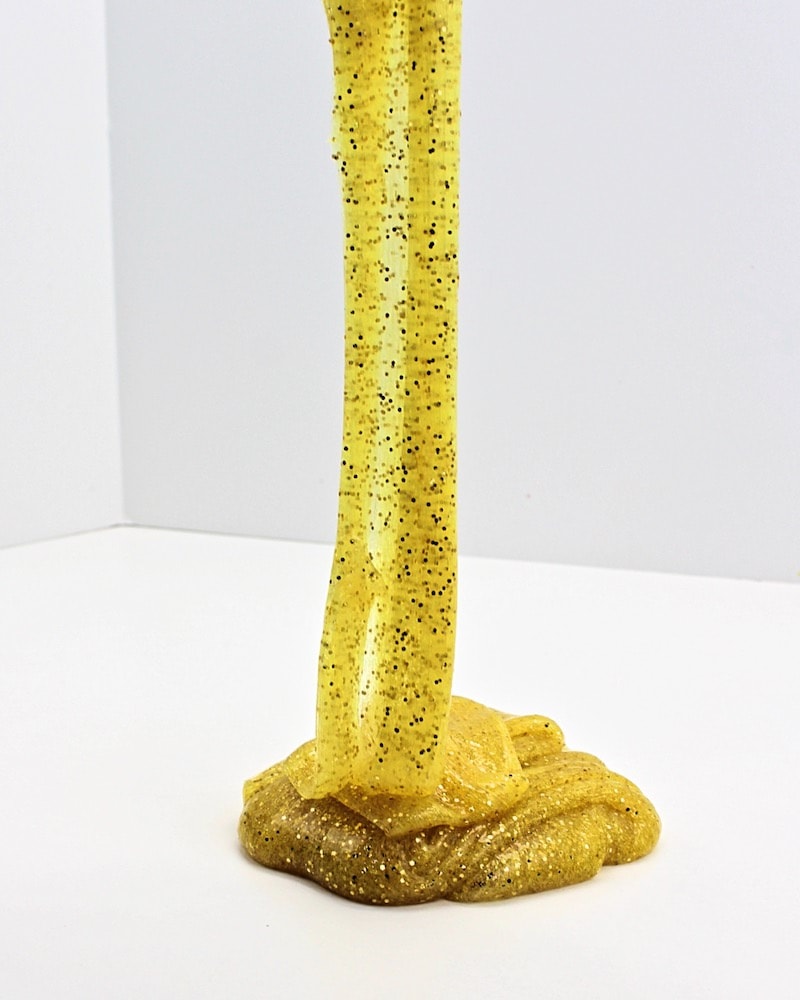
Slime can get a little stiff if it is exposed to air for too long, so we like to store ours in a sealed Ziploc bag with the air removed whenever our kids aren’t playing with it. It usually keeps for several weeks when stored this way.
If ever you do leave the slime out for a little too long during play and it loses some of its stretchiness, you can always try adding a bit of warm water and massaging it in with your fingers. This should make it less stiff and help restore some of its stretchiness.
Gold Glitter Slime
Ingredients
- 6 oz yellow glitter glue
- ¼ cup water optional
- 2-3 tsp chunky gold glitter or as needed
- ½ tsp baking soda
- 1 – 1 ½ tbsp contact lens solution
Instructions
- Combine the glue and water in a small bowl.
- Add some gold glitter and mix it in with a spoon.
- Stir in baking soda.
- Add 1 tablespoon of contact lens solution and stir with a spoon. If the mixture is still very runny, slowly add a bit more contact lens solution, mixing well and stopping as soon as the mixture can be peeled off the sides of the bowl.
- Remove the slime from the bowl and knead it with your hands. It will start out sticky, but the more you knead it, the less sticky it will feel. Once the slime no longer feels sticky, it is ready for your child to play with!
Notes
Related Contact Lens Solution Slime Recipes
Looking for more DIY slime recipes with contact lens solution? Check out these recipes:
- Homemade Butter Slime
- Heat-Sensitive Colour-Changing Slime
- Easy Aquarium Rock Slime
- Super Stretchy Water Bead Slime
Join my mailing list using the form below to receive 12 of the most popular sensory recipes on my site in PDF format! You’ll be the first to know when I publish new recipes, and you’ll also gain access to my free printables library, which is filled with lots of printable activities for kids.
GRAB OUR 12 BEST SENSORY RECIPES!
Subscribe to our email newsletter to receive 12 of our most popular sensory recipes in PDF format as a welcome gift:

Already a subscriber? Don’t worry, you won’t be subscribed twice. By submitting your email address, you are agreeing to the terms of our Privacy Policy. You can unsubscribe at any time.
Only your name will be made public. Please note that by submitting your comment, you are agreeing to the terms of our Privacy Policy.