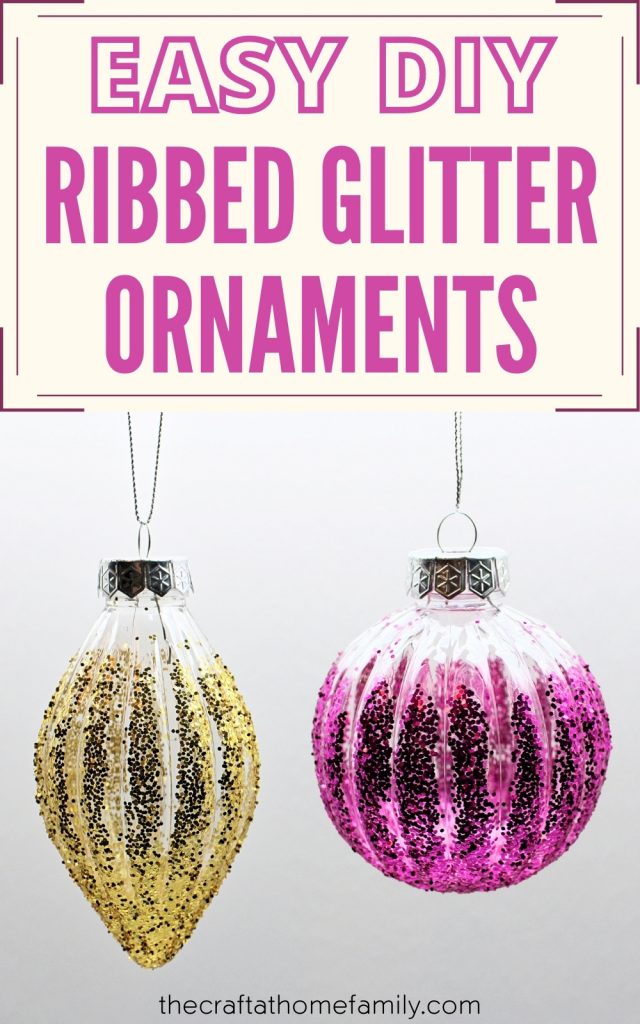
Making a trip to the dollar store? All you’ll need to make these cute last-minute Christmas decorations is plastic ornaments, Mod Podge and glitter! These easy DIY ornaments may look fancy, but they’re actually super simple to make at home—and they’ll look beautiful hanging on your Christmas tree!

JUMP TO…
I can’t believe Christmas is already less than two weeks away! In our home, that means lots of Christmas songs, Christmas stories… and of course, lots of Christmas crafting!
It usually means lots of baking, too. But since I’m currently 39 weeks pregnant and suffering from gestational diabetes, there’s been a little less of that this year—which just means that we have more time to make DIY Christmas ornaments for our tree!
I’ll be sharing several last-minute ornament ideas this week, so be sure to check back often! In the meantime, here’s an easy one to start with—so easy, in fact, that most of the supplies you’ll need can be found at the dollar store!
(P.S. Already thinking about New Year’s crafts? Check out this Glitter Fireworks Craft.)

Get hundreds of pages of activities!
Get access to all our paid printables, as well as monthly activity planners, for just $5/month. (New printables added twice per month!)
Required Materials
Here’s what you’ll need to make your very own DIY ribbed glitter ornaments at home:
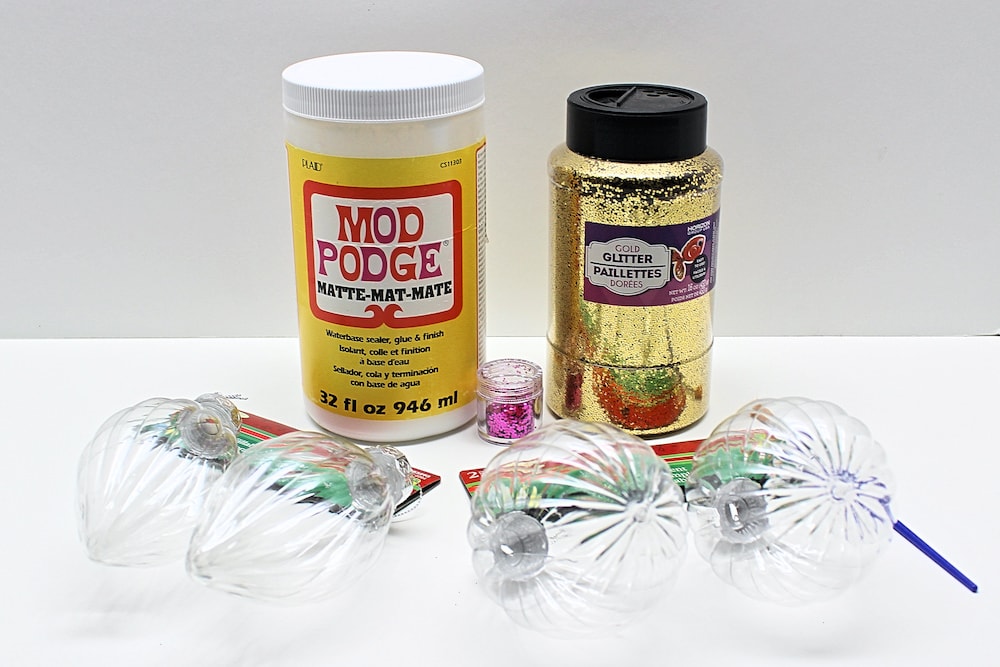
- Clear fillable ribbed plastic ornaments (ours were from the dollar store!)
- Mod Podge
- Paintbrush
- Chunky glitter
- Recommended: Parchment paper (to protect your work surface)
Note: If you don’t have young kids and aren’t worried about your ornaments shattering, feel free to use glass ornaments instead of plastic. But we’re about to welcome our fourth child under the age of five, so as you can imagine, we try to stay far away from anything breakable!
How to Make Ribbed Glitter Christmas Ornaments (Step-by-Step)
1. Remove Ornament Top
You don’t have to do this, but I highly recommend removing the top of your fillable ornaments before you start. This will make them easier to handle and allow you to place them upside down to dry. (You can even create a DIY drying rack like I did—more on that in step 6!)
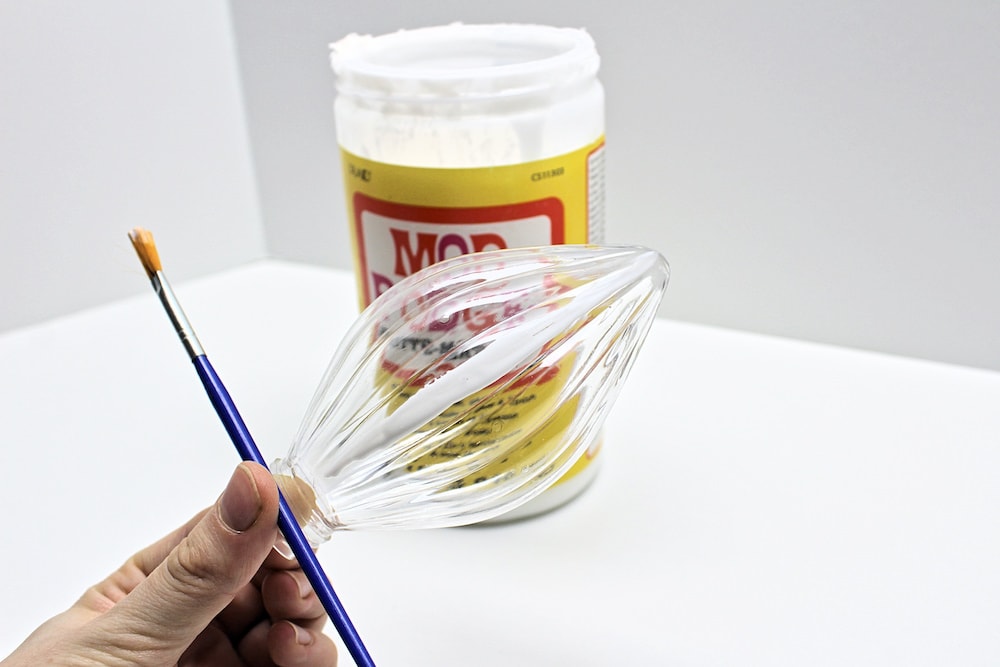
2. Trace Mod Podge Lines
Using a paintbrush, create lines of Mod Podge along each of your ornament’s protrusions, as pictured below. The lines don’t need to be overly thin or precise, but you’ll want to try to center them and avoid getting any Mod Podge in the crevices.
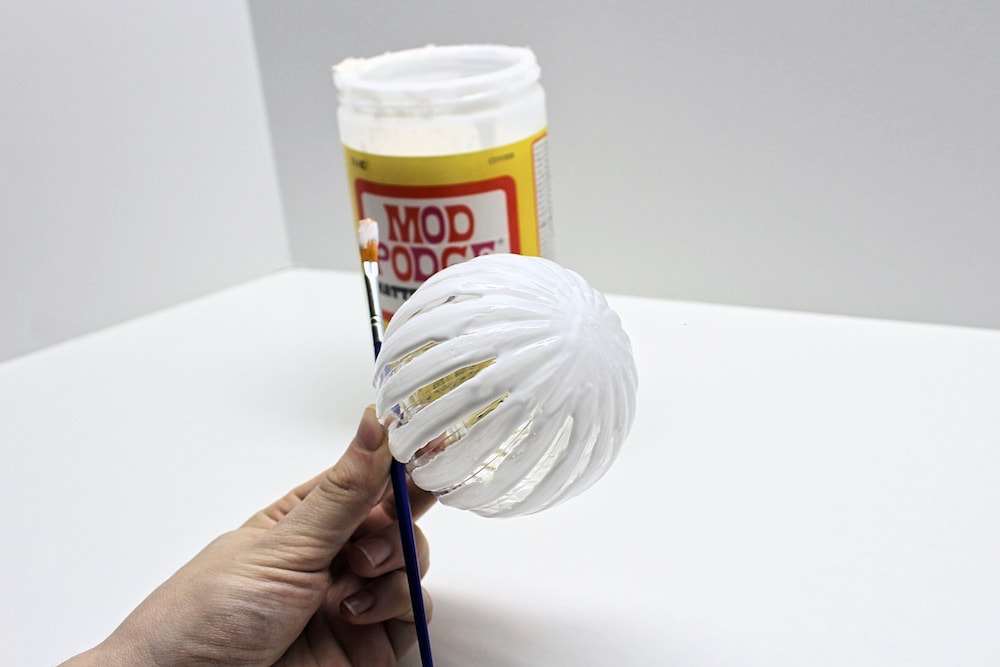
3. Connect Mod Podge Lines
Once you’re done tracing lines of Mod Podge, use your paintbrush to connect all the lines at the tip of the ornament (or the bottom if your ornament is round).
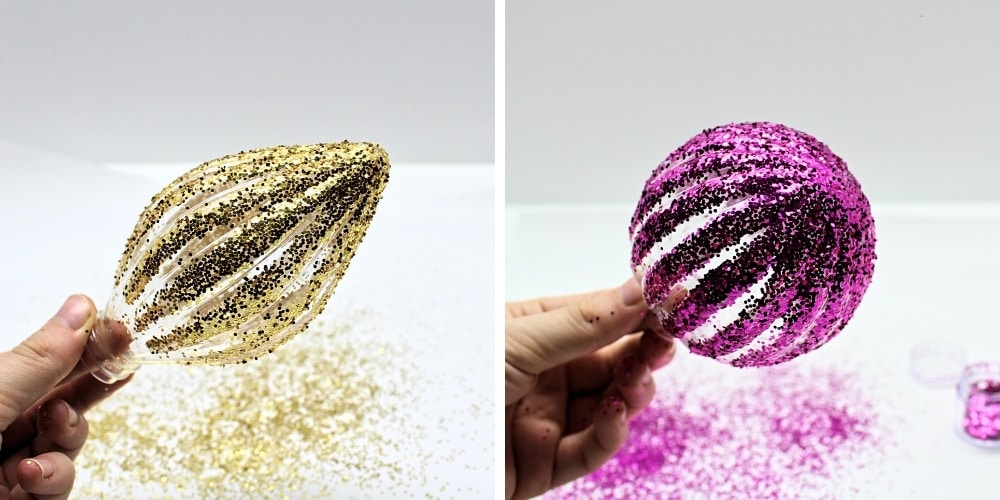
4. Add Glitter
Before the Mod Podge has a chance to dry, sprinkle your ornament with chunky glitter. (Fine glitter could work if it’s all you have, but the finished ornament probably won’t look the same as mine. If you try it, I’d love to know how it turns out!)
The goal is for every line of Mod Podge to be filled in with glitter. If your Mod Podge has already begun to dry, add a little more before sprinkling it with glitter in order to ensure that it sticks!
Keep in mind that this step will probably require a lot of glitter, but most of it won’t end up on your ornament. In order to protect my work surface and reduce waste, I did this step over parchment paper, then scooped up all the fallen glitter and poured it right back into the container!
5. Shake Off Excess Glitter
Gently shake your ornament to remove any excess glitter that isn’t being held in place by Mod Podge.
6. Let Dry
Let the Mod Podge dry completely. This shouldn’t take more than a few hours.
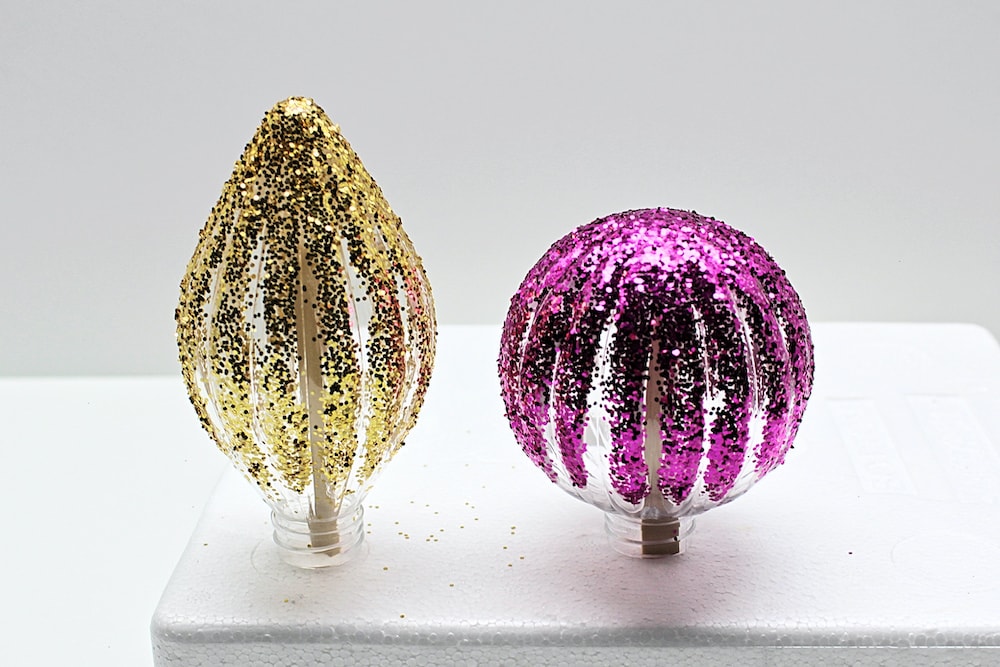
I decided to create a DIY drying rack to prevent my ornaments from tipping over while they dried! All you’ll need to create one is a block of foam and some popsicle sticks. Simply push the popsicle sticks into the foam until they feel secure and you’ll be able to place your ornaments upside down on top of them.
That way, the popsicle sticks will keep your ornament from falling over if an accident happens… and you won’t end up with smudged ornaments and a counter covered in Mod Podge and glitter!
7. Hang Ornament
Once the Mod Podge is fully dry, shake the ornament once more to remove any remaining loose glitter. Then, carefully place the top back on and hang the ornament on your tree using your preferred method! (We tend to shy away from metal hooks and use gold thread, but feel free to hang yours however you see fit.)
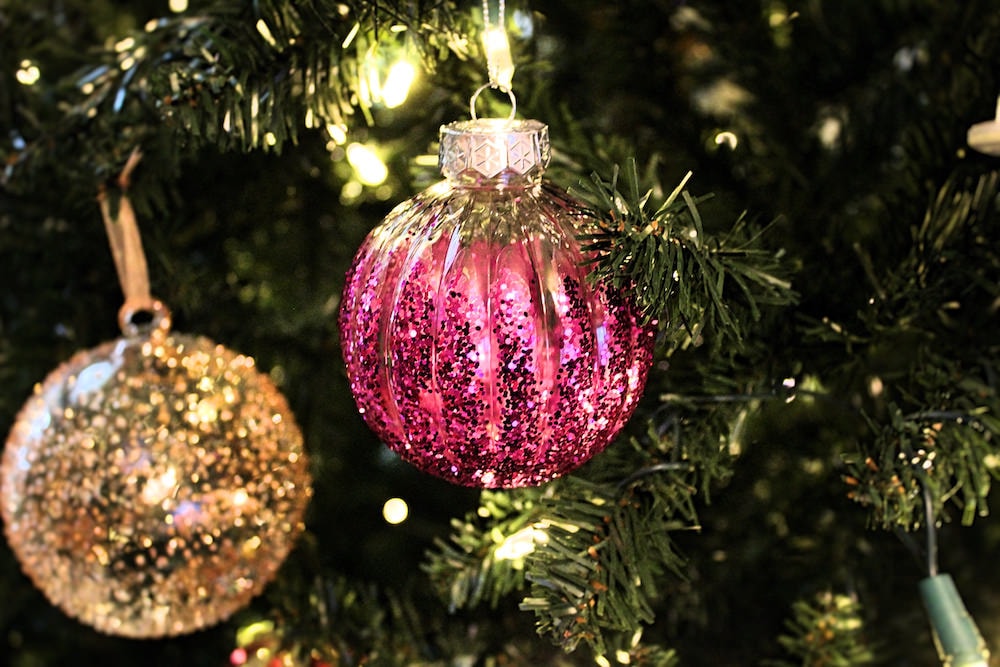
And voilà! Super simple to make, but isn’t it just gorgeous? I particularly love the purple one because its color really pops!
Related Homemade Christmas Decorations
Looking for more easy projects to decorate your tree? Check out this article:
- Easy Feather Ornaments (2 Ways!)
- Rustic Twine-Wrapped Ornaments
- DIY Santa’s Clothesline (with Free Printable!)
- Watercolor Alcohol Ink Ornaments
So creative! I love it!