
These colorful rainbow dyed oats are perfect for babies and toddlers who still like to put everything in their mouths! Find out how to dye oats with food coloring in order to create this taste-safe—and cost-effective—rainbow oat sensory bin for your kids.
JUMP TO…
Sensory bins are a great way to entertain toddlers and preschoolers while also helping them develop a variety of different practical skills, like gross and fine motor skills.
We got started with sensory activities six years ago, when my eldest was a young toddler. Since then, we’ve welcomed four more children and tried dozens of different sensory play recipes, sensory bottles, sensory bags and sensory bins.
One of my favorite things about sensory bins is how versatile they are… and how easy it is to throw one together in just a few minutes using materials that you already have at home.
Sure, sensory bins can be elaborate. But often, the sensory bins that children love the most are the simplest ones to make. (My kids will literally play for hours with a Tupperware container filled with soapy water.)
We’ve made sensory bins using a variety of different materials over the years, but one of the things we hadn’t tried until recently was using oats for sensory play.
And while you can absolutely use plain rolled oats in your sensory bins (especially if you’re short on time and looking for something low-prep), we decided to dye our oats with food coloring.
Because every sensory activity is better with a little rainbow added in.
My kids loved this rainbow oats sensory bin, and I hope yours enjoy them just as much! We’ll definitely be making these again.
Grab our 12 best sensory recipes!

By submitting your email address, you are agreeing to the terms of our Privacy Policy. You can unsubscribe at any time.
Required Materials
Here’s what you’ll need to order to make your own rainbow dyed oats at home:

- Old-fashioned rolled oats (I used ½ cup of oats per color, but you can make larger quantities if you like)
- Small Ziploc bags
- White vinegar
- Liquid food coloring (you can also use gel food coloring, but you’ll need to adjust the quantities)
A lot of recipes call for liquid watercolor paint, but I prefer to use food coloring to dye oats because I have several young kids at home and I want their sensory materials to be taste-safe.
That being said, be aware that oats that have been dyed with food coloring will never look as bright and colorful as oats that have been dyed with paint. (My kids didn’t seem to mind.)
Note: Make sure you use old-fashioned rolled oats and NOT quick oats. Quick oats will not hold up as well during the dyeing process and are likely to get soggy, which is not what we’re going for with this activity. If you only have quick oats on hand, try this oatmeal play dough recipe instead.
Grab our 12 best sensory recipes!
By submitting your email address, you are agreeing to the terms of our Privacy Policy. You can unsubscribe at any time.
How to Dye Oats for Sensory Play (Step-by-Step)
1. Pour Oats into Ziploc Bag
To make rainbow oats, start by pouring ½ cup of rolled oats into 6 zip-top sandwich bags (one for each color).

2. Add Food Coloring and Vinegar
Add 10 drops of liquid food coloring to the bag of dry oats. Then, immediately pour 1 teaspoon of white vinegar onto the food coloring.
(If you’re using gel food coloring, start with just a little bit—you’ll be adding more food coloring during subsequent steps.)

Most of the recipes I found said to add the food coloring to water and then pour the colored water into the bag with the oats.
I tried both methods, and personally, I prefer to add the food coloring directly to the oats—you’ll probably need more food coloring, but you’ll be less likely to end up with a bag full of wet, mushy oatmeal.
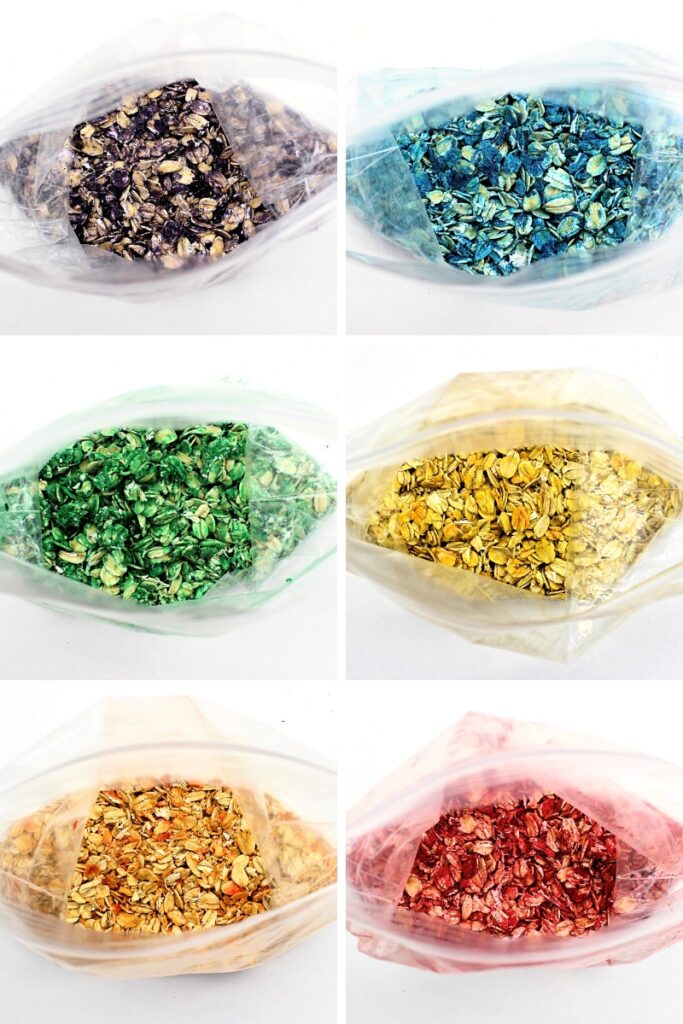
3. Spread Food Coloring Throughout
Seal the Ziploc bag and move the oats around with your fingers in order to spread out the food coloring.

You may find it easier to keep the bag open while you do this, and if that is the case, then feel free to do so in whichever way works best for you.
But if you like to get your child involved in preparing sensory materials, this step would be a great one to let them help out with… and if your kids are the ones spreading the food coloring around, you’ll definitely want to make sure that the bag is properly sealed.
4. Add More Food Coloring
Once you have spread the food coloring throughout the bag of oats, it’s time to add more coloring.
Add 5-10 drops of food coloring to the bag, along with ½ teaspoon of white vinegar. Then, seal the bag and spread the food coloring around like you did during the previous step.
Repeat this process one more time, adding 5-10 more drops of food coloring and an additional ½ teaspoon of vinegar.
At this point, you’ll need to assess whether the oats are colorful enough. Some of the colors will look just fine, especially lighter ones like yellow and orange. But the darker colors like purple and blue tend to require a little more food coloring.
If you’re happy with how the oats look, move on to the next step. If not, add more drops of food coloring and spread them throughout until you’re happy with the color—but don’t add more vinegar, or you may end up with mushy oats.
5. Let Oats Dry
When you are happy with the color of your oats, lay them out on a plate or a baking sheet and let them dry.
If it’s sunny outside, you can leave them out in the sun to make them dry faster—as long as you don’t leave them out too long, as prolonged exposure to sunlight will bleach the colors.
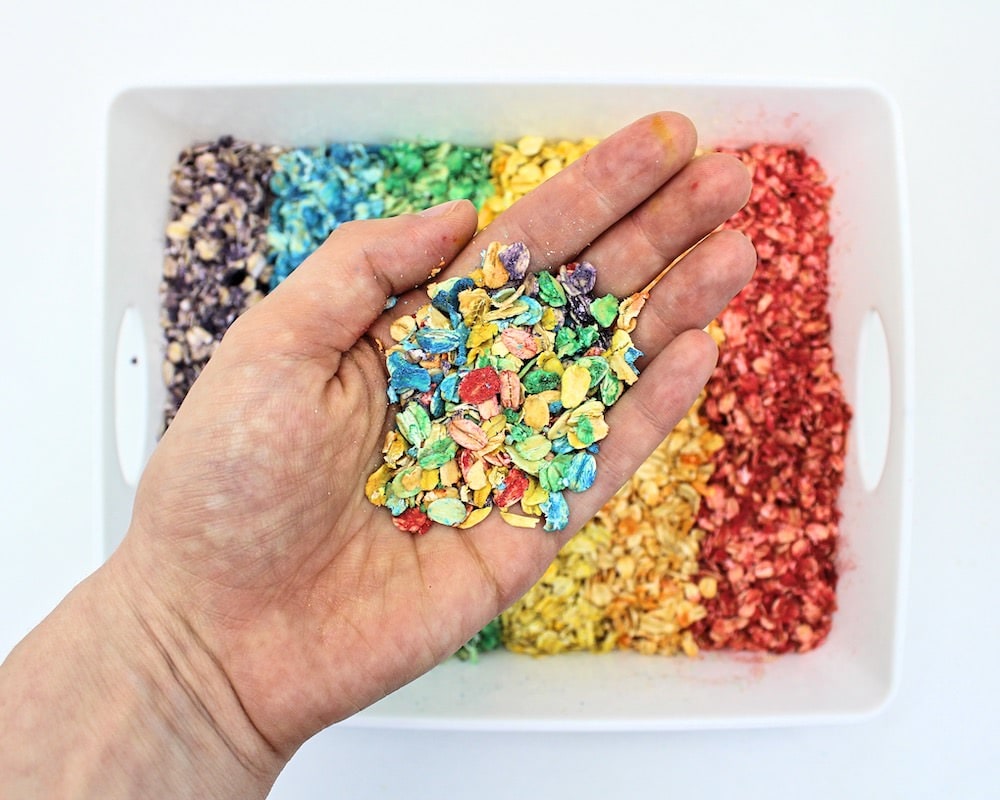
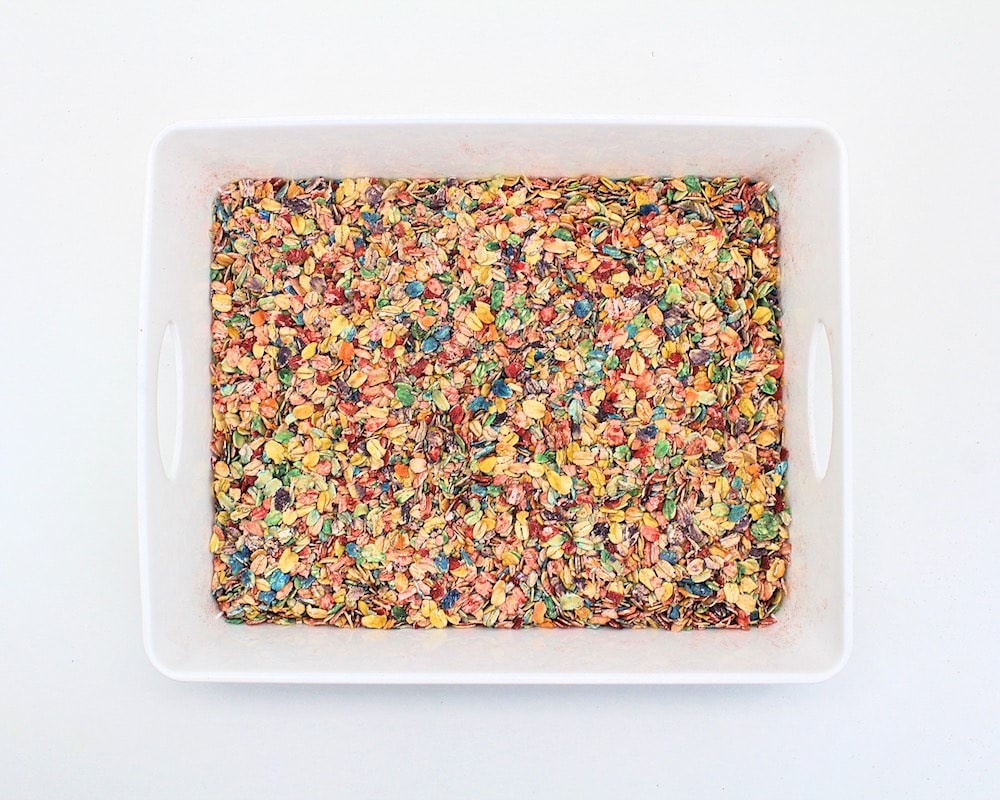
Once the colored oats are dry, it’s time to play! I poured the oats into a small bin and made sure to arrange the colors in rainbow order.

Of course, that didn’t last long once my kids got their hands on them. They grabbed a whisk, some spoons and some plastic bowls and promptly starting mixing all the colors of oats together, scooping and pouring them into different containers.
(Can you tell that sensory bins are a regular thing for us? I don’t even have to lay out scoops and bowls for them anymore—they just go grab them without any prompting from me.)
My two-year-old decided to sneak a taste, but that was not an issue, because the oats were dyed with food coloring instead of paint. It was totally worth having oats that weren’t quite as vibrant in color in order to know that my toddler would be safe if she tried to eat them.

My four-year-old and my six-year old decided to join in and they had a blast with them, too.
And while it did get a little messy, the oats were pretty easy to sweep up, so it wasn’t nearly as bad as some of the other activities we’ve tried. (My kids were even able to sweep them up without my help!)

Rainbow Dyed Oats
Equipment
- 6 sandwich bags
Materials
- 3 cups old-fashioned rolled oats
- liquid food coloring as needed
- 4 tbsp white vinegar
Instructions
- Pour ½ cup of rolled oats into a sandwich bag.
- Pour 10 drops of liquid food coloring into the bag of oats, along with one teaspoon of white vinegar. Seal the bag and shake the oats around to spread out the food coloring more evenly.
- Open the bag and add 5-10 more drops of food coloring and ½ teaspoon of white vinegar. Seal the bag and shake the oats around. Repeat this process one more time with 5-10 drops of food coloring and an additional ½ teaspoon of vinegar.
- If your oats are still not colorful enough, add a few more drops of food coloring and shake the oats to spread the coloring throughout. Repeat as needed, adding food coloring but no vinegar, until you are satisfied with the color of the oats. (Darker colors may require more food coloring.)
- Pour the colored oats onto a baking sheet to dry. Once dry, the oats are ready to play with!
Related Taste-Safe Sensory Bins
Looking for more taste-safe and non-toxic sensory activities for your toddler? Check out these articles:
- Taste-Safe Chickpea Foam
- Edible Cheerio Sand
- Taste-Safe Chia Seed Sensory Play
- Edible Yogurt Silly Putty
- DIY Tapioca Water Beads
Join my mailing list using the form below to receive 12 of the most popular sensory recipes on my site in PDF format! You’ll be the first to know when I publish new recipes, and you’ll also gain receive to lots of free printable activities for your kids.
Grab our 12 best sensory recipes!
By submitting your email address, you are agreeing to the terms of our Privacy Policy. You can unsubscribe at any time.
Can I store and keep it like rice?
As long as you let it dry fully before using it and don’t let it get wet or dirty during play, then yes! We have been storing ours in a large Ziploc bag in between uses.