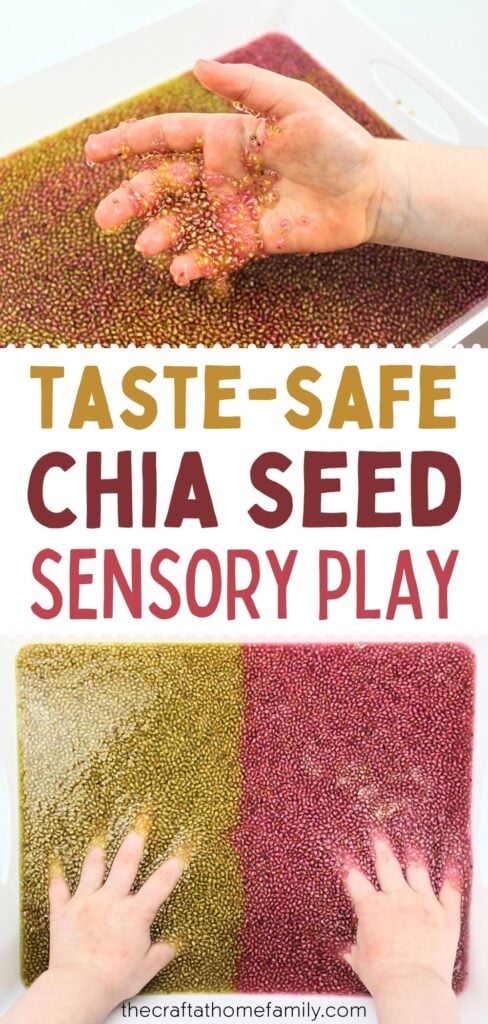

Does your baby or toddler like to put everything in their mouth? This chia seed sensory play activity is fun, easy to prepare and totally edible, which makes it perfect for both younger and older kids.
JUMP TO…
Whether you’re adding cornstarch to make chia seed slime or freezing them to create a totally new sensory experience for your kids, there are lots of fun ways to use chia seeds for sensory play.
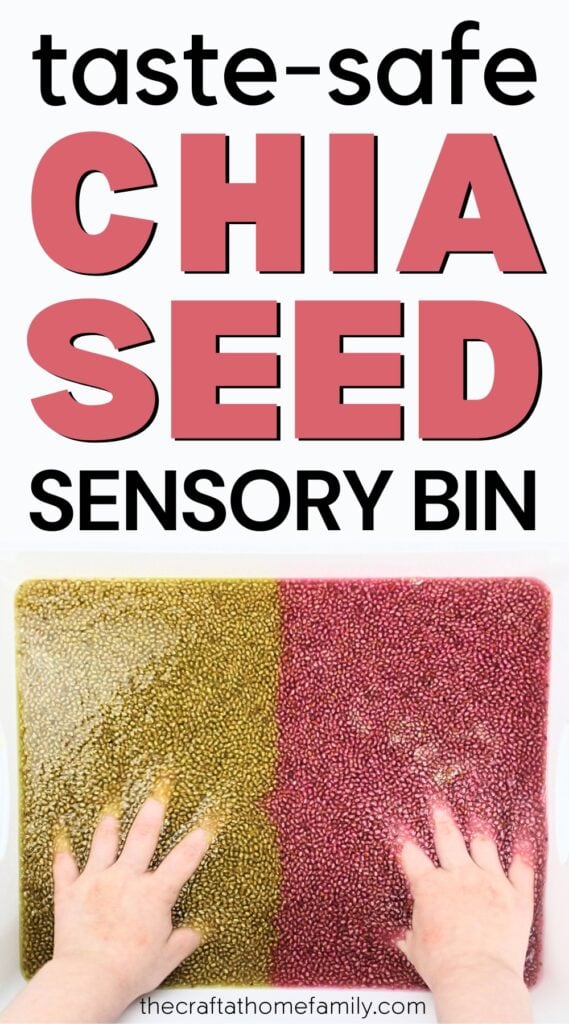
This chia seed sensory bin is super easy to make, and it kept our kids entertained for hours. It is the perfect activity for parents of young kids who still like to put everything in their mouths!
(P.S. Looking for more taste-safe sensory activities? Check out these Taste-Safe Sensory Play Ideas or this list of Taste-Safe Sensory Bin Fillers for kids.)
Why You’ll Love This Activity
- Quick to make: Because most of the time required to prepare this activity involves letting the chia seeds soak, it will only take up about 5 minutes of active prep time. This is a great activity to make the night before so that you have something to offer your child the next day.
- Taste-safe: While they are not meant to be eaten as a standalone snack, chia seeds are fully edible, and often used in chia seed pudding and other recipes. If you have a young child at home who still likes to put everything in their mouth, this activity is a great way to let them safely explore new textures.
- Choking hazard-free: A lot of taste-safe activities contain choking hazards that make them unsafe for infants and younger toddlers. But unlike those activities, this sensory bin doesn’t contain any small items that babies can choke on.
If you’re looking for more activities that are taste-safe and free of choking hazards, you can try this Taste-Safe Sensory Foam, this Edible Rainbow Sand or this Taste-Safe Moon Sand.

Get hundreds of pages of activities!
Get access to all our paid printables, as well as monthly activity planners, for just $5/month. (New printables added twice per month!)
Required Ingredients
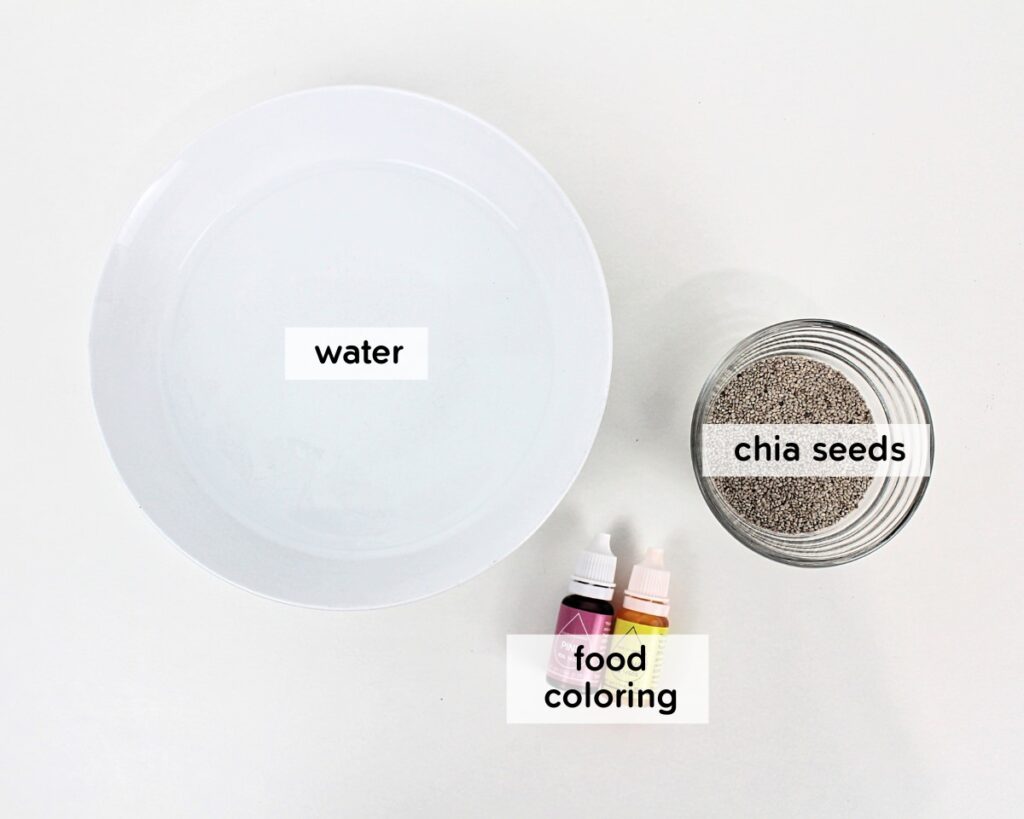
- Chia seeds: Make sure to use whole chia seeds, not ground. I prefer to use white chia seeds for this activity because they produce a more vibrant color, but you can also use black chia seeds if that’s what you have. (They would work great for Halloween!)
- Water: Tap water will do. If the tap water where you live isn’t safe to drink, and your child is likely to try to taste this, you may want to use bottled water.
- Food coloring: Liquid food coloring is best for this activity, but you can also use a small quantity of gel food coloring. For a fun scented twist, stir in a bit of Kool-Aid powder instead (but not too much, as it can stain). If you are not a fan of artificial dyes, you can use one of these natural food dye alternatives or simply omit the coloring entirely.
The full ingredient list, quantities and instructions can be found in the recipe card.
Grab our 12 best sensory recipes!

By submitting your email address, you are agreeing to the terms of our Privacy Policy. You can unsubscribe at any time.
How to Make Taste-Safe Chia Goop (Step-by-Step)
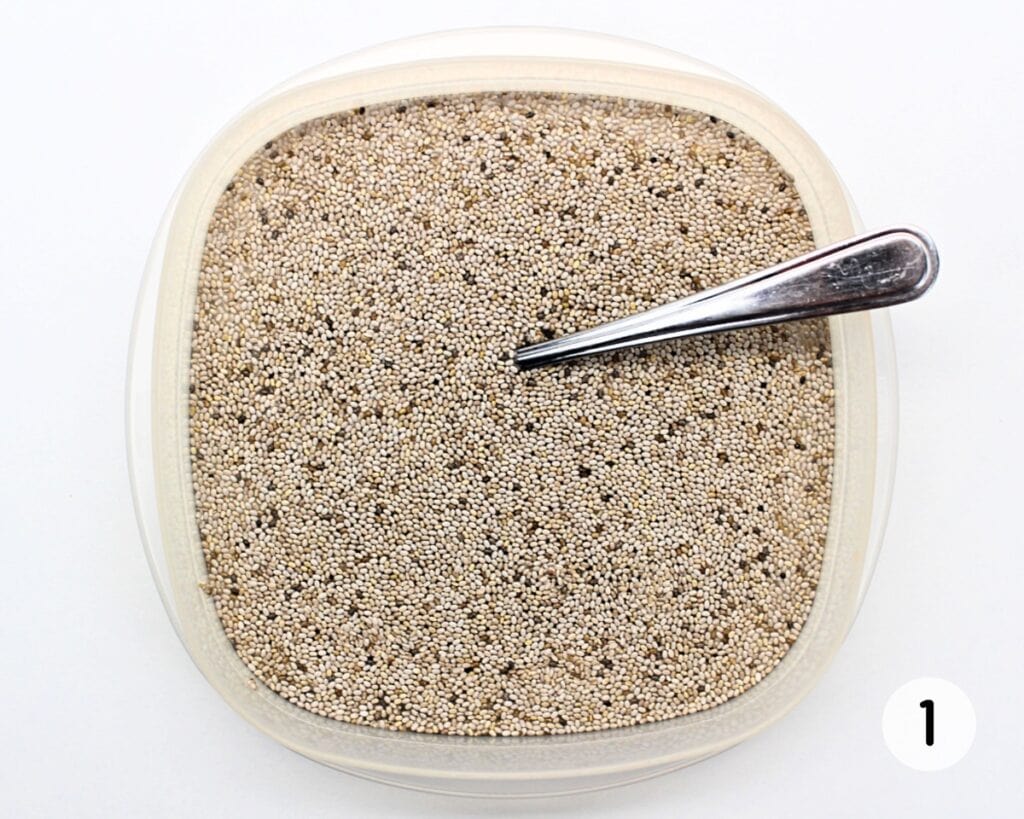
Step 1: Combine chia seeds and water. Pour the chia seeds into a medium-sized container, add the water and stir with a spoon until combined. The chia seeds will float up to the top.

Step 2: Add food coloring (optional). Add a few drops of food coloring and stir with a spoon until the color is visible throughout. (We used 6 drops of liquid food coloring.)

Step 3: Let chia seeds soak. If making multiple colors, repeat the previous steps as many times as you like. Then, close the containers and place them in the fridge for 3-4 hours (or overnight) to allow the mixture to gel.
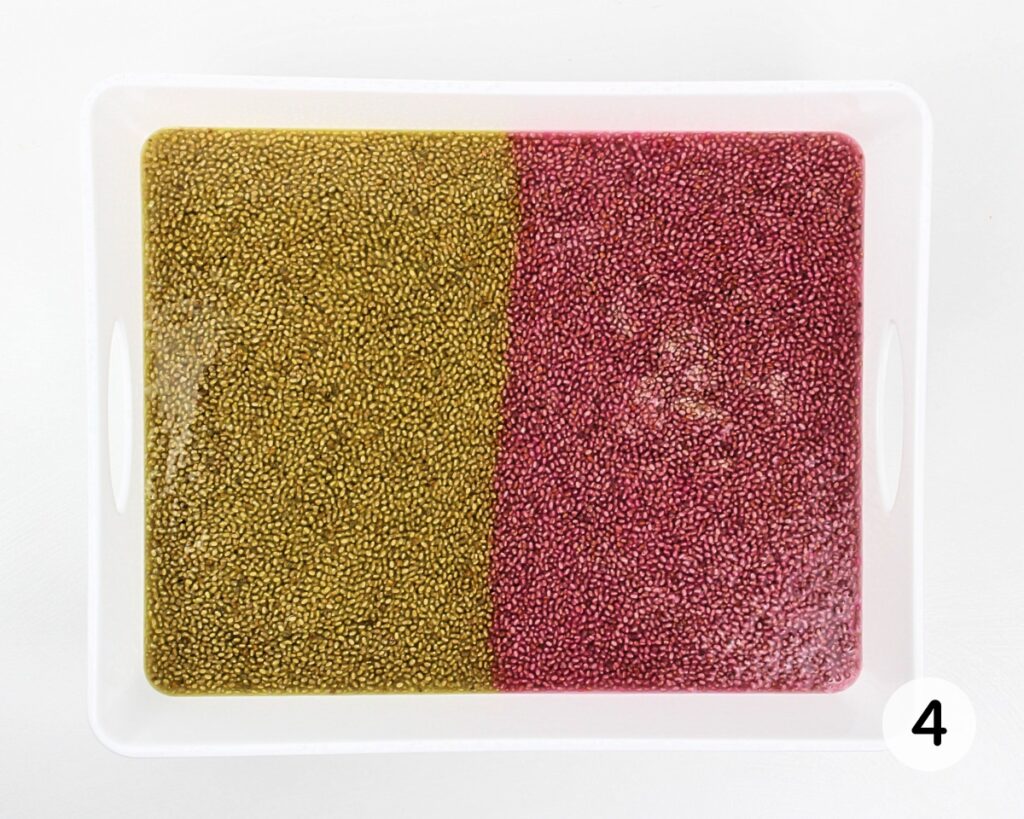
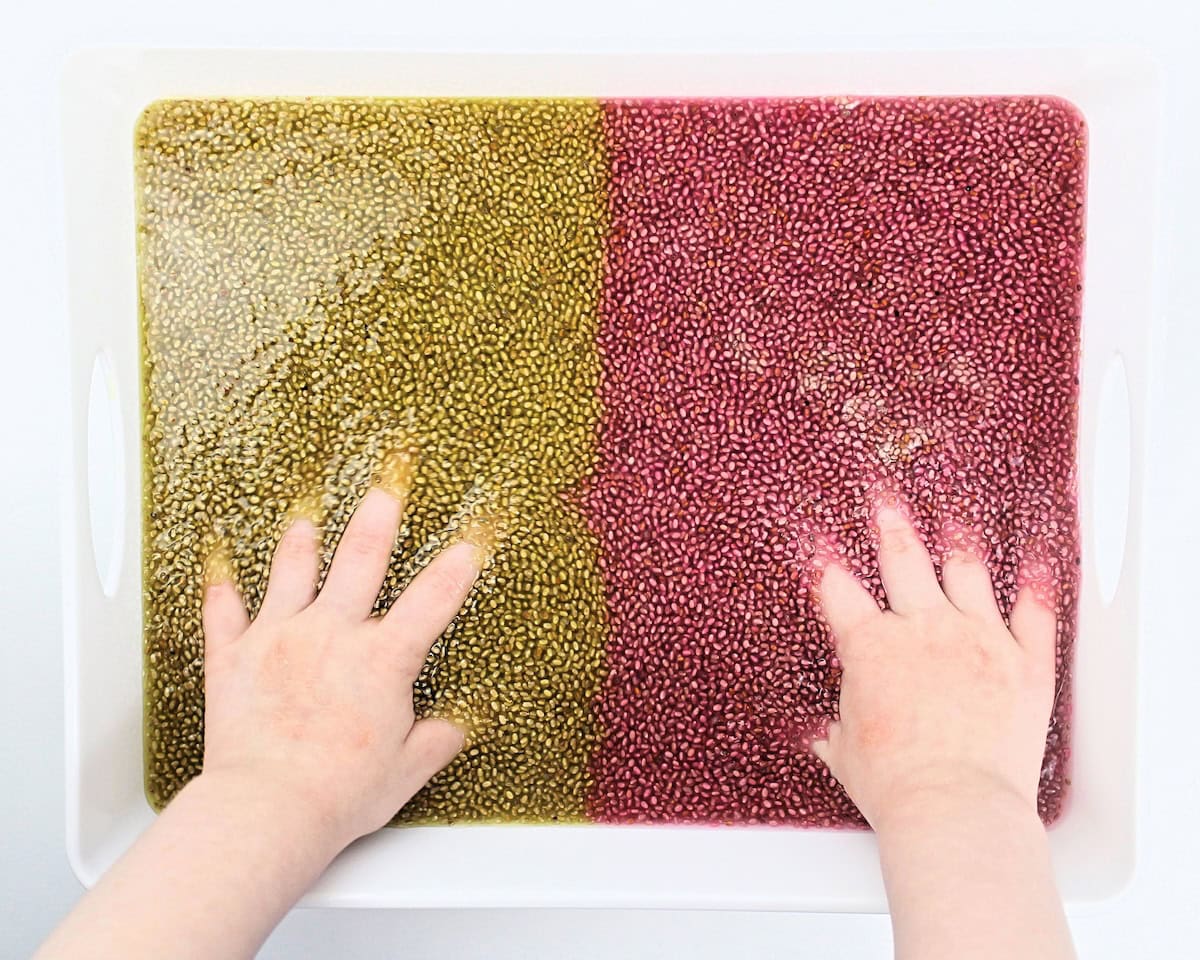
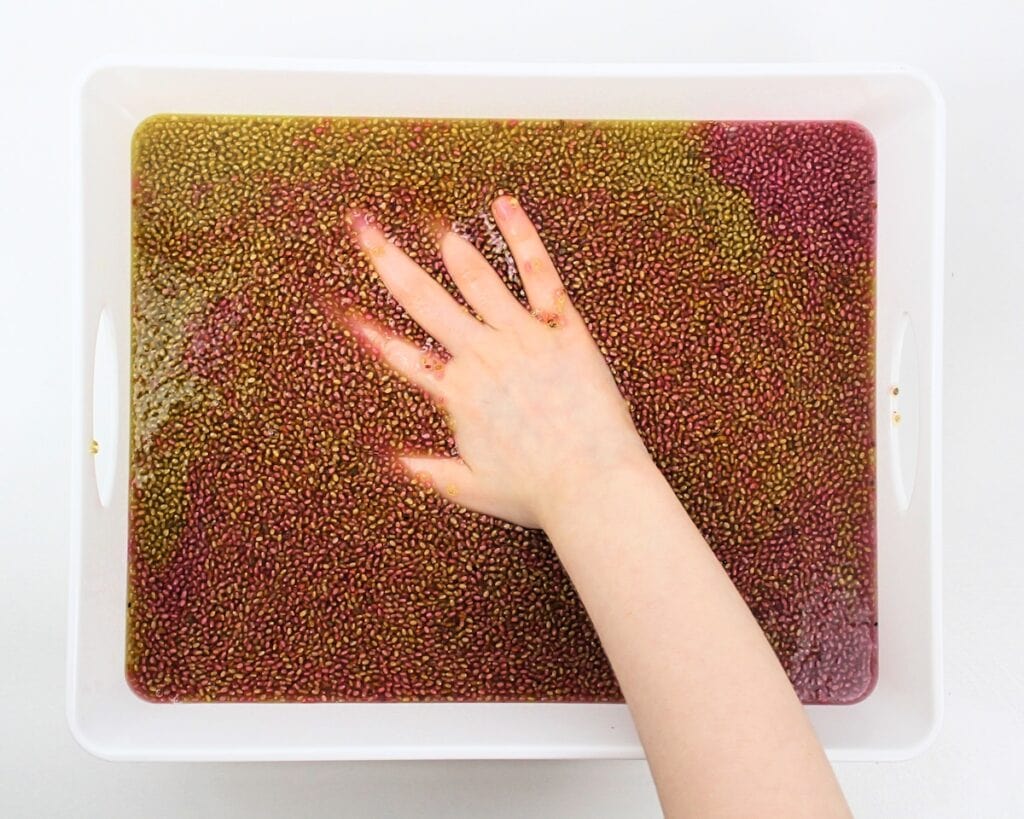
Step 4: Prepare sensory bin. Once the chia seeds are done soaking up the liquid, pour the mixture into a bin or tuff tray and add spoons, small cups or any other toy your child likes to use for sensory play.
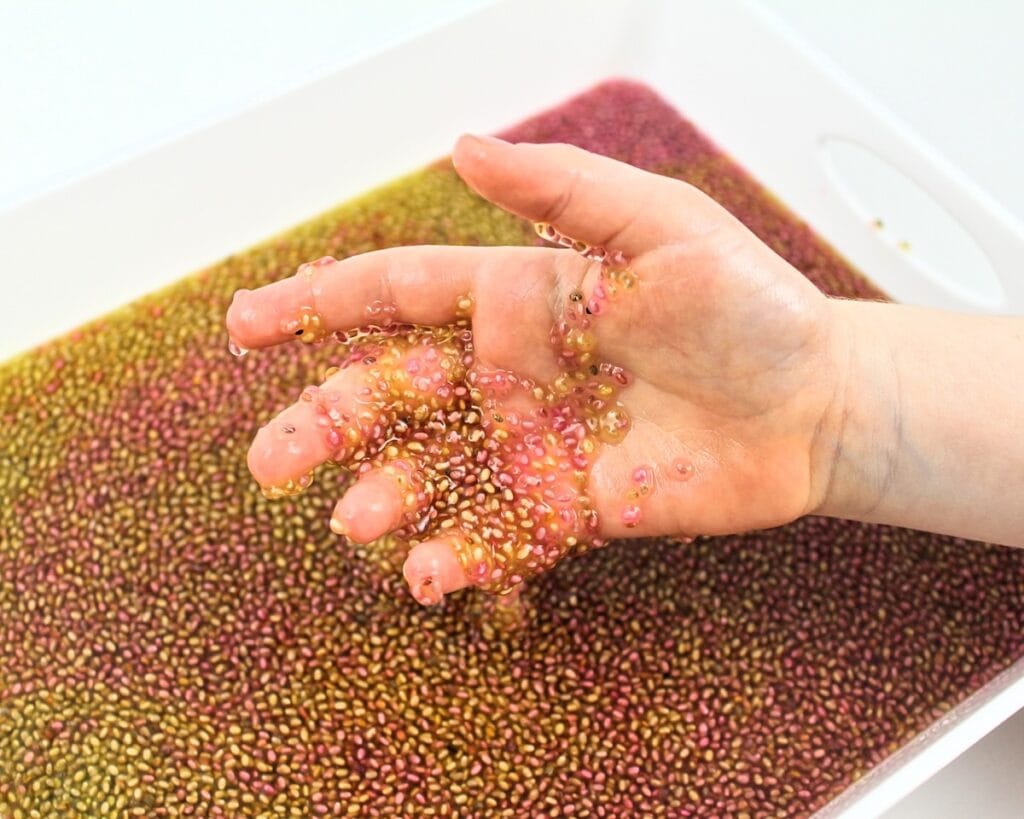
This activity kept my kids engaged for several hours! My four-year-old, in particular, loved scooping and pouring the chia seed mixture over and over.
Surprisingly enough, the mixture didn’t really feel sticky to the touch and it sort of glided off our fingers. We also thought it was pretty cool how the colors didn’t immediately mix when our kids swirled the mixture around with their hands, and only combined after it had been played with for a while.
Helpful Tips
- Use stackable containers: If you are making several colors, save room in your fridge by using containers that can be stacked.
- Make a rainbow: We used pink and yellow, but you don’t have to limit yourself to just two colors. Feel free to make an entire chia seed rainbow, especially if a lot of kids will be playing together.
- Take it out in advance: The chia goop is a bit cold to the touch when it comes out of the fridge. If your child ones isn’t a fan of cold sensory materials, take the mixture out a couple hours before play time and let it warm up on the counter.
- Try different soaking times: The longer you let the chia seeds soak, the thicker the goop will be. Starting with 3-4 hours, experiment with different soaking times to find the texture your child likes best.
- Take it outside: This activity can get pretty messy. I have provided some tips for limiting the mess below, but the best advice I can give you is to do it outside, make sure your child is wearing as little as possible and plan for a bath once your child is done playing.
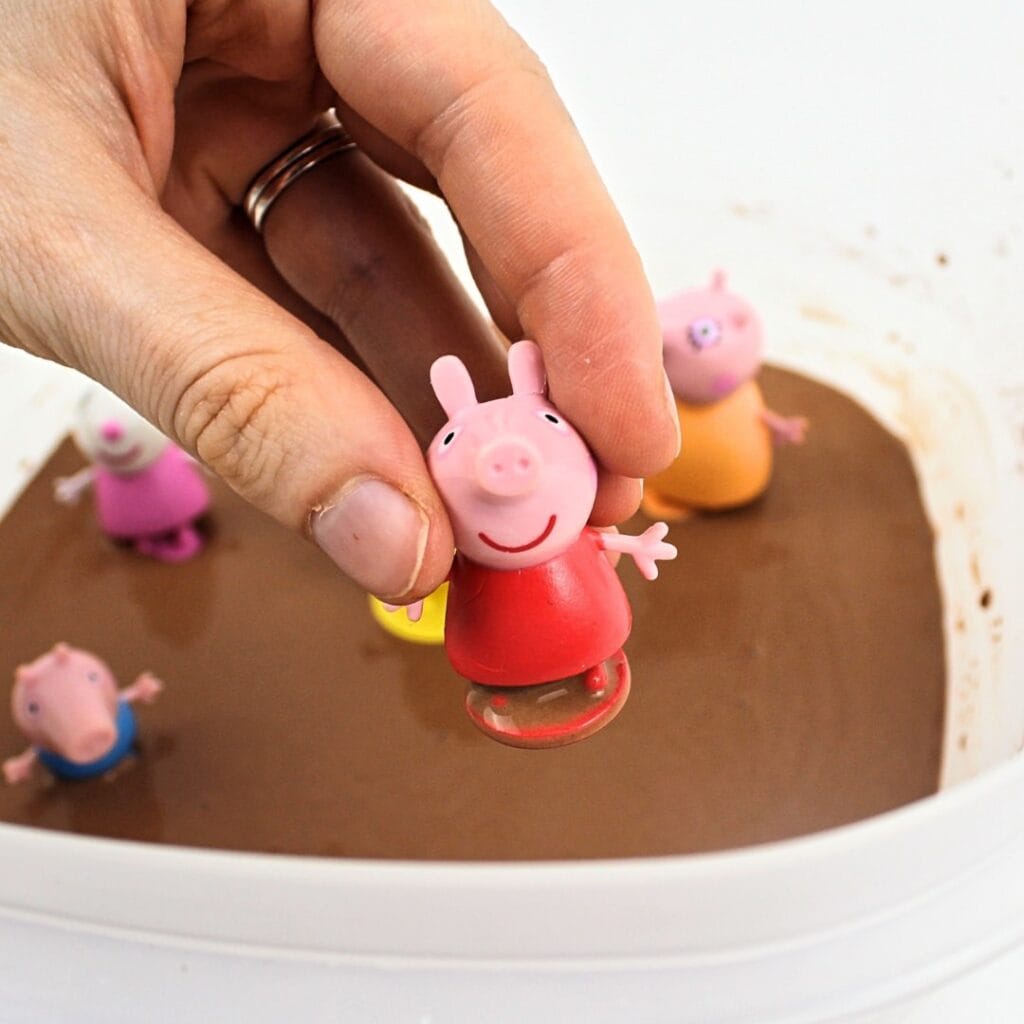
- Switch up the theme: This activity is super versatile and can be adapted to suit a variety of themes. Try swapping out the white chia seeds for black and adding small plastic spiders, or using green food coloring and accessories to create a frog pond. You can even add your child’s favorite dinosaur, or any other toy they love. (Just make sure to choose toys that are easy to clean.)
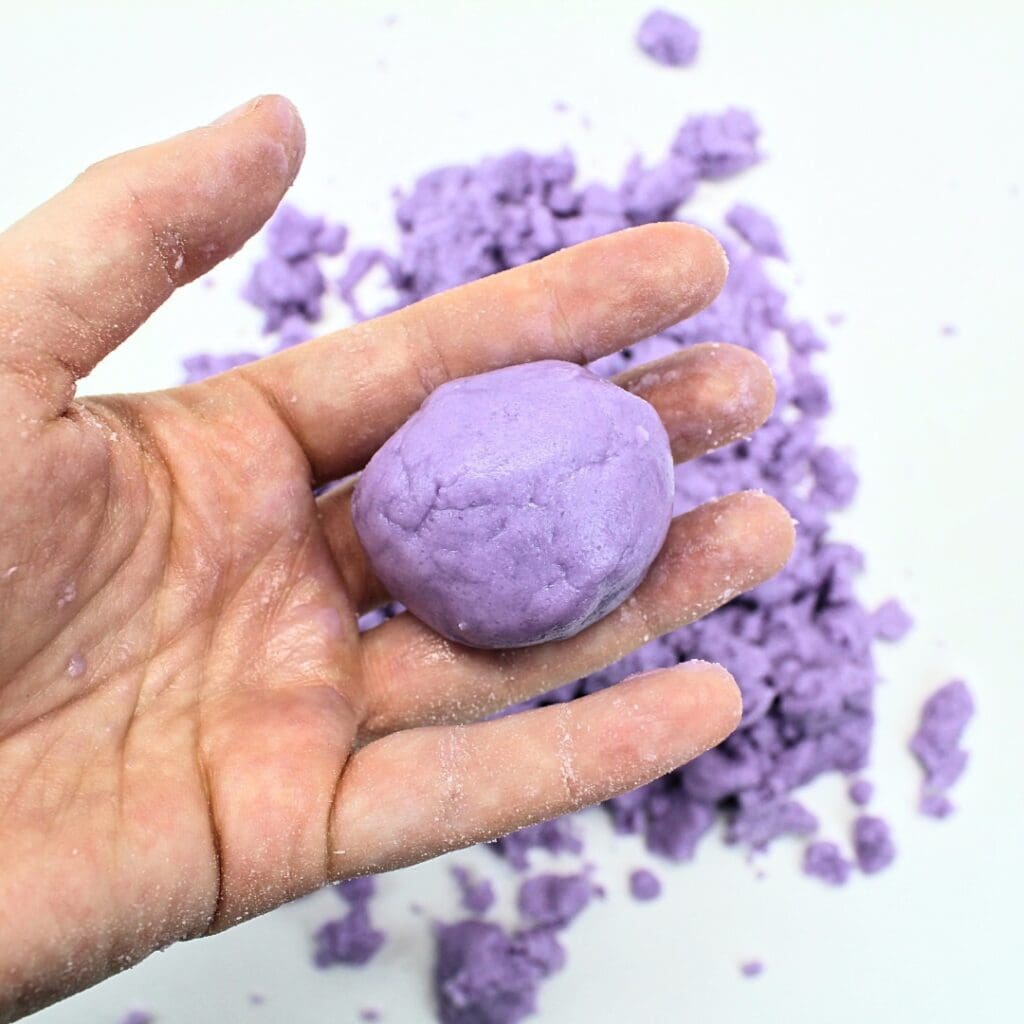
- Turn it into slime: If the chia goop is still in good condition when your child is done playing with it, consider turning it into Chia Seed Slime by adding cornstarch for a totally different sensory experience!
Storage Instructions
This chia goop can be stored in the fridge, in an airtight container, for up to 5 days. Make sure to check for signs of spoilage before you let your child play with it.
How to Limit the Mess
- Protect your table: If playing at the table, make sure to cover it with a plastic tablecloth. We keep our table covered at all times for easier cleanup after meals and sensory activities.
- Use a plastic tarp: If you don’t have a plastic tablecloth, consider setting up this activity on a plastic tarp on the floor to avoid damaging your table, especially if it’s made of wood.
- Avoid carpets and hardwood floors: Don’t do this activity in an area that has carpeted or hardwood floors.
- Play in the tub: If you don’t have a suitable area to do this activity, bring the sensory bin into the bathroom and have your child play with it in the bathtub or shower. This will also make it easier to clean up your child once they’re done playing.
- Protect your child’s clothes: If your child is still young and the temperature and circumstances allow it, remove their clothing and let them wear nothing but a diaper while they play. If they are older or the circumstances don’t allow it, make them wear a smock to protect their clothes.
- Tie up your child’s hair: Braid or gather long hair into a ponytail before your kids start playing.
- Take it outdoors: Weather permitting, do this activity outdoors rather than indoors. (Any leftover chia seeds will simply decompose on your lawn, and are not harmful to wildlife.)
- Plan for bath time: Regardless of where you choose to do this activity and what your child is wearing, be prepared to give your child a bath when they’re done playing.
If you aren’t a fan of messy play and you’re looking for something that doesn’t involve as much cleanup, you can try making sensory bags instead. My kids loved this Pom-Pom Rainbow Sensory Bag and this Shape Matching Sensory Bag.
Frequently Asked Questions
Have a question that wasn’t answered here? Let me know in the comments and I’ll be happy to help!
More Taste-Safe Sensory Activities


If you have tried this Chia Seed Sensory Bin or any other project on my website, please let me know how it went in the comments below. I can’t wait to hear from you!
Chia Seed Sensory Bin
Ingredients
- ¼ cup chia seeds whole
- 1 ¾ cups water
- food coloring optional, as needed
Instructions
- Pour chia seeds into a medium-sized container. Add water and stir with a spoon until combined.
- If desired, add a few drops of food coloring and stir until the color is visible throughout.
- Close the container and place it in the fridge. Let the chia seeds soak for 3-4 hours (or overnight), until they develop a thick, slimy texture. Pour into a bin and play immediately.
Video
Notes
- Use stackable containers: When making multiple colors, save room in your fridge using stackable containers.
- Take it out in advance: Take the mixture out of the fridge a couple hours before play to allow it to warm up.
- Try different soaking times: The longer the chia seeds soak for, the thicker the mixture will be.
- Switch up the theme: This activity can be modified to suit a variety of themes using different colors and accessories. (Make sure you use accessories that are easy to clean.)
- Turn it into slime: Once your child is done playing, turn this sensory bin into a whole new activity by slowly adding cornstarch to make chia seed slime.
Nutrition
Grab our 12 best sensory recipes!
By submitting your email address, you are agreeing to the terms of our Privacy Policy. You can unsubscribe at any time.
HI, just wondering how longs this lasts? One play and throw it out? Or but it back in the fridge and they can play for a few days consecutively? thanks
As long as your kids have clean hands while they’re playing with it and the ambient temperature isn’t excessively warm, you can probably get away with putting whatever is left back into the fridge and playing with it for a few days! Just make sure to check it for signs of spoilage before you let them play with it again and discard it if you notice anything off (smell, texture, etc.).