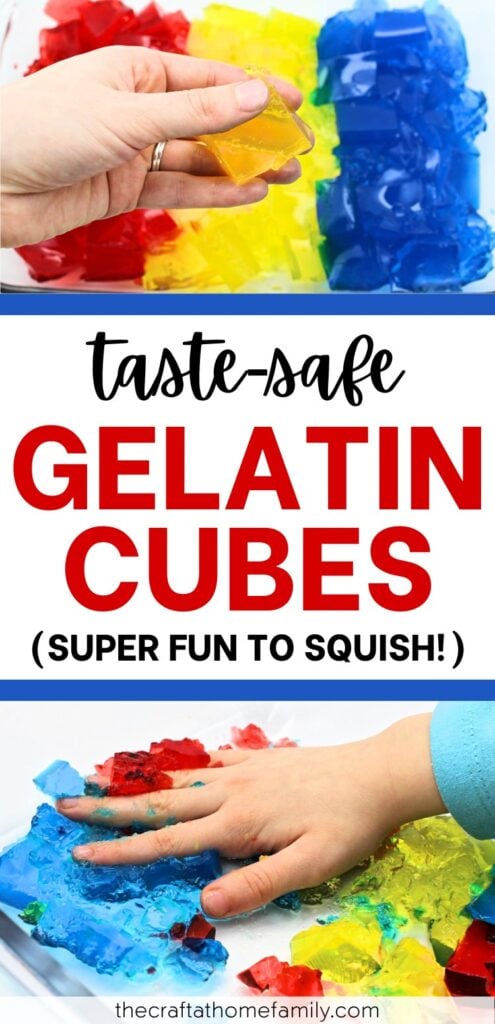

Does your toddler like to put everything in their mouth? These taste-safe gelatin cubes are easy to prep, fun to squish and made from edible ingredients. This colorful jelly sensory play activity is perfect for both younger and older kids!

JUMP TO…
If you have a baby or toddler at home, this simple sensory play activity is a great way to let them explore new textures! Follow the recipe to create your very own taste-safe sensory blocks that your child can squish between their fingers or cut with plastic kitchen utensils.
Not only are these jelly sensory cubes taste-safe, but they are also easy to prep and lots of fun to play with. Plus, because they have an unappealing flavor, your children shouldn’t actively want to eat them—which is always a plus in my book!
Why You’ll Love This Activity
- Taste-safe: Taste-safe activities are a great way to allow babies and toddlers to safely participate in activities that would normally only be appropriate for older kids, because no harm will come to them if they sneak a bite (or three).
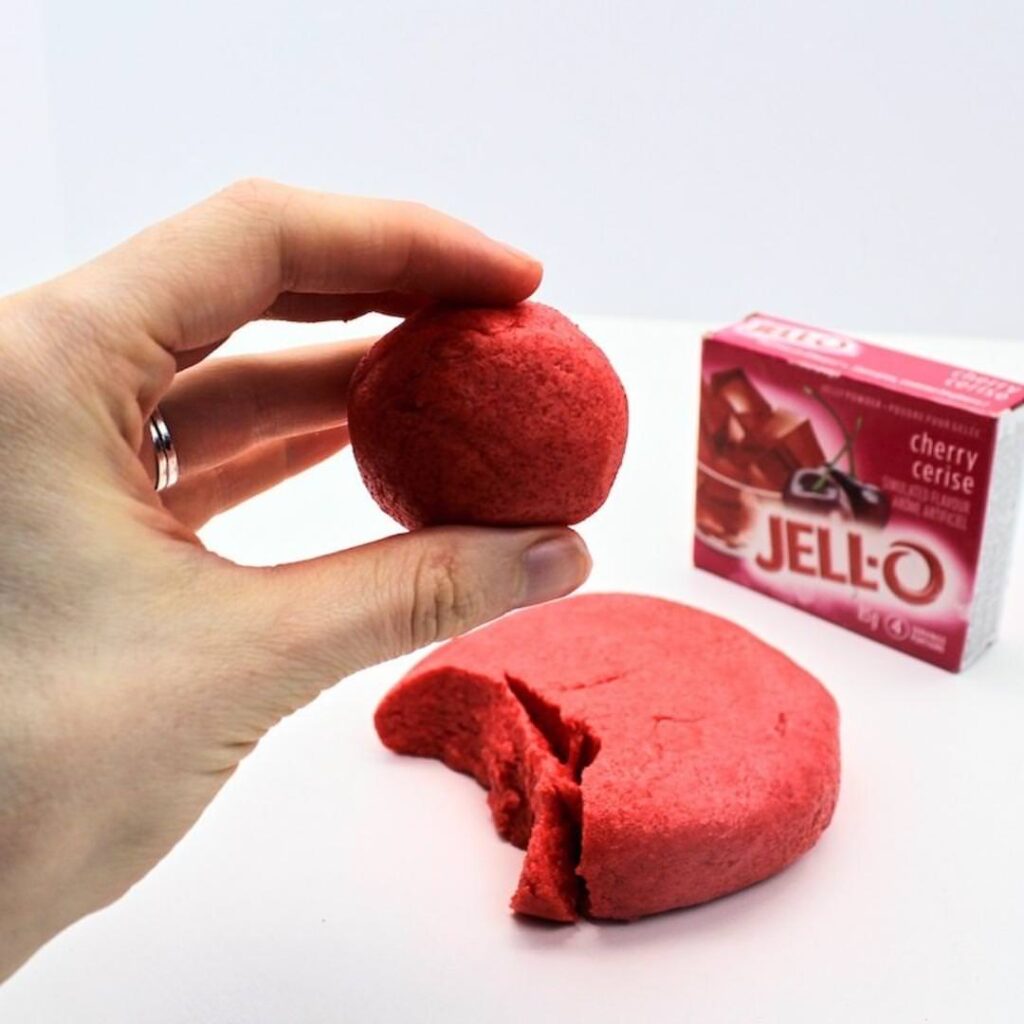
- Bland flavor: While you can use flavored Jell-O if it’s what you have on hand, I used unflavored gelatin for this recipe because I like that the bland flavor deters my kids from eating the blocks.
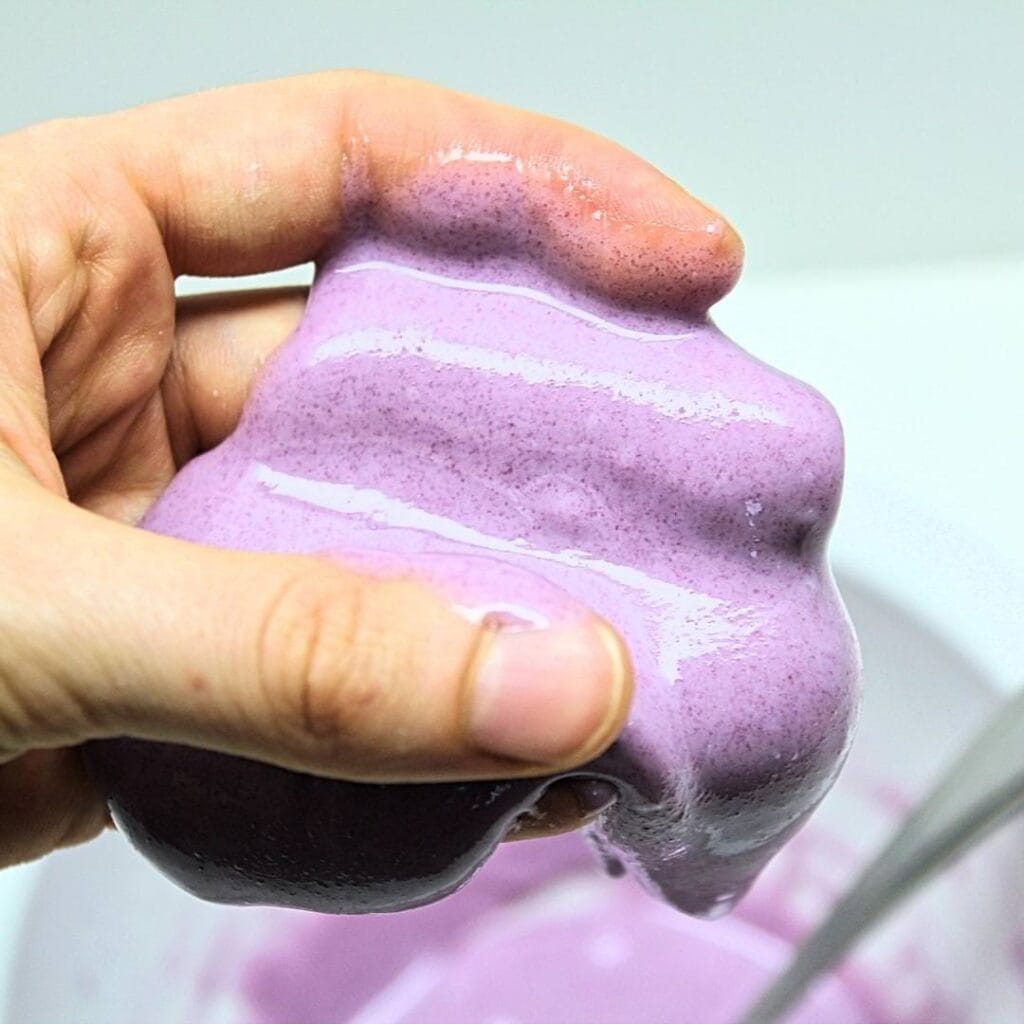
- Fun texture: These gelatin blocks have super satisfying texture that is fun to squish, and I would definitely still make them for my older kids even if they weren’t taste-safe.
- Easy to prep: These blocks take about 4 hours to make, but only because the gelatin needs time to set—this activity requires at most 10 minutes of active prep time, and makes enough blocks for more than one play session, which is a time-saver for busy parents.
Have a young child at home who still tries to put everything in their mouth? Check out these Taste-Safe Sensory Play Activities or these Taste-Safe Sensory Bin Fillers!
Grab our 12 best sensory recipes!

By submitting your email address, you are agreeing to the terms of our Privacy Policy. You can unsubscribe at any time.
Required Ingredients

- Gelatin: I like to use unflavored gelatin powder for this recipe because I don’t want to encourage my kids to eat the blocks by making them taste good, but you can use flavored Jell-O if that’s what you have on hand.
- Water: Tap water is fine as long as it’s safe to consume.
- Food coloring (optional): I recommend liquid food coloring for this recipe because the color is added to water, but gel can work too. If you aren’t a fan of artificial dyes, you can use one of these natural food dye alternatives instead.
The full ingredient list, quantities and instructions can be found in the recipe card.
Variations & Substitutions
- Make it clear: Skip the coloring to make clear baby-safe gelatin cubes for your child to play with.
- Make a rainbow: Love rainbow colors? Repeat the process six times using purple, blue, green, yellow, orange and red food coloring. Then, carefully lay out some cubes in rainbow order at the bottom of a bin.
- Make it scented: For a multifaceted sensory experience, try coloring your gelatin cubes with Kool-Aid powder. Because Kool-Aid powder is unsweetened and very acidic, the blocks still won’t taste good, but they will have a fun fruity scent.
- Make it flavored: I prefer to use unflavored gelatin to dissuade my children from eating the blocks, but if edible sensory activities are your thing, you can replace the gelatin with 2 boxes of flavored Jell-O powder.
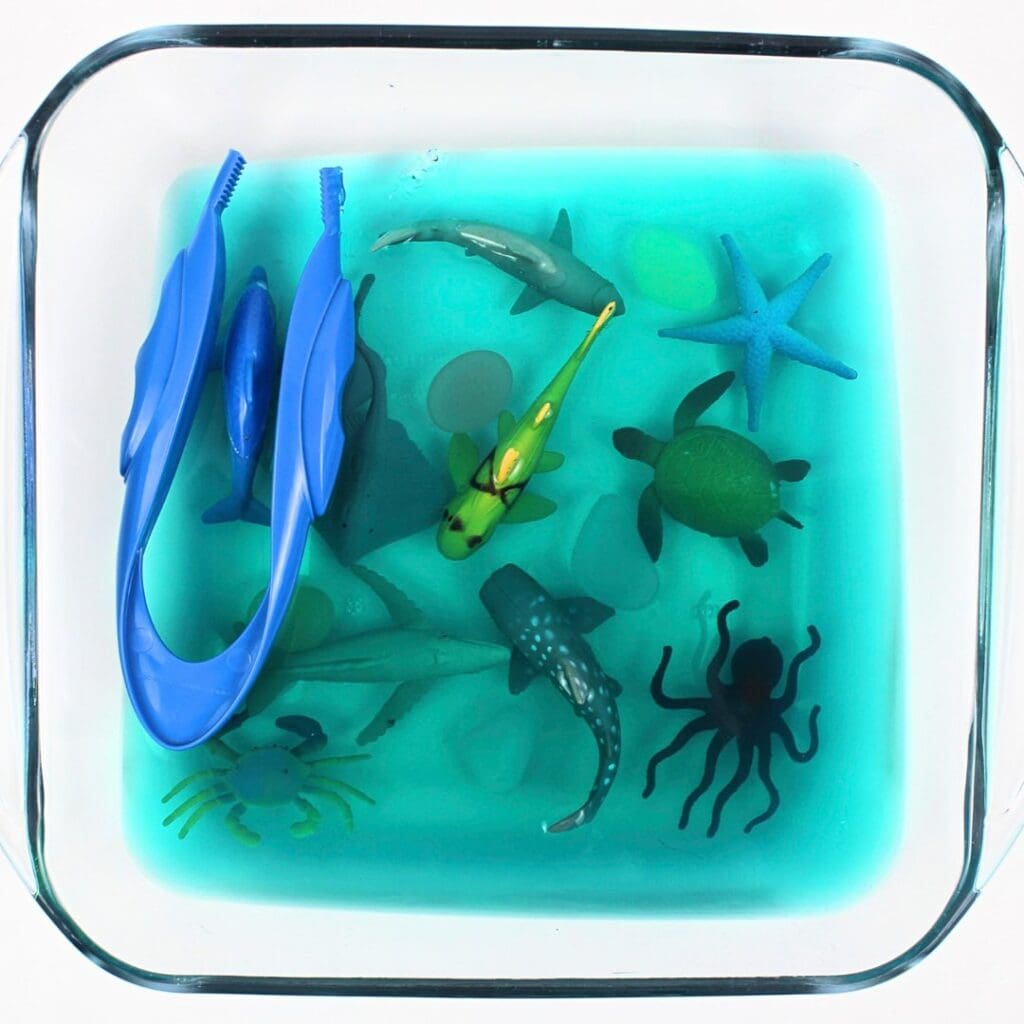
- Add small items: For a fun twist on this activity, try adding extra items like fresh flowers or small pieces of fruit. Stick with items that are soft, taste-safe, non-chokable and small enough to fit inside one of the blocks.
Modifying the Consistency (for Younger or Older Kids)
If you are making these gelatin cubes for an infant or baby and you would like them to be softer to reduce the risk of choking, slightly decrease the quantity of gelatin or increase the quantity of water to give the blocks a Jell-O-like consistency.
If your kids are older and you’d prefer for the cubes to be a bit firmer, increase the quantity of gelatin or decrease the quantity of water. Feel free to experiment with different ratios to find what you like best!
Grab our 12 best sensory recipes!
By submitting your email address, you are agreeing to the terms of our Privacy Policy. You can unsubscribe at any time.
How to Make Taste-Safe Gelatin Cubes (Step-by-Step)

Step 1: Boil water. Use a kettle or saucepan to bring 1 ½ cups of water to a boil. (If you are making multiple colors, multiply the quantities so that you’re using 1 ½ cups of water for each.)
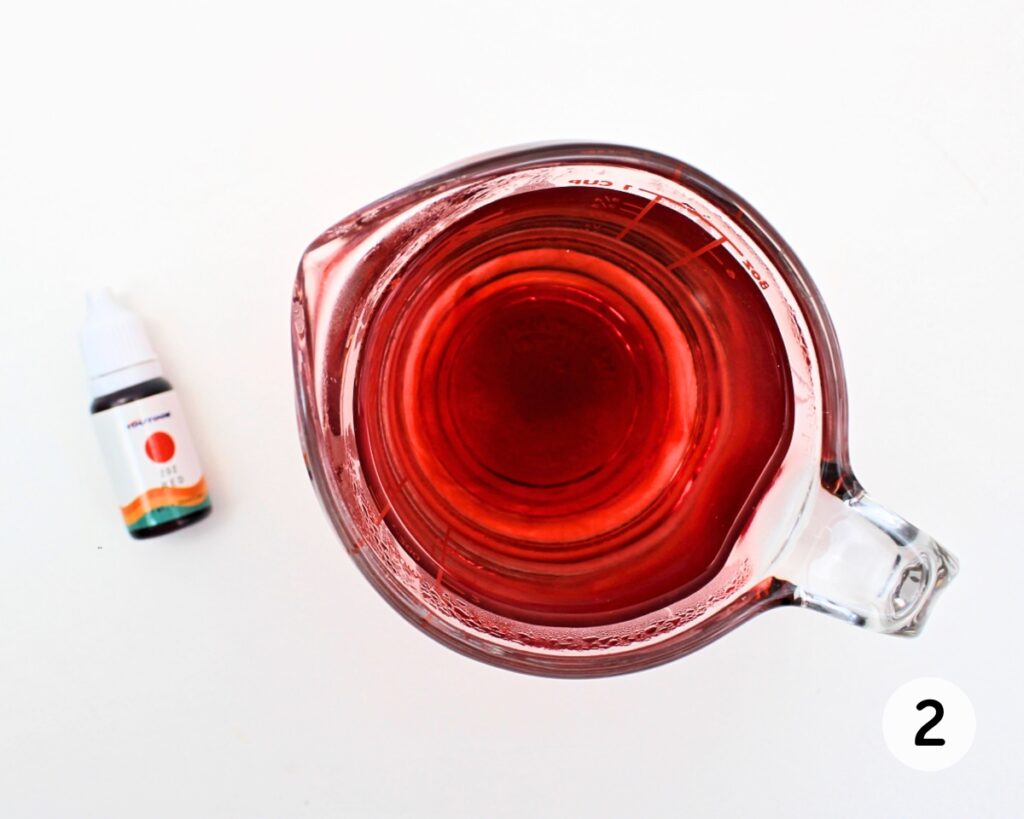
Step 2: Add coloring to water (optional). If you wish to color your blocks, pour the boiling water into a cup or bowl and add some food coloring (or your favorite natural food coloring alternative). I used about 15 drops for a bright, saturated color, but you can add as little or as much as you wish.

Step 3: Combine gelatin and water. Add the powdered gelatin to a medium mixing bowl. Pour the boiling water onto the gelatin and quickly whisk them together, continuing until the powder is completely dissolved. Add ¾ cup of cold water and whisk until combined.

Step 4: Line baking dish. Grab some parchment paper and press it onto the bottom of a standard 9×9 inch baking dish. (It will pop out a bit before you add the liquid, but the next step should fix this.)

Step 5: Transfer mixture to dish and let set. Slowly pour the gelatin mixture into the lined baking dish, gently pressing down on the corners of the parchment paper if needed. Place the baking dish in the fridge and allow the gelatin to set for a minimum of 3 to 4 hours.
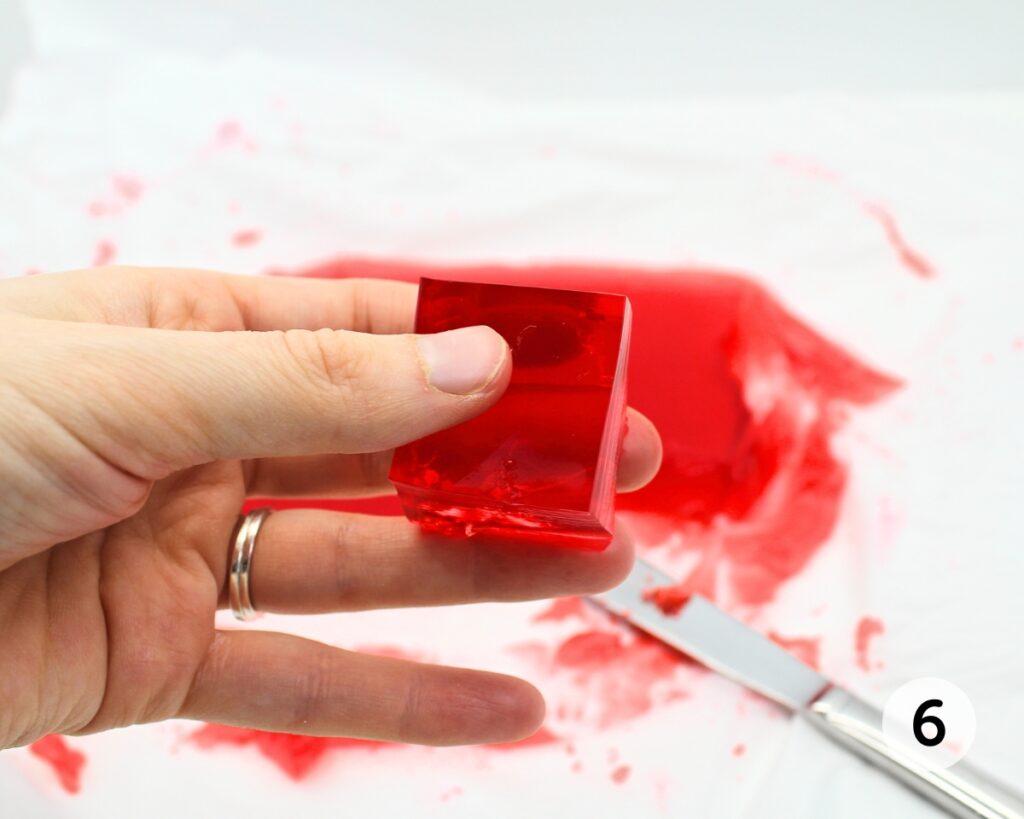
Step 6: Let set and cut into cubes. Once the gelatin has fully set, take the baking dish out of the fridge. Carefully lift the parchment paper out of the dish and place it on a flat surface like a table or counter. Then, use a butter knife to cut the jelly into cubes.
When you’re done, place a few cubes in a bin and let your child play with them. This activity can get a bit messy, but it’s so much fun! My kids love squishing the blocks with their hands, or adding plates, bowls and utensils so they can pretend to cook with them.

Helpful Tips
- Quickly whisk the water and gelatin: Once you have poured the boiling water onto the gelatin, start whisking immediately and don’t stop until the powder has fully dissolved. If you wait, the gelatin might seize up and you’ll have to start over from scratch.
- Add some extra fine motor practice: Not only is this activity lots of fun, but you can also use it as a way to let young children practice their cutting skills by cutting the jelly into longer strips and adding plastic safety scissors! (If you’re looking for more ways to practice, check out these Free Tracing & Cutting Practice Worksheets.)
- Only use a few cubes at a time: This recipe makes enough blocks for several children to play with… or for several play sessions. Instead of giving your child all the blocks to play with, take out a few blocks at a time and save the rest for later to minimize the time you spend prepping activities.
Storage Instructions
Blocks that were used during play cannot be saved or reused, but any unused blocks can be kept in an airtight container in the fridge for up to a week. Different colors should be stored in separate containers to prevent the colors from bleeding into each other and getting muddy.
Before letting your child play with blocks that have been stored in the fridge, make sure to check for signs of spoilage like mold or off odors, and discard them immediately if you notice anything unusual.
Frequently Asked Questions
Have a question that wasn’t answered here? Let me know in the comments and I’ll be happy to help!
More Gelatin Sensory Play Ideas

If you have tried these Taste-Safe Gelatin Cubes or any other project on my website, please let me know how it went in the comments below. I can’t wait to hear from you!

Gelatin Sensory Blocks
Equipment
- 1 whisk
- 1 standard 9×9-inch baking dish
- parchment paper
- 1 butter knife
Ingredients
- 1 ½ tbsp unflavored gelatin powder (two 7-gram packets)
- 2 ¼ cups water divided
- food coloring optional, as needed
Instructions
- Bring 1 ½ cups of water to a boil in a kettle or saucepan. If you wish to color your blocks, pour the boiling water into a glass measuring cup or bowl and stir in 15 drops of food coloring (or enough to achieve your desired saturation).
- Add the powdered gelatin to a medium mixing bowl. Pour the boiling water onto the gelatin and quickly whisk them together, continuing until the powder is completely dissolved. Add ¾ cup of cold water and whisk until combined.
- Line a square baking dish with parchment paper by gently pressing it onto the bottom, then slowly pour the gelatin mixture into the dish, carefully pressing down on the corners if needed to keep the parchment paper in place.
- Place the baking dish in the fridge and allow the gelatin to set for a minimum of 3 to 4 hours.
- Once the gelatin has set, take the baking dish out of the fridge. Carefully lift the parchment paper out of the dish and place it on a flat surface like a table or counter, then use a butter knife to cut the jelly into cubes.
Video
Notes
- Whisk quickly: After pouring the boiling water onto the gelatin, start whisking immediately to prevent the gelatin from seizing up, and don’t stop until the powder has fully dissolved.
- Add fine motor practice: Use this activity as a way to let young children practice their cutting skills by adding plastic safety scissors and letting them cut the cubes into pieces. You can cut the jelly into strips instead of cubes to make this easier.
- Only use a few cubes: Instead of giving your child all the blocks to play with, take out a few blocks at a time and save the rest for later.
Nutrition
Grab our 12 best sensory recipes!
By submitting your email address, you are agreeing to the terms of our Privacy Policy. You can unsubscribe at any time.
Only your name will be made public. Please note that by submitting your comment, you are agreeing to the terms of our Privacy Policy.