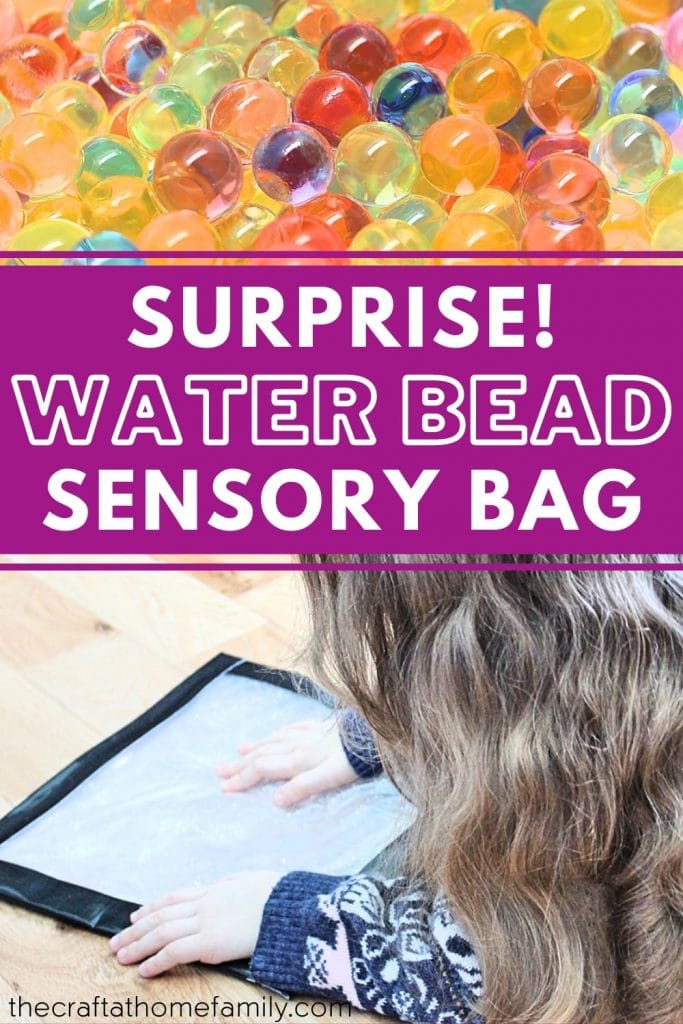
The clear water beads hidden in this gel-filled sensory bag add a fun and unexpected textural element! Its great combination of textures makes it our all-time favorite—and it only requires a few simple materials to make!
JUMP TO…
I’ve made no secret of my love for sensory bags. I love them so much, in fact, that I take the time to prep all our sensory bags with Gorilla Tape to ensure that they will last us for weeks or even months.
My kids and I have filled sensory bags with all sorts of substances, but we frequently find ourselves going back to either hair gel or water beads. They have an amazing texture that we just can’t get enough of. And that is precisely why this bag, which combines both, is our all-time favorite!
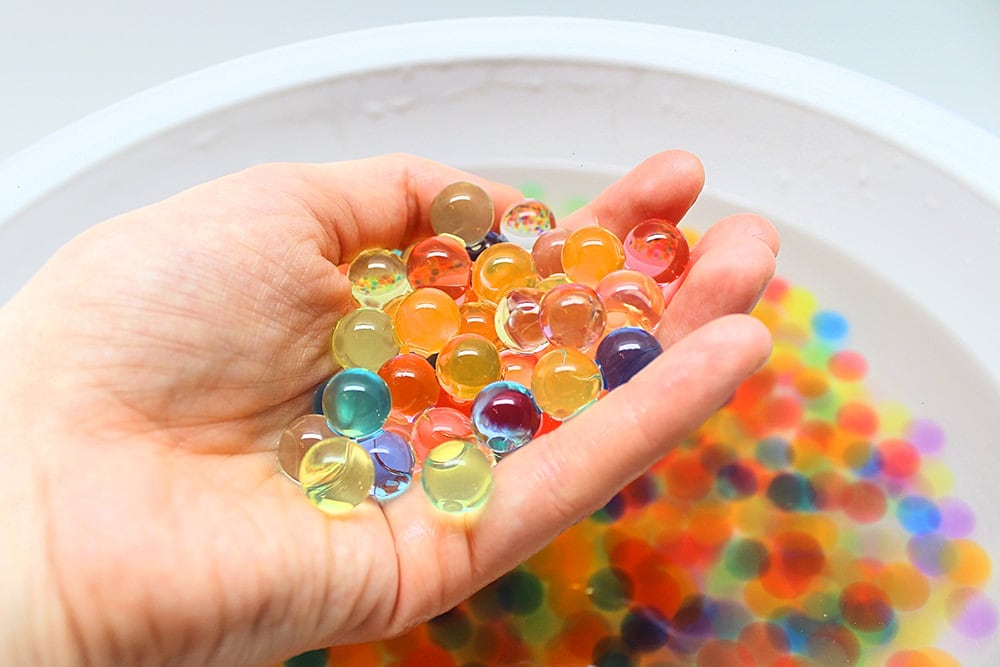
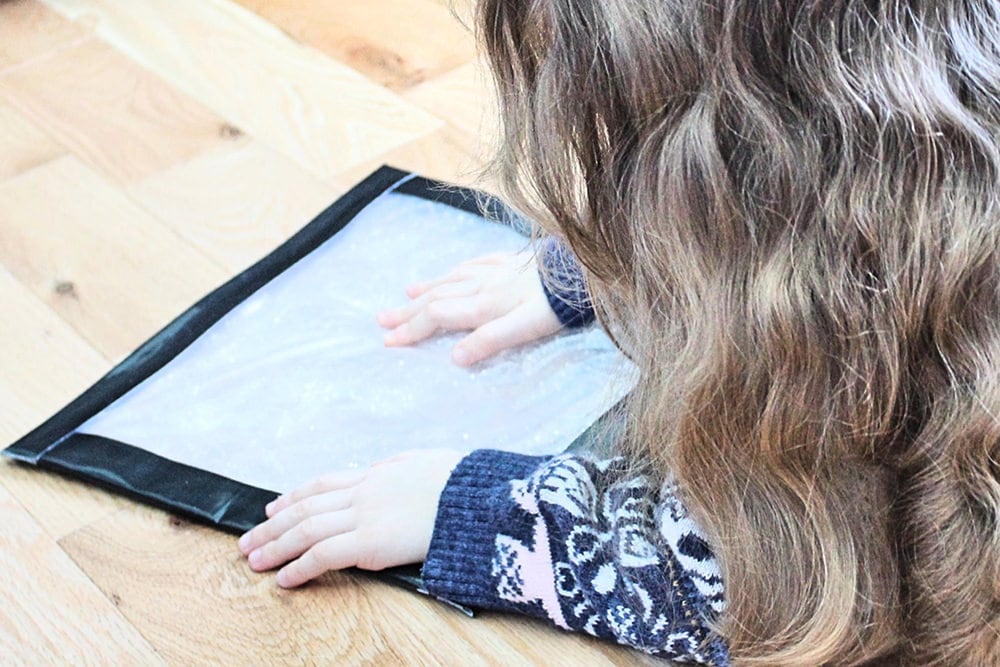
If you’ve never played with water beads, I highly recommend you try them. They offer a fantastic sensory experience provided your kids are old enough not to put them in their mouths. And if they’re not, no problem! Just place the water beads inside a sealed sensory bag and your little ones will be able to join in on the fun as well—minus the choking hazard.
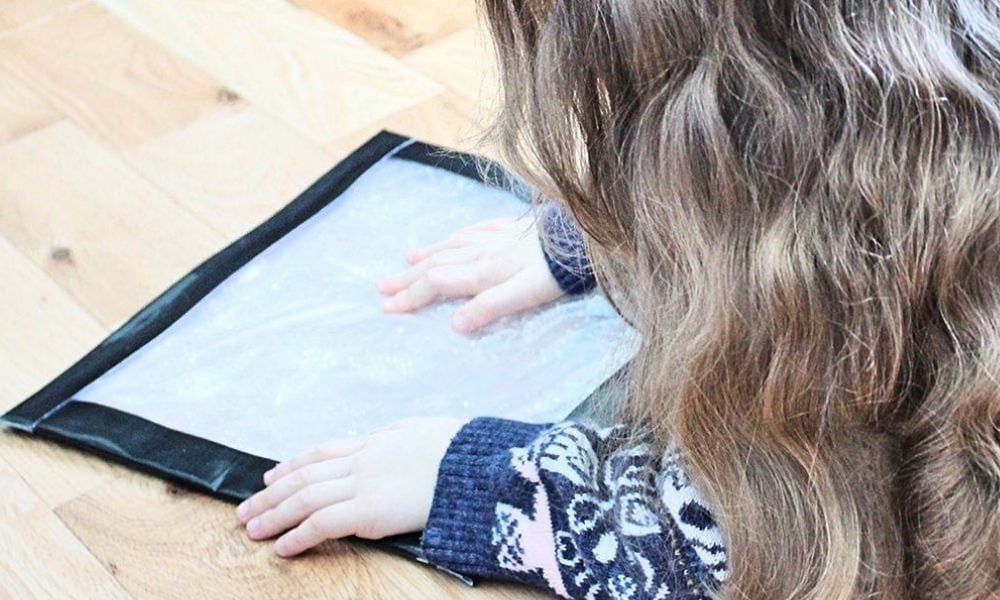
I love how sensory bags allow younger kids to explore a variety of textures that they otherwise wouldn’t have had the opportunity to experience!

Get hundreds of pages of activities!
Get access to all our paid printables, as well as monthly activity planners, for just $5/month. (New printables added twice per month!)
Required Materials
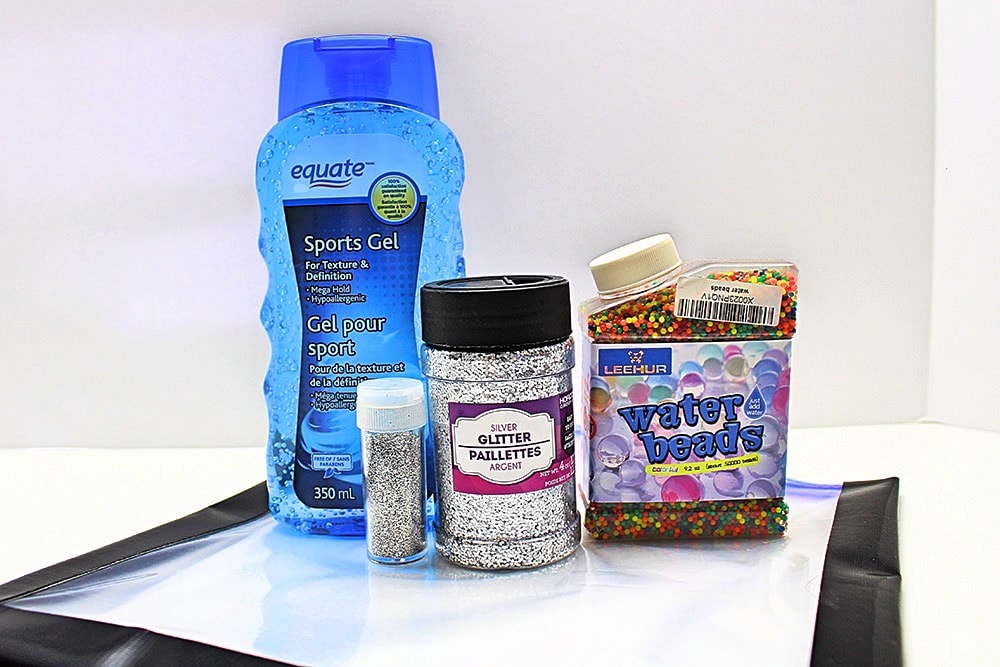
In order to make this sensory bag, which combines the fun textures of hair gel and water beads, you’ll only need a few simple materials:
- Gallon-sized freezer bags (we buy ours at Costco when they go on sale)
- Gorilla Tape (optional)
- Clear hair gel or sports gel (whatever’s cheaper, as long as it’s not too watered down)
- Clear water beads
- Fine and/or chunky glitter (optional)
Note: Some water beads come in packages with pre-sorted colors while others, like the one I purchased, do not. I don’t mind because I use the other colors for various projects, but get whatever best suits your needs!
Note About Prepping Bags
I always prep my sensory bags in advance by double-bagging them and taping the seams shut. This doesn’t make them completely leak-proof, but it does make them last a lot longer and minimizes the mess from any leaks that may occur.
We love sensory bags, but we hate when they leak, and freezer bags tend to be pretty weak at the seams. I like to prep several bags in advance so I always have some ready to go whenever we want to make new sensory bags!
Grab our 12 best sensory recipes!

By submitting your email address, you are agreeing to the terms of our Privacy Policy. You can unsubscribe at any time.
How to Make a Surprise Water Bead Sensory Bag (Step-by-Step)
1. Hydrate Water Beads
Start by hydrating the water beads. To do so, place a small amount in a large bowl and fill the bowl with water, then let it sit for several hours.
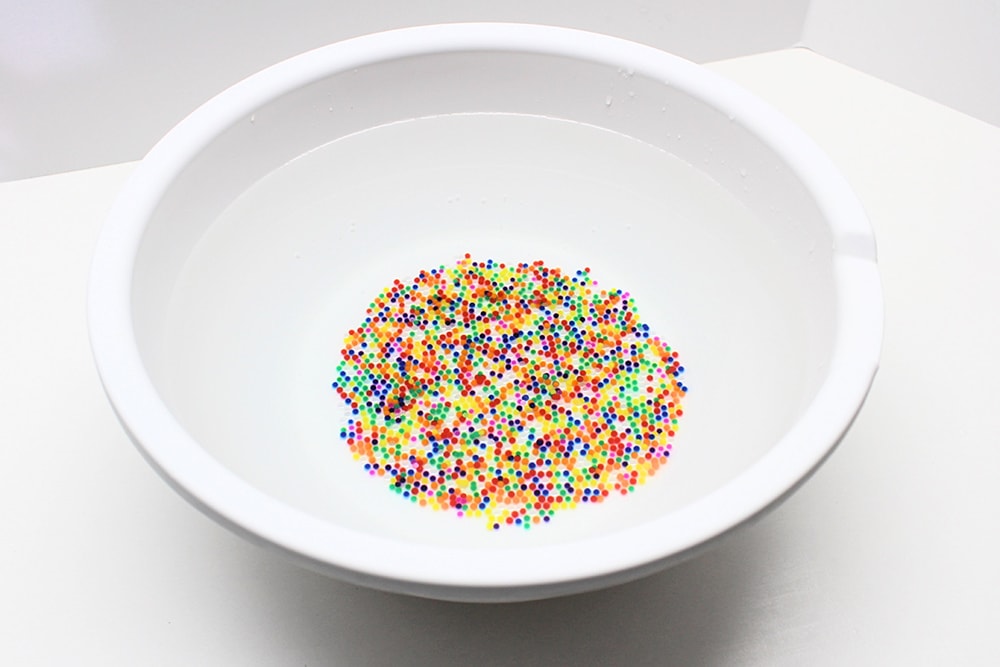
If it’s your first time using water beads, keep in mind that you really don’t need a lot as they are very absorbent and grow to many times their original size! I usually only use about one teaspoon at a time.
2. Sort Water Beads (Optional)
If your water beads came in a variety of colors that weren’t pre-sorted, you’ll have to sort them. Just be careful, because they’re extremely bouncy and they have a tendency to end up everywhere!
You could also try sorting them before you hydrate them, but they’re so tiny that I’m not convinced that would make things any easier. It’s also harder to tell the colors apart when they’re that small.
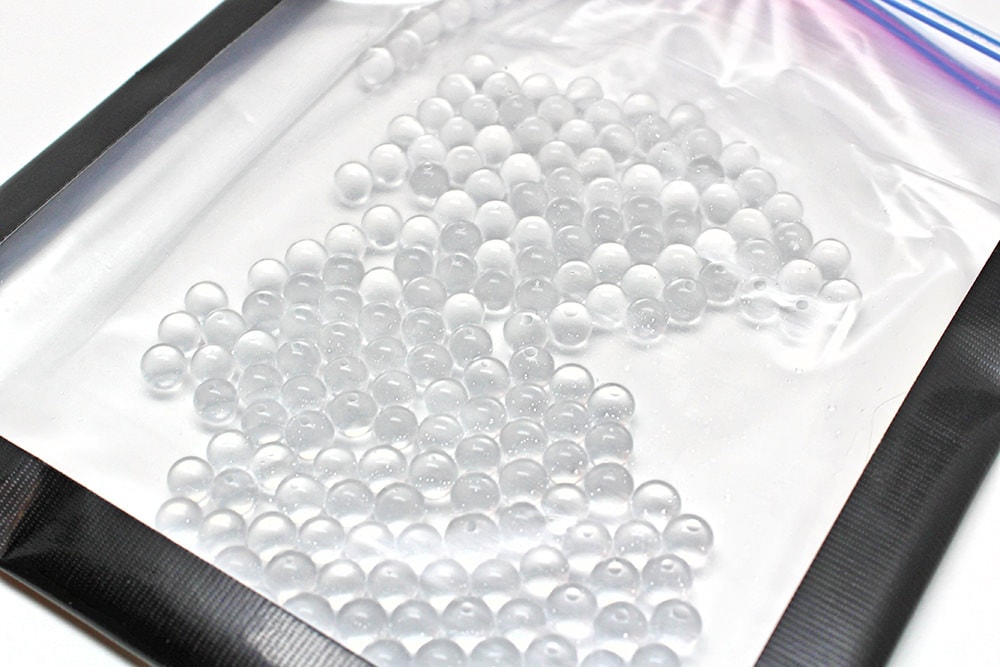
For this bag, I like to use clear water beads because once they’re mixed in with the clear hair gel, you can’t tell they’re there until you press down on them. I find that it adds a fun element of surprise!
But if you don’t care about that, feel free to skip the sorting and use any color or combination of colors you like. The color has no bearing on the texture, so it’s completely up to you.
3. Add Water Beads to Bag
Once you’ve chosen your color(s), place the water beads in the bag.
If you’ve prepped them using my method, make sure to place the water beads in the inside bag, as the bags can be really annoying to clean if you accidentally pour something in between them. (Especially if that thing is hair gel—trust me on that one.)
You can use as few or as many water beads as you like depending on the sort of texture you’re trying to achieve.
4. Add Hair Gel
Next, squirt in the hair gel or sports gel.
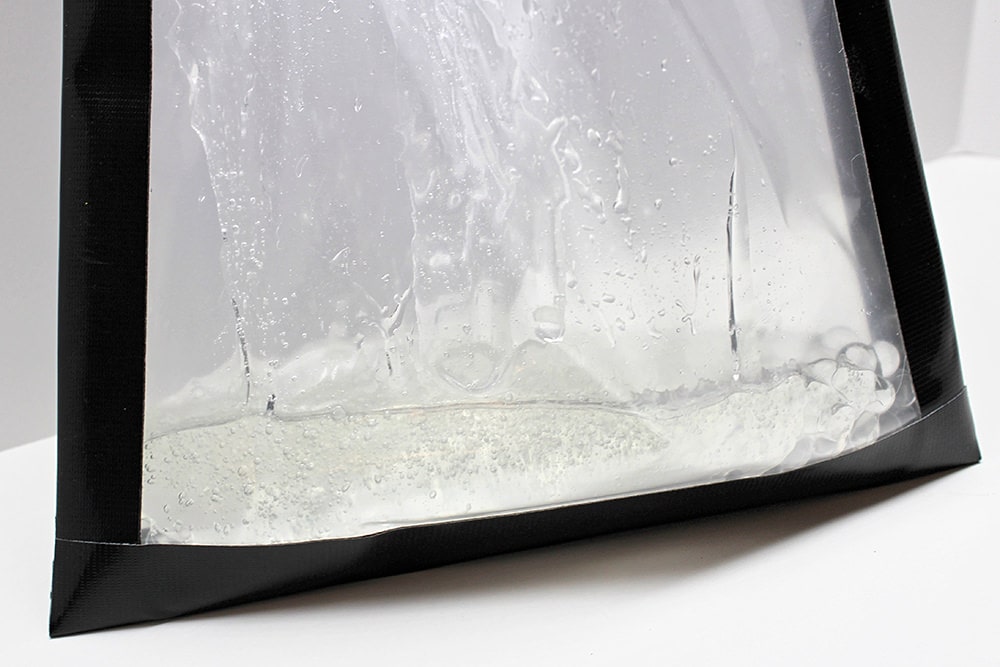
We buy ours from Walmart, and we like to always keep at least one bottle on hand for sensory bags. The bottles we get contain 350 ml each, and we typically use up almost the entire thing for this project.
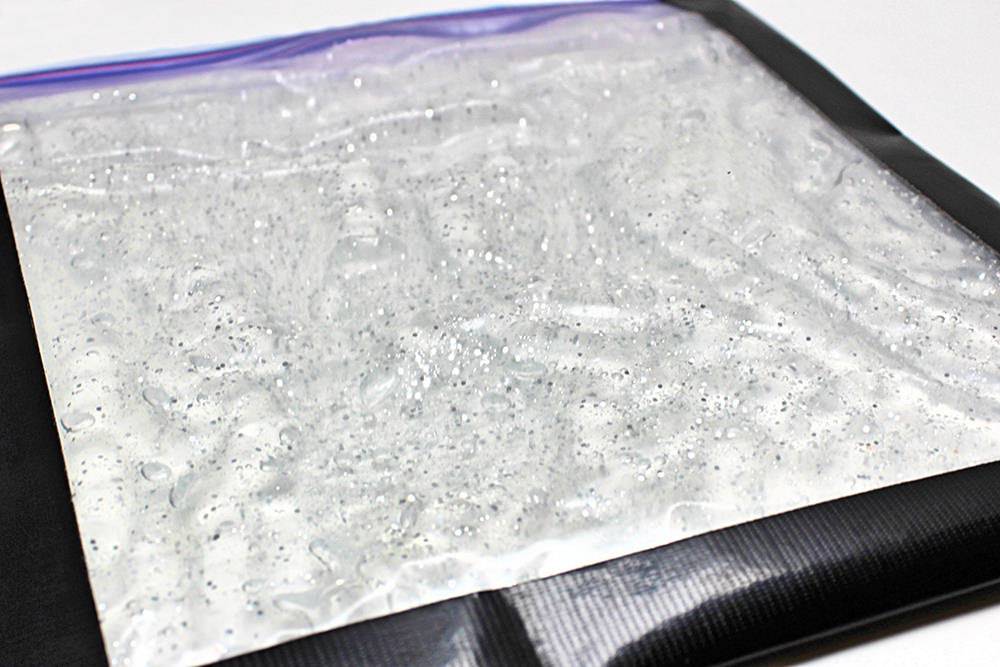
5. Add Glitter (Optional)
Glitter is optional, but if you’d like to add some, you can do so at this point. I used silver because I thought it looked nice with the clear gel, but you can choose whichever color you like.
Adding glitter might make the water beads a little more visible, especially if you add a lot, but we enjoy squishing it around the bag. Just remember that a little goes a long way, and that it’s much easier to add more than to remove it if ever you’re not satisfied with the amount!
6. Add Water (Optional)
You can dilute your hair gel with tap water if it’s really thick, but I generally don’t.
Once you’ve added water, press out as much air as possible from both bags and seal them up. Squish the contents around until every part of the bag is filled, and decide whether you’re happy with the texture.
If you’re not completely satisfied, you can always push the contents away from the zipper and add in more hair gel, water beads or glitter!
7. Seal Bag
Once you’re happy with how it looks and feels, you can zip up the bags and, if you’re using my method, tape the top shut.
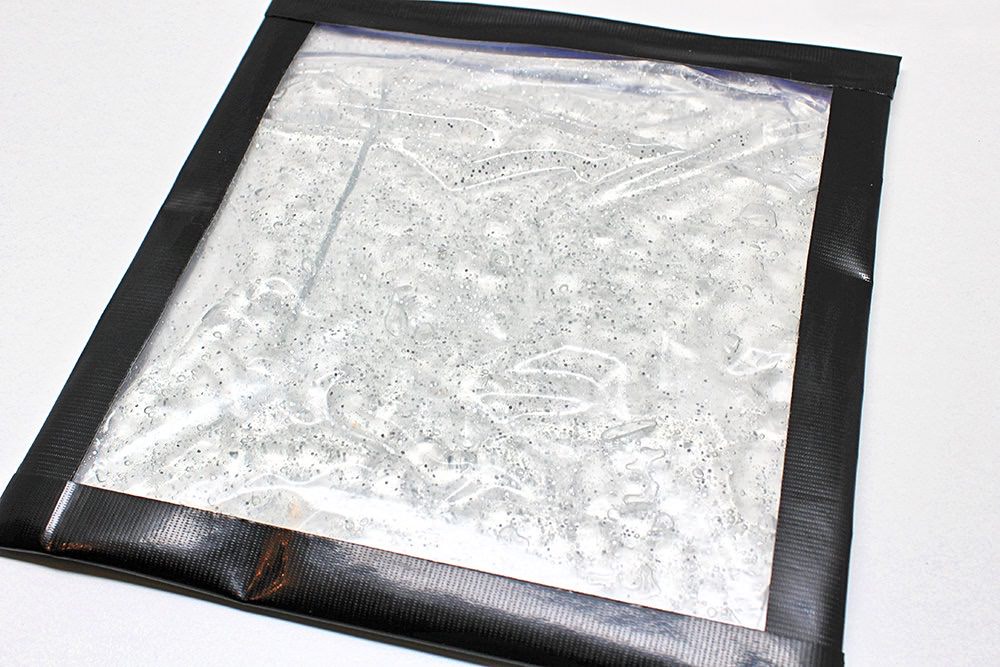
And that’s it! Very simple, but the combination of hair gel and water beads gives this bag an amazing texture!
What are your favorite sensory bag fillers? Sound off in the comment section!
Related Sensory Bag Ideas
Love sensory bags as much as we do? Check out these articles:
- Easy Starry Night Sensory Bag (with Glow-in-the-Dark Stars!)
- Pom-Pom Rainbow Sensory Bag
- DIY Shape Matching Sensory Bag
- Winter Snowman Sensory Bag
- Monster Googly Eye Sensory Bag
Join my mailing list using the form below to receive 12 of the most popular sensory recipes on my site in PDF format! You’ll be the first to know when I publish new recipes, and you’ll also gain receive to lots of free printable activities for your kids.
Grab our 12 best sensory recipes!
By submitting your email address, you are agreeing to the terms of our Privacy Policy. You can unsubscribe at any time.
Only your name will be made public. Please note that by submitting your comment, you are agreeing to the terms of our Privacy Policy.