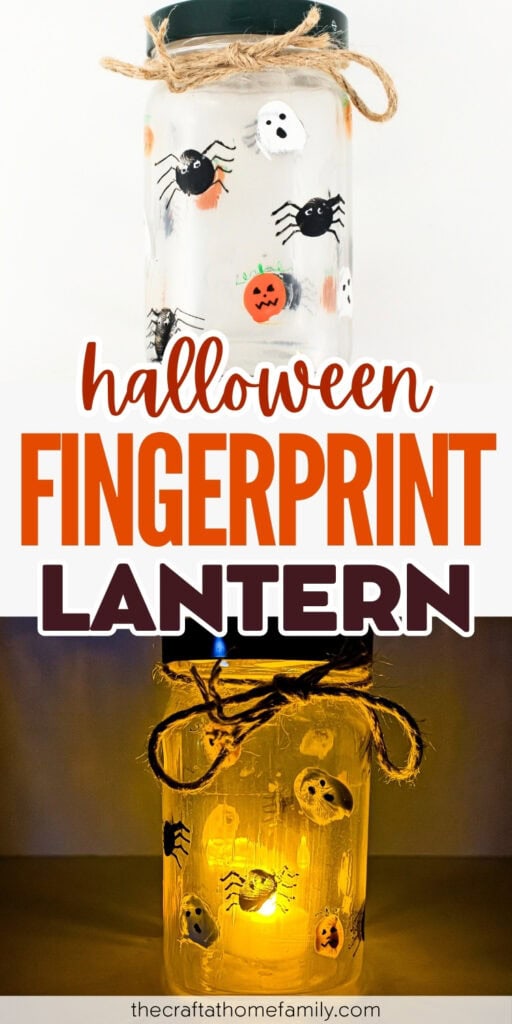
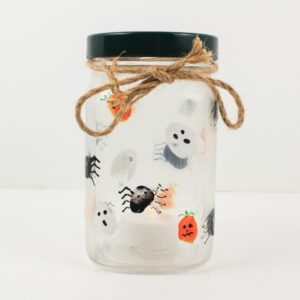
Turn a glass jar into a Halloween fingerprint candle holder in just a few simple steps! This easy Halloween craft will transform your child’s tiny fingerprints into cute ghosts, jack-o’-lanterns and spiders.

JUMP TO…
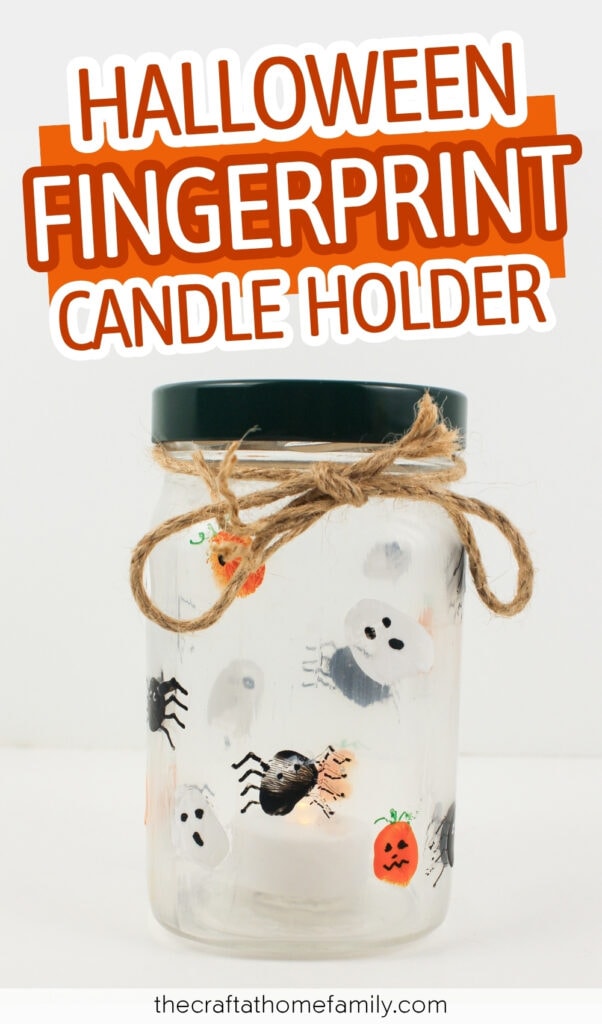
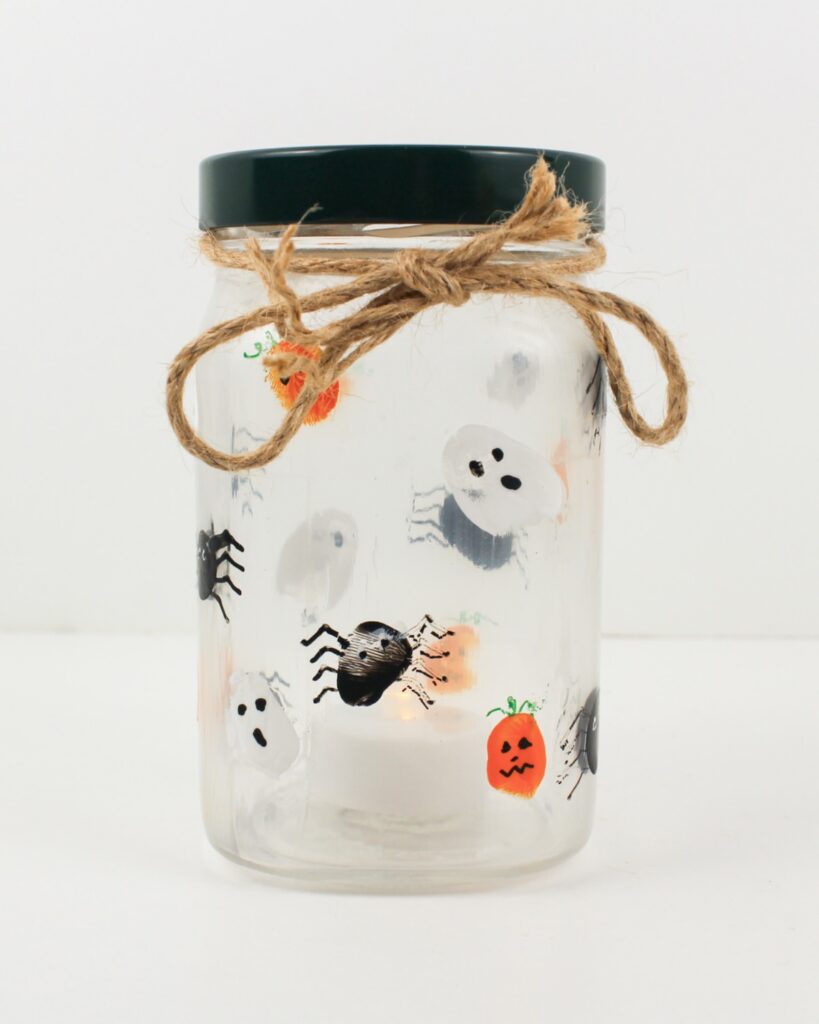
This adorable Halloween candle holder is the perfect way to turn your child’s little fingerprints into something more! In just a few simple steps, you can turn a glass jar into a spooky lantern to leave near your window or on your porch on Halloween night.
This simple craft is easy to make and lots of fun for kids. Younger kids can participate by helping you create the fingerprints, and older kids should be able to do most of the steps on their own!
Why You’ll Love This Craft
- Easy to make: Both younger and older kids can participate in the making of this craft.
- Totally adorable: This craft turned out so cute, and it would make a great keepsake or gift. I know I’ll love looking at those little ghosts, spiders and jack-o’-lanterns made from my kids’ fingerprints for years to come!
- Fun for kids: My kids were more than happy to help me add their fingerprints and decorate the jar, and they loved displaying the finished craft.
Looking for more easy Halloween crafts for kids? Check out this Free Build a Monster Printable, these Halloween Lollipop Crafts or this big list of Halloween Spider Crafts!
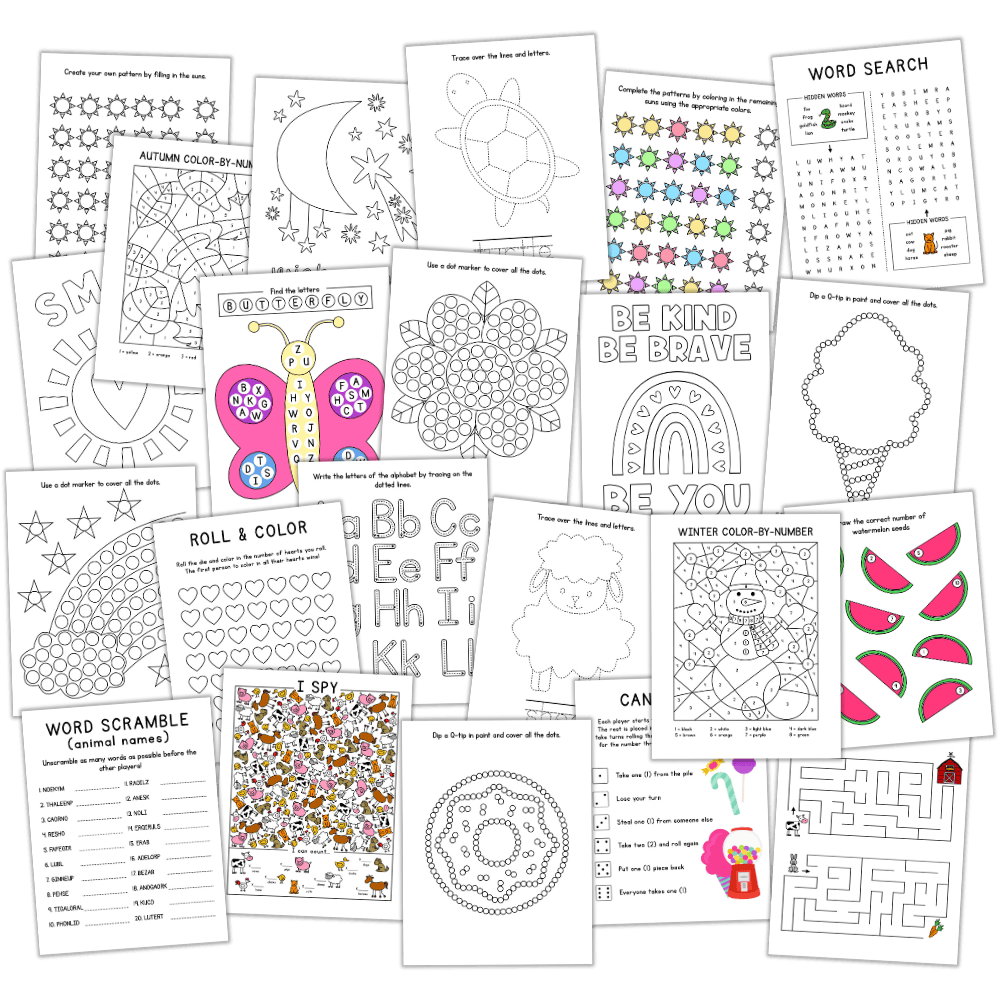
GRAB OUR FREE 30-PAGE ACTIVITY BUNDLE!
By submitting your email address, you are agreeing to the terms of our Privacy Policy. You can unsubscribe at any time.
Required Materials

- Glass jar: Any glass jar with flat sides is fine. I used was an empty one from the recycling.
- Paint: You can use either acrylic paint or washable kids’ paint for this project. (I used acrylic.)
- Paintbrush: You’ll be using this to cover the jar with Mod Podge, so I recommend a medium or large brush for easier coverage.
- Paint pens: For this craft, you’ll need fine tip acrylic paint pens in white, black and green.
- Mod Podge: I used Mod Podge with matte finish, but you can always opt for a glossy finish if you prefer.
- Twine: You can also use a thin ribbon. Anything with Halloween colors or a spooky pattern would work great!
The full supply list and instructions can be found in the how-to card.
GRAB OUR FREE 30-PAGE ACTIVITY BUNDLE!
By submitting your email address, you are agreeing to the terms of our Privacy Policy. You can unsubscribe at any time.
How to Make a Halloween Candle Holder (Step-by-Step)
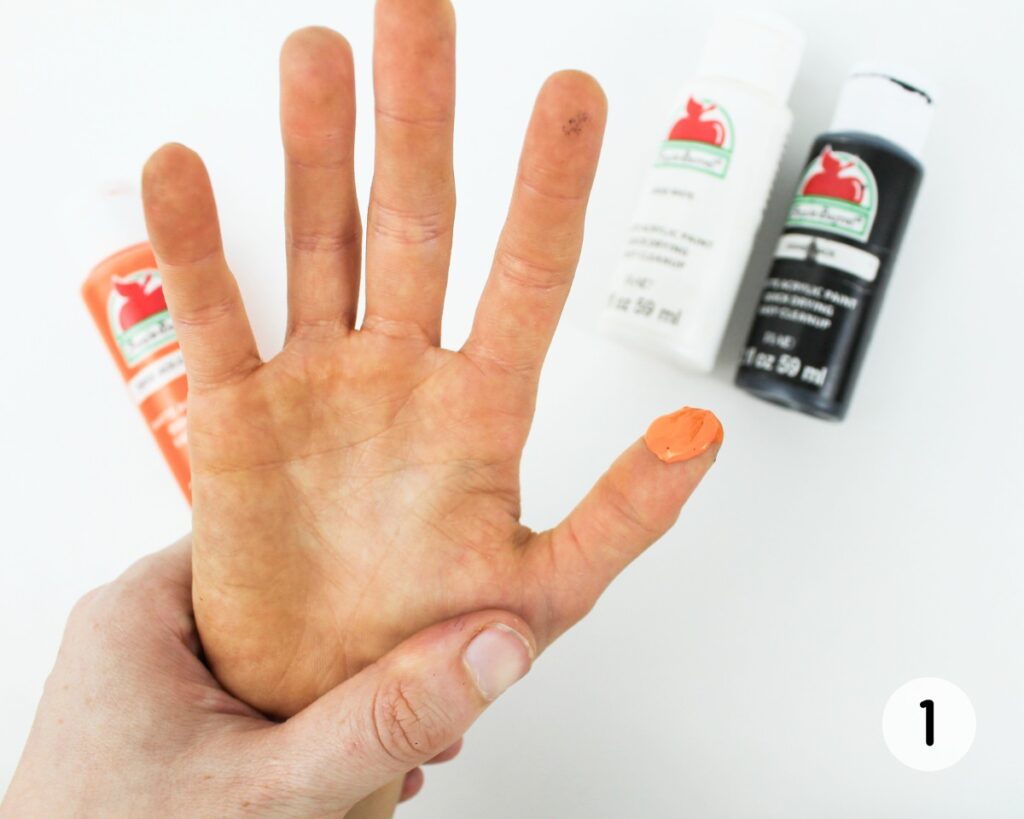
Step 1: Cover child’s finger with paint. Using a paintbrush, or simply by dipping their finger in paint or squeezing a dot of paint onto their finger, cover one of your child’s fingers with paint.
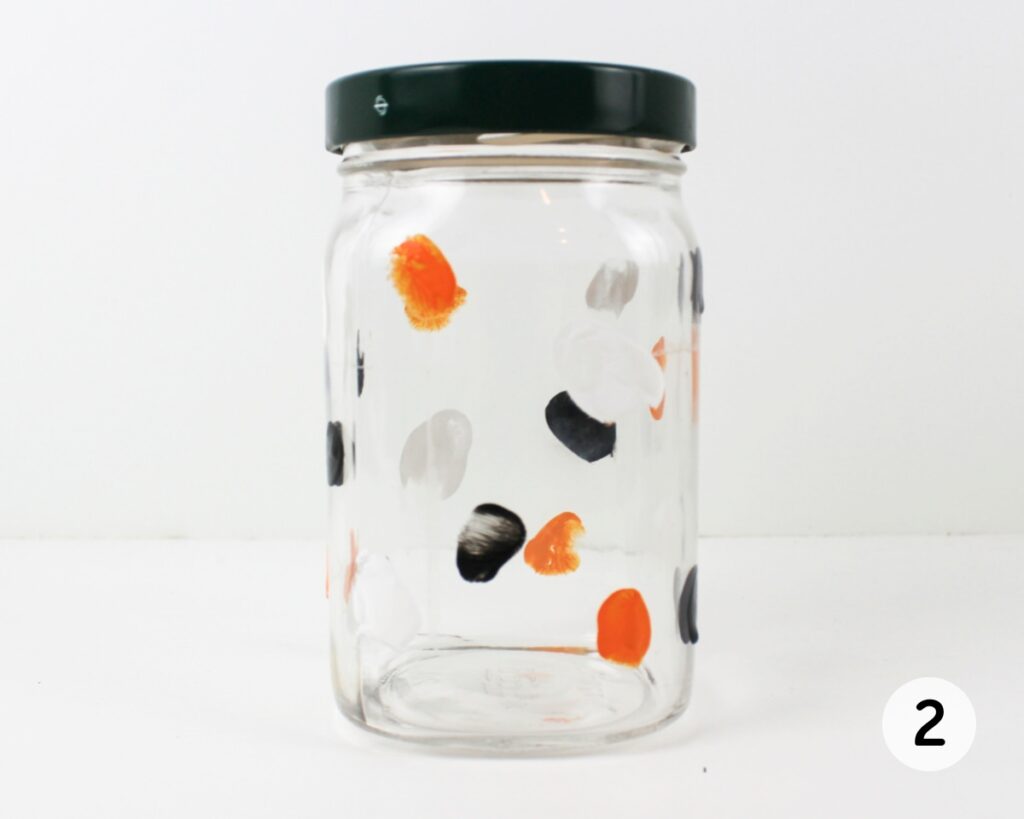
Step 2: Add fingerprints to glass jar. Press your child’s paint-covered finger onto a glass jar to leave an imprint. One color at a time, add orange, black and white fingerprints to every side of the jar. The orange and black fingerprints should be round, while the white ones should be slightly elongated. (To do this, simply flatten the imprint by pressing more of your child’s finger onto the surface of the jar.)
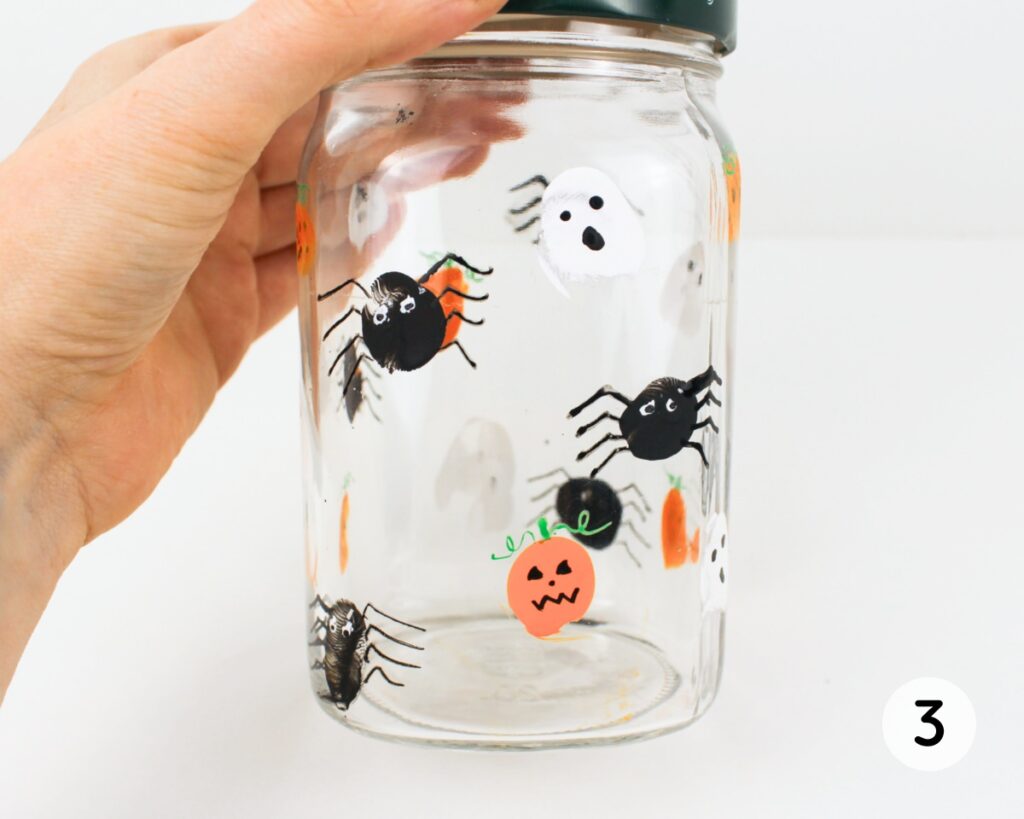
Step 3: Add details to fingerprints. Allow the jar to rest undisturbed for a few hours in order for the paint to fully dry. Then, use acrylic paint pens to turn the white fingerprints into ghosts (by adding two eyes and a mouth), the black fingerprints into spiders (by adding eyes and legs) and the orange fingerprints into jack-o’-lanterns (by adding a face, a stem and some vines).
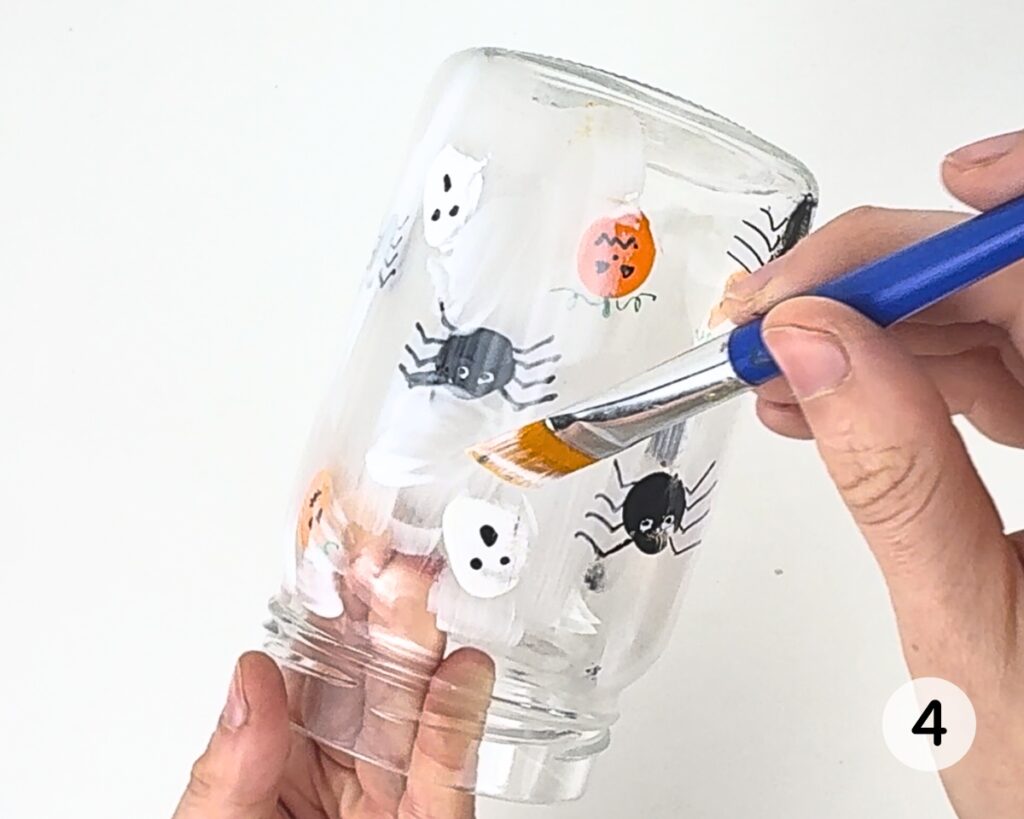
Step 4: Cover jar with Mod Podge. Wait about 30 minutes for the paint from the paint pens to dry, then use a paintbrush to cover the whole jar with Mod Podge, and allow it to fully dry before you move on to the next step.
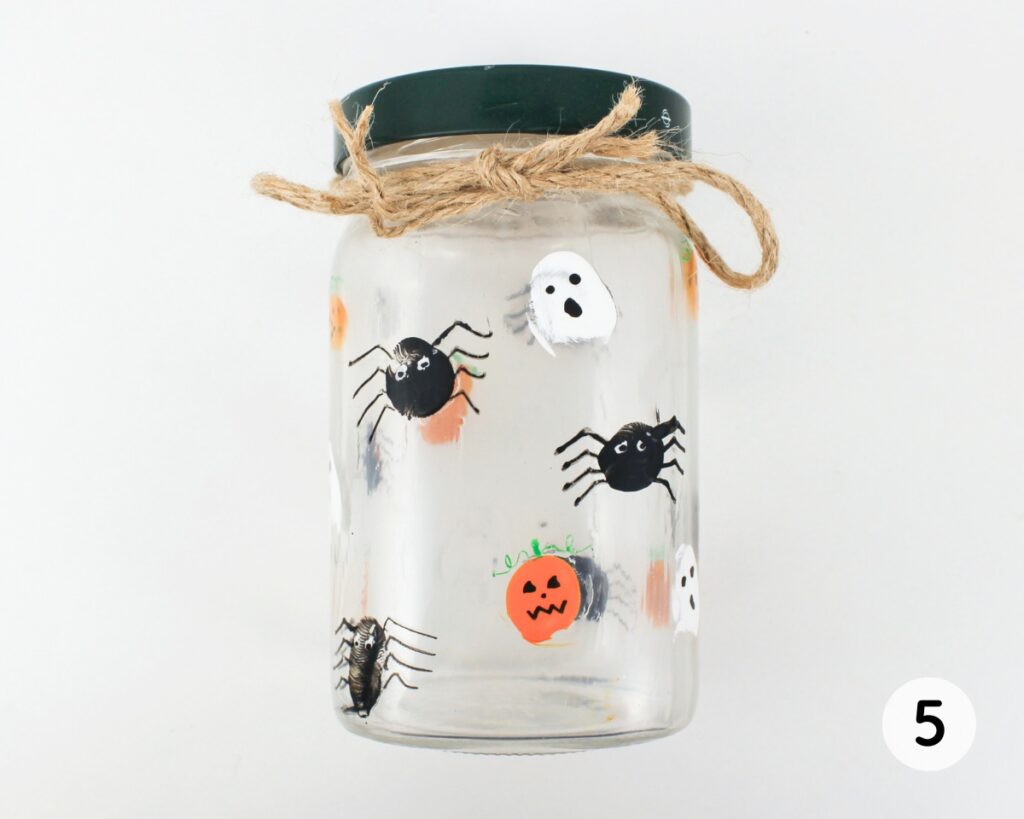
Step 5: Add twine or ribbon. Wrap some twine, or a thin ribbon, around the neck of the jar.
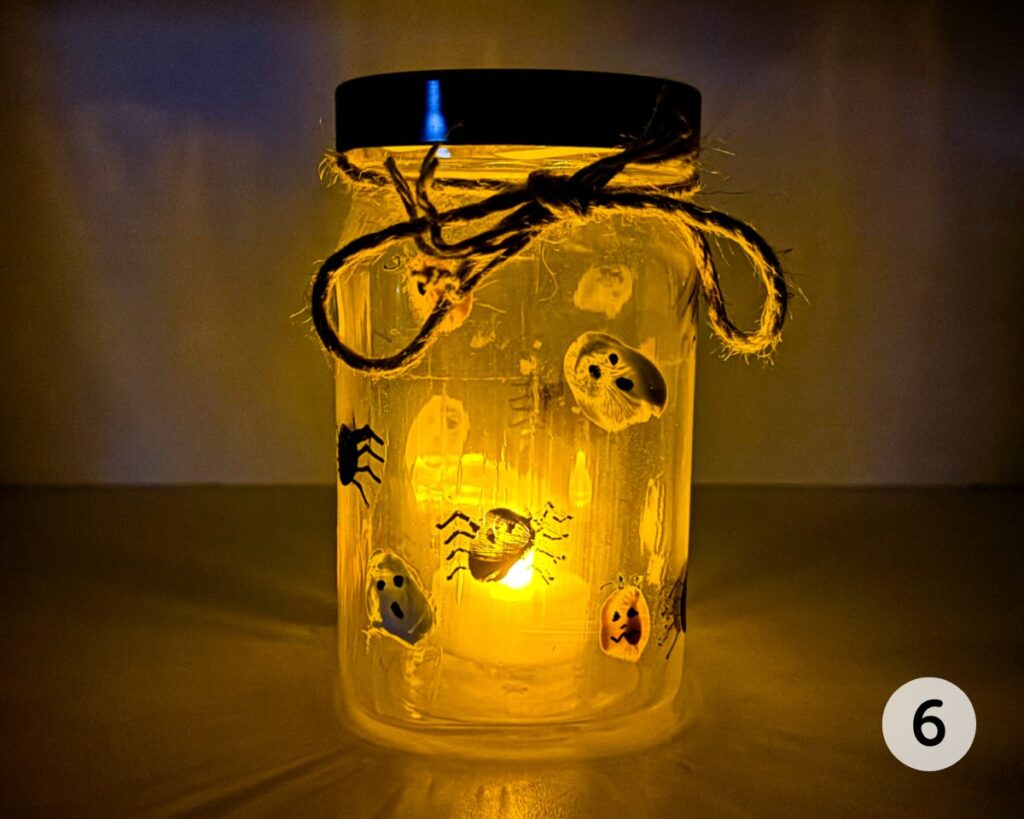
Step 6: Add tea light. To use your candle holder, place a regular or battery-operated tea light inside the jar and place it somewhere dark. (If using a battery-operated light, you can put the lid back on the jar as it glows without worrying that the flame will go out.)
I love how this project turned out! It was easy and fun to make, and the little Halloween-themed fingerprints were so cute. My kids had a lot of fun helping me, and they’re really excited to place the glowing jar by the window on Halloween.
Helpful Tips
- Clean up the fingerprints: If any of the paint drips down from the fingerprints onto the side of the jar, you can clean up the drip using a tissue or paper towel while the paint is still wet.
- Remove the lid: To make the jar easier to handle as you decorate it and cover it with Mod Podge, remove the lid and hold the jar by the neck by placing some of your fingers on the inside.
- Allow the paint to dry: For a clean finish, make sure you allow time for the paint and Mod Podge to fully dry in between steps.
More Halloween Crafts for Kids

If you have tried this Halloween Fingerprint Candle Holder or any other project on my website, please let me know how it went in the comments below. I can’t wait to hear from you!
Halloween Fingerprint Candle Holder
Materials
- 1 glass jar with flat sides
- acrylic or washable paint (white, black and orange)
- 1 paintbrush
- 1 black acrylic paint pen
- 1 white acrylic paint pen
- 1 orange acrylic paint pen
- Mod Podge matte finish
- 1 piece of twine
Instructions
- Using a paintbrush, or simply by dipping their finger into paint or squeezing a dot of paint onto their finger, cover one of your child's fingers with paint.
- Press your child’s paint-covered finger onto a glass jar to leave an imprint. One color at a time, add orange, black and white fingerprints all over the surface of the jar. The orange and black fingerprints should be round, while the white ones should be slightly elongated. (To do this, simply flatten the imprint by pressing more of your child’s finger onto the surface of the jar.)
- Allow the jar to rest undisturbed for a few hours, until the paint is fully dry. Then, use acrylic paint pens to turn the white fingerprints into ghosts (by adding two eyes and a mouth with the black paint pen), the black fingerprints into spiders (by adding legs and eyes with the white and black paint pens) and the orange fingerprints into jack-o’-lanterns (by adding a face with the black paint pen, and a stem and some vines with the green paint pen).
- Wait about 30 minutes for the paint from the paint pens to dry, then use a paintbrush to cover the whole jar with a layer of Mod Podge. Allow it to fully dry before you move on to the next step.
- Wrap some twine, or a thin ribbon, around the neck of the jar. To use your candle holder, place a regular or battery-operated tea light inside the jar. (Using a battery-operated light will allow you to put the lid back on as the jar glows.)
Video
Notes
- Clean up the fingerprints: Clean up any paint drips using a tissue before the paint has a chance to dry.
- Remove the lid: For easier handling, remove the lid of the jar and hold it by the neck when decorating and covering it with Mod Podge.
- Allow the paint to dry: Make sure you allow enough time for the paint and Mod Podge to dry between steps.
Only your name will be made public. Please note that by submitting your comment, you are agreeing to the terms of our Privacy Policy.