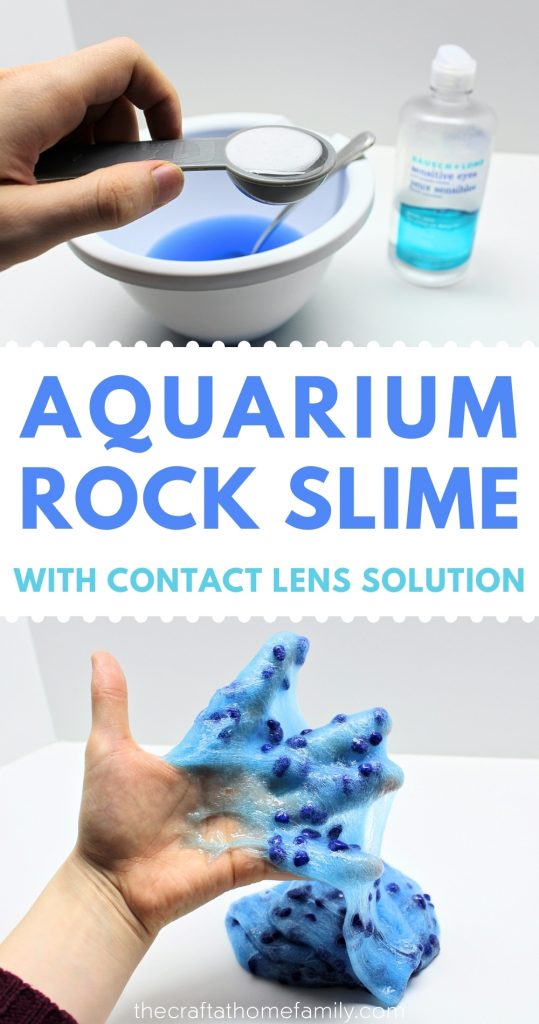
Looking for a fun new textural element to add to your homemade slime? This DIY aquarium rock slime recipe is a great way to shake things up! It’s super simple to make, and because it’s activated with contact lens solution rather than Liquid Starch, it’s also safer for your child’s skin. All you’ll need to make this slime is a few basic ingredients and 10 minutes of free time!
JUMP TO…
Homemade slime has become something of a staple at our house. It’s such an easy activity to prepare and it always keeps our kids occupied for quite a while!
It’s also really easy to customize when you feel like experimenting with different textures. Whether you’re mixing in some leftover water beads or adding shaving cream to create fluffy slime, you’re sure to find a texture to please every child!
And if your child is still too young for regular slime, you can even make slime out of edible ingredients!
Along with butter slime, this aquarium rock slime is one of my kids’ favorites, and it only takes a few minutes to make! Read on to find out how.
Warning: This particular slime recipe is not taste-safe and it contains small rocks that could pose a choking hazard, so it’s not meant for very young children. Since I was making this slime for our three- and four-year-old to play with, I also whipped up a batch of Taste-Safe Psyllium Husk Slime so that our one-year-old could feel like she was part of the fun!

Get hundreds of pages of activities!
Get access to all our paid printables, as well as monthly activity planners, for just $5/month. (New printables added twice per month!)
Required Ingredients
Here’s what you’ll need to make this fun textured slime at home:
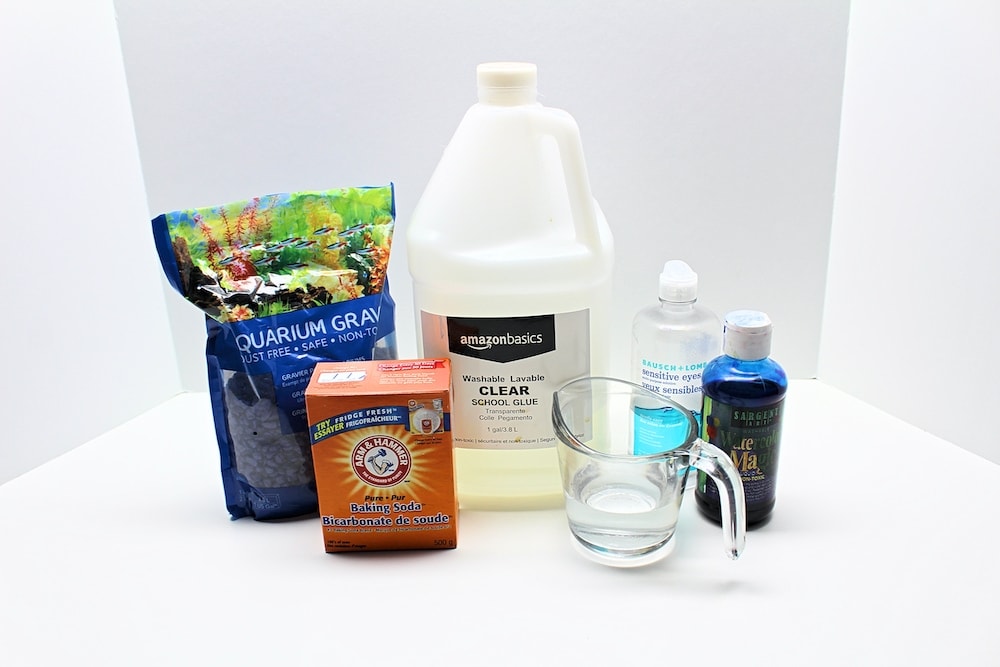
- Clear glue (we buy ours by the gallon to make slime and sensory bottles, and usually go with the AmazonBasics brand because it’s so much cheaper than Elmer’s here in Canada!)
- Water
- Liquid watercolors or food coloring
- Baking soda
- Contact lens solution
- Polished aquarium rocks in the color of your choosing
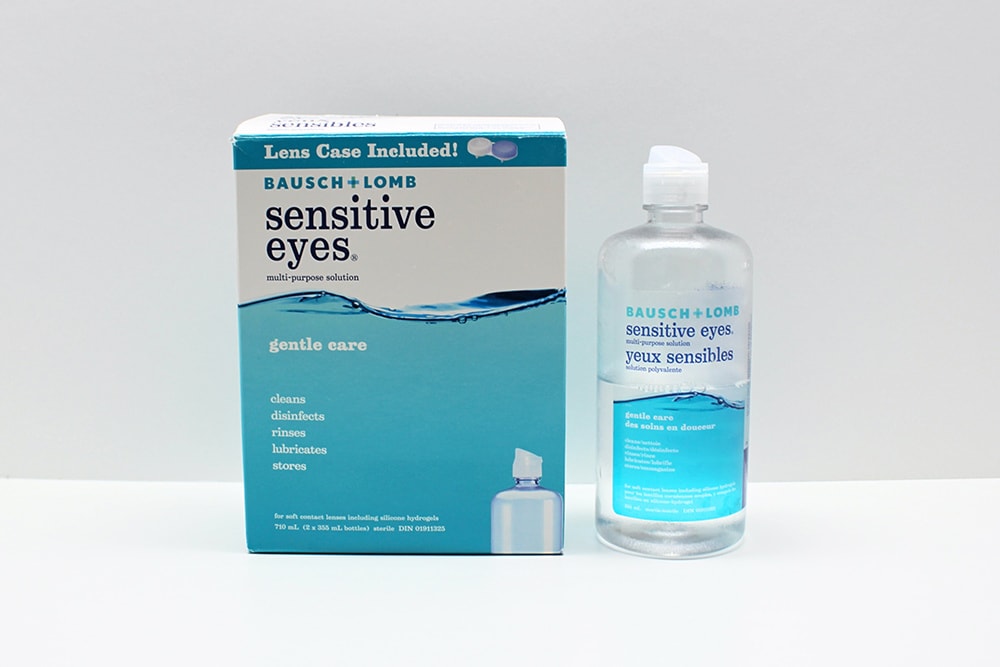
Note: The contact lens solution you use must list “boric acid” and “sodium borate” as ingredients in order for the chemical reaction to occur. We bought ours at Walmart and carefully compared ingredients and prices before choosing the brand pictured below.
Grab our 12 best sensory recipes!

By submitting your email address, you are agreeing to the terms of our Privacy Policy. You can unsubscribe at any time.
How to Make Aquarium Rock Slime (Step-by-Step)
1. Combine Water and Glue
Combine ½ cup of clear glue and ½ cup of water in a small bowl. The added water is what makes the slime so stretchy!
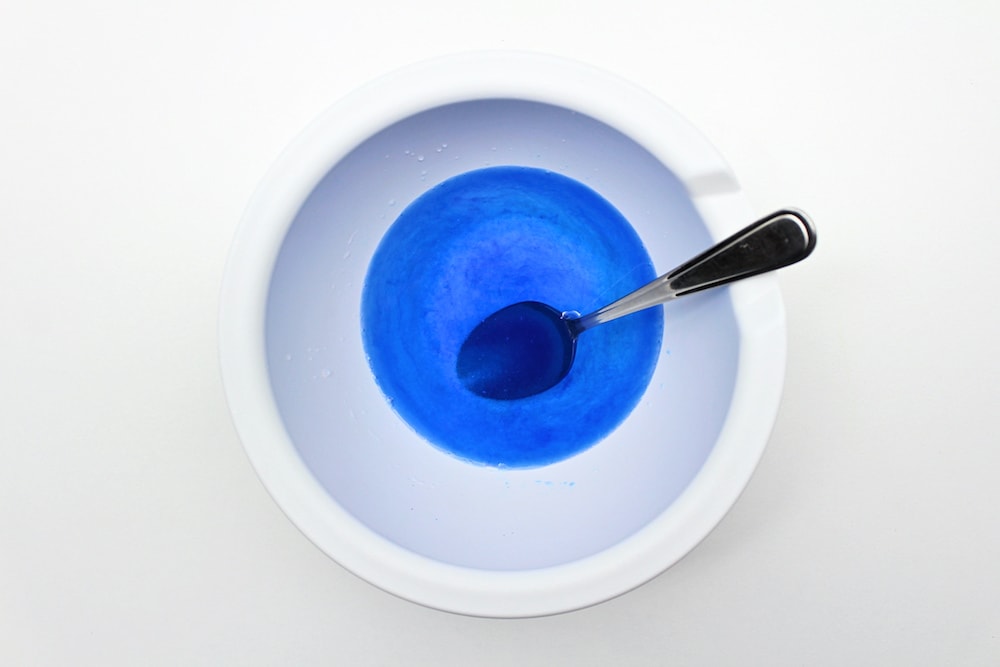
2. Add Color
Add a few drops of liquid watercolor paint or food coloring to the mixture. We decided to make ours blue to match the aquarium rocks. We added about 6 drops, but feel free to add as few or as many as you like.
3. Add Baking Soda
Mix in ½ teaspoon of baking soda.
4. Add Contact Lens Solution
It’s time to add the slime activator! Start with 1 tablespoon of contact lens solution and stir until well combined.

You may notice the mixture starting to solidify a little, but 1 tablespoon likely won’t be enough to fully activate your slime. You’ll probably end up needing somewhere between 1 tablespoon and 1 ½ tablespoons.
Once I’ve added the initial tablespoon, I usually add one small squirt at a time, mixing well between each addition. Don’t add too much at a time or your slime will become rubbery! (You can fix this by adding warm water and gently working it in with your hands, but it’s much simpler to prevent this issue altogether by adding the activator slowly.)
I usually stop adding contact lens solution when the mixture stops behaving like a liquid and starts sticking to the sides of the bowl, as pictured below.
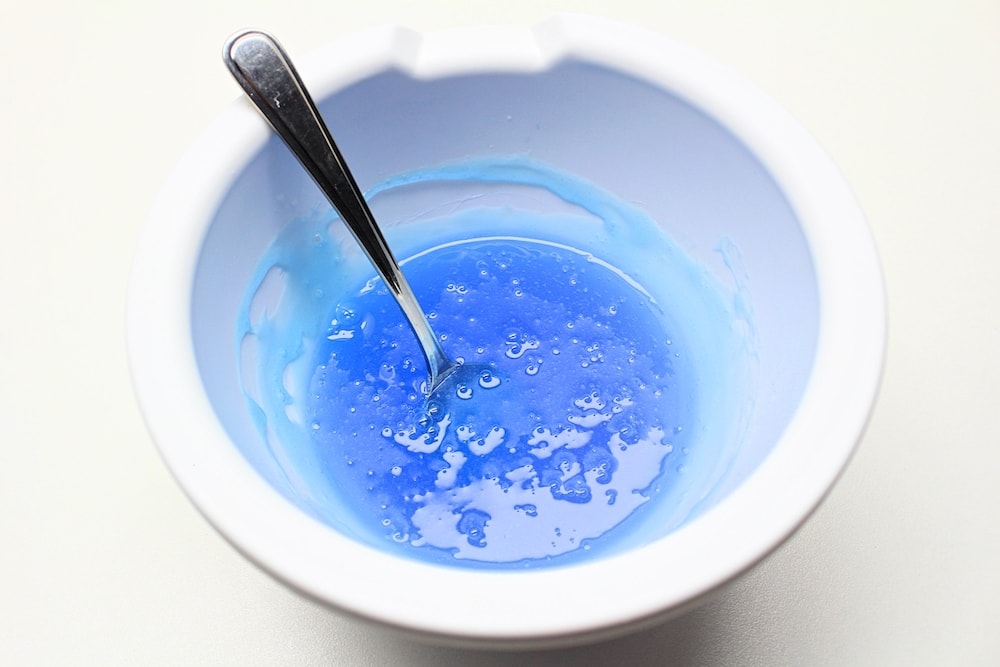
I always try to use as little contact lens solution as possible because this keeps the slime nice and stretchy!
6. Knead Slime
Once you’ve added enough activator, it’s time to knead! The slime will be very sticky initially, but the more you knead the slime, the less sticky it should become. Don’t be surprised if it takes a lot of kneading!
If ever your slime is simply too sticky to knead, you can always add a little bit of extra contact lens solution to your hands to make things easier.
Note: If you like to wear rings, please remove them before kneading the slime. If you don’t, the slime could get into any crevices and cause a rash on your finger due to prolonged exposure—I speak from personal experience!
6. Add Aquarium Rocks
Once the slime stops sticking to your hands, you can add the aquarium rocks. I only add the rocks once the slime is fully kneaded because it would be a lot harder to knead with the rocks already in it.
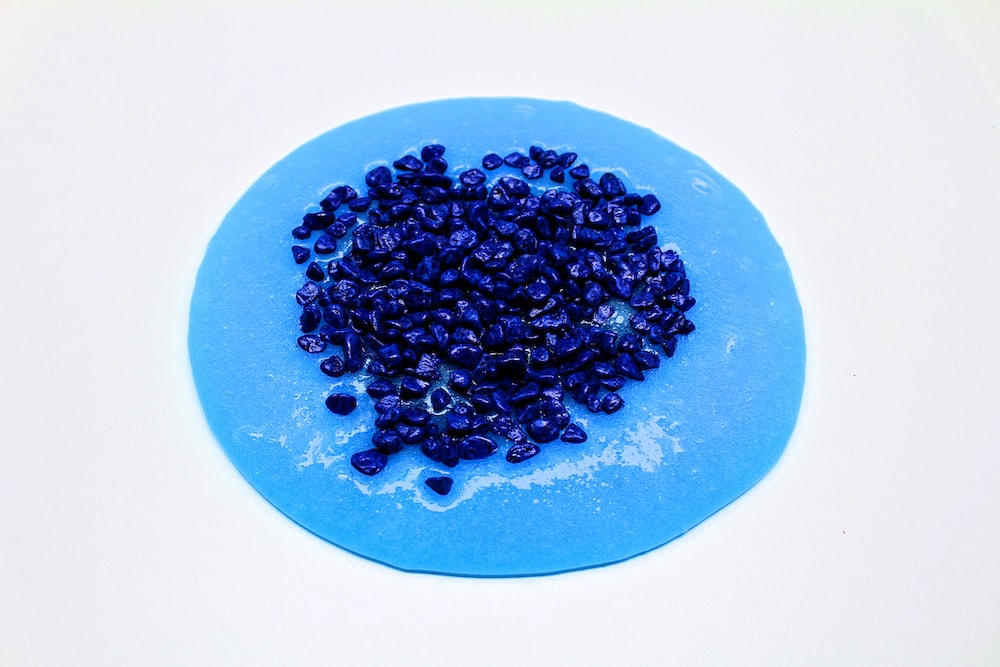
You can add as few or as many rocks as you like, but ½ cup is a good starting point. Simply pour them onto the slime, then fold them in with your hands and gently knead it.
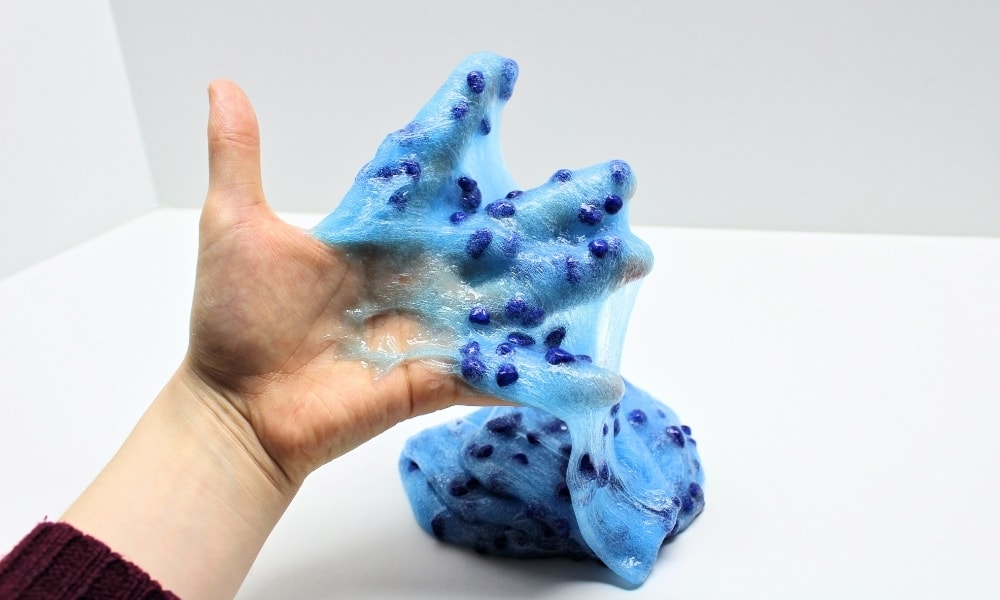
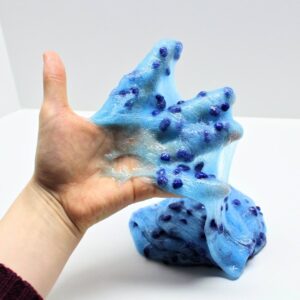
Once the aquarium rocks are well integrated, it’s time to play! The rocks shouldn’t pop out much, but there’s a possibility that they might, so I recommend supervising extra carefully to ensure you don’t end up with little rocks everywhere.
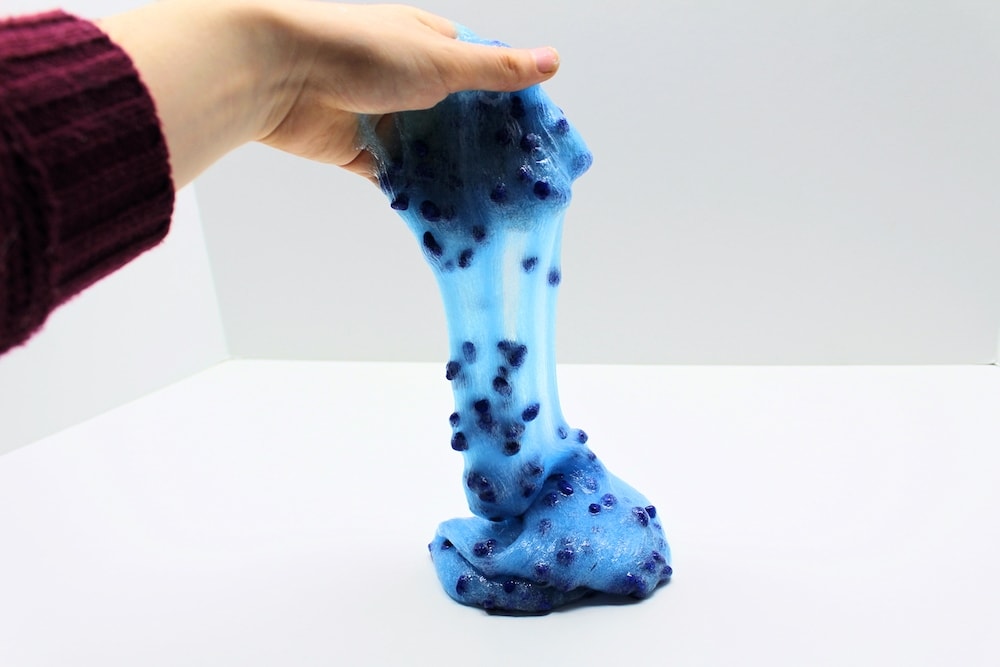
Our four-year-old particularly loves this type of slime! We made it for the first time several months ago and she’s been asking to make it again ever since the old batch lost its elasticity!
Tip: Leave out some small containers and (kid-safe) tweezers for your child to play with. Our four-year-old loves to pluck the little rocks out with tweezers and place them in a bowl next to the slime!
Aquarium Rock Slime
Ingredients
- ½ cup clear glue
- ½ cup water
- liquid watercolors or food coloring as needed
- ½ tsp baking soda
- 1 ½ tbsp contact lens solution
- ½ cup polished aquarium rocks or more if desired
Instructions
- Combine the glue and water in a small bowl.
- Add a few drops of liquid watercolor paint or food coloring and mix them in with a spoon.
- Stir in baking soda.
- Add 1 tablespoon of contact lens solution and stir with a spoon. Slowly add the rest of the contact lens solution, mixing well and making sure to stop before the slime gets too rubbery.
- Remove the slime from the bowl and knead it with your hands. It will start out sticky, but the more you knead it, the less sticky it will feel.
- When the slime no longer feels sticky, add the aquarium rocks and gently mix them in with your hands. Once you're satisfied with the consistency of the slime, give it to your child to play with!
Notes
Related Contact Lens Solution Slime Recipes
Looking for more DIY slime recipes that you can make using contact lens solution? Check out these recipes:
- Easy Heat-Sensitive Color-Changing Slime (without Thermochromic Pigment!)
- Super Stretchy Water Bead Slime
Join my mailing list using the form below to receive 12 of the most popular sensory recipes on my site in PDF format! You’ll be the first to know when I publish new recipes, and you’ll also gain receive to lots of free printable activities for your kids.
Grab our 12 best sensory recipes!
By submitting your email address, you are agreeing to the terms of our Privacy Policy. You can unsubscribe at any time.
Only your name will be made public. Please note that by submitting your comment, you are agreeing to the terms of our Privacy Policy.