Have a science-loving child at home? This fizzy moon sand is a fun blend of sensory play and science that will only require a few ingredients and a couple minutes of your time to make!
JUMP TO…
Have you ever made moon sand at home? This easy sensory bin filler is soft and crumbly, but it holds its shape when pressed, which means it can be molded into different shapes. (And it also happens to be taste-safe, which makes it suitable for younger kids.)
If your child enjoys playing with homemade moon sand, they’ll love this fun twist that is part sensory bin, part science experiment. This 3-ingredient play sand is also soft and moldable, but unlike regular moon sand, it fizzes when vinegar is added.
This activity kept my kids entertained for quite a while, and they couldn’t wait to do it again!
Why You’ll Love This Activity
- Easy to make: This recipe couldn’t be simpler to make! Simply color the oil (if desired), then combine the ingredients. You’ll be done in less than 5 minutes!
- Simple supplies: You’ll only need three ingredients to make this fizzy moon sand for your child, and you probably already have all of them in your pantry.
- Fun for kids: My kids had a blast with every step of this activity! Because it combines sensory play and scientific exploration, it should keep your child’s attention for longer than usual.
- Many ways to play: There are lots of different ways to do this activity with your child, including molding the sand into different shapes, adding vinegar to make it fizz, and playing with the dough that forms once the vinegar has been added.
Love the texture of moon sand? Check out this Taste-Safe Moon Sand, this Beach Moon Sand or this Fall Moon Sand!

Get hundreds of pages of activities!
Get access to all our paid printables, as well as monthly activity planners, for just $5/month. (New printables added twice per month!)
Required Materials

- Flour: We used regular all-purpose flour. If you need this recipe to be taste-safe, you’ll need to heat treat the flour before you use it to kill any lingering bacteria. Gluten-free flour should also work, but it may behave a bit differently once you start adding vinegar.
- Baking soda: You may know this as bicarbonate of soda or sodium bicarbonate. We like to buy ours in bulk for use in activities.
- Oil: Any type of liquid cooking oil will work—I typically use vegetable oil because of how inexpensive it is. If you are using coconut oil that has solidified due to the cold, you’ll need to place it in the microwave for a few seconds to melt it. You can also use baby oil or mineral oil if you don’t need this activity to be taste-safe
- Candy coloring (optional): Because this gets mixed in with the oil, you’ll need to use oil-based candy coloring rather than regular liquid food coloring. Alternatively, you can color your moon sand using fruit and vegetable powders, unsweetened Kool-Aid powder, or even powder paint if you don’t need this activity to be taste-safe—but only add a very small amount, or it may stain your child’s hands once it gets wet from the vinegar.
- Toothpick: I used this to stir the candy coloring into the oil. You can also use a popsicle stick or a metal spoon.
- Vinegar: Any type will do. We used some regular white vinegar that was in our pantry.
- Dropper: If you are doing this activity with young children, I recommend using plastic droppers rather than glass ones because they are less likely to shatter if accidentally dropped.
The full ingredient list, quantities and instructions can be found in the recipe card.
Fun Activity Variations
- Pick a theme: Instead of simply creating moon sand, use it as a base for a sensory bin and choose colors and accessories that match a theme of your choosing, like ocean animals or construction vehicles.
- Add glitter: If you have a fairy-loving child at home and you don’t need this activity to be taste-safe, glitter and sequins would be a great addition to this sensory bin!
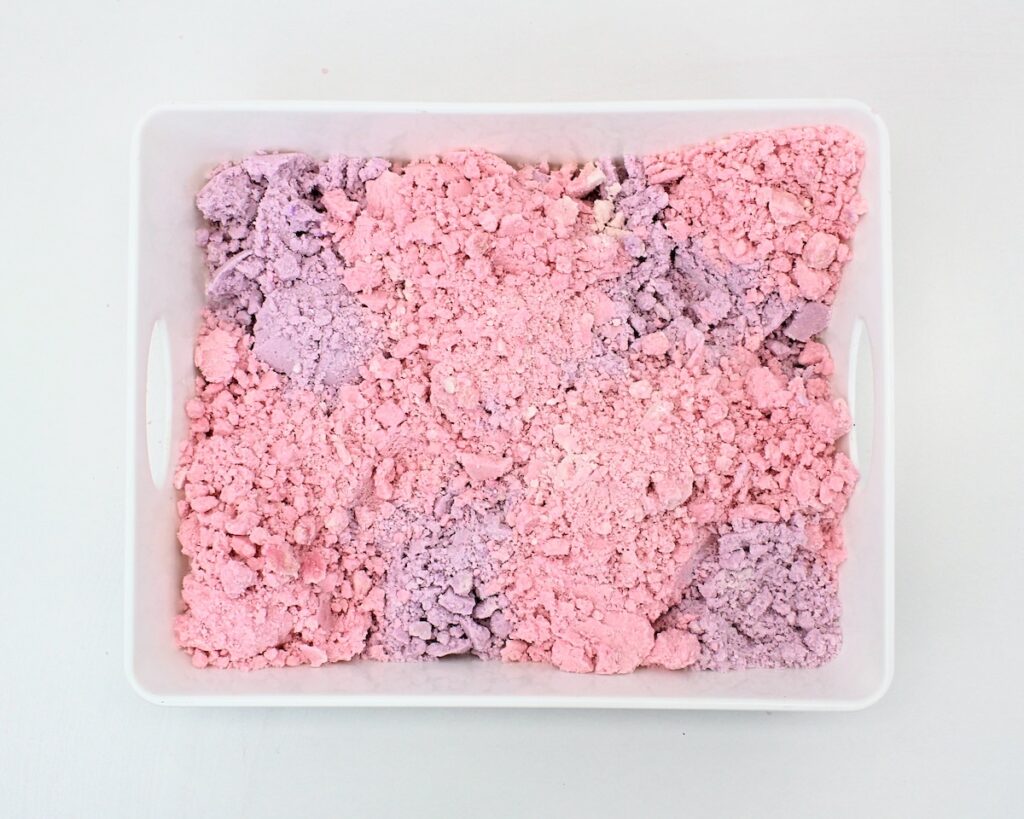
- Try mixing colors: I chose to make one batch of pink sand and one batch of purple sand because I thought it looked pretty, but if you would like to add a color mixing component to this activity, try using two colors that create a new shade when combined, like blue and yellow.
Grab our 12 best sensory recipes!

By submitting your email address, you are agreeing to the terms of our Privacy Policy. You can unsubscribe at any time.
How to Make Fizzy Moon Sand (Step-by-Step)

Step 1: Add candy coloring to oil (optional). If desired, use a toothpick or popsicle stick to stir several globs of candy coloring into the oil. (Skip this step to leave the moon sand white.)

Step 2: Combine flour and baking soda. Pour the flour and baking soda into a medium bowl, and stir them together with a spoon.

Step 3: Add oil. Pour the colored oil into the dry ingredients and stir with a spoon to combine.

Step 4: Fully mix ingredients. Once you’ve gotten as far as you can with the spoon, continue with your hands, stopping only once the color has fully spread throughout.
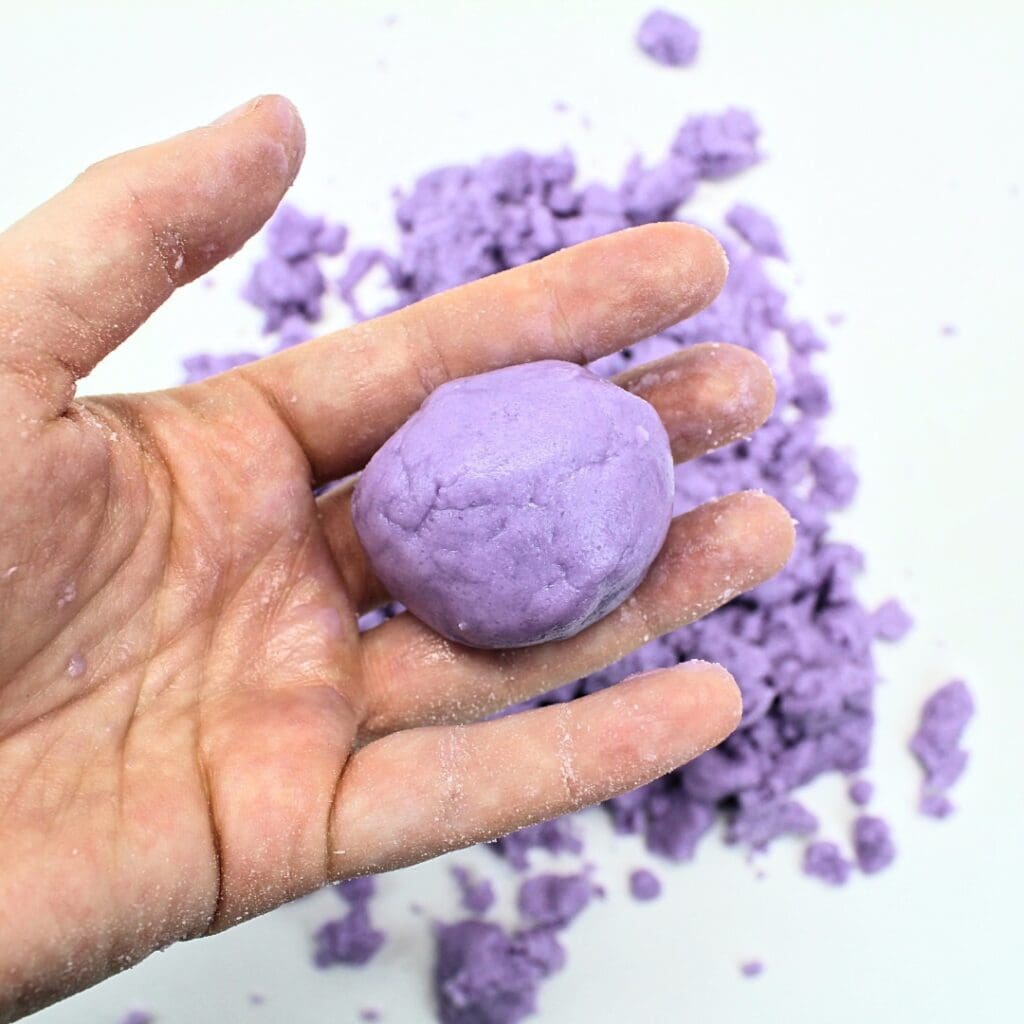
This sensory bin was like three activities in one! We started off playing with the moon sand itself, which was soft and moldable. We were able to squeeze it between our fingers to create a ball, then gently crumble it.
During this step, you can take out sandbox toys and make compact shapes like you would if you were playing with wet sand.

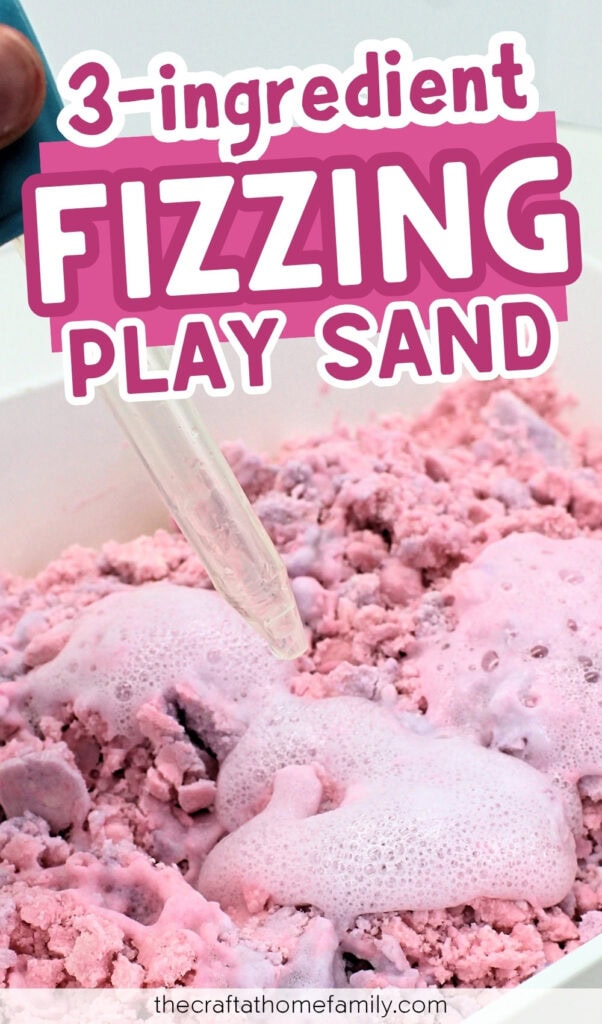
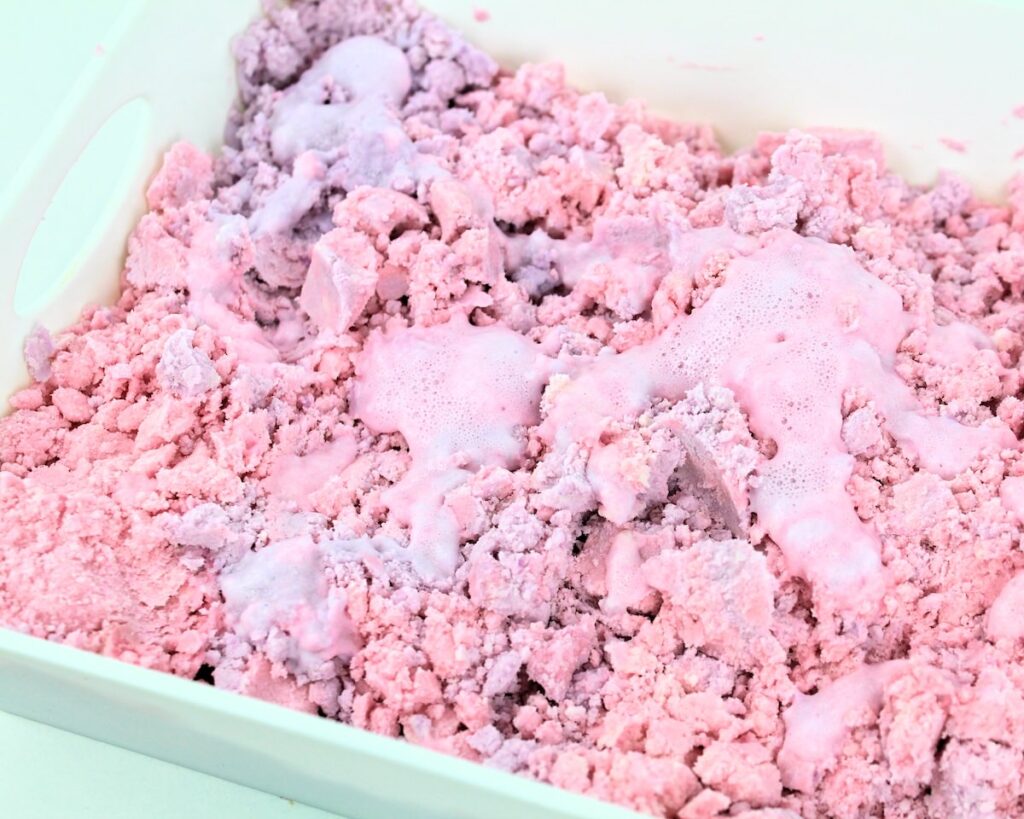
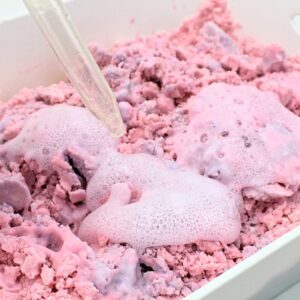
Once my kids had enough of playing with the sensory bin, I took out a bottle of white vinegar, and they had fun adding vinegar to the sand with a plastic dropper to make it fizz.

My kids couldn’t get enough of the fizzing reaction, and they kept adding more and more vinegar.
After a while and a whole bunch of vinegar, we were surprised to see the sand turn into a kind of stretchy dough that was similar to play dough. This allowed us to extend the play even further!

Helpful Tips
- Get the color right: If you have chosen to color the sand using candy coloring, you’ll need to use more coloring than you think, as the color looks much lighter once the dry ingredients have been added. You can also use a very small amount of powdered coloring, like powder paint, but be careful not to add too much or it will stain your child’s hands during play. (Leaving the moon sand white is also an option!)
- Choose your batch size: I made two different-colored batches using 1 cup of flour, 1 cup of baking soda and ¼ cup of oil, but you can make smaller or larger batches as long as you stick with a 4:4:1 ratio (four cups of flour and four cups of baking soda for every cup of oil).
- Hold off on the vinegar: Moon sand keeps a lot longer when it is kept dry. If you are planning on using it as a sensory bin filler, I recommend doing that first and only adding the vinegar when you are done. (You can also set a little sand aside and add the vinegar to that instead.)
Storage Instructions
Dry moon sand, with no vinegar added, can be stored in an airtight container or zip-top bag for up to 4 weeks. Once your child has added vinegar to create a fizzing effect, the wet moon sand should be discarded after play.
How to Limit the Mess
This activity can get a bit messy. Moon sand is powdery in its dry form, and once the vinegar is added, it will stick to your child’s hands if they continue to use it for sensory play (which my kids did). Here are a few tricks you can use to try to limit the mess:
- Keep it contained: Keep the moon sand inside a large bin during play to prevent it from getting all over the place.
- Cover your surface: Try placing a plastic tablecloth, or even some parchment paper, underneath your sensory bin to make any sand that falls out of the bin easier to clean up.
- Keep water on hand: Once your child starts adding vinegar to the sand, make sure you have some water readily available in case they decide to continue playing with the wet sand and you need to quickly wash their hands.
- Take it outside: If the weather is warm enough and there isn’t too much wind, try taking this activity outdoors.
- Use a pool or bathtub: Instead of placing the sensory bin on a table, try doing this activity in a bathtub or in a pop-up kiddy pool on the floor. (You can do this for other messy activities, too!)
Frequently Asked Questions
Have a question that wasn’t answered here? Let me know in the comments and I’ll be happy to help!
More Taste-Safe Sand Recipes


If you have tried this Fizzy Moon Sand or any other project on my website, please let me know how it went in the comments below. I can’t wait to hear from you!
Fizzy Moon Sand
Materials
- 1 cup all-purpose flour
- 1 cup baking soda
- oil-based candy coloring optional, as needed
- ¼ cup oil (e.g. vegetable oil, melted coconut oil, mineral oil)
- vinegar as needed
- 1 plastic dropper
Instructions
- If desired, use a toothpick or popsicle stick to stir several globs of candy coloring into the oil. (To make white moon sand, skip this step.)
- Pour the flour and baking soda into a medium bowl, and stir them together with a spoon.
- Pour the colored oil into the dry ingredients and stir with a spoon to combine. Once you’ve gotten as far as you can with the spoon, continue with your hands, stopping only once the color has fully spread throughout. Play with the sand by molding it with your hands or adding vinegar with a dropper to make it fizz.
Video
Notes
- Use enough coloring: The color will lighten significantly once the dry ingredients have been mixed in, so use more coloring than you think you need.
- Follow a 4:4:1 ratio: Make smaller or larger batches by sticking to a 4:4:1 ratio of flour to baking soda to oil.
- Make it last for longer: To make it last as long as possible, start by playing with the dry sand and only add vinegar once you’re done. You can also set aside some sand and only add the vinegar to that portion while keeping the remainder dry.
Grab our 12 best sensory recipes!
By submitting your email address, you are agreeing to the terms of our Privacy Policy. You can unsubscribe at any time.
Only your name will be made public. Please note that by submitting your comment, you are agreeing to the terms of our Privacy Policy.