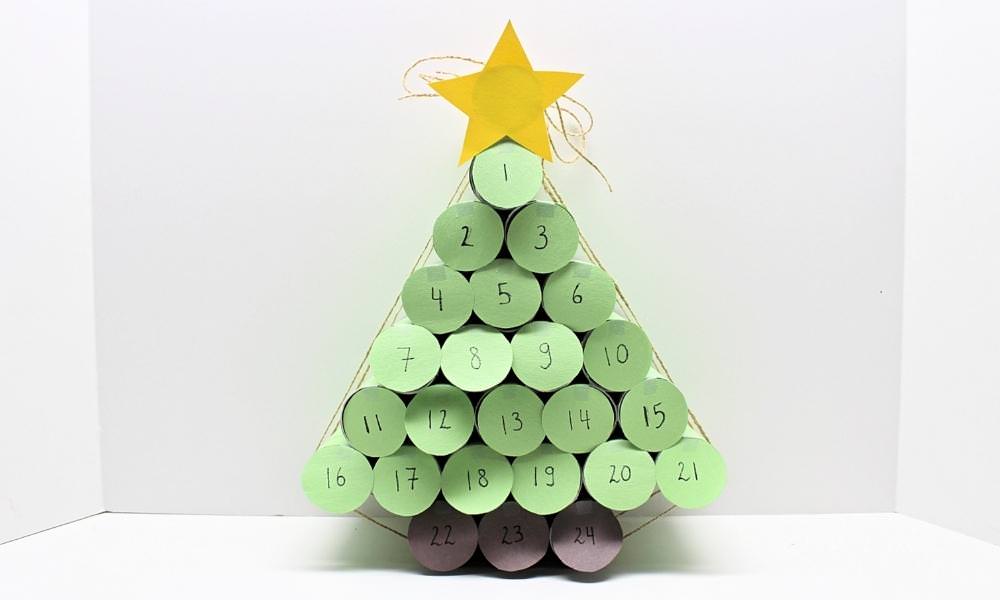
Do you have stacks of empty toilet paper rolls piling up in your craft cupboard? Turn them into an awesome homemade advent calendar shaped like a Christmas tree! This easy DIY countdown calendar is a great way to give your recyclables a new life, and its compartments are big enough to hold treats for three or four children.
JUMP TO…
Do anyone else’s kids ask them not to throw out recyclables because they want to use them to make crafts? My five-year-old started doing this a while back and I’m not sure whether to feel amused or annoyed by it.
It can get a little ridiculous at times because if she had her way, I would never be allowed to throw anything into the recycling bin at all—not chewed-up lollipop sticks, or empty juice boxes, or even tiny scraps of construction paper leftover from her latest project.
I’ll admit that I sometimes recycle things in secret after she’s gone to bed.
But mostly I find it cute, because I love that she’s so creative and I love that she’s trying to find ways to re-use objects that would otherwise get tossed out.
We don’t usually buy advent calendars because with four young kids at home (some of whom are lactose-intolerant and can’t eat most types of chocolate without needing a lactase pill), it seems a little wasteful.
That’s not to say that idea of using an advent calendar doesn’t appeal to us, but we’d be much happier with something reusable that we can stock with fillers and treats of our choosing.
Unfortunately, while the ones we’ve seen at the store all take up a lot of room, their compartments are surprisingly small. Which means we’d either have to alternate which child gets a treat each day (which isn’t ideal) or buy one for each child (which we don’t have the room for).
Making our own advent calendar seemed like a much better option, so this year I finally decided to do it! And since toilet paper rolls are pretty roomy, this DIY countdown calendar will be the perfect size for our four little ones.
Fair warning—this craft isn’t exactly difficult, but because it involves so many toilet paper rolls, it takes a little time to make. Make sure that when you sit down to make it, you’re not pressed for time. This isn’t one of those projects that you can complete in 15 minutes or less!
(P.S. Looking for a printable advent calendar instead? Check out this Christmas Coloring Countdown or this Santa’s Beard Countdown Calendar!)

Get hundreds of pages of activities!
Get access to all our paid printables, as well as monthly activity planners, for just $5/month. (New printables added twice per month!)
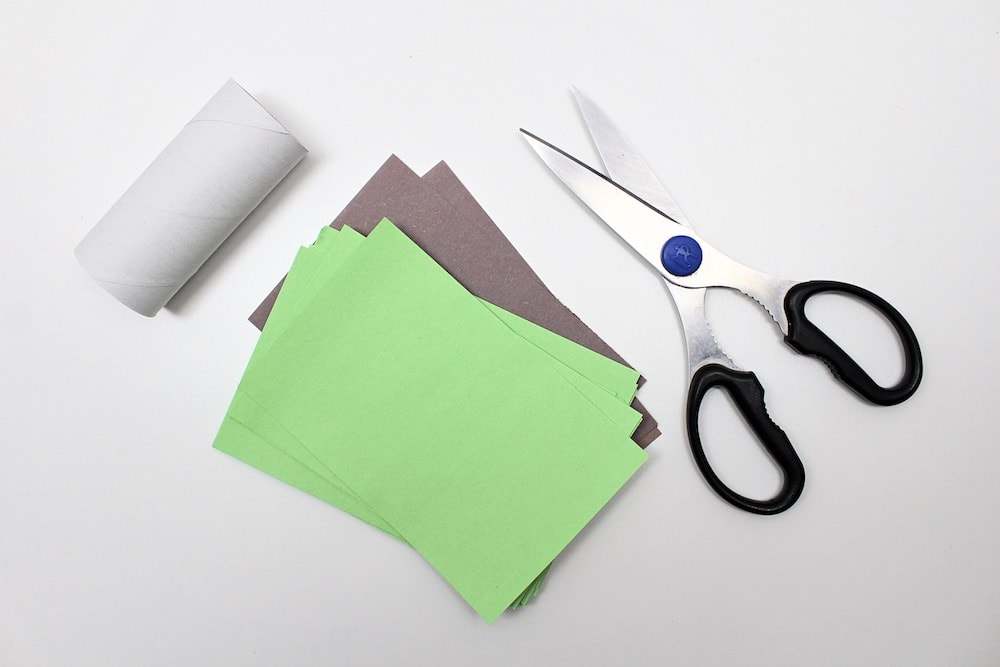
Required Materials
Here’s what you’ll need to make a homemade toilet roll advent calendar for your kids:

- 25 toilet paper rolls
- Construction paper in green, brown and yellow
- Pencil
- Scissors
- Ruler (optional)
- Marker or pen
- Adhesive tape
- Liquid school glue
- Twine or ribbon
- Yellow cardstock
Note: You don’t need a paper trimmer to do this project and that’s why it’s not listed above, but if you happen to have one at home, it will really speed things up. I have one and I’m constantly finding new excuses to use it!
How to Make a DIY Advent Calendar with Toilet Paper Rolls (Step-by-Step)
1. Cut Construction Paper
Start by cutting the construction paper into rectangular pieces approximately the length and circumference of a roll of toilet paper. I measured ours with a ruler and they turned out to be about 3 ⅞ inches long (as pictured below).
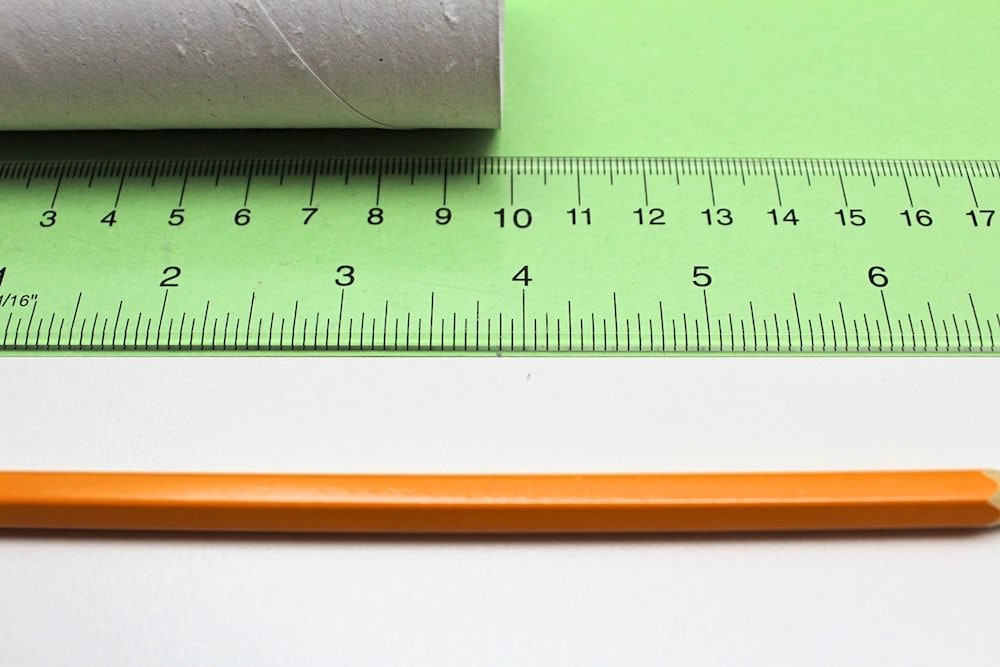
This meant that I was able to fit four rectangles on each sheet of construction paper. Each rectangle was about 3 ⅞ inches wide and 6 inches long.
While you’re doing this, bear in mind that you’ll need:
- 21 rectangles of green construction paper
- 3 rectangles of brown construction paper
- 1 rectangle of yellow construction paper
This means that you’ll need 6 sheets of green paper, 1 sheet of brown paper and 1 sheet of yellow paper (not including the ones you’ll need for step 4).
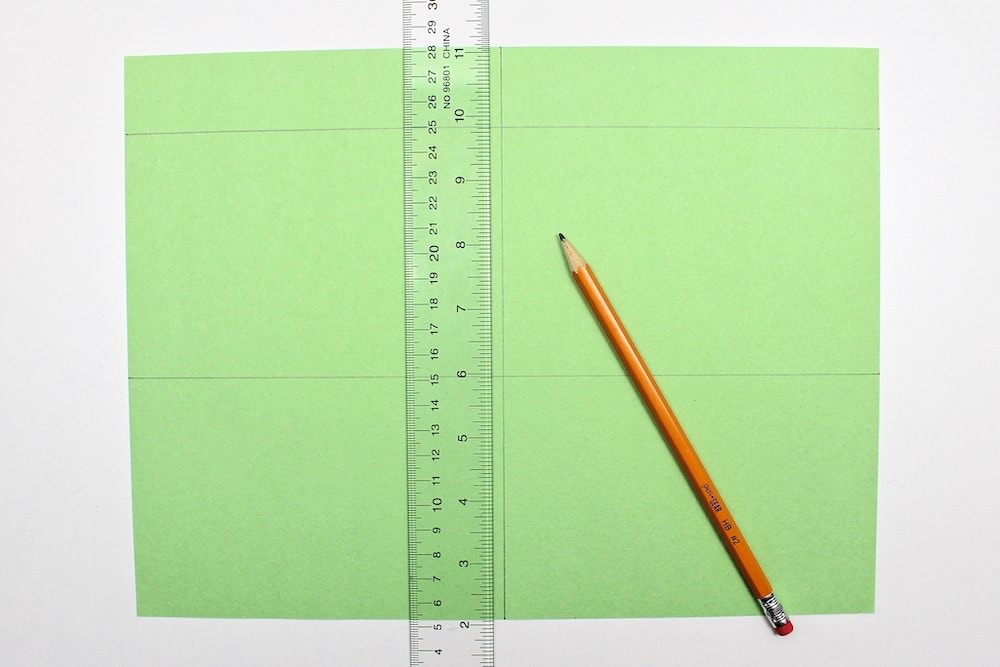
In order to cut the construction paper, you can use a ruler, a pair of scissors, a paper trimmer or whichever other method you prefer. I chose to use a paper trimmer because it’s so much faster.
Tweak #1: If you’d rather let your child paint the cardboard rolls, skip steps 1 and 2. Instead, have your child paint 21 green rolls, 3 brown ones and 1 yellow one, and let the paint dry fully before you move on to step 3.
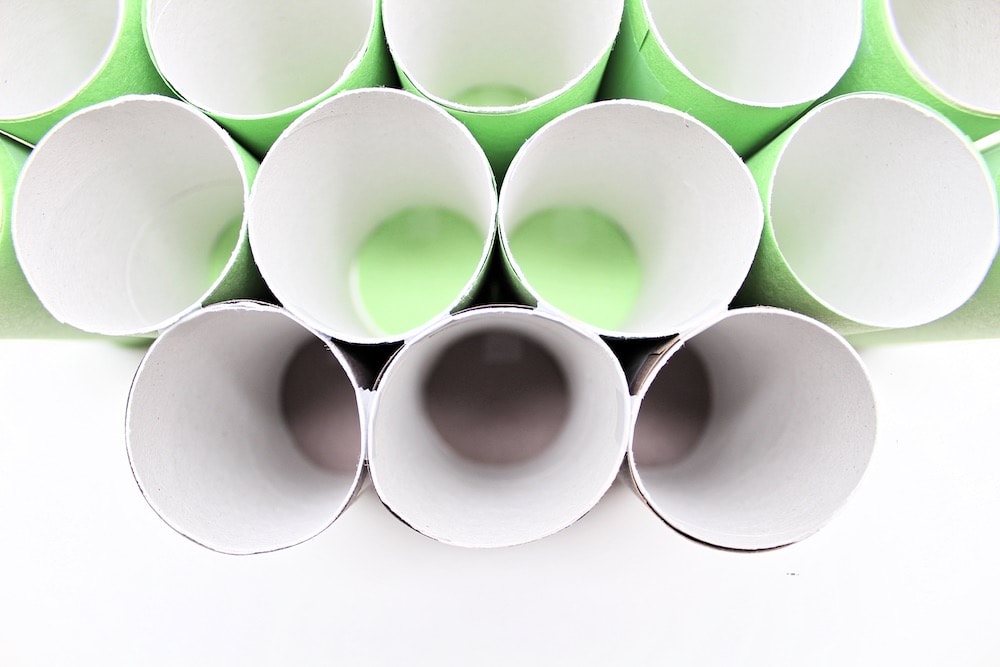
2. Cover Toilet Paper Rolls
Once you have all the required construction paper rectangles, use adhesive tape to attach them to the appropriate number of cardboard tubes.

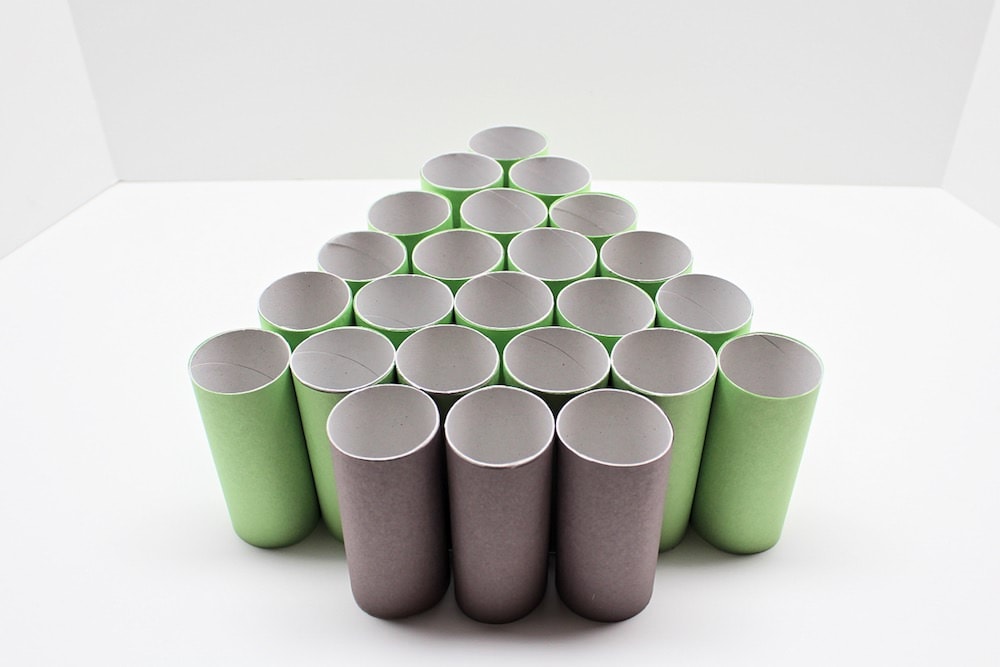
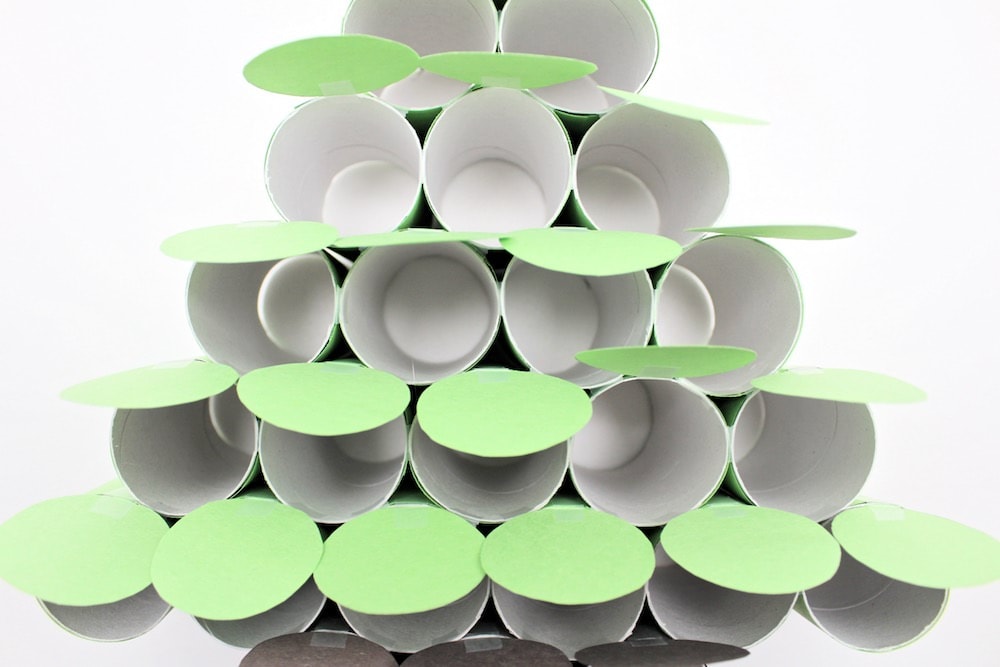
3. Position Toilet Paper Rolls
Use 24 toilet paper rolls (21 green and 3 brown) to create a Christmas tree. Start with one green roll at the top, adding one green roll per row until you reach six. Then, use a row of three brown rolls to create the base of the tree.
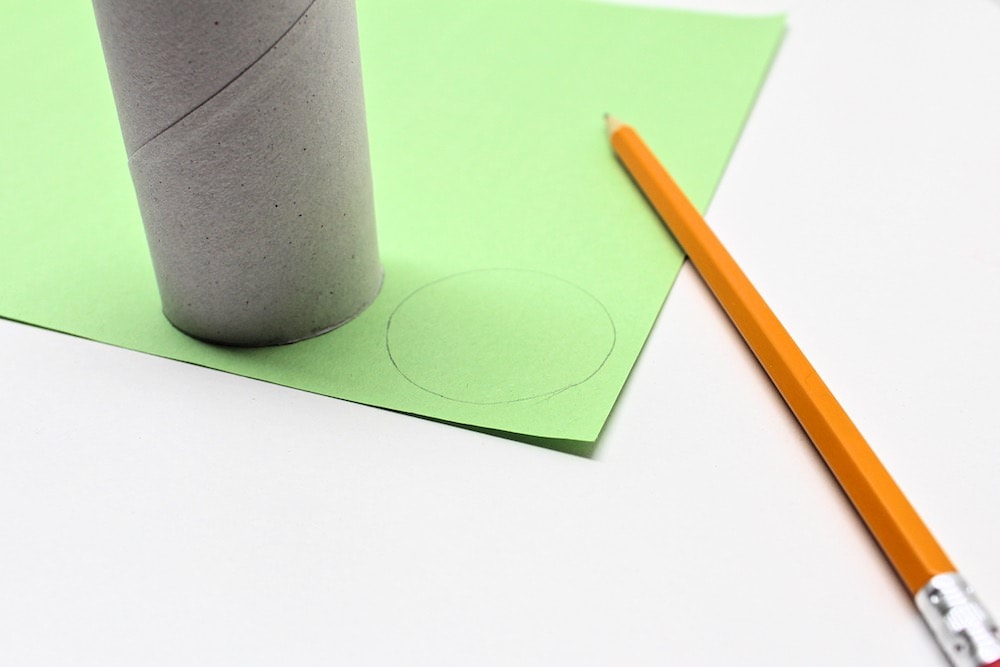
4. Create Construction Paper Panels
Grab the remaining toilet paper roll and use it to trace 21 circles on a sheet of green construction paper and 3 circles on a sheet of brown construction paper.
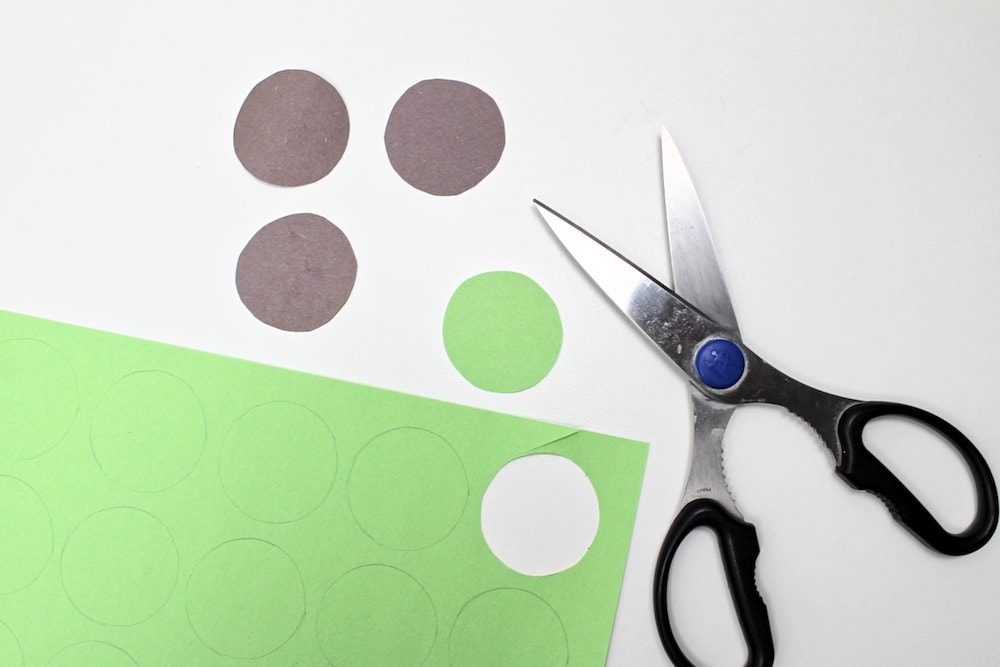
Then, use scissors to cut out all 24 circles. You’ll be using them to create little “doors” that can be opened each day to retrieve the treats inside the calendar.
Tweak #2: If you’d rather cover the ends of the toilet paper rolls with tissue paper and have your child punch a hole in it each day, skip steps 4 through 7 and instead, cut small squares of green and brown tissue paper and use school glue to secure them to the end of the toilet paper rolls.
5. Write Numbers
Use a marker or pen to write numbers 1 to 24 on the little round panels of construction paper.
If you want number 24 to be at the top of the tree, make sure you write numbers 1-3 on the three circles of brown construction paper.
If you’d rather start with number 1 at the top of the tree, write the first 21 numbers on the circles of green construction paper and save the remaining three numbers for the brown ones.
I recommend using a dark-colored marker for this so that the numbers are visible even on the brown paper. If you’re feeling whimsical, you can even use metallic paint pens or markers.
Note: You’ll notice that the pictures below don’t show the numbers on the panels of construction paper. This is because I was so excited to do this project that I completely forgot to write down the numbers before moving on to the next step, and ended up having to write them once the calendar was already assembled.
Don’t do like me—make your life easier and add the numbers before attaching the circles to the calendar.
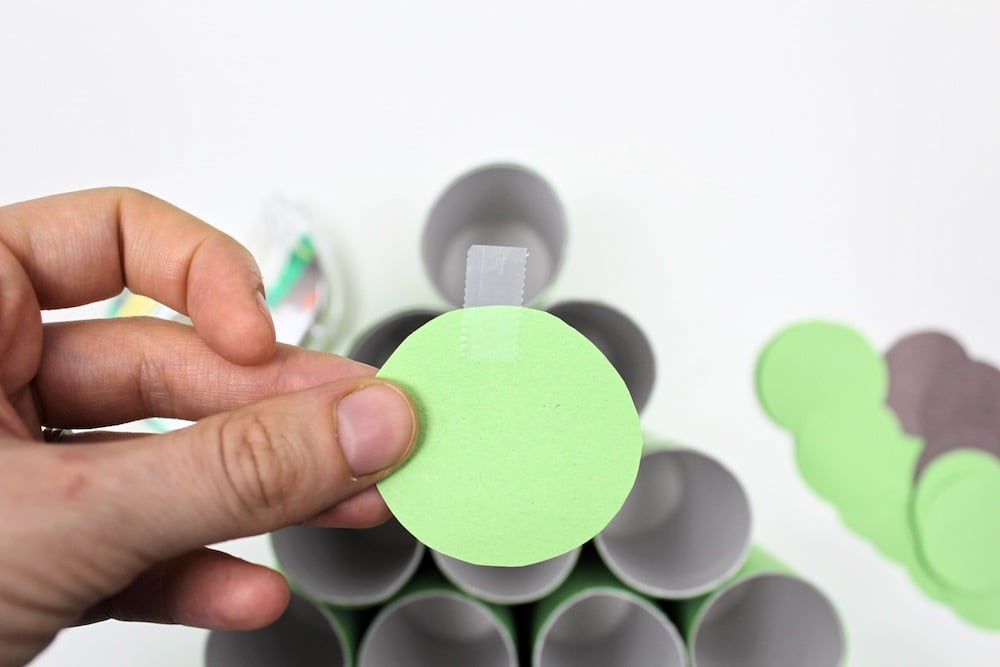
6. Attach Construction Paper Pannels
Use thin strips of adhesive tape to attach each of the 24 construction paper circles to an appropriately-colored toilet roll.
I found the adhesive tape a little too wide, so instead of using the “normal” way, I simply cut it into really thin strips and turned it 90 degrees.
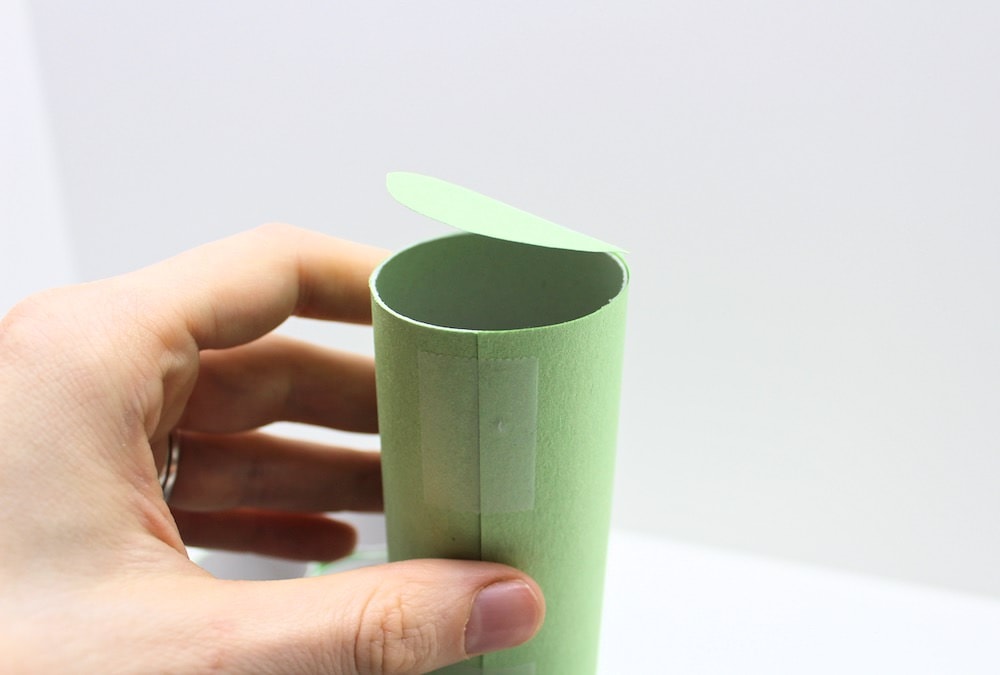
7. Fold Construction Paper Pannels
At this point, your circular pannels of construction paper may be sticking out all over the place instead of neatly covering the ends of the toilet paper rolls.
If that’s the case, simply bend them inward, press down a bit and gently bend them back out. (If you’re having trouble getting them out, use a straw to gently push them up through the back.)
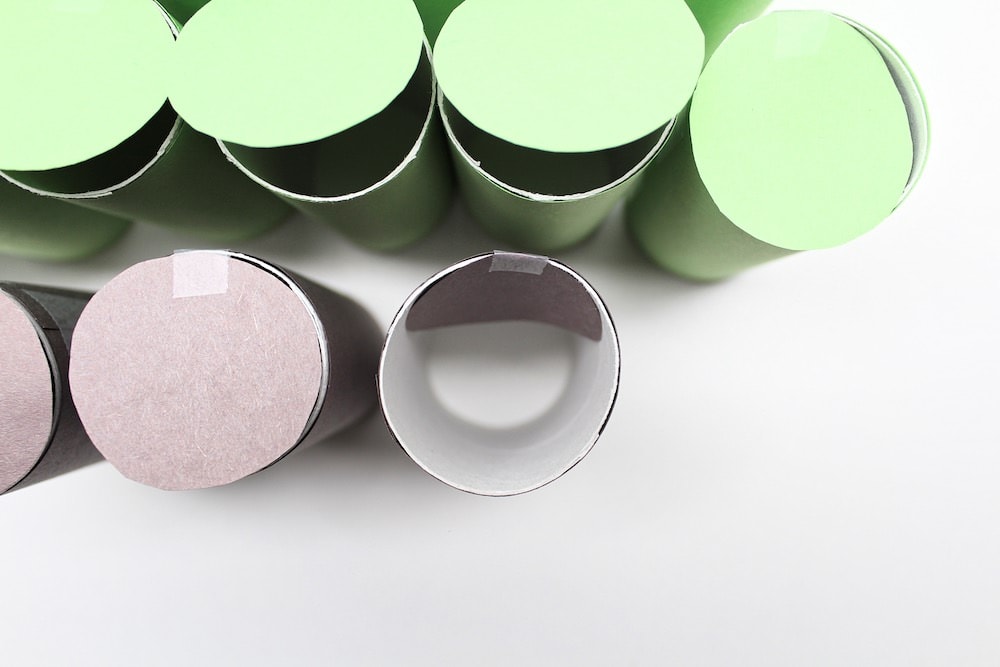
This should fix the issue and help the construction paper circles rest neatly on top of the rolls instead of sticking out in every direction.
8. Assemble Christmas Tree
It’s time to make a Christmas tree out of toilet paper rolls!
To do this, use thin strips of adhesive tape to attach the cardboard tubes together at every point where they come into contact. (The paper rolls in the middle may have as many as six contact points each.)
When you’re done with the front, flip it over and do the same thing on the back to make sure it won’t fall apart.
Tweak #3: If you want the advent calendar to be reusable, or if you simply want to make it more durable because you’re planning on putting heavy items inside, skip the adhesive tape and instead, use lines of hot glue to assemble your tree.
9. Tie Up Calendar
Place your Christmas tree upright and pass some twine or ribbon underneath. Then, use it to surround the whole structure and twist it at the top to hold it together, but don’t make a knot (this will come later).
10. Add Star
Use your remaining roll of toilet paper to trace a circle on yellow cardstock. Then, use a pencil to draw a star around the circle and cut it out with scissors. (You can use an eraser to erase the pencil lines.)

If you haven’t done so yet, cover the roll of toilet paper roll with yellow construction paper. Once it’s covered, use liquid school glue to attach the star to one end of it.
11. Tie Bow
Once the glue is dry, place the last roll of toilet paper on top of the twine or ribbon at the top of the tree.
Use the twine or ribbon to secure it in place and tie a bow at the top. (If you’re worried it won’t stay in place, use a bit of adhesive tape to attach the yellow and top green rolls at the back.)

If you’ll only be using the advent calendar once, feel free to write the date on the flat surface of the star, but this step is totally optional. I didn’t do it because I’m planning on reusing ours.
Once your calendar is ready, wait until December comes around and pop the treats or other fillers in through the back of the advent calendar. I can’t wait to use ours for the kids this year!

And if ever you’re a little last-minute and you didn’t start thinking about advent calendars until after the start of December, no problem! Just remove some of the bottom rows and make a smaller Christmas tree so you can start counting partway through the month.
Suggested Tweaks
Depending on whether you want your cardboard roll advent calendar to be reusable or not, there are a few different tweaks you can try that will make it more durable.
You’ll find an overview of these tweaks below, but I’ve included all the details in the next section, so make sure you read the instructions carefully and choose the option that works best for you.
Tweak #1: Paint the Toilet Paper Rolls
In the tutorial below, I used construction paper to cover the toilet paper rolls because it gave them a nice, clean look.
However, if you’re crafting with younger kids, you may want to skip the construction paper and let them paint the rolls instead!
Like this tweak? Add washable kids’ paint and paintbrushes to the list of supplies.
Tweak #2: Cover Ends with Tissue Paper
If you read the instructions below, you’ll see that I covered the ends of the toilet paper rolls with a flap of construction paper that can be opened and closed. I did this so we could reuse our advent calendar next year (assuming it stays in good condition).
But if you’re not planning on reusing your DIY advent calendar and you want to add a bit of extra fun for your child, consider glueing some tissue paper over the ends of the toilet paper rolls instead and having your little one punch a hole in it each day to get their treat!
Like this tweak? Add green and brown tissue paper to the list of supplies.
Tweak #3: Assemble Using Hot Glue
If you want your homemade advent calendar to be reusable and extra durable, use a hot glue gun to attach the rolls of toilet paper instead of using adhesive tape.
This will ensure that the calendar doesn’t fall apart before next Christmas comes along. But make sure to do it yourself and keep your little ones away from the glue gun while it’s still hot!
Like this tweak? Add a hot glue gun to the list of supplies.
Related Christmas Crafts
Looking for more DIY Christmas craft ideas? Check out these articles:
- Crumpled Tissue Paper Christmas Art (with Free Template!)
- Easy Feather Ornaments
- DIY Santa’s Clothesline Garland (with Free Template!)
Only your name will be made public. Please note that by submitting your comment, you are agreeing to the terms of our Privacy Policy.