
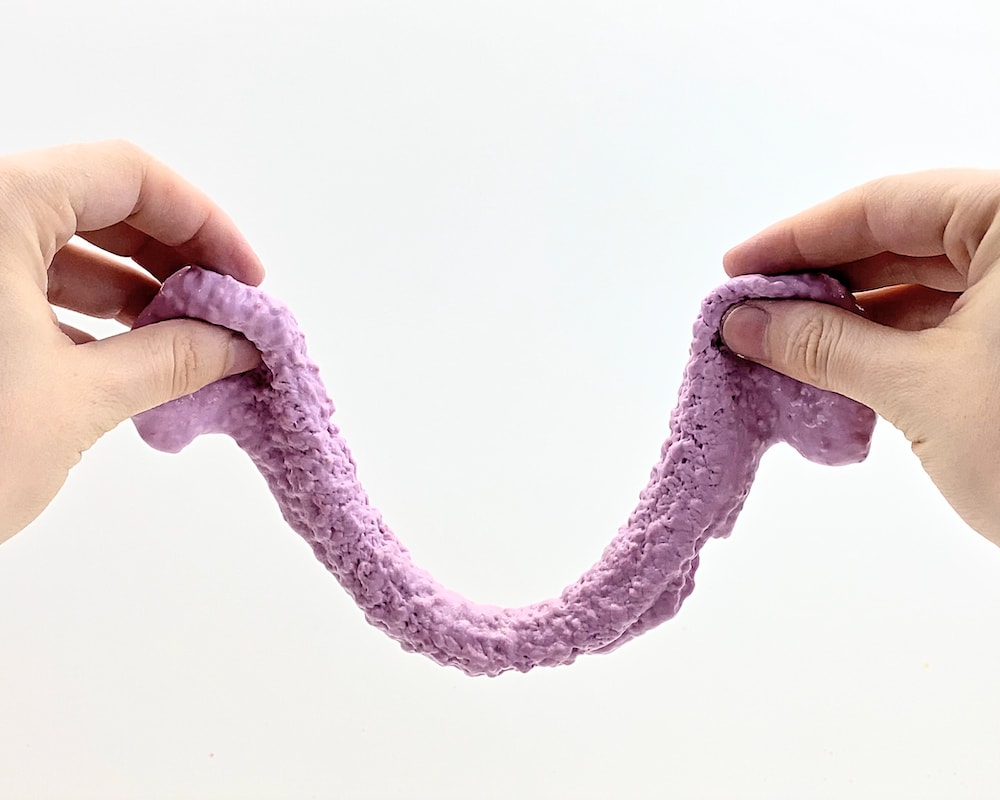
Looking for an easy slime recipe to allow your toddler to join in on the fun? This taste-safe chia seed slime calls for just 3 edible ingredients! Homemade chia slime provides a fabulous sensory experience for kids, and it couldn’t be simpler to make.
JUMP TO…
Slime wasn’t around when I was a child, but I’m definitely glad that I decided to give it a try. I recently made three batches of slime for my daughter’s seventh birthday and it was a HUGE hit with all of her friends!
Because all the kids she invited were six to seven years old, the recipes I used for the birthday party were more “traditional” glue-based ones. But just because your kids are too young for glue-based slime doesn’t mean they shouldn’t get to join in on the fun!
If you have a baby or toddler at home, there are lots of baby-safe slime recipes you can use… including this DIY chia slime recipe.
While it’s not meant to be eaten as a snack, this taste-safe slime recipe is made from 3 edible ingredients, making it perfect for kids who still like to put everything in their mouths. Even our older kids had lots of fun playing with it!
(P.S. Looking for more taste-safe sensory activities? Check out this list of 25 Taste-Safe Sensory Play Ideas for kids!)

Get hundreds of pages of activities!
Get access to all our paid printables, as well as monthly activity planners, for just $5/month. (New printables added twice per month!)
Required Ingredients
Here’s what you’ll need to whip up a batch of taste-safe chia slime at home:
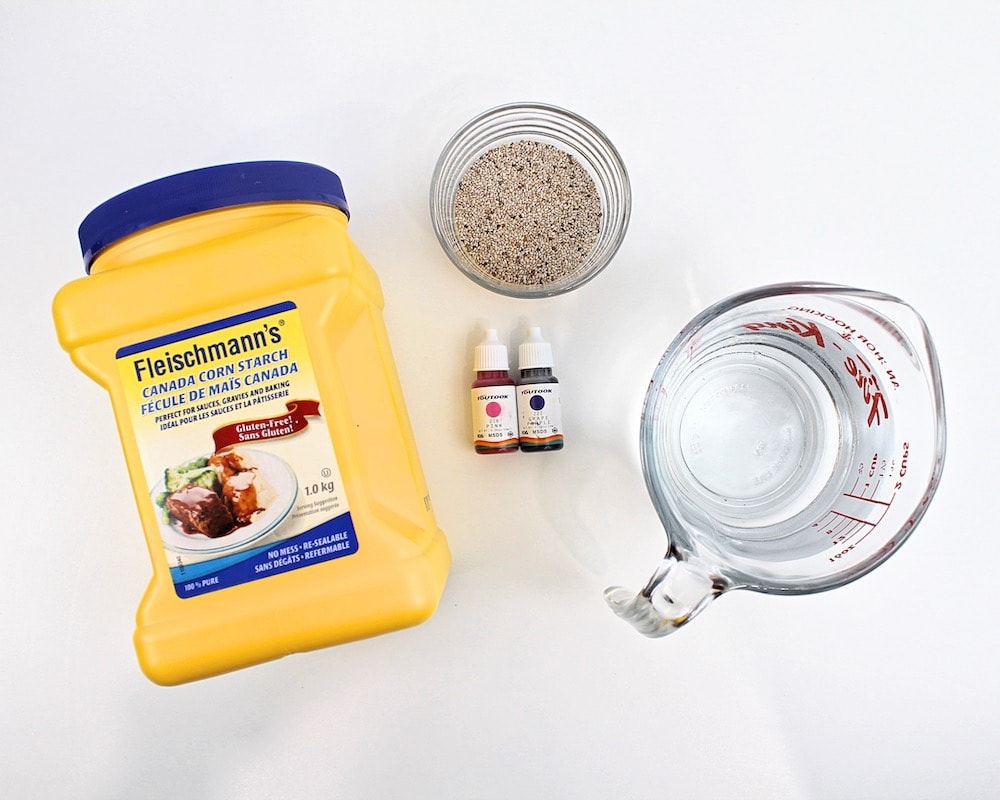
- ¼ cup chia seeds (white or regular)
- 1 ¾ cups water
- Food coloring
- 3-3 ½ cups cornstarch (you may know it as “corn flour” if you live in the U.K. or Australia)
Note: This recipe will work with both regular chia seeds and white chia seeds, but I chose to use white chia seeds because I wanted the color of the slime to be nice and vibrant, and the white chia seeds blended in nicely with the cornstarch.
Grab our 12 best sensory recipes!

By submitting your email address, you are agreeing to the terms of our Privacy Policy. You can unsubscribe at any time.
How to Make Edible Chia Seed Slime for Kids (Step-by-Step)
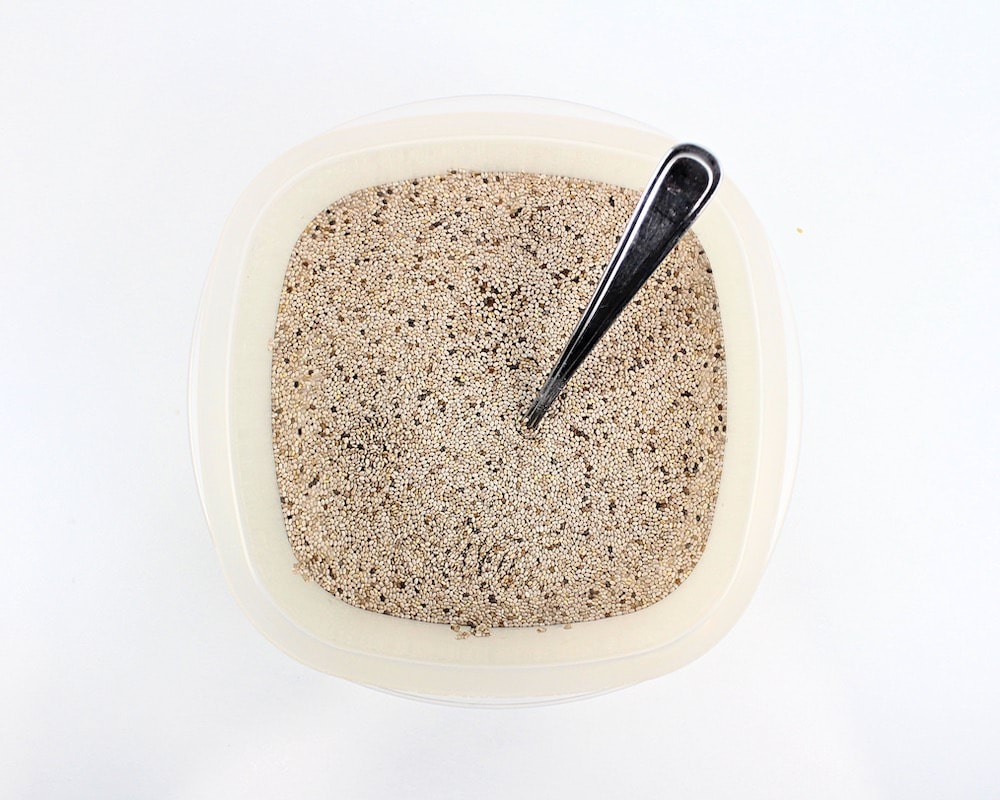
1. Combine Chia Seeds & Water
Start by measuring out ¼ cup of chia seeds and pouring them into a medium-sized container.
The chia seeds will need to soak up water for several hours, so I recommend using a container with a lid that you can place in your refrigerator. To avoid having to switch containers, I also recommend using a larger container that will be able to accommodate the added cornstarch once the chia seeds are done soaking.
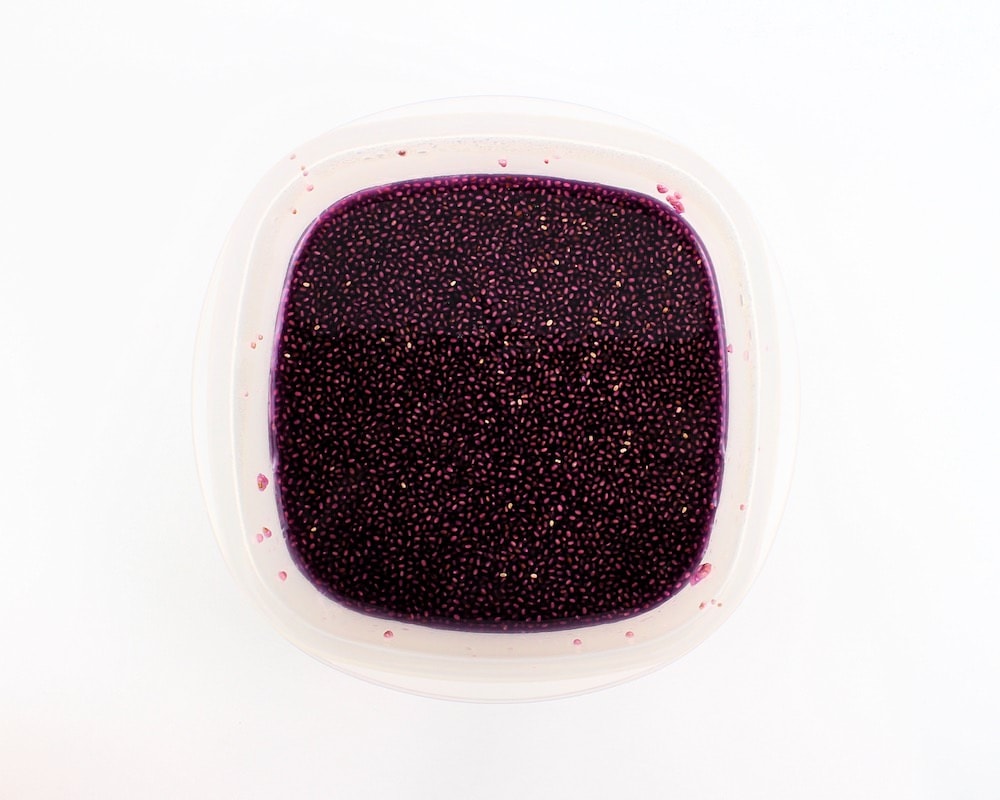
When you have measured out the chia seeds, add 1 ¾ cups of water and stir with a spoon until combined. The chia seeds will likely float up to the top.
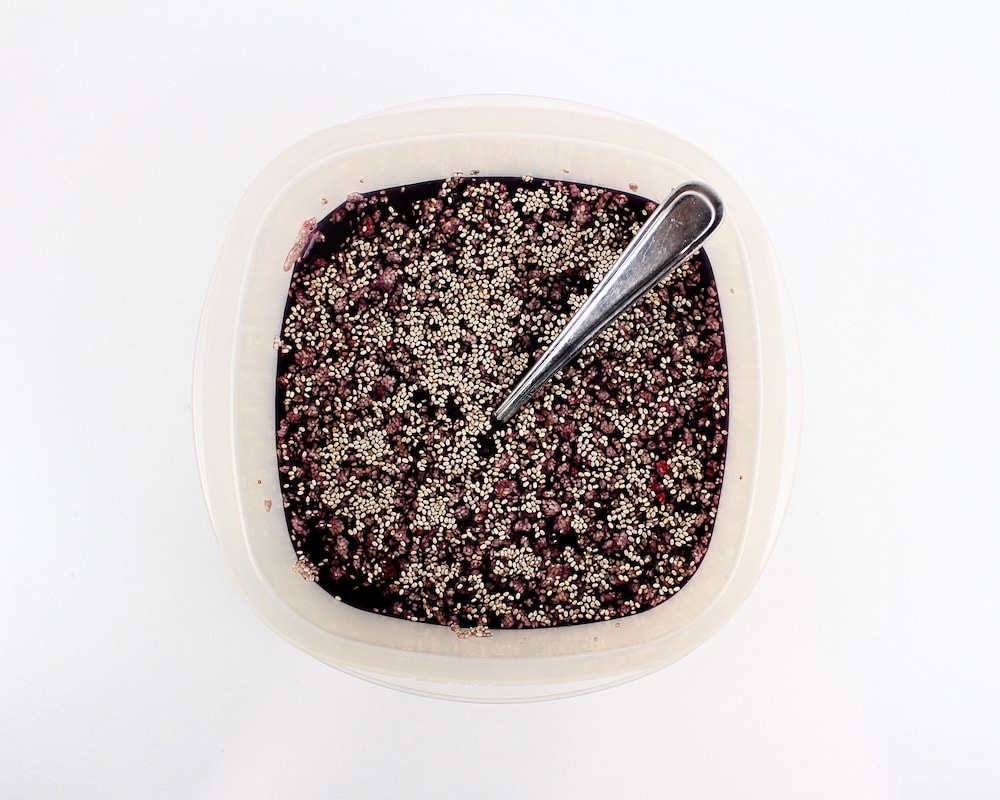
2. Add Food Coloring
Add some food coloring and stir with a spoon until the color is visible throughout.
You’ll be adding lots of cornstarch during later steps, so if you want the color to be nice and vibrant, you’ll need to use quite a lot. I used about 8-10 drops of pink and 8-10 drops of purple, but I could have achieved an even brighter color if I had added more.
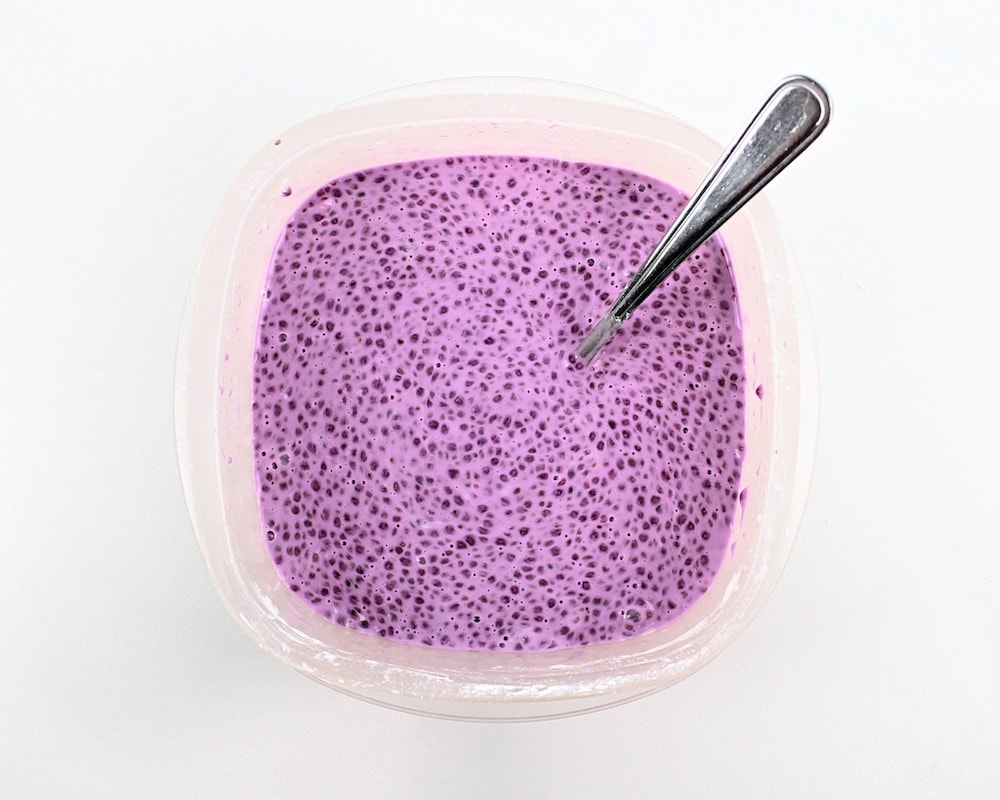
3. Let Soak
Close the container and place it in the fridge for a few hours (ideally overnight) to allow the chia seeds to fully absorb the water. This will cause them to “gel” and develop a slimy texture that is perfect for sensory play!
4. Add Cornstarch
When the chia seeds are done soaking (we left ours in the fridge overnight to give allow them to get as slimy as possible), it’s time to add the cornstarch.
You’ll be adding about 3 to 3 ½ cups in total, but to make things easier, I did this in small batches. I recommend that you do the same.
Start by adding 1 cup of cornstarch and stirring it in with a spoon. The color will get a lot lighter, so feel free to add more food coloring if you want your chia slime to look really vibrant—it should still be fairly easy to incorporate at this stage, but it will be a lot more difficult to add in later on.
When the first cup of cornstarch has been fully incorporated, add a second cup of cornstarch and stir that in as well. You should be able to keep using a spoon, but it will be more difficult. (Warning: This step can get a little messy, so make sure you’re prepared for that.)
The next cup of cornstarch should be added in two ½ cup increments. You may need to start mixing it in with your hands, as the thicker the mixture gets, the more difficult it will be to stir with a spoon.
5. Adjust Slime Consistency
Once you have added 3 cups of cornstarch, evaluate the texture before deciding if you’d like to add more.
The texture will be pretty goopy at this point and similar to oobleck—which may be what your child prefers. If that’s the case, feel free to stop adding cornstarch and turn this activity into an edible sludge sensory bin.
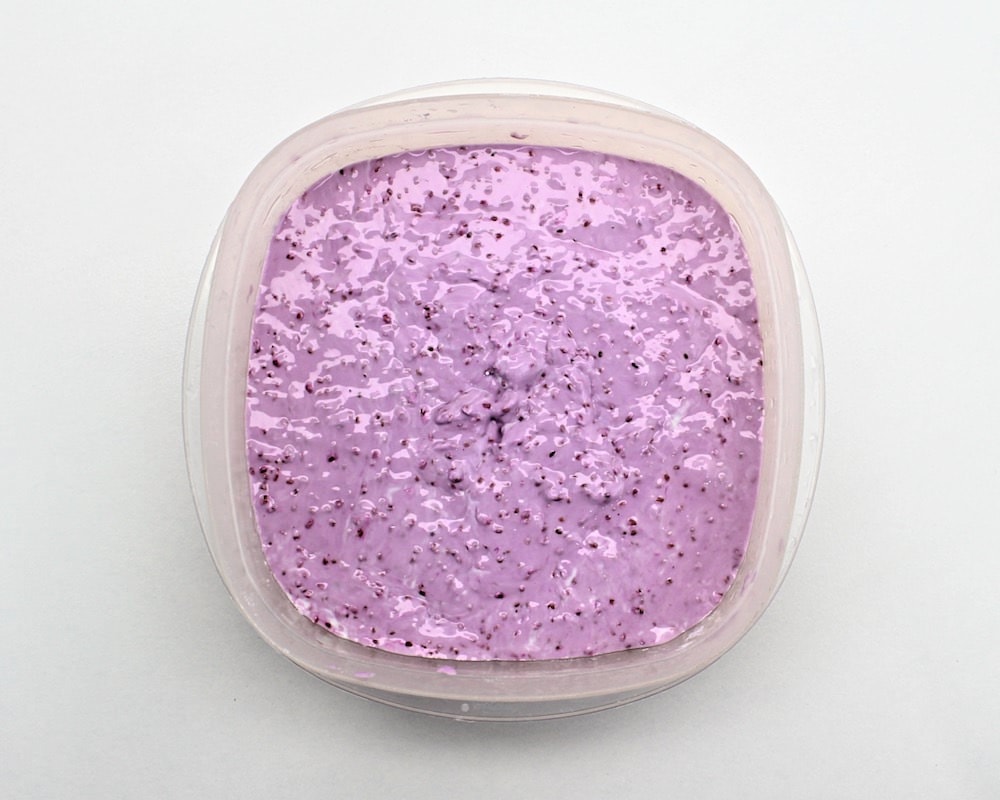
If you’d prefer a more “solid” consistency that doesn’t stick to your hands as much and behaves more like traditional slime, you can slowly add more cornstarch, a couple tablespoons at a time, until you achieve the right texture. (You can add a bit more water if you overdo it.)
You’ll definitely need to knead it in with your hands as it will be too thick to stir with a spoon.
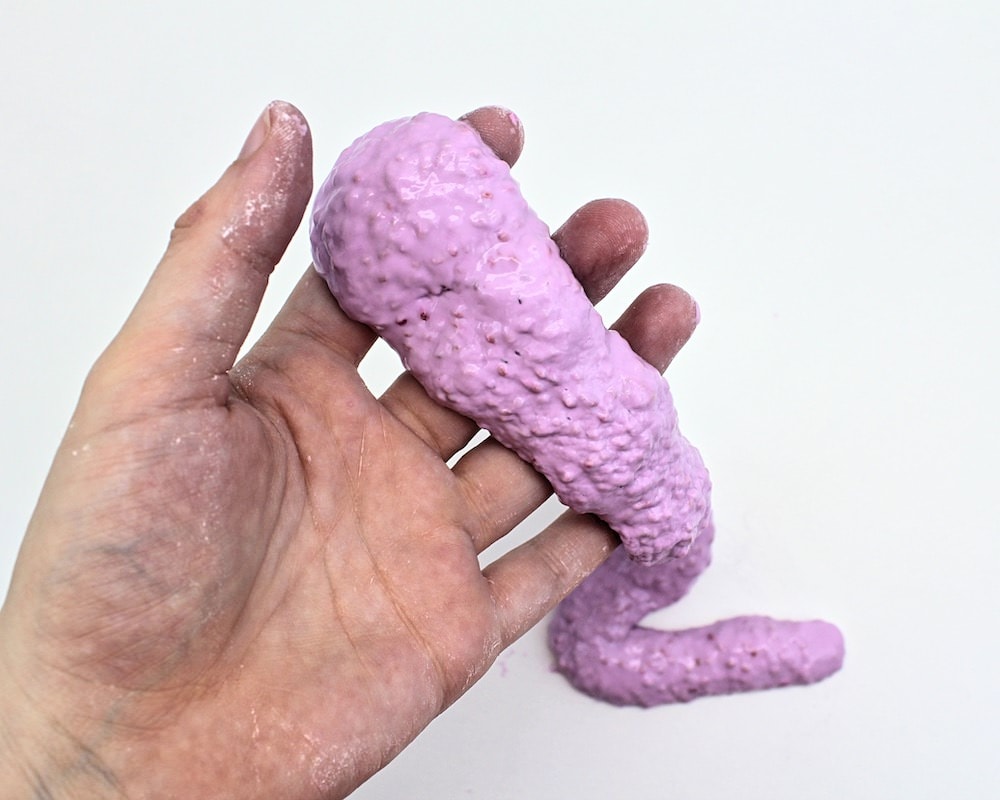
Once you’re happy with the texture, it’s time to play! My almost-four-year-old, my five-year-old and my seven-year-old all had a blast with this chia seed sensory slime.
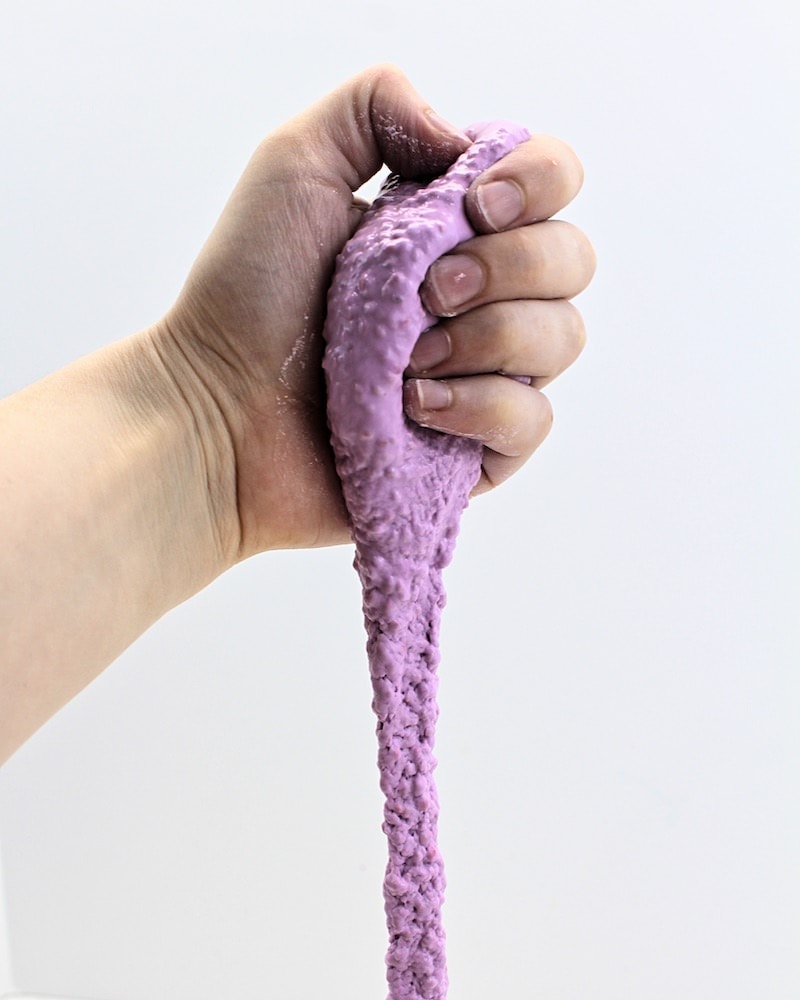
My seven-year-old seemed to prefer a “wetter” texture and enjoyed dunking her whole hand in the sensory bin and watching as the slime oozed down when she lifted it up.
My almost-four-year-old liked pouring the slime into different bowls and containers, and using it to make “pancakes” on little plastic plates.
My five-year-old used little spoons to pick it up and watch it drip back down into the sensory bin.
This activity definitely qualified as messy play, but it kept all of them entertained for quite a while, so I consider it a success. We’ll definitely be making it again!
How to Store Homemade Chia Seed Slime
How long does chia seed slime last? As it turns out, you can actually get several uses out of it if you play your cards right!
When we were done playing for the day, I poured the remaining slime back into the container and left it in the fridge overnight. The next afternoon, when I took it back out, it had solidified and no longer had a “slime-like” consistency… but after I added some water and kneaded it in with my hands, we were able to play with it again!
The process of kneading in the water was a little tedious, and I kept having to break off pieces of the slime in order to allow the water to seep in. To be honest, I wasn’t entirely sure it would work. But it turned out to be totally worth it, because once it was done, the slime had the exact right consistency.
This means that as long as you keep it clean, store it in the fridge and rehydrate it before play, you should be able to reuse this one multiple times instead of throwing it out after one use!

Edible Chia Seed Slime
Ingredients
- ¼ cup chia seeds white or regular
- 1 ¾ cups water
- food coloring as needed
- 3 – 3 ½ cups cornstarch
Instructions
- Pour chia seeds into a bowl or container.
- Add water and mix with a spoon.
- Add 10-20 drops of food coloring and mix some more, until the color is visible throughout.
- Cover the bowl or container and place it in the fridge. Let the chia seeds soak for 3-4 hours or overnight, until they develop a thick, slimy texture.
- Add 1 cup of cornstarch and stir with a spoon until fully incorporated. Repeat with a second cup of cornstarch. Add an additional ½ cup of cornstarch and knead the slime with your hands until fully combined, then repeat with another ½ cup of cornstarch.
- If you are satisfied with the texture of the slime, give it to your child to play with. If not, add a couple more tablespoons of cornstarch at a time, kneading with your hands, until you are happy with the texture. Use immediately.
Notes
Related Taste-Safe Slime Recipes
Are you looking for more safe slime recipes that are suitable for babies and toddlers? Check out these articles:
- 2-Ingredient Yogurt Silly Putty
- Stovetop Psyllium Husk Slime
- Taste-Safe Jell-O Slime
- Edible Marshmallow Fluff Slime
- Rainbow Marshmallow Slime
Join my mailing list using the form below to receive 12 of the most popular sensory recipes on my site in PDF format! You’ll be the first to know when I publish new recipes, and you’ll also gain receive to lots of free printable activities for your kids.
Grab our 12 best sensory recipes!
By submitting your email address, you are agreeing to the terms of our Privacy Policy. You can unsubscribe at any time.
does the food coloring transfer over to hands?
A little bit might transfer over during play if you use a lot of coloring, but we’ve never had any major issues with staining that we weren’t able to easily get off when washing their hands afterwards. You can always just leave it white if you want to make sure it won’t happen! 😊
I work at a daycare, can I make in bulk? We have up to 20 babies and toddlers who love messy play
I haven’t made it in bulk, but I don’t see why it wouldn’t work if you keep the proportions the same. 😊 It might be a bit more difficult to stir when you add the cornstarch, so I’d recommend using a large wooden spoon instead of a small metal one. You can also try making several smaller batches all at the same time to make the process quicker. (For instance, measuring and pouring chia seeds into several containers, then adding the water to all the containers, and so on, instead of starting from the beginning each time.)
Hi! What size container did this recipe fill? I’m hoping to put this recipe into a sensory bin, how many times would I need to multiply the recipe to get a decent amount in a bin?
It really depends on the size of the bin you’re planning on using, but we used a 4-cup container and it was almost full, if that can help give you an idea of how much it makes! 🙂
That does, thank you! Also, once you mix in the cornstarch, and the slime is ready to be played with, will the food coloring come off on children’s hands?
We didn’t have any issues with staining that I can remember (it did leave a bit of a chalky residue on my kids’ hands from the cornstarch, but that was easy to clean off), however if it’s something you’re worried about, you can always just add less food coloring and make the color a bit less bright! The color is a fun addition, but it’s not necessary.
Wonderful, thank you!