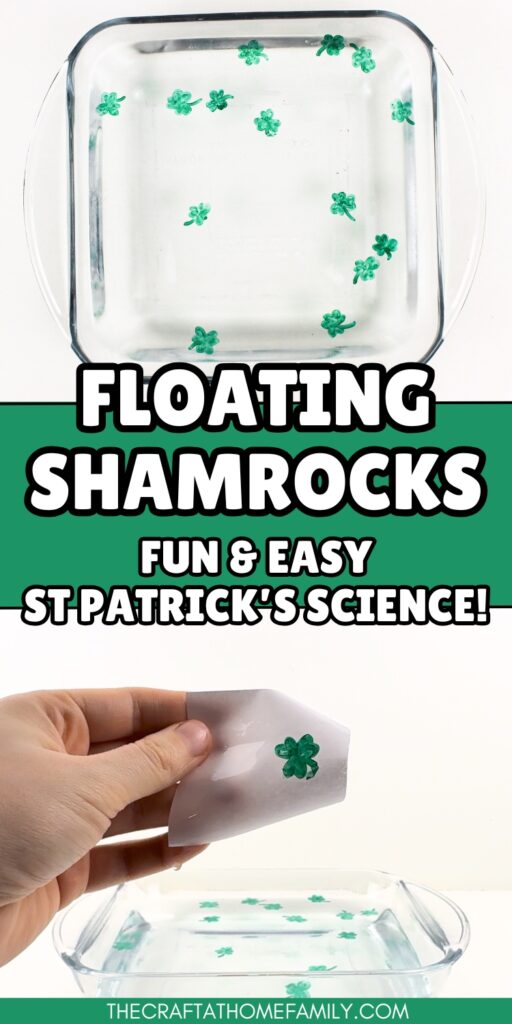
If your child enjoys science, they’ll love this easy floating shamrock experiment! This fun activity only requires a few simple supplies, and it is a great way to celebrate Saint Patrick’s Day at home.
JUMP TO…
Have you ever made floating drawings using dry erase markers? We do this experiment all the time, and it never stops being cool! So with Saint Patrick’s Day coming up, I thought it might be fun to tweak it for the month of March.
This simple STEAM activity is perfect for both younger and older kids, and you probably already have all the supplies you need to try it at home. Your child will love this easy activity!
Why You’ll Love This Activity
- Easy to do: This experiment only requires a few simple steps, and it is easy enough for younger kids to do with very little (or no) help from an adult.
- Simple supplies: You probably already have everything you need to try this trick at home, which makes it a great last-minute activity for when you’re running low on supplies.
- Fun for kids: We do this experiment frequently and my kids love it every time! It is so fun to do, and perfect for kids of all ages.
Looking for more simple science experiments to try with your kids? Check out this Dancing Heart Experiment, this Fizzy Painted Volcano, this Sunscreen Painting Experiment or this Salt Painted Ghost!

Get hundreds of pages of activities!
Get access to all our paid printables, as well as monthly activity planners, for just $5/month. (New printables added twice per month!)
Required Materials
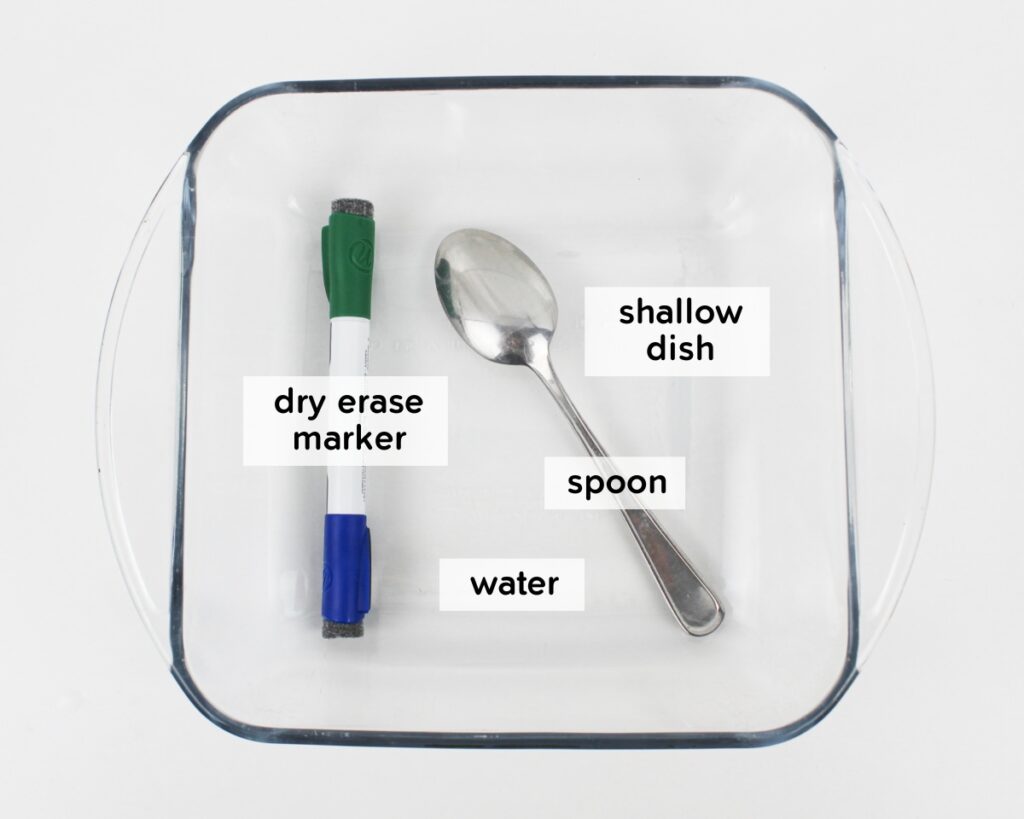
- Dry erase marker: Any brand should work, but some work better than others—I have found that U Brands markers work really well. Whichever brand you do end up using, make sure that the marker is not dried out, as this can cause the experiment to fail. Because I was drawing shamrocks, I chose a dark green color from this set of double-ended U Brands markers.
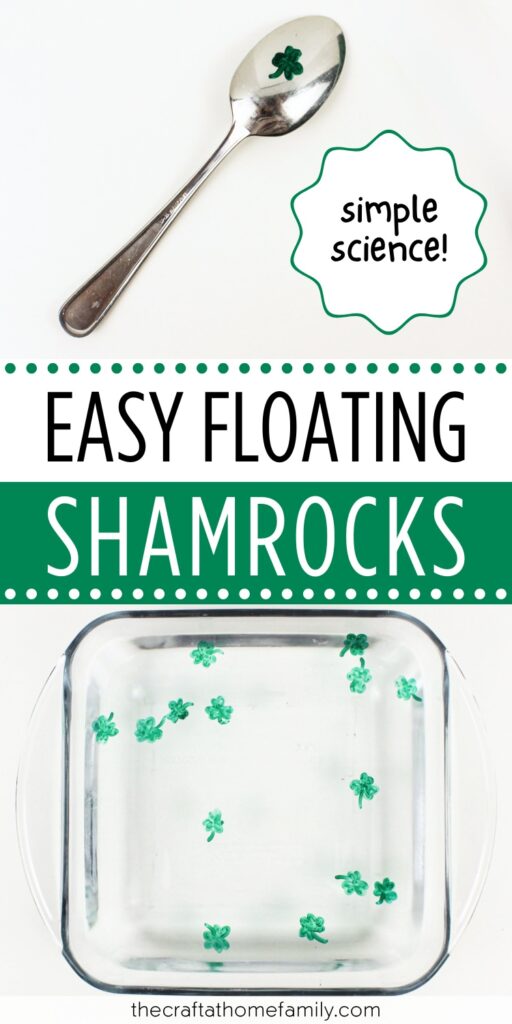
- Spoon: I used a metal spoon, but plastic should work, too.
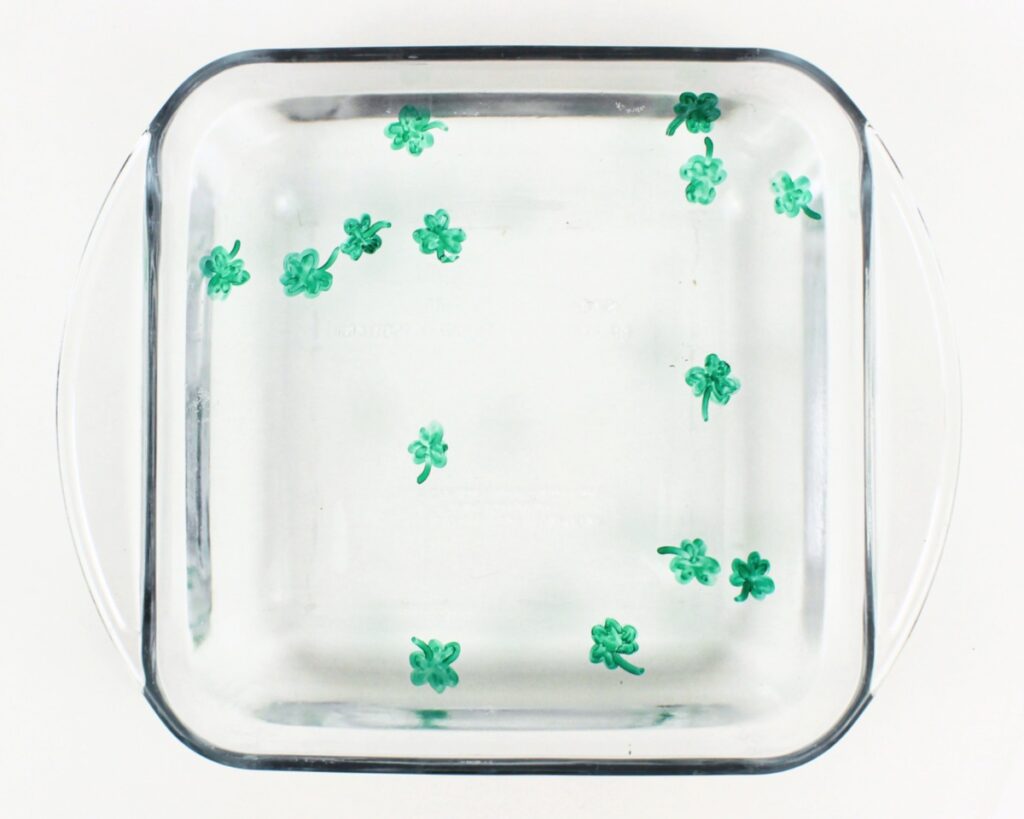
- Shallow dish: Any shallow dish or container that can accommodate about an inch of water at the bottom should work perfectly. Mine was a 9×9-inch glass baking dish.
- Water: Tap water is perfect for this activity.
- Paper (optional): You can use a small paper square to “catch” the floating shamrocks, though this is optional. If you do wish to do this, any paper you have on hand will do, including regular printer paper or scrap construction paper that you have left over from other projects.
The full supply list and instructions can be found in the how-to card.
GRAB OUR FREE 30-PAGE ACTIVITY BUNDLE!
By submitting your email address, you are agreeing to the terms of our Privacy Policy. You can unsubscribe at any time.
How to Make Floating Shamrocks (Step-by-Step)
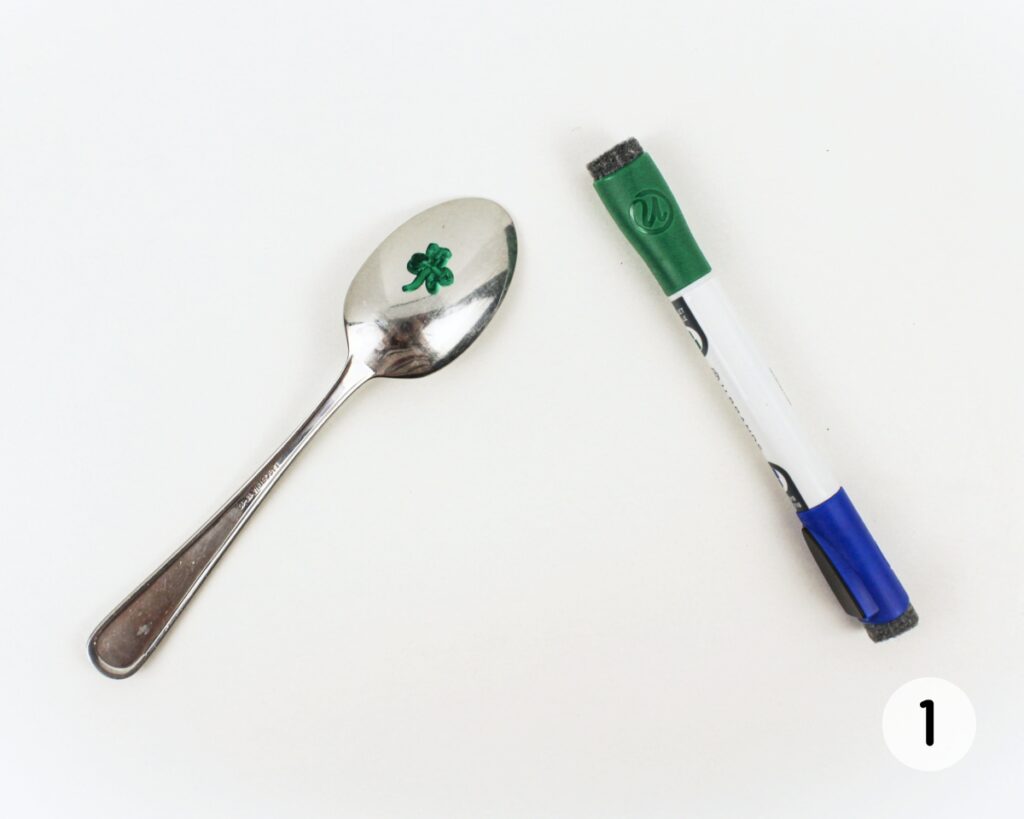
Step 1: Draw shamrock on spoon. Use a green dry erase marker to draw a shamrock on the back of a spoon. (If you’re having trouble getting the shape right, try drawing three small hearts that are joined at the tip, then coloring them in and adding a stem.) Let the ink dry for about 15 to 30 seconds before you move on to the next step.
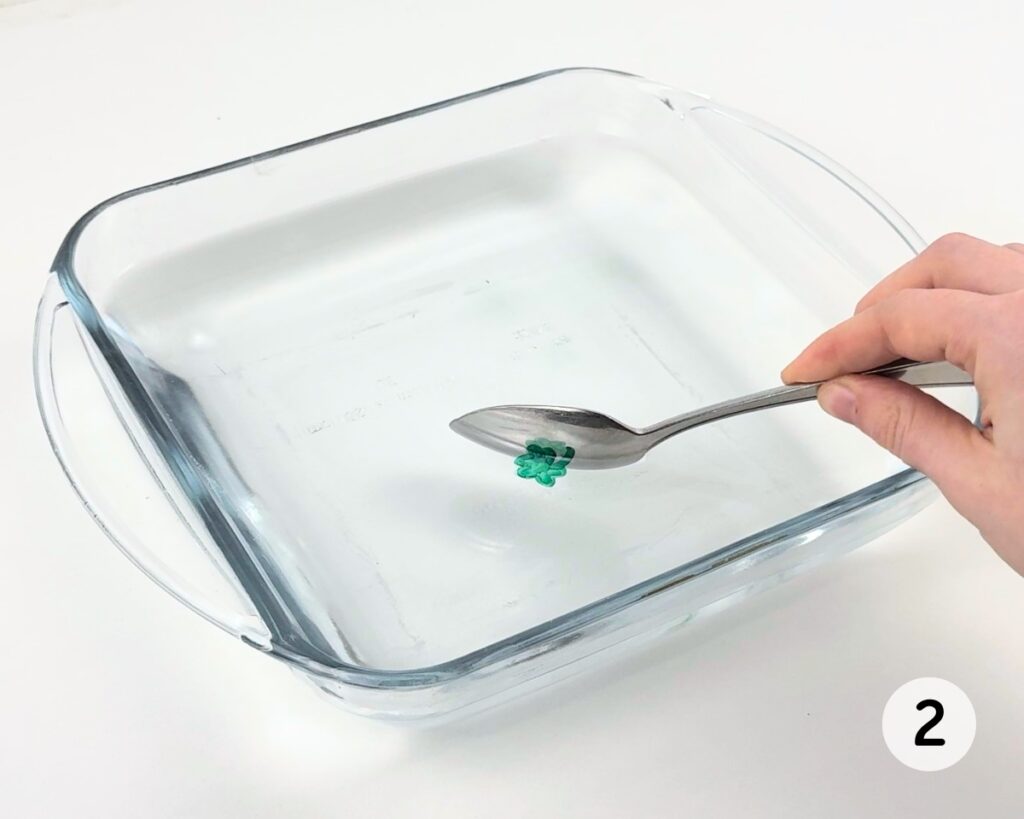
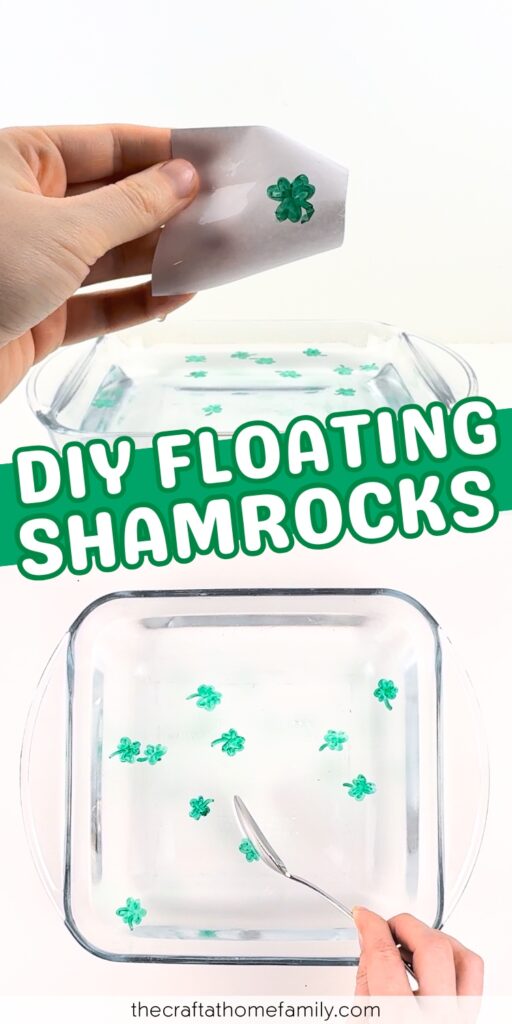
Step 2: Dip spoon in water. Gently lower your spoon into a shallow dish filled with about an inch of water, making sure to hold the spoon at an angle so that only one side of the shamrock is touching the water. If it starts to peel off, gently rotate your spoon to help it along. Continue to rotate the spoon until the shamrock has completely peeled off, then quickly remove the spoon to prevent it from latching back on. If the drawing doesn’t peel off, try inserting the spoon at a different angle to see if that helps; if it still won’t peel off, erase the shape, dry off the spoon and try again with a slightly different drying time.

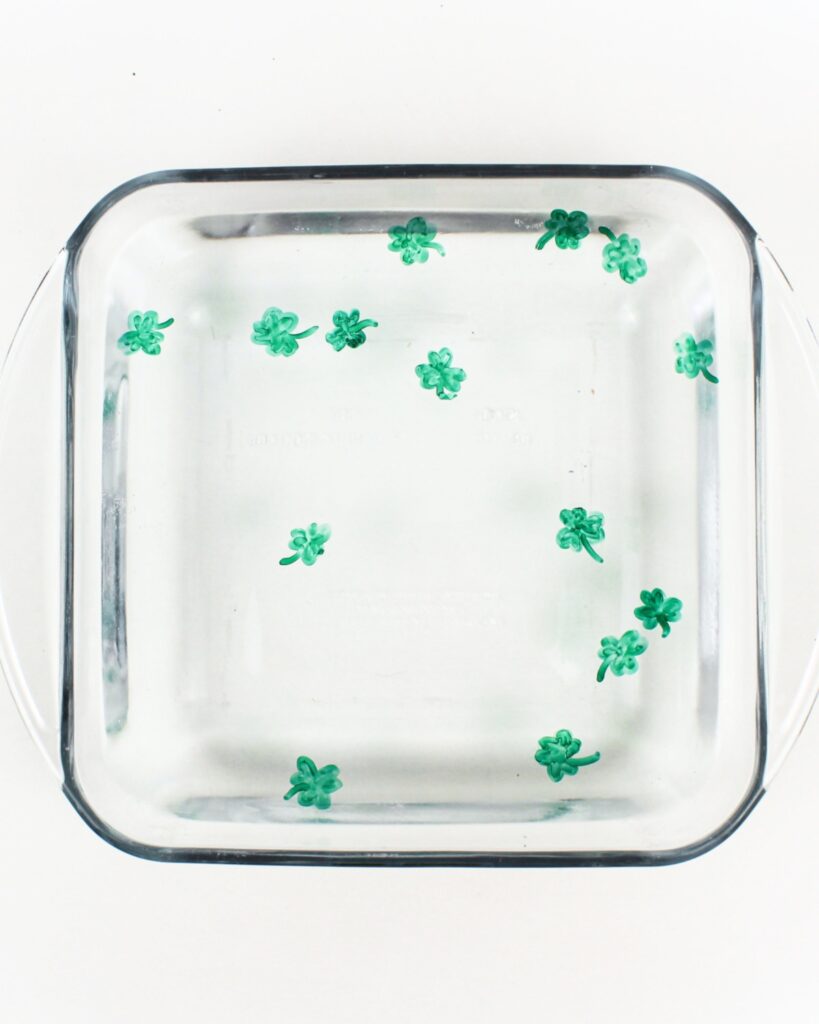
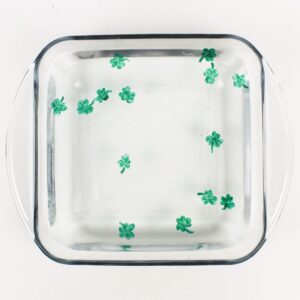
Step 3: Create more shamrocks. Repeat the previous steps as many times as you wish in order to create more floating shamrocks.
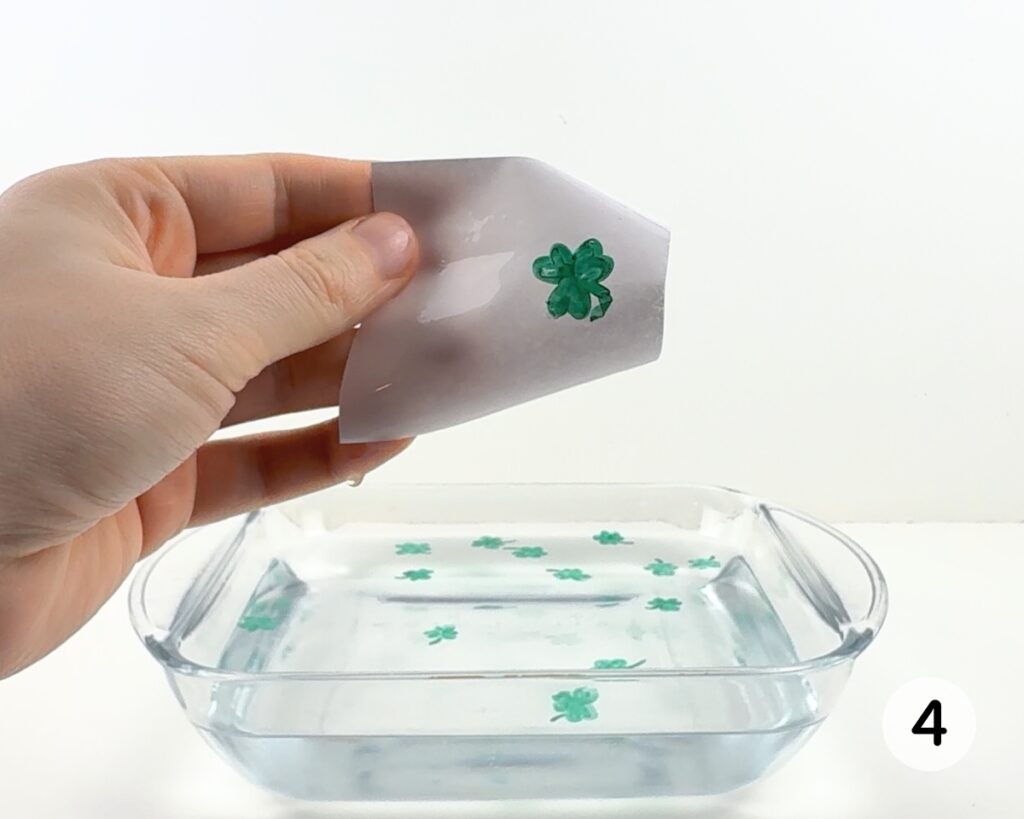
Step 4: “Catch” the shamrocks (optional). This step is optional, but if you wish, you can “catch” the shamrocks by pressing a small piece of paper on top of them as they float. Any shapes that come into contact with the paper will stick to it!
We’ve done this experiment several times over the years with different themes, and it never ceases to amaze my kids! This Saint Patrick’s Day variant was lots of fun, and we’ll definitely be doing it again in the future.
Helpful Tips
- Don’t use dried out markers: If you use a marker that is too dried out, the ink has a tendency to stick to the spoon or disintegrate in the water. This is the #1 reason why this experiment might fail, so make sure the marker you use is a newer one that hasn’t had the chance to dry out.
- Experiment with drying times: The brand and age of the dry erase marker can impact the amount of time that the ink will need to dry before it is able to peel off the spoon. Start with 15 seconds and adjust that time as needed until the shamrocks easily peel off when the spoon is submerged in water. (If your marker is a bit dried out, its ink will need less time to dry.)
- Tilt and rotate your spoon: For best results, you’ll need to lower the spoon into the water at an angle, then gently tilt and rotate it to help the shamrocks peel off. It can be a bit tricky to figure out at first, but you should get the hang of it pretty quickly once you start doing it!
- Quickly remove the spoon: Make sure to quickly remove the spoon from the water as soon as the shamrock has peeled off. If you don’t, it may stick to the surface of the spoon, and you’ll need to wiggle it off again.
Troubleshooting
Having trouble getting this experiment to work? Here are some common issues you may encounter, and some tips on to solve them:
- Shamrocks that won’t peel off the spoon: This is usually due to the ink being too dry, or not dry enough. Erase the shamrock, thoroughly dry off the spoon and try again, but try waiting a bit less or a bit more time before you dip the spoon in the water. If that doesn’t work, it’s possible that the marker you used was too dried out, which makes the ink stick or disintegrate. Try again with a different marker to see if that helps.
- Shamrocks that break apart in the water: When this happens, it’s usually because the marker ink was too dried out, because the lines of the drawing weren’t fully touching, because the shapes weren’t fully colored in, or because you went over the same line more than once with your dry erase marker. Place a piece of paper on top of the broken shamrock to “catch” the ink and remove it from the dish, then try drawing it again more carefully.
- Shamrocks that fold and stick to themselves: This usually happens because the shamrock was starting to peel off, then came into contact with the spoon and stuck to the ink that hadn’t peeled off yet. You won’t be able to unfold it, so you’ll need to wipe off the drawing, thoroughly dry off the spoon and start over, making sure to quickly remove the spoon as soon as each shamrock peels off.
- Tried everything else, and nothing is working: If you have tried all the other recommendations and nothing seems to be working, you may need to use a different brand of dry erase marker. I’ve always had success with U Brands! You can also try drawing the shamrocks on the bottom of the glass dish before adding the water, then slowly pouring it in to see if the water slips underneath the ink and lifts it up.
Customizing This Experiment for Different Holidays
Floating shamrocks may be perfect for Saint Patrick’s Day, but this experiment can also be customized in a variety of ways to suit different themes and holidays! Here are some fun variations you can try:
- Floating Dry Erase Letters: Help your child practice their letter recognition skills with this educational twist on the classic floating ink trick!
- Floating Dry Erase Snowflakes: Create snowflakes that float in water—this fun winter science experiment is perfect for days when it’s too cold to go play outside.
- Floating Dry Erase Hearts: This floating heart activity is such a fun way to celebrate Valentine’s Day at home with your kids!
- Floating Dry Erase Spiders: Love science? This spooky spider-themed experiment is perfect for Halloween.
Frequently Asked Questions
Have a question that wasn’t answered here? Let me know in the comments and I’ll be happy to help!
More Saint Patrick Activities for Kids


If you have tried this Floating Shamrock Experiment or any other project on my website, please let me know how it went in the comments below. I can’t wait to hear from you!
Floating Dry Erase Shamrocks
Materials
- 1 green dry erase marker (not dried out)
- 1 metal spoon
- 1 shallow dish
- water as needed
- small paper squares optional, as needed
Instructions
- Use a green dry erase marker to draw a shamrock on the back of a spoon. (If you’re having trouble getting the shape right, try drawing three small hearts that are joined at the tip, then coloring them in and adding a stem.)
- Let the ink dry for about 15 to 30 seconds, then gently lower your spoon into a shallow dish filled with about an inch of water, holding the spoon at an angle so that only one side of the shamrock is touching the water. If the shamrock starts to peel off, gently rotate your spoon to help it along, continuing until it has completely peeled off. Once it has fully peeled off, quickly remove the spoon to prevent it from latching back on. (If the shamrock doesn’t peel off, try inserting the spoon at a different angle—or, if it still won’t peel off, erase the shamrock, dry off the spoon and try again with a slightly different drying time.)
- Repeat the previous steps as many times as you wish in order to create more floating shamrocks.
- Optional: Have fun “catching” the shamrocks by pressing a small piece of paper on top of them as they float—shamrocks that come into contact with the paper will stick to it.
Video
Notes
- Shamrocks won’t peel off: Try wiping off the shamrock, thoroughly drying the spoon and starting over with a shorter or longer drying time—or, if that doesn’t work, using a marker that is less dried out.
- Shamrocks breaking apart: Make sure that the lines of the shamrock are fully touching, that the shapes are fully colored in, and that you don’t go over the same line several times with your marker when drawing. (You can remove broken shamrocks from the dish by pressing a paper on top of them.)
- Shamrocks sticking to themselves: Make sure not to let the shamrock partially peel off, then come back into contact with the ink that remains on the spoon.
- Nothing else working: Try a different brand of markers, or draw the shamrocks on the bottom of an empty glass dish and slowly pour in some water to see if the drawings start to peel off the bottom and float to the top.
-
- Avoid dried out markers: Dry marker ink can cause the experiment not to work.
- Tilt and rotate spoon: This will help the shamrocks peel off and prevent the ink from sticking to itself.
- Quickly remove the spoon: Quickly remove the spoon from the water to prevent the shamrocks from latching back on.
Only your name will be made public. Please note that by submitting your comment, you are agreeing to the terms of our Privacy Policy.