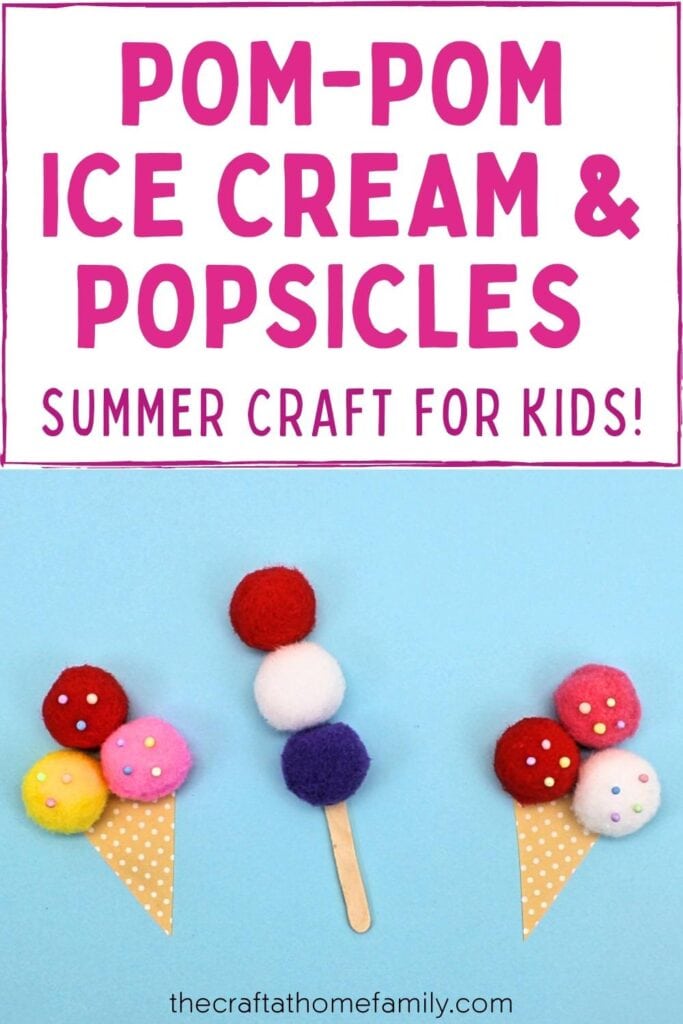
Looking for ways to entertain your kids during the summer holidays? This easy pom-pom ice cream cone craft is both cute and simple to make—and it’s even appropriate for toddlers and preschoolers!

JUMP TO…
Summer vacation has officially started, which means it’s time to break out the water table, the splash pad… and the craft supplies!
It’s actually been a pretty cold summer up here in my corner of Canada—too cold for water games on most days. So we’ve been doing more indoor activities than we usually do in the summer.
Thankfully, my six-year-old loves crafts, and she’s always happy to try new ones. And nothing says summer quite like ice cream!
Not only is this pom-pom ice cream craft perfectly summery, but it’s also really easy to make. So if you’re looking for easy craft ideas to entertain your toddler or preschooler, you’ll definitely want to save this project for days where it’s too cold—or too hot—to play outdoors!
(If your kids enjoy this craft, they’ll also love this Puffy Paint Ice Cream project or this Sunscreen Painting Activity.)
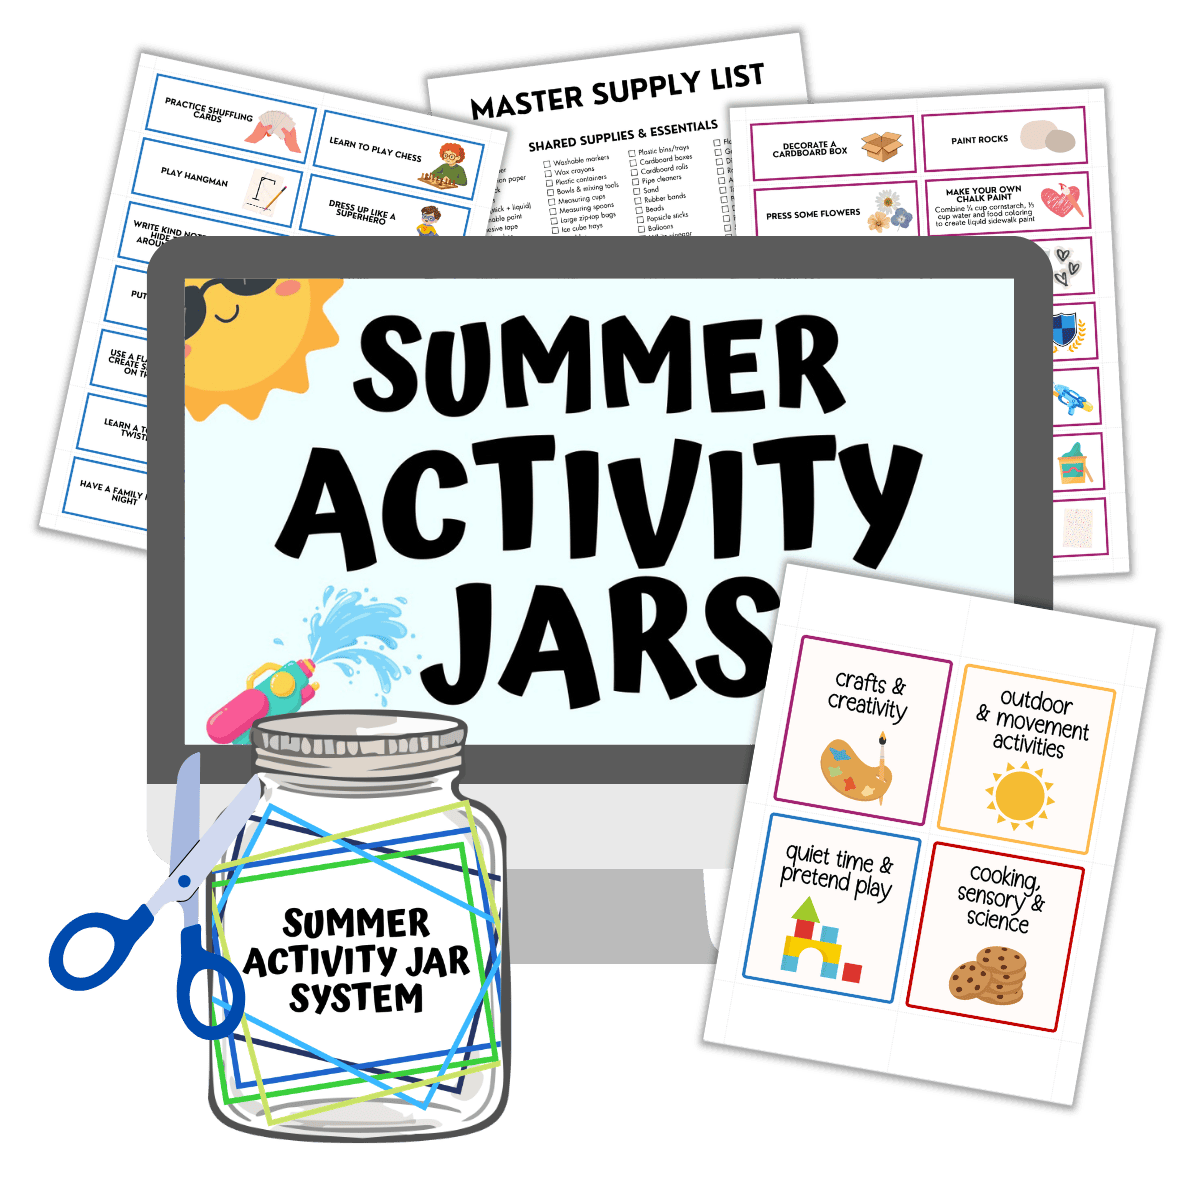
Get the “easy button” for summer!
Skip the planning and simplify summer break with this set of 280 activity cards that your child can pull out of a jar whenever they’re bored.
Required Materials
Here’s what you’ll need to make cute DIY ice cream cones and popsicles with pom poms:
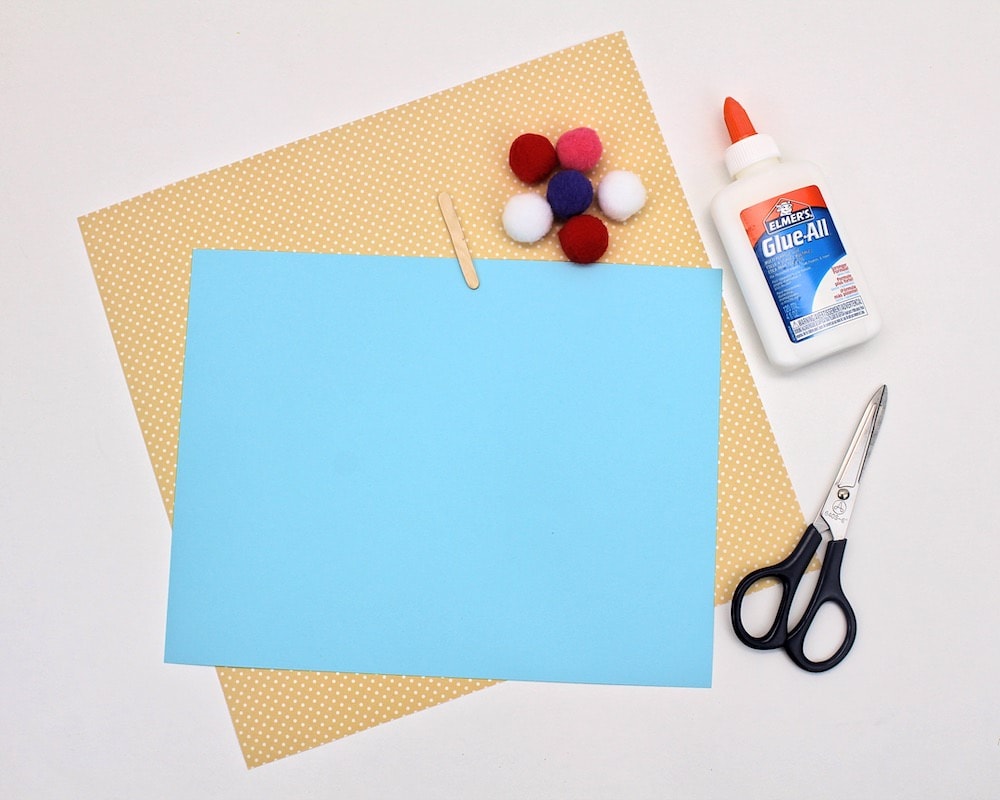
- Cardstock (for the background—feel free to choose any color you like)
- Patterned scrapbooking paper in earth tones (for the ice cream cones—I got mine at Walmart)
- Scissors
- Elmer’s Glue-All
- Mini wooden craft sticks (if you’re making popsicles)
- Large pom-poms in assorted colors (I got mine at the dollar store, but they’re available almost anywhere that sells craft supplies—you can use glitter pom-poms for added fun, but if you do, you probably won’t be able to add sprinkles)
- Foam beads (optional)
How to Make 3D Pom-Pom Ice Cream Cones (Step-by-Step)
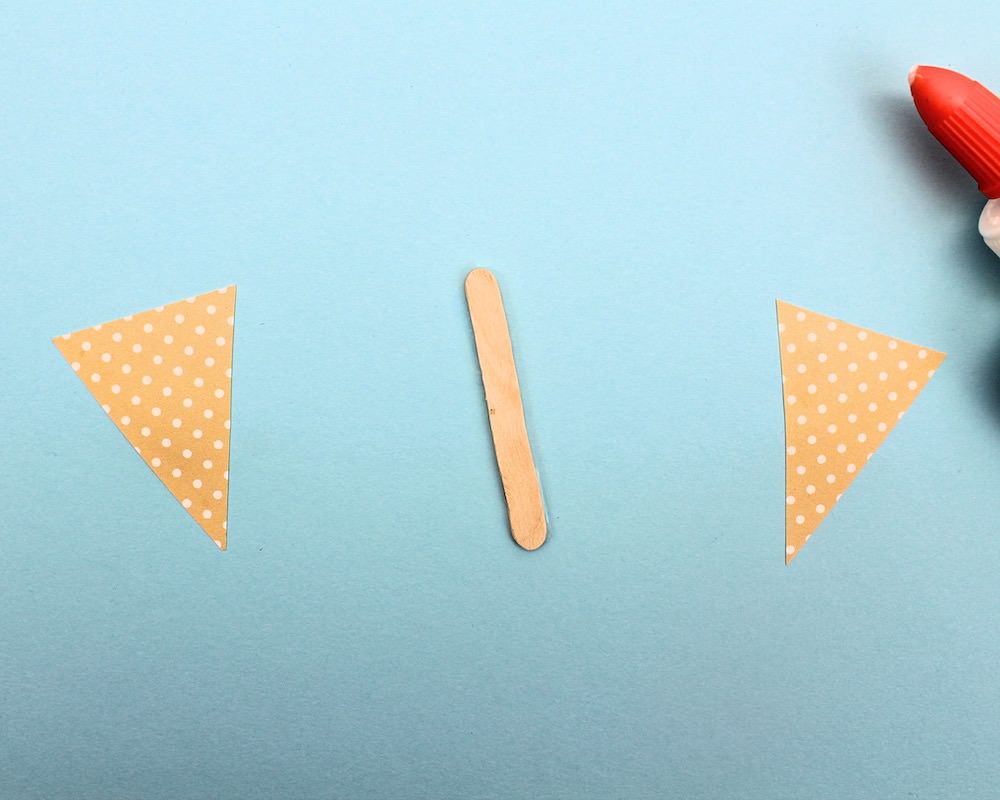
1. Cut Scrapbooking Paper
Start by cutting some triangles from the scrapbooking paper.
The one I chose had polka dots, but a checkered pattern would have looked nice too. If you don’t have any scrapbooking paper, you can can always use light brown cardstock, construction paper or even recycled newspaper.
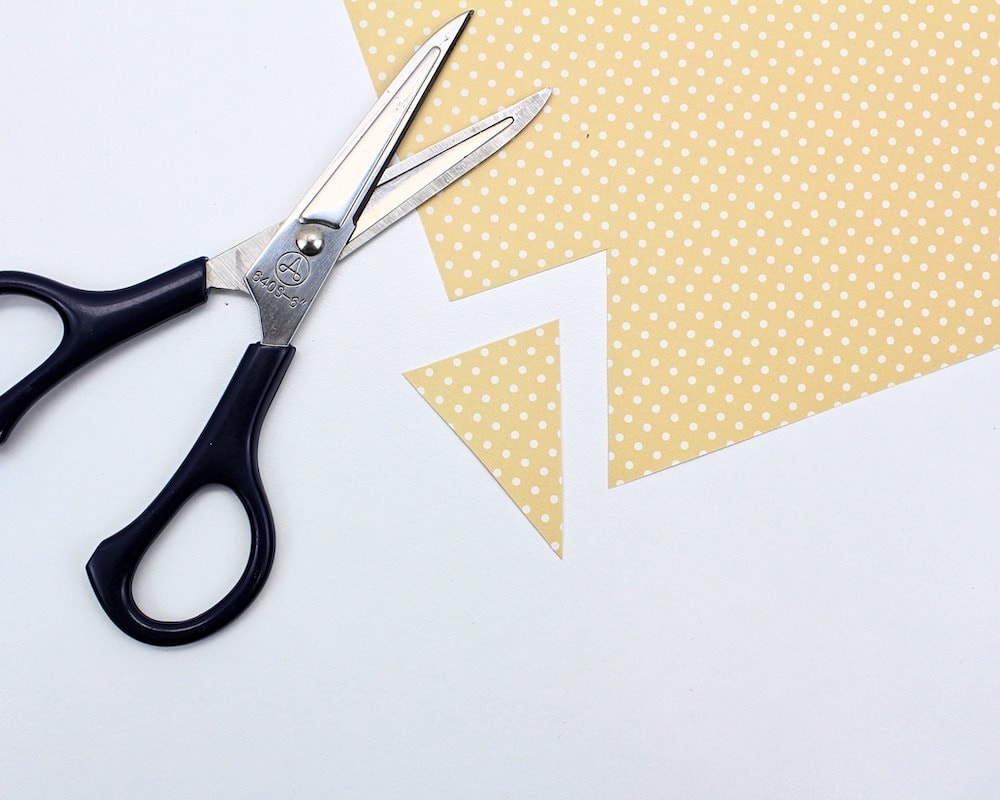
These triangles will become ice cream cones, so choose a size that is appropriate for the pom-poms you have. To get a better idea of the size I needed, I laid my pom-poms out in the position that I was planning on glueing them in.
If you’re doing this craft with a toddler, you may want to do the cutting yourself—though they may be able to do it with plastic safety scissors if the paper isn’t too thick. (And they would probably be super proud of themselves for doing it!)
Note: I decided to use three pom-poms per ice cream cone to mimic three scoops, so I cut the triangles pretty small. But you can always make yours bigger and use more pom-poms per cone.
2. Glue Triangles to Cardstock
Take the triangles you cut during the previous step and glue them to the piece of cardstock. If you’re making popsicles, glue your mini craft stick(s) onto the cardstock as well.
The reason I opted for cardstock over regular printer paper is because of its thickness.
It takes quite a bit of glue to make a pom-pom stick to paper, and liquid glue will soak through paper if you use too much of it. Cardstock, which is thicker, may become a bit wavy if exposed to too much humidity, but it will hold up a lot better.
That being said, you won’t need much glue to glue the scrapbooking paper on, so I recommend using it sparingly to avoid weakening the cardstock with too much humidity.
3. Glue Pom-Poms to Cardstock
Grab your bottle of Elmer’s Glue-All and spread a bit of glue on one side of a pom-pom. Then, press the pom-pom onto the cardstock.
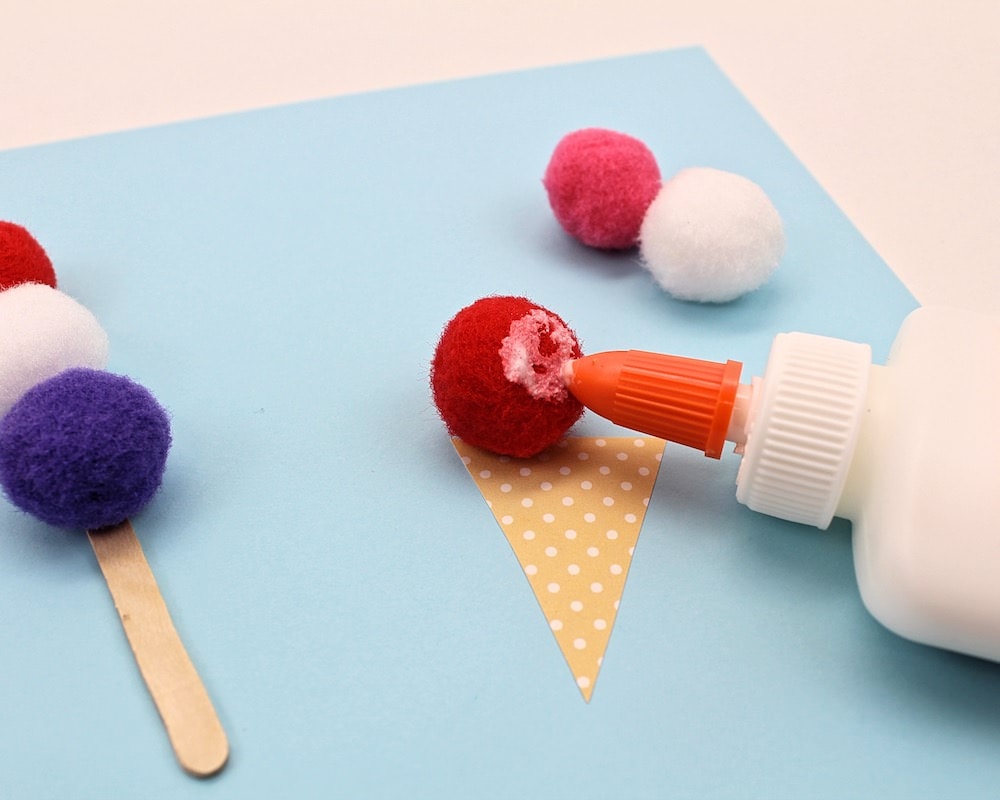
I chose to use Elmer’s Glue-All because it’s stronger than regular liquid school glue and I thought it would hold up better given the weight of the pom-poms. That being said, you may be able to get away with using regular school glue.
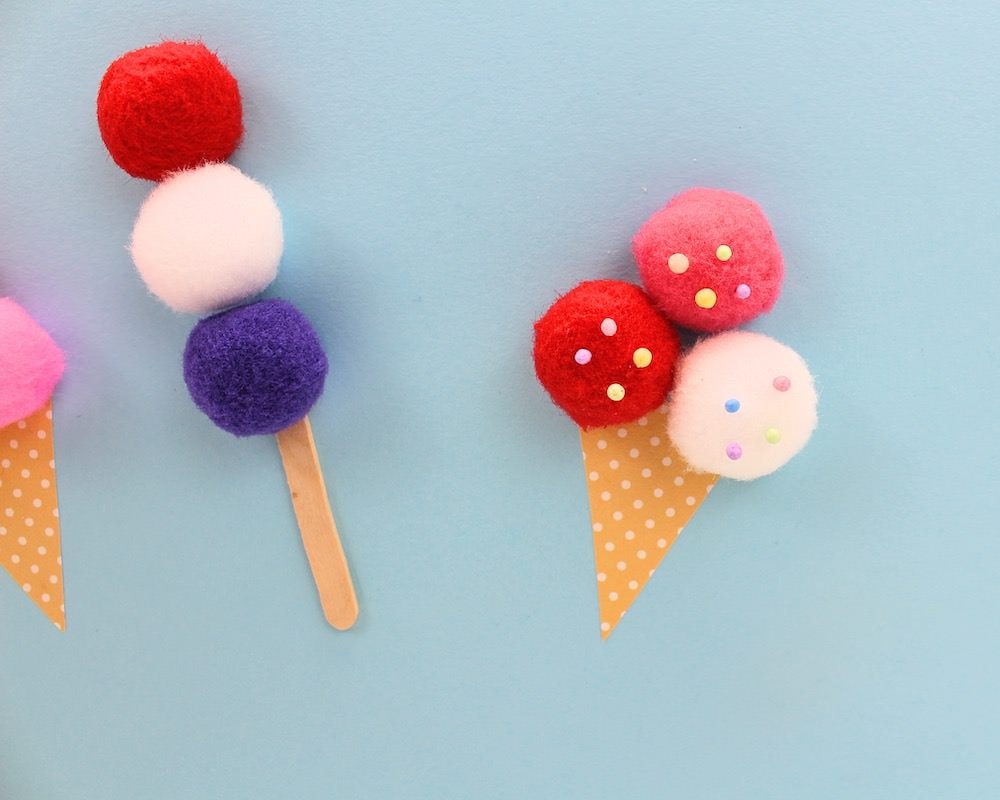
As mentioned above, I used three pom-poms per ice cream cone. I also used three pom-poms per popsicle, stacking them one on top of the other.
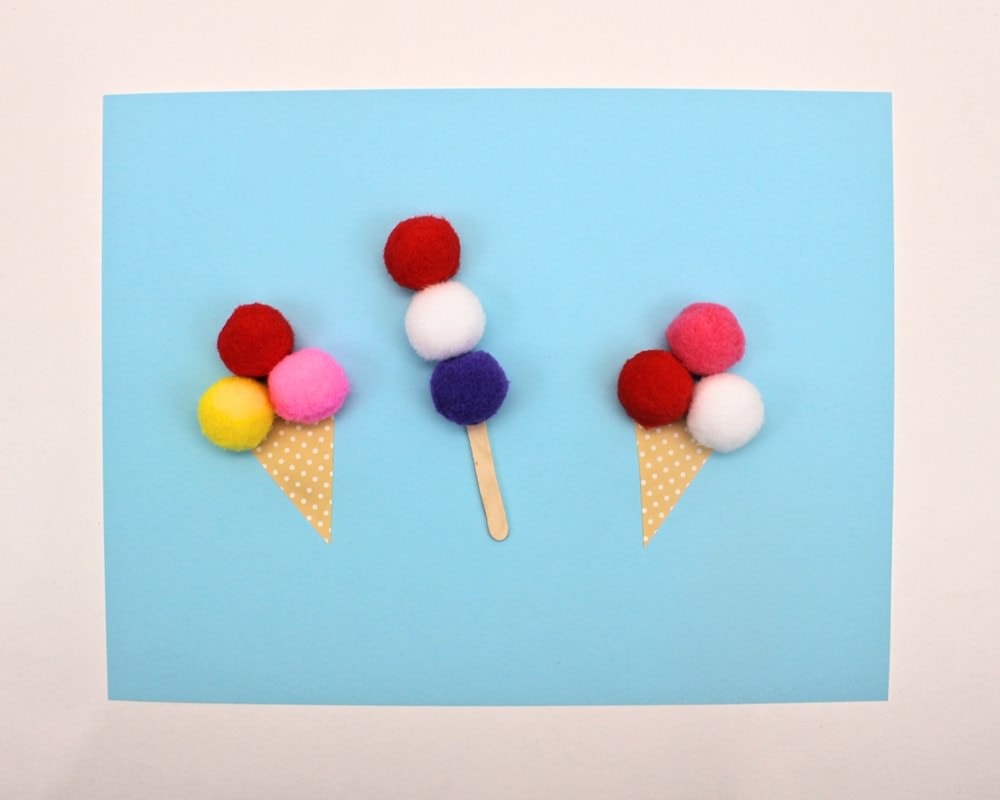
I had fun choosing various colors to make my ice cream cones and popsicle as colorful as possible!
4. Add Foam Beads (Optional)
This step is optional, but I love the three-dimensional details that it added to the ice cream.
I thought sprinkles would look nice on the pom-pom ice cream scoops, but couldn’t think what to use… until I remembered the bag of foam beads (you may know it as “floam”) we had in one of our drawers.
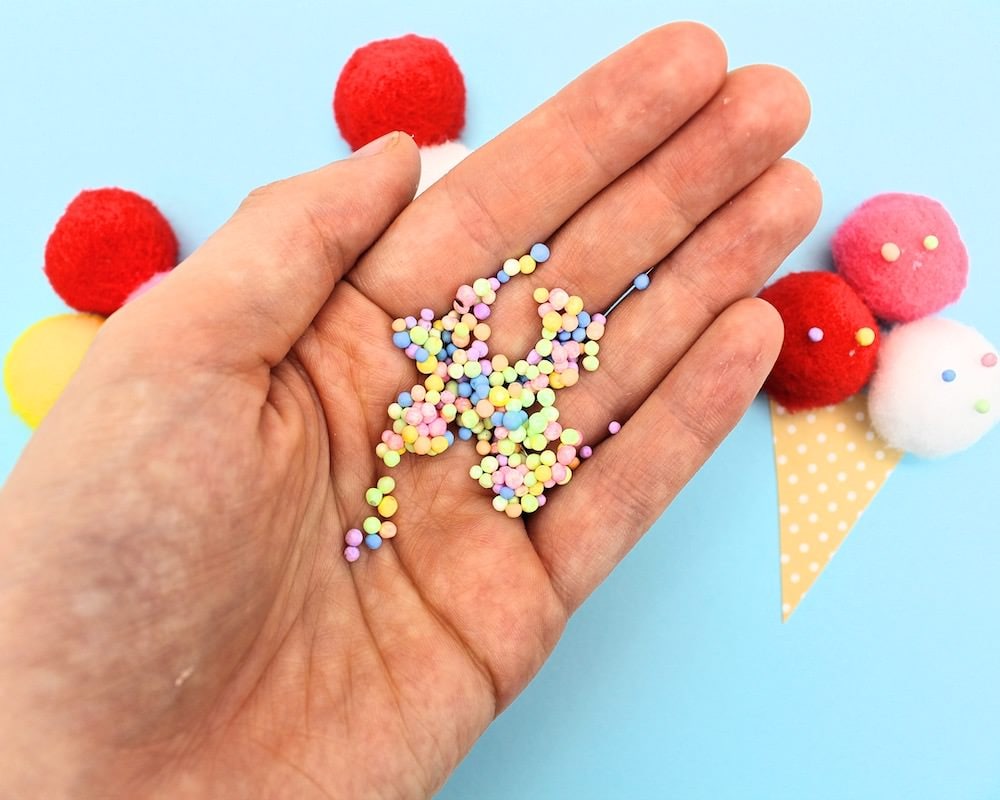
We typically use it for slime, but I thought they would make great sprinkles for this project!
Some of it actually used to be play foam… which isn’t supposed to dry out. But since ours did anyway, I’m glad we were able to repurpose it!
In order to add them to the ice cream, I simply dipped each foam bead in liquid glue and gently pressed it down on one of the pom-poms. I was surprised at how well they stuck. I tried to alternate colors the same way real sprinkles would.
Note: Adding these foam sprinkles is also a great way to sneak in some fine motor practice for younger kids!
5. Let Glue Dry
Once you’ve added all the pom-poms and foam beads you want, set your craft aside and wait for the glue to dry.
Once the glue is dry, your pom-pom ice cream is ready to display!
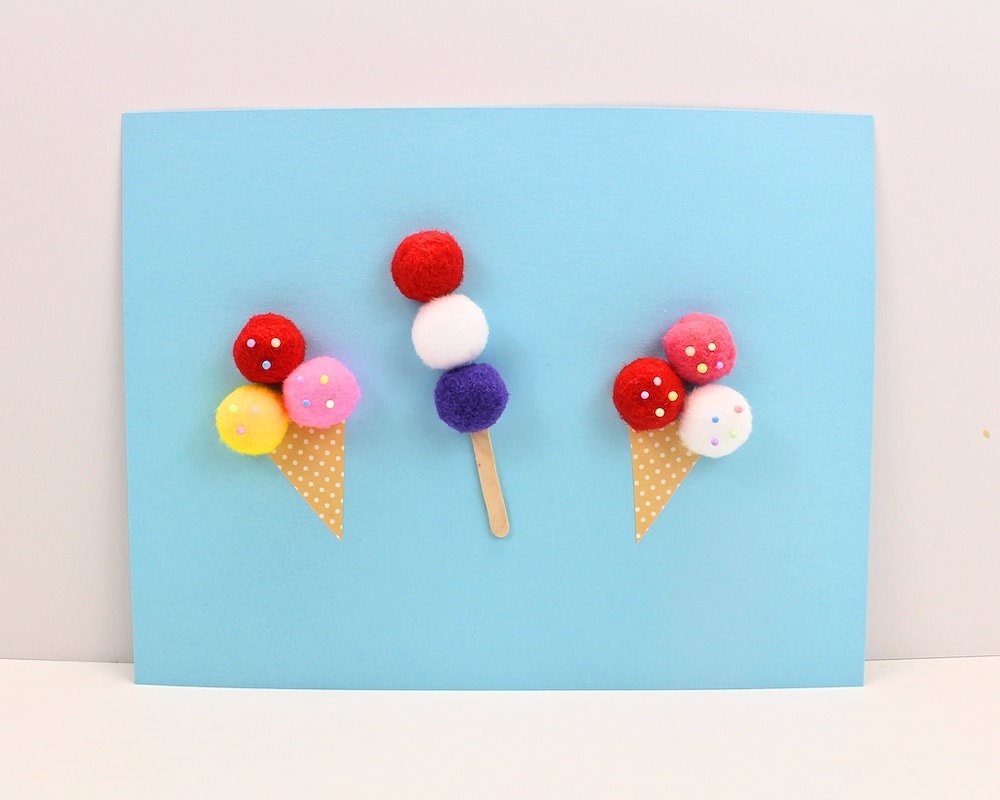
I love how cute it turned out, and it’s so simple to make that even toddlers and preschoolers should be able to do it.
Related Summer Crafts
Looking for more summer-themed crafts to make at home with your kids? Check out these articles:
- Sand Clay Handprint Keepsake with Seashells
- DIY Pipe Cleaner Bubble Wands
- Butterfly Suncatcher Craft (with Free Template!)
- Free “Build an Ice Cream Cone” Template
Only your name will be made public. Please note that by submitting your comment, you are agreeing to the terms of our Privacy Policy.