


Love oobleck? For a “cool” twist on the classic, try making frozen oobleck instead! This fun taste-safe sensory activity is easy to prep and only requires a few simple supplies that you probably already have at home.
JUMP TO…
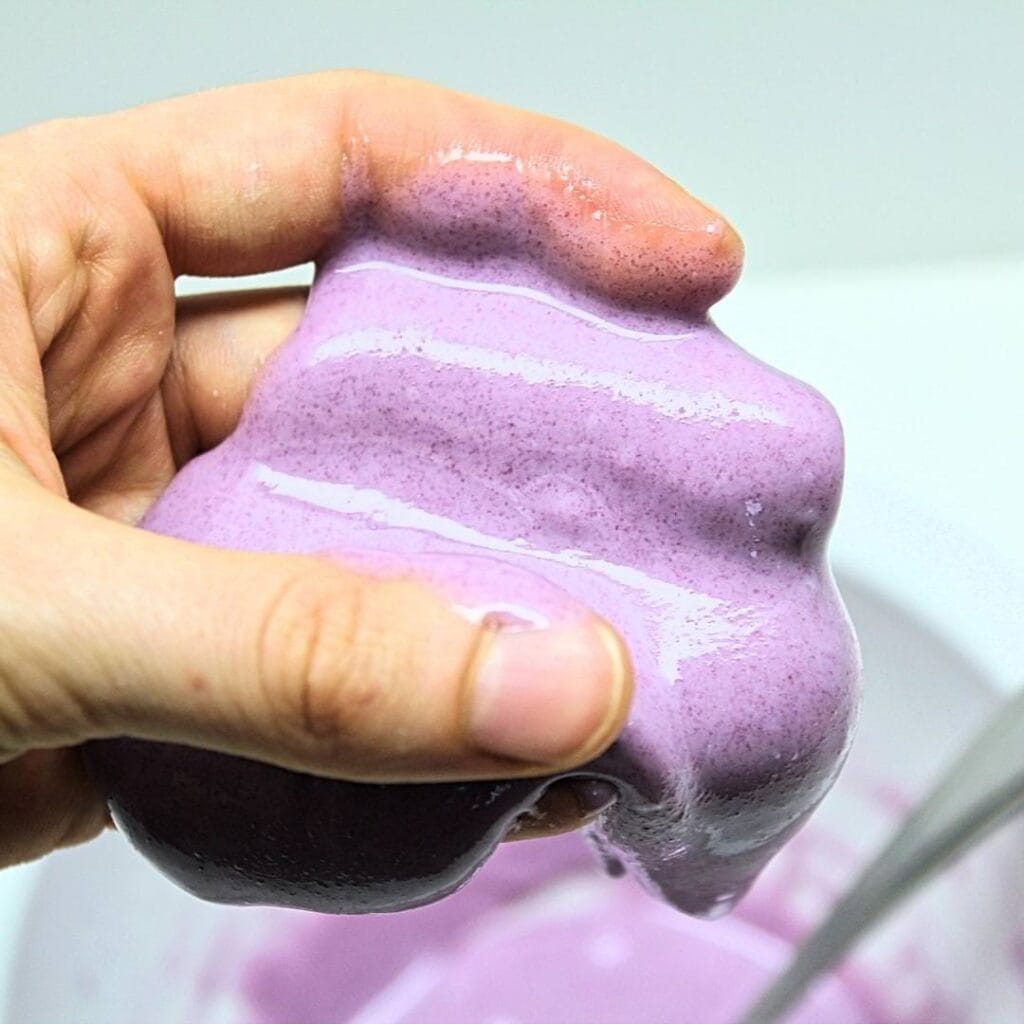
Have you ever tried to make oobleck? This non-Newtonian fluid is lots of fun for kids to explore because of its unique consistency—solid when fo is applied, and liquid when allowed to flow freely.
If your child is a sensory seeker, frozen oobleck is a fun twist that you’ll definitely want to try. It is perfect for summer (or any other time of year), and its changing texture makes it perfect for little scientists.
Why You’ll Love This Activity
- Easy to make: Prepping frozen oobleck couldn’t be simpler—simply make the oobleck and pour it into molds in order to freeze it. This low-prep activity is perfect for busy parents who are short on time!
- Simple supplies: You’ll only need a few simple kitchen supplies in order to prep this activity for your child. I already had everything I needed at home, and you may as well.
- Taste-safe: All the ingredients used to make oobleck are fully edible, which makes this activity safe for toddlers who still have a tendency to put everything in their mouths.
- Changing texture: Oobleck that has been frozen changes textures several times during play as it freezes and turns back into goop. My kids loved playing with it during all the different stages of its transformation!
Looking for more sensory play ideas for kids? Check out these Taste-Safe Sensory Activities, these Edible Play Dough Recipes or these 2-Ingredient Sensory Recipes!
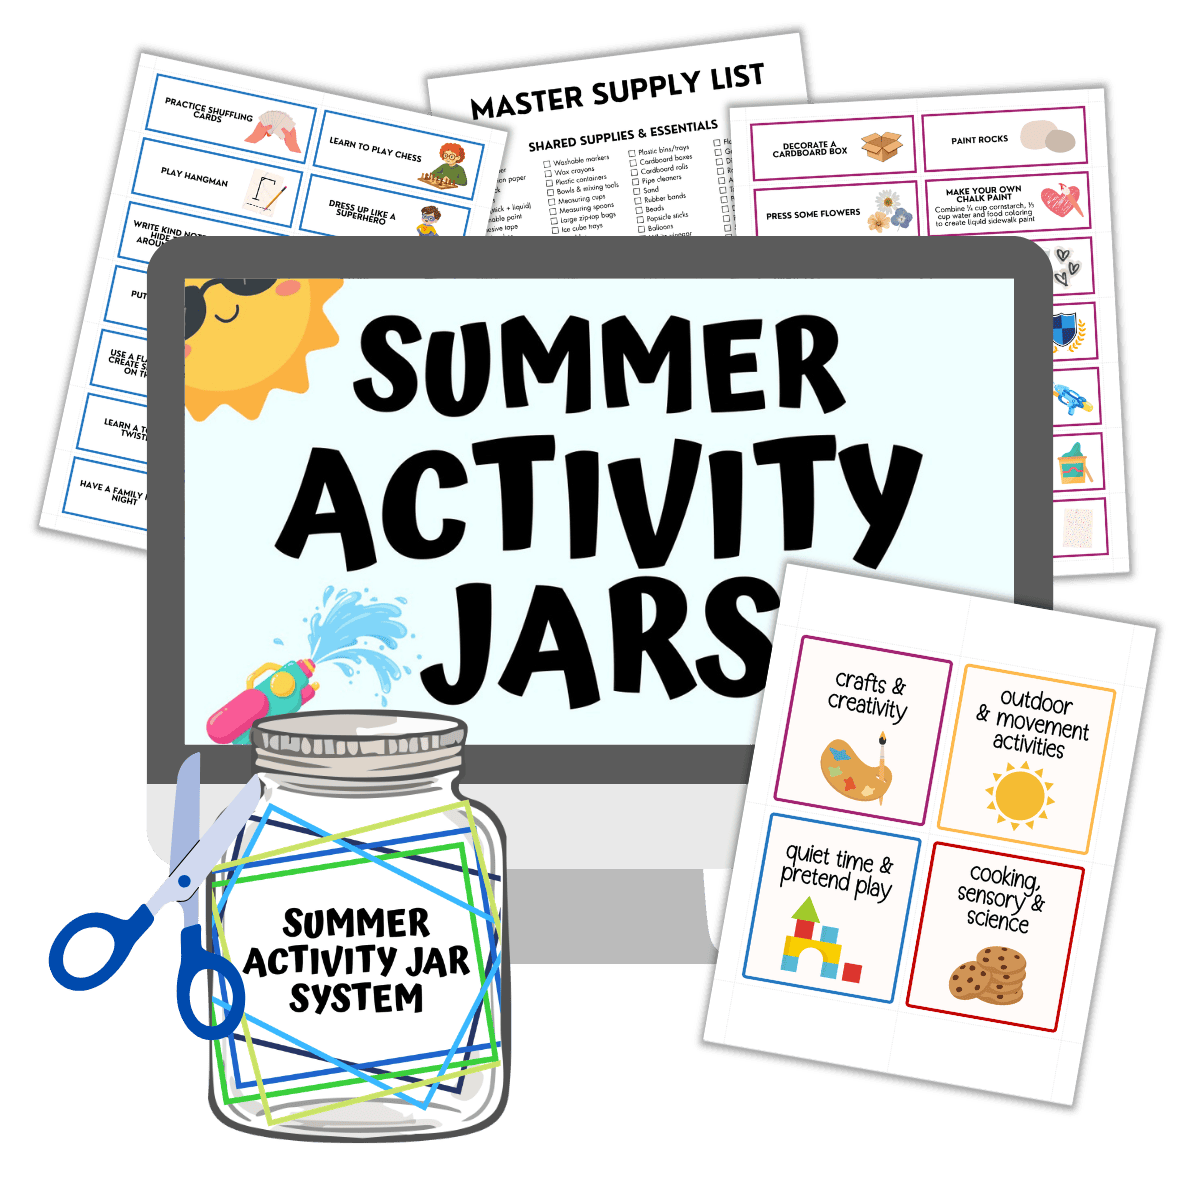
Get the “easy button” for summer!
Skip the planning and simplify summer break with this set of 280 activity cards that your child can pull out of a jar whenever they’re bored.
Required Materials

- Water: Tap water is fine. Just make sure the water you use is safe to drink if you are prepping this activity for a young child and need the oobleck to be taste-safe.
- Food coloring: This is optional, and can be replaced with a natural food coloring alternative of your choice. For added fun, you can also make several batches in different colors and mix them together during play.
- Cornstarch: You may know this as “corn flour” if you live in the U.K. We buy ours in bulk at Costco because it is a required ingredient in many sensory recipes.
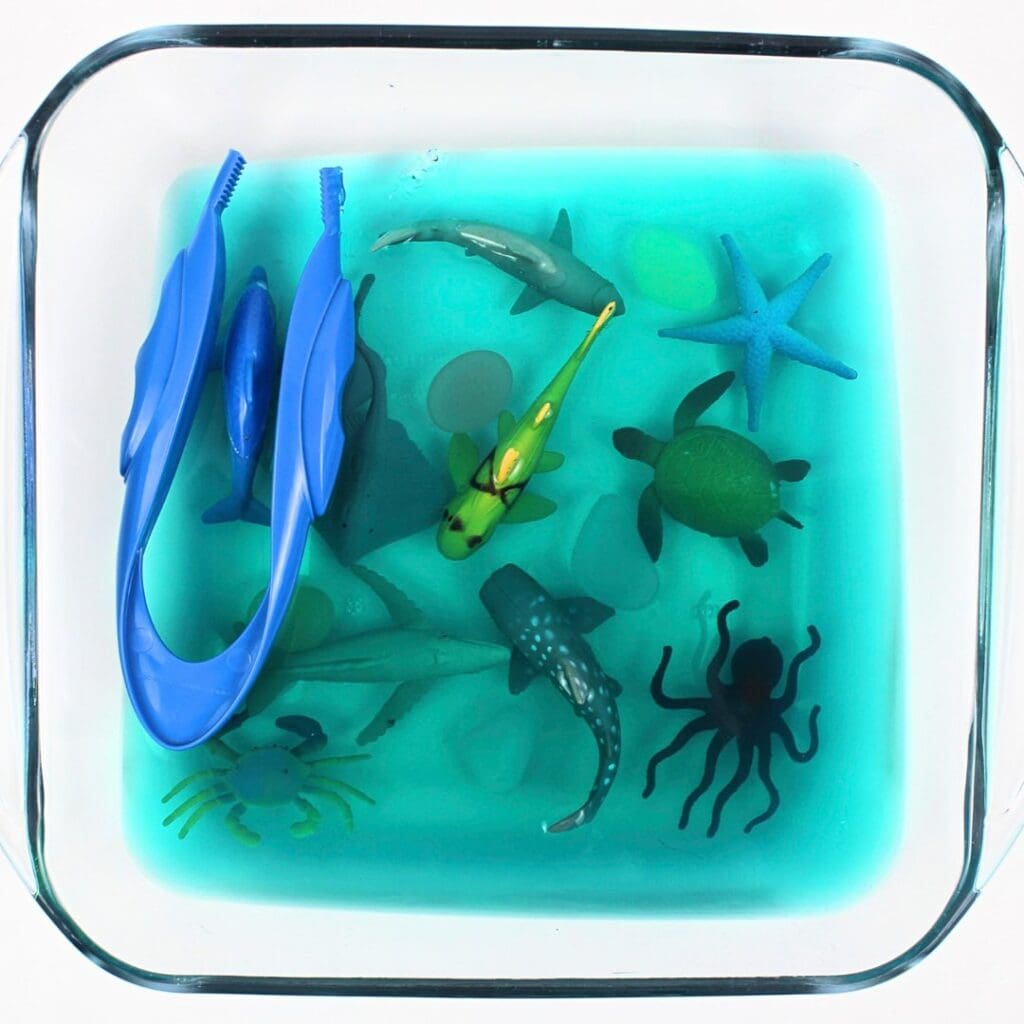
- Molds: Just use whatever you have at home—I happened to have some silicone doughnut molds and silicone gummy molds on hand, but a regular ice cube tray can also work.
The full supply list and instructions can be found in the how-to card.
Grab our 12 best sensory recipes!

By submitting your email address, you are agreeing to the terms of our Privacy Policy. You can unsubscribe at any time.
How to Make Frozen Oobleck (Step-by-Step)

Step 1: Color water (optional). If you wish to color your oobleck, start by pouring the water into a medium mixing bowl and stirring in some food coloring. (The color will lighten once the cornstarch is added, so add more than you think you’ll need to make the color to be vibrant.)

Step 2: Add cornstarch. Add half the cornstarch and stir until combined. Then, add the rest of the cornstarch and gently stir the mixture with a spoon. Keep stirring very gently until the ingredients have been fully combined, making sure not to apply too much pressure, as this will turn the oobleck into a solid. The final result should be a liquid that turns solid when pressure is applied to it.

Step 3: Pour into mold. Place some silicone molds or ice cube trays on a baking sheet, and carefully pour the oobleck into each of the cavities.

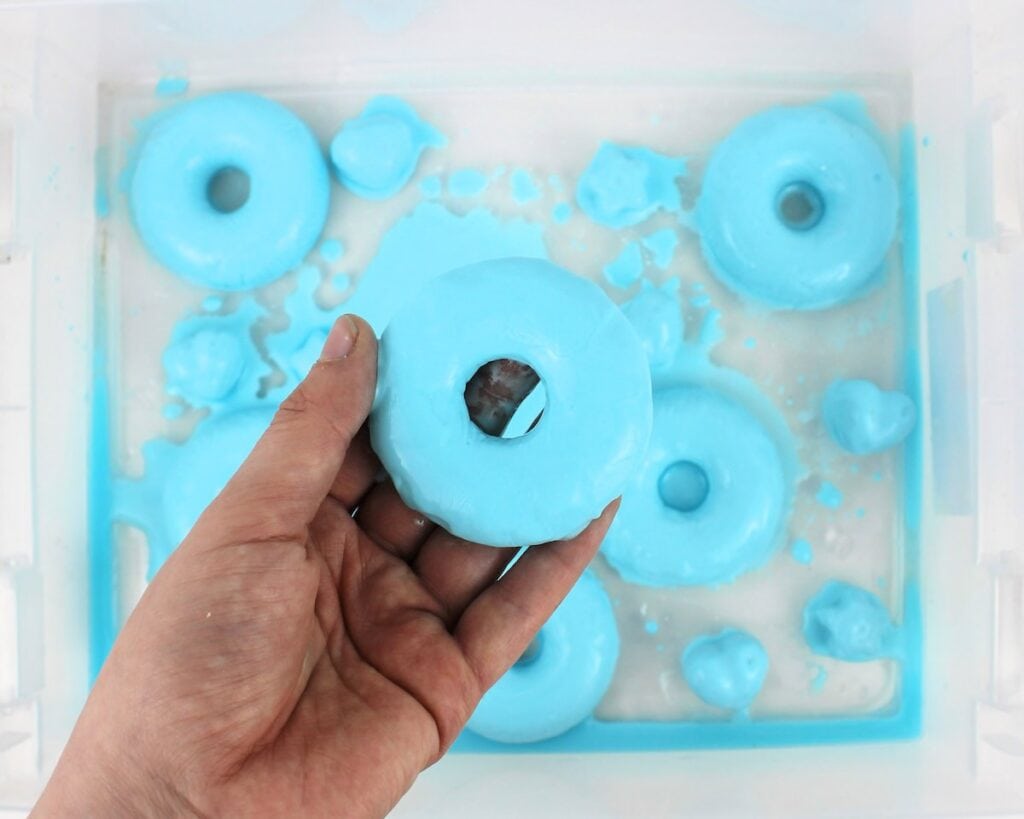
Step 4: Freeze oobleck. Leave the molds in the freezer until the oobleck is frozen solid. (This should only take a couple hours.) Pop the frozen oobleck out of the mold and place them in a plastic bin for your child to play with, storing any pieces you aren’t using in the freezer until ready to use.
My kids loved that this activity offered multiple ways to play! They started off by grabbing some droppers and warm water to see if they could melt the frozen blocks. As they melted, the blocks turned back into oobleck, and they had fun rolling it into balls with their hands, then letting it ooze between their fingers as it returned to its liquid state.

Helpful Tips
- Stick with a 1:2 ratio: I used 1 cup of water and 2 cups of cornstarch, but you can make any quantity you want as long as you use the same ingredient proportions (twice as much cornstarch as water).
- Add enough coloring: If you decide to add coloring instead of leaving the oobleck white, keep in mind that the color will lighten significantly once the cornstarch is added, so you’ll need to add extra if you want a vibrant color.
- Mix gently: When you are trying to stir the cornstarch into the water, move the spoon very gently and don’t apply too much pressure—the oobleck will turn to a solid if you push too quickly or too forcefully, and you won’t be able to stir it.
- Use a baking sheet: If you are using silicone molds rather than solid ice cube trays, make sure you place them on a baking sheet before you start pouring the oobleck. If you don’t, you’ll have a really hard time picking up the molds and placing them in the freezer.
- Add a pop of color: For added fun, make several batches in different colors to see how the colors combine as the shapes melt, or add some sprinkles (taste-safe) or glitter (not taste-safe) to the sensory bin.
- Save some for later: These is no need to use all the frozen oobleck at once! Simply store what you don’t use in the freezer and take it out on a day where you don’t have time to prep any activities.

Storage Instructions
Freezing oobleck is the best way to prep it in advance! If you want to leave some of the frozen shapes for another day, simply pop them out of the mold, place them all in an airtight container or zip-top bag and store them in the freezer until you’re ready to use them.
How to Dispose of Frozen Oobleck (Important!)
Oobleck, whether frozen or not, should never be poured down the drain, as it can clog your pipes.
To dispose of it, you’ll need to throw it in the trash. To do this, either pour liquid oobleck into a zip-top bag and toss the bag into a garbage bin, or leave it out to dry overnight and throw out the dry pieces in the morning.
Frequently Asked Questions
Have a question that wasn’t answered here? Let me know in the comments and I’ll be happy to help!
More Simple Sensory Activities


If you have tried this Frozen Oobleck or any other project on my website, please let me know how it went in the comments below. I can’t wait to hear from you!

Frozen Oobleck
Materials
- 1 cup water
- food coloring as needed
- 2 cups cornstarch
- silicone molds or ice cube trays
Instructions
- To color your oobleck, pour the water into a medium mixing bowl and stir in some food coloring. (The color will lighten significantly once the cornstarch is added, so make sure to add enough.) Skip this step to leave the oobleck white.
- Add half the cornstarch and stir until combined. Then, add the rest of the cornstarch and gently stir the mixture with a spoon. Keep stirring very gently until the ingredients have been fully combined, making sure not to apply too much force. The final result should be a liquid that turns solid when pressure is applied to it.
- Place the silicone molds or ice cube trays on a baking sheet, and carefully pour some oobleck into each of the cavities. Leave the molds in the freezer for at least 1-2 hours, until the oobleck is frozen solid. Pop the frozen oobleck out of the mold and place them in a plastic bin for your child to play with. (You can store any pieces you aren’t using in the freezer for future use.)
Video
Notes
- Stick with a 1:2 ratio: Recipe proportions can be modified as long as you respect the 1:2 ratio of water to cornstarch.
- Mix gently: When stirring the cornstarch into the water, move slowly and don’t apply too much force, as this will cause the oobleck to solidify around your spoon.
- Use a baking sheet: Make sure to place silicone molds on a baking sheet before you add the oobleck, or they will be very difficult to pick up without spilling.
- Add some color: Consider making several batches in different colors to see how the colors combine as the shapes melt, or adding some sprinkles (taste-safe) or glitter (not taste-safe) to the sensory bin.
Grab our 12 best sensory recipes!
By submitting your email address, you are agreeing to the terms of our Privacy Policy. You can unsubscribe at any time.
Only your name will be made public. Please note that by submitting your comment, you are agreeing to the terms of our Privacy Policy.