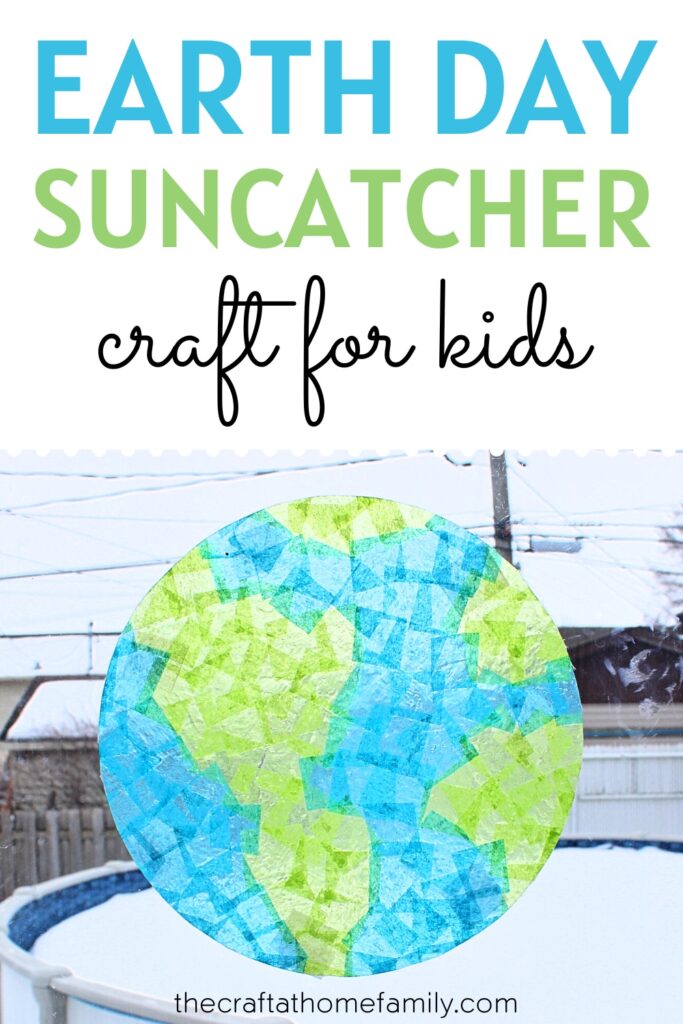
Looking for a fun craft to celebrate Earth Day with your kids? This easy Earth Day suncatcher craft only requires a few simple supplies. Decorate your windows with this lovely stained glass Earth craft to celebrate the beauty of our planet!
JUMP TO…
Do you celebrate Earth Day with your kids?
We haven’t done much up until now, but we’re planning on changing that this year… which, of course, means we’ll be trying some new Earth Day crafts and activities!
In the past week, I’ve shared this Paper Plate Earth Craft as well as this Mess-Free Earth Day Painting activity. Our kids had a blast with both!
And since I know a lot of you love art projects as much as we do, I thought I would share another idea with you today.
This Earth suncatcher craft is so easy to make, and it only calls for a few simple supplies. We already had everything we needed to make it at home.
And with a little prep work on your part, it’s also easy enough enough for toddlers and preschoolers to do with minimal help—which means you’ll be able to get other things done while you supervise!
(P.S. Looking for more simple Earth Day crafts? Check out this Coffee Filter Earth Craft or this Marbled Shaving Cream Earth Craft!)

Get hundreds of pages of activities!
Get access to all our paid printables, as well as monthly activity planners, for just $5/month. (New printables added twice per month!)
Required Materials
Here’s what you’ll need to make your very own planet Earth suncatcher at home:
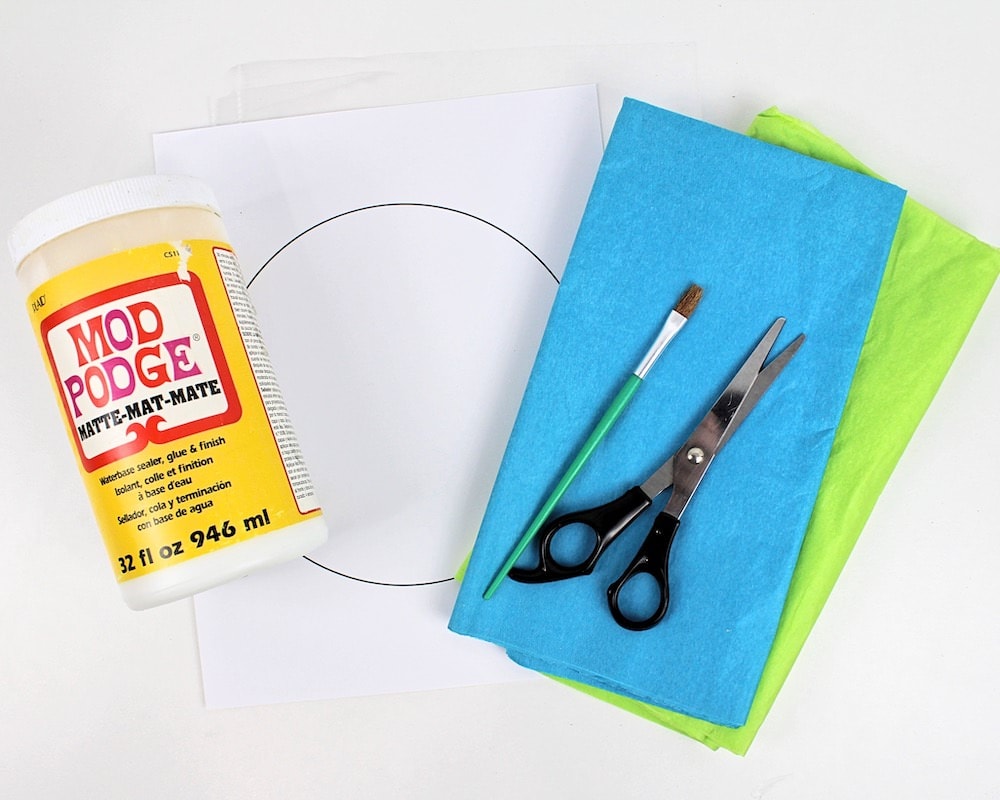
- My free round Earth template, which you can download using the form below (you can also just draw a circle yourself if you prefer, but the template is there to make things easier)
- Clear plastic sheet protector (this craft is a great way to upcycle plastic sheet protectors that you no longer use!)
- Mod Podge
- Paintbrush
- Tissue paper in blue and green (we bought ours at the dollar store)
- Scissors
- Adhesive tape (to place the suncatcher on your window)
How to Make a Suncatcher for Earth Day (Step-by-Step)
1. Print Template
Start by downloading the template and printing it on a sheet of regular US Letter-sized paper (8.5 x 11 inches). If you would rather forgo the template, you can simply draw a circle yourself on a blank sheet of paper instead.
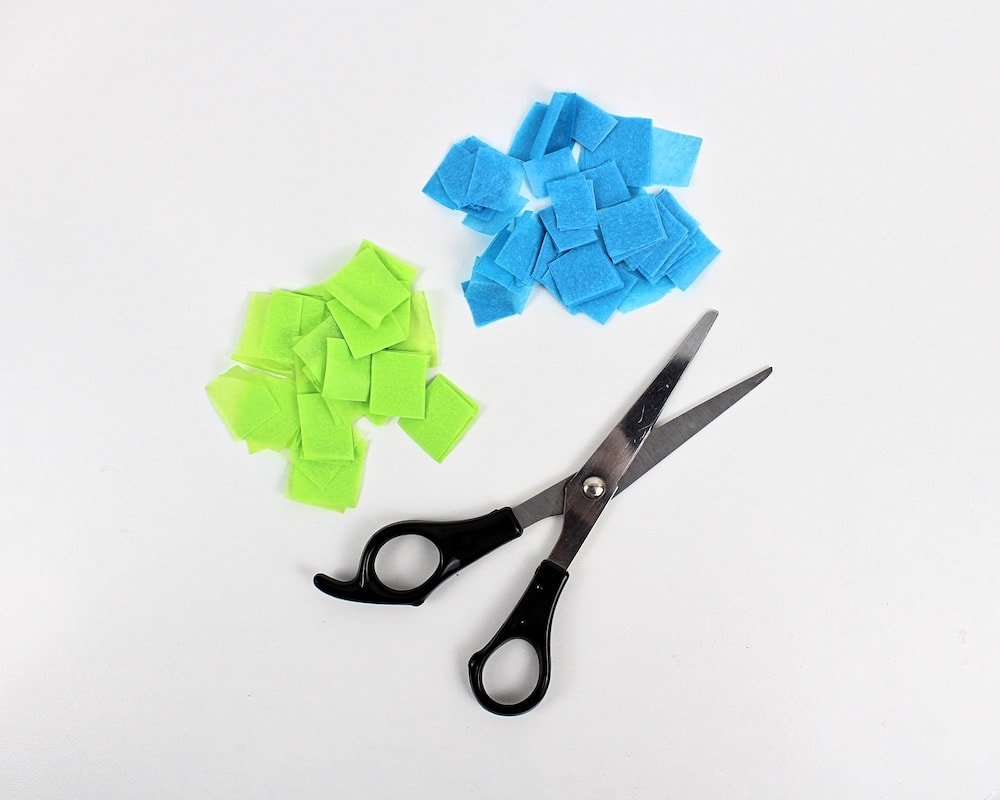
2. Cut Tissue Paper Squares
Grab some tissue paper in blue and green, and use scissors to cut it into small squares. To speed things up, you can place several sheets of tissue paper on top of each other and cut multiple squares simultaneously.
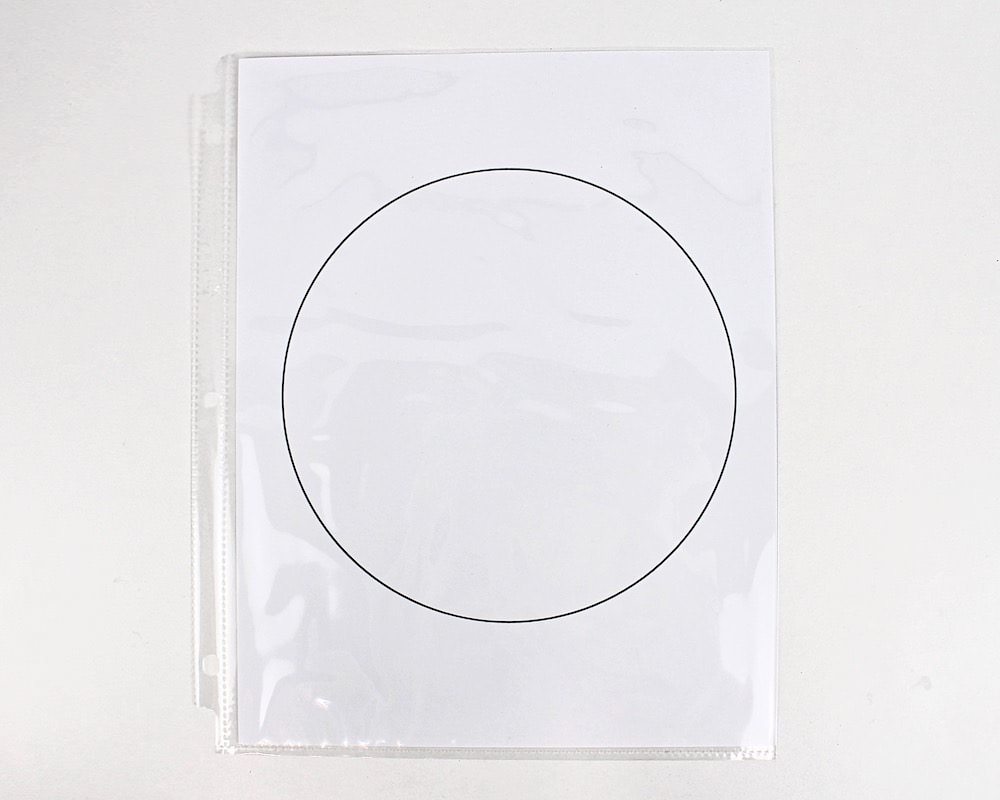
3. Place Template in Sheet Protector
Place the template you printed inside the plastic sheet protector.
4. Spread Mod Podge on Sheet Protector
Use a paintbrush to cover the side of the sheet protector where the template is visible with Mod Podge.
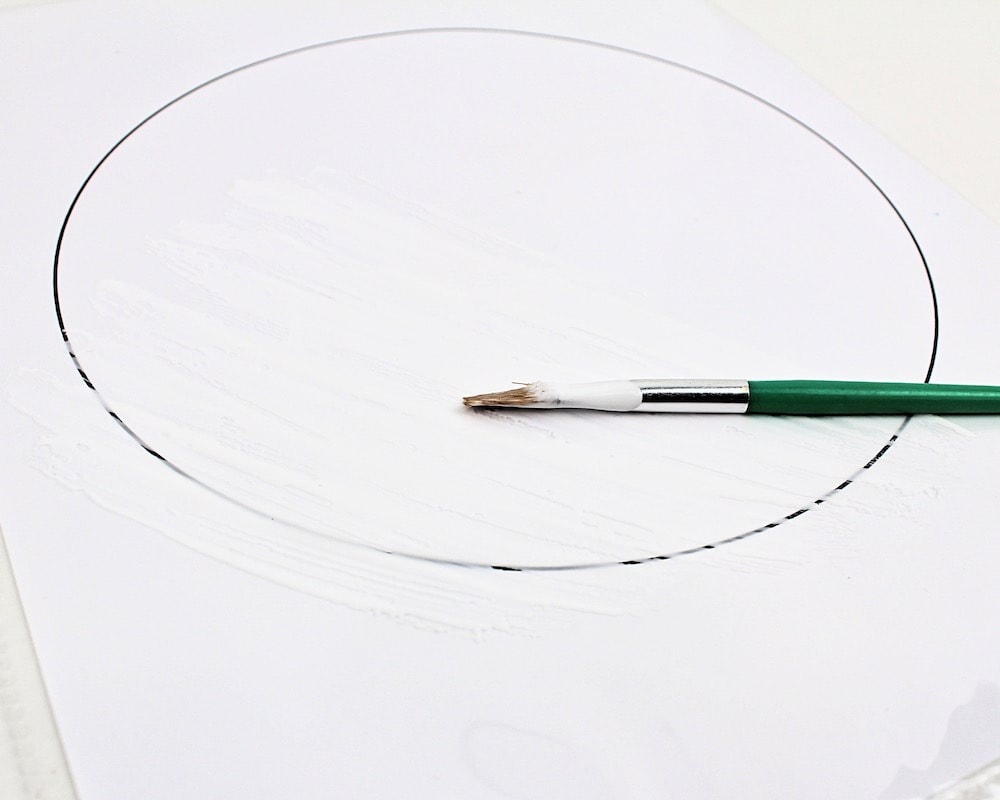
You’ll eventually need to cover the entire template, but for now, focus on covering part of it so that you can start the craft. If you cover everything right from the start, the Mod Podge may have time to dry before you have a chance to cover the whole template with tissue paper.
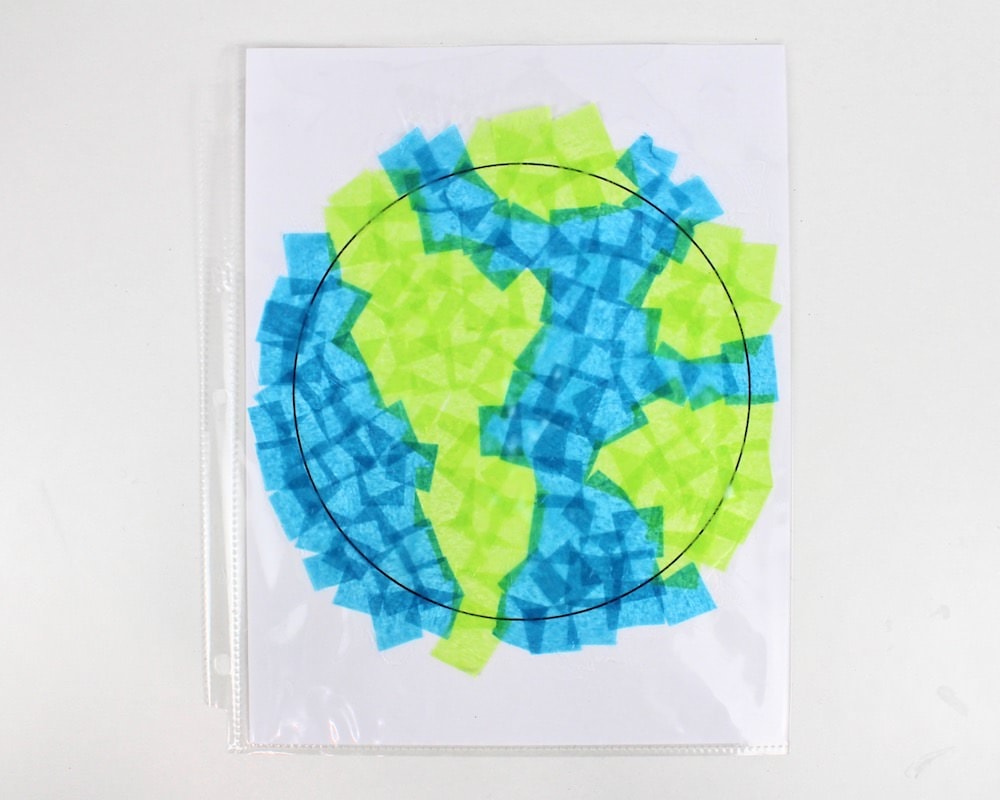
Make sure the area you cover slightly exceeds the perimeter of the template as you’ll want all the edges of the circle to be covered with tissue paper.
5. Place Tissue Paper on Mod Podge
Gently press the squares of tissue paper onto the Mod Podge.
For added realism, I started with green and decided to try to recreate the shape of the continents—but this is completely optional. If you’re making this craft with young kids, letting them place the tissue paper wherever they like is totally fine.
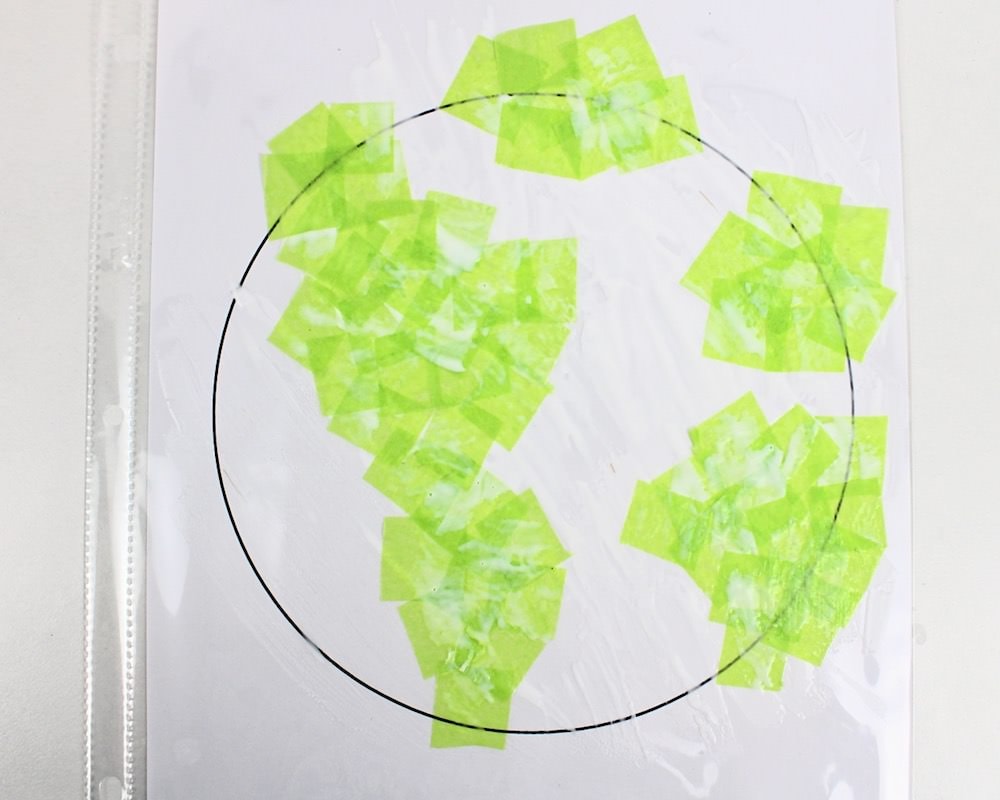
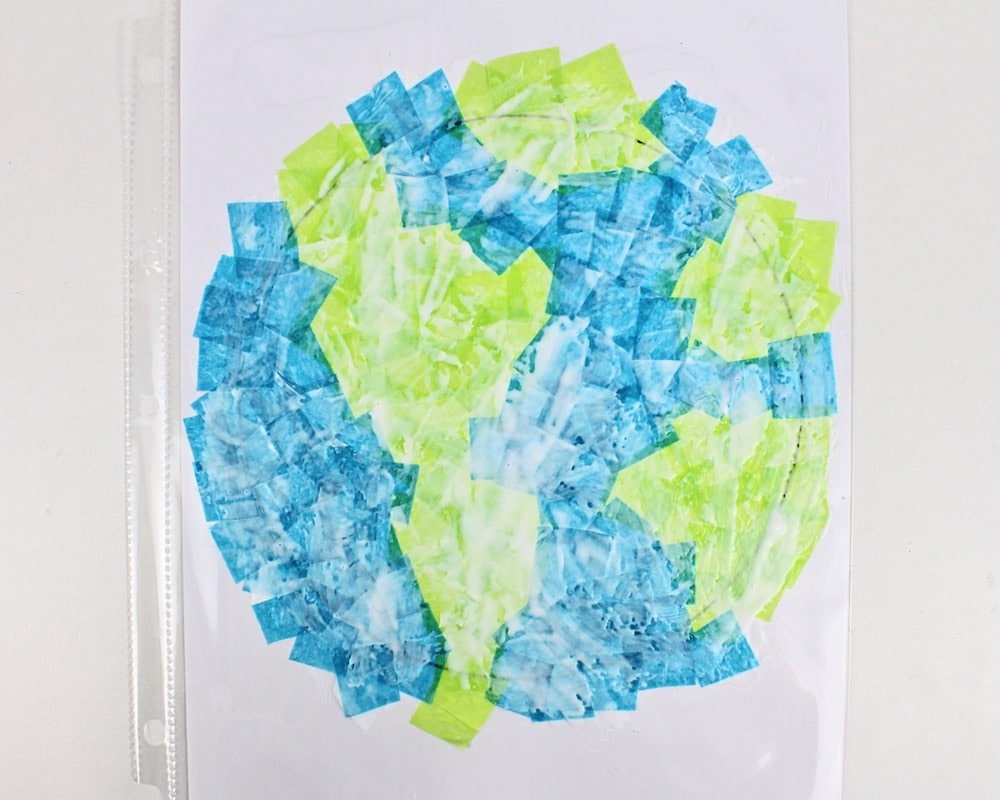
Continue until the entire surface of the circle (plus a little extra) is covered in tissue paper squares, adding more Mod Podge as needed to make the tissue papers stick to the sheet protector and to each other.
6. Cover with Mod Podge
As mentioned above, you should expect to add Mod Podge throughout the whole process of adding the tissue paper squares.
But once you’ve added all the tissue paper squares you need, you’ll want to add an additional layer of Mod Podge to make sure all of the tissue paper is covered with it.
7. Let Mod Podge Dry
Let your handiwork rest until all the Mod Podge has finished drying.
8. Cut Template
Once the Mod Podge is completely dry, grab firm hold of the sheet protector to prevent the template from moving, and use scissors to cut along the edge of the circle.
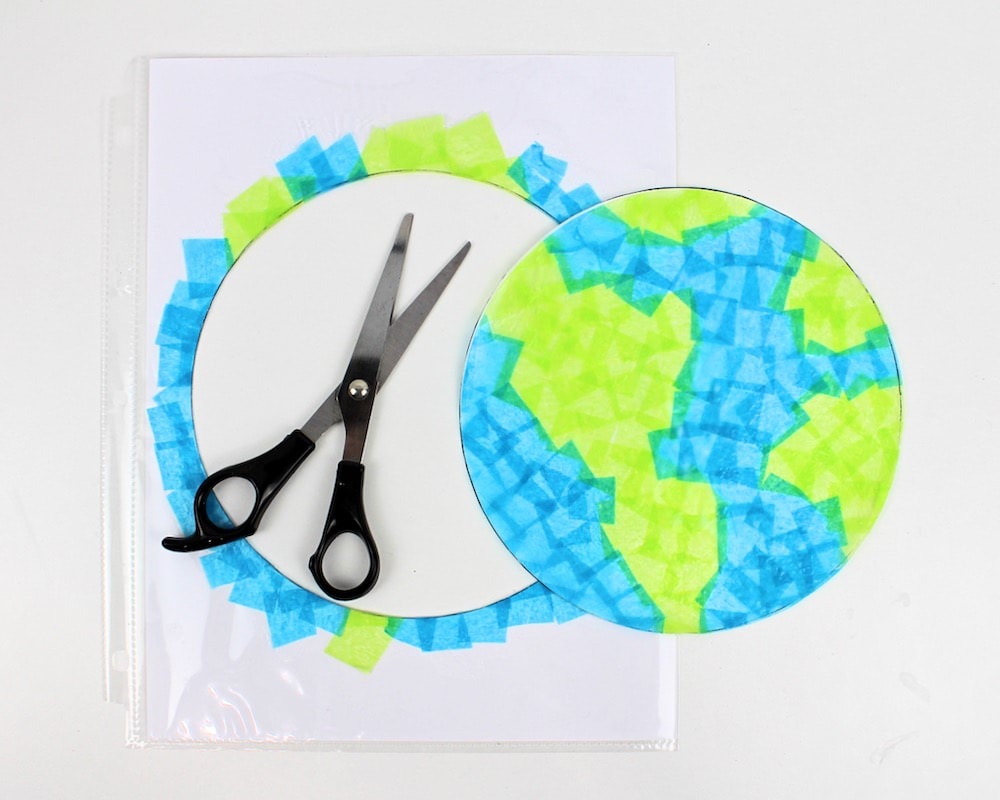
As you cut, it may get a little harder to hold the template in place. If you’re concerned about that, feel free to trace along the lines with a pencil before you start cutting. That way, if the template moves, you can simply keep cutting along the pencil-drawn lines.
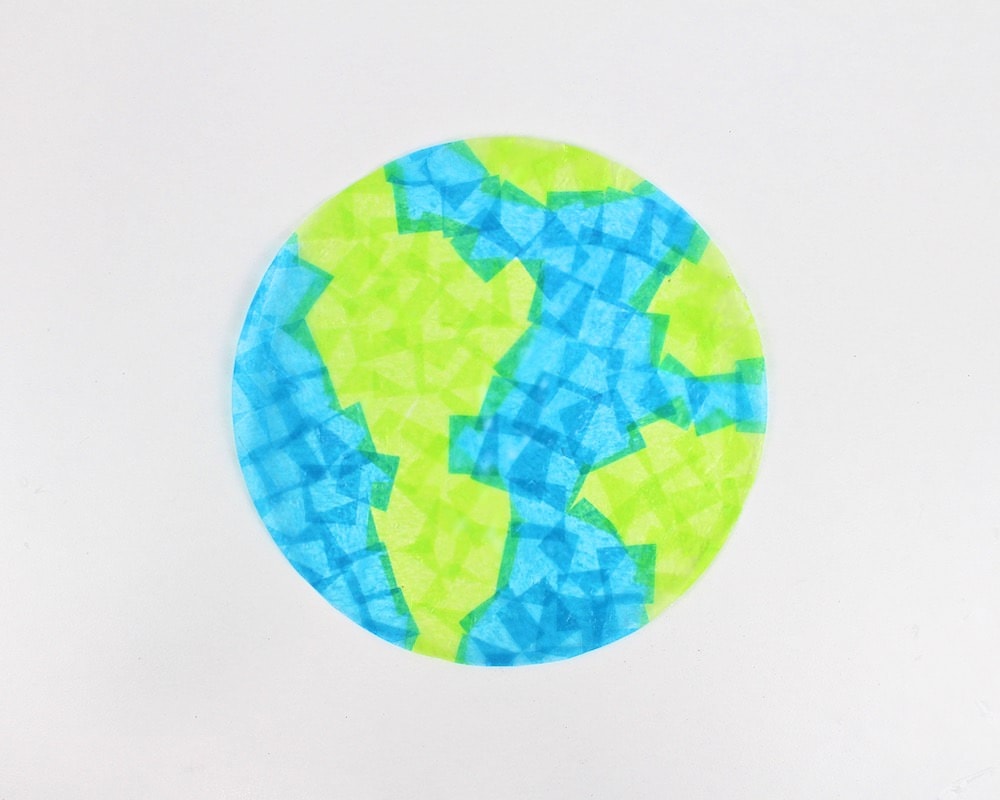
9. Hang on Window
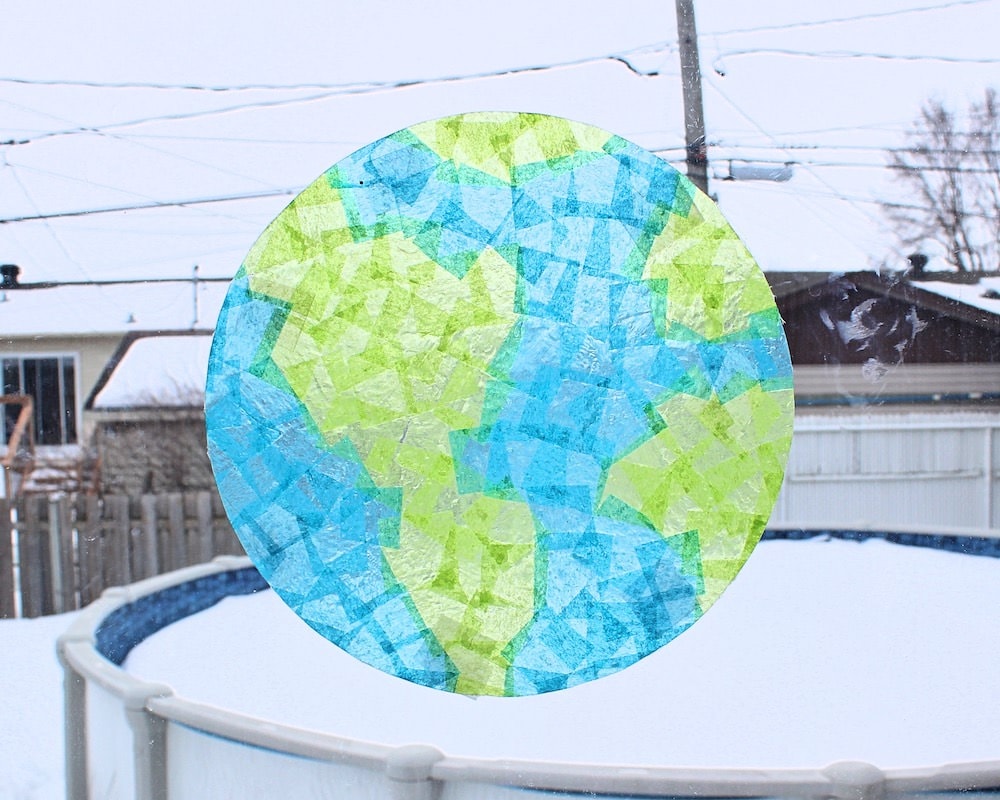
Now that you’ve cut it into the shape of a circle, your suncatcher is ready to display!
Grab some double-sided tape (or simply use regular adhesive tape and fold it onto itself so that it forms a loop) and place it all around the edges. Then, press the suncatcher onto one of your windows and watch as the sunlight is reflected through it!
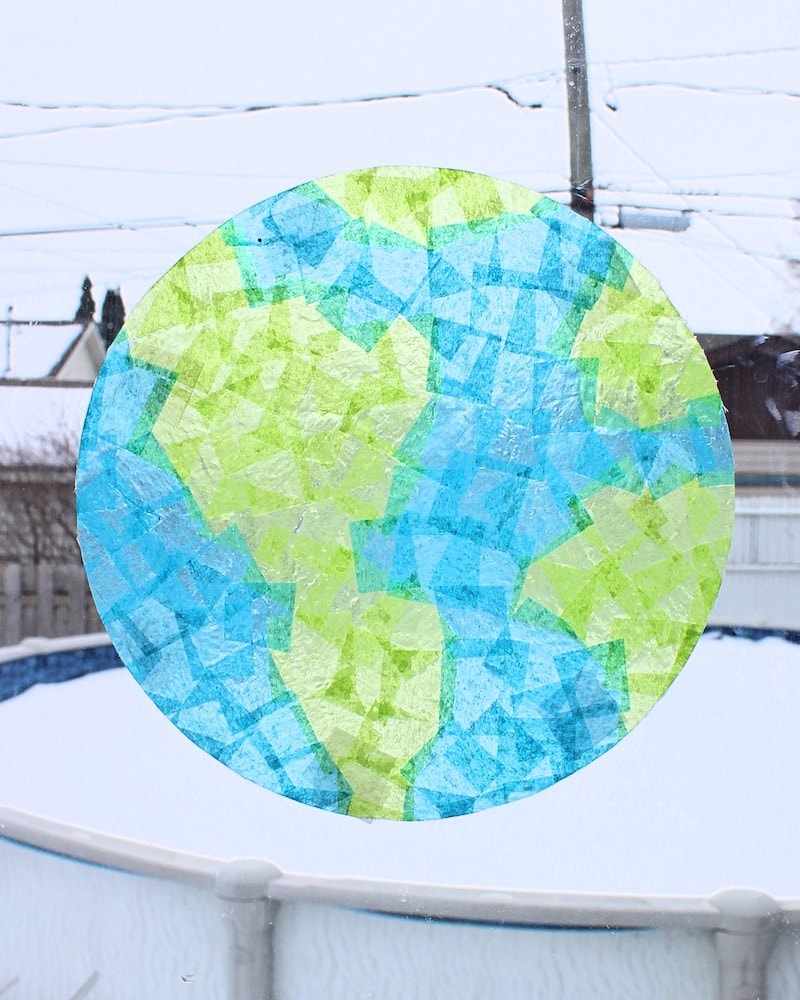
Don’t mind the snow in the picture… we still have lots of it in March in my part of Canada.
But didn’t the suncatcher turn out gorgeous? It kind of looks like stained glass!
Related Suncatcher Crafts
Looking for more fun suncatcher crafts to make with your kids? Check out these articles:
Only your name will be made public. Please note that by submitting your comment, you are agreeing to the terms of our Privacy Policy.