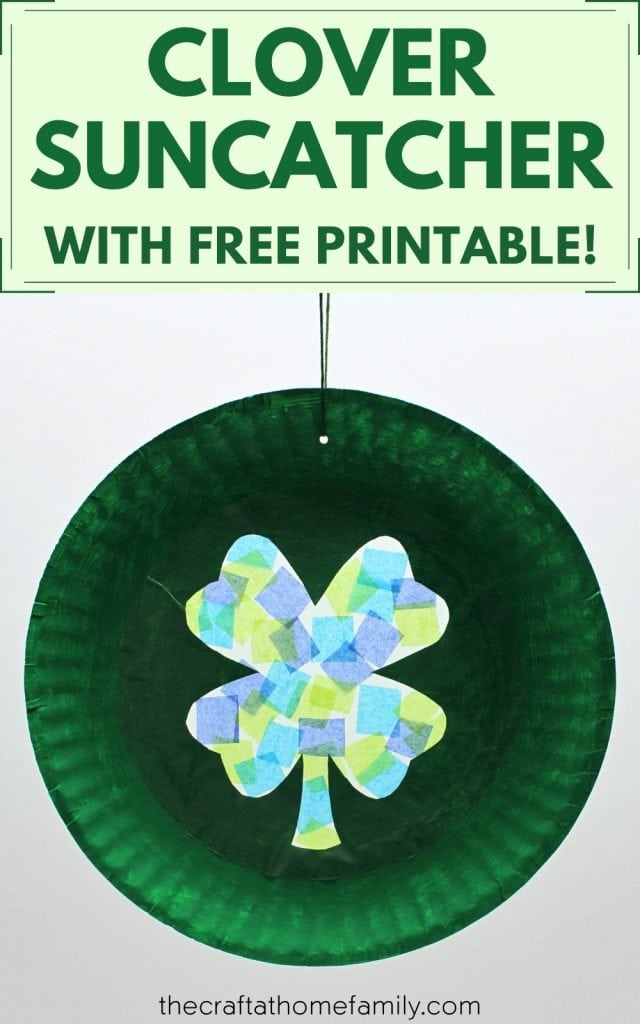
This gorgeous DIY suncatcher makes a great Saint Patrick’s Day craft that’s sure to brighten up any window! Kids will love how fun it is to make—and the included shamrock and four-leaf clover templates will ensure that it’s easy, too!
JUMP TO…
Looking for the printable? Enter your email address in the sign-up form!
After the sea of pink and red crafts we made for Valentine’s Day comes a wave of green and rainbow-colored crafts in honour of Saint Patrick’s Day. And ever since I created a set of shamrock and four-leaf clover templates, we’ve been experimenting with all sorts of clover-themed crafts!
This particular one might be our favorite. In fact, the kids loved creating DIY suncatchers so much that we now have enough to place one in front of every first-floor window in our house!
They look so pretty when the sunlight shines through them—and with just a little bit of prep work, they’re so simple to make that even our 20-month-old was able to participate!
Needless to say, we’ll definitely be adding this craft to our repertoire. And if you’ve never made suncatchers from paper plates before, the free template I created makes this the perfect time for you to try!

Get hundreds of pages of activities!
Get access to all our paid printables, as well as monthly activity planners, for just $5/month. (New printables added twice per month!)
Required Materials
Here’s what you’ll need to turn a paper plate into a gorgeous clover-shaped suncatcher:
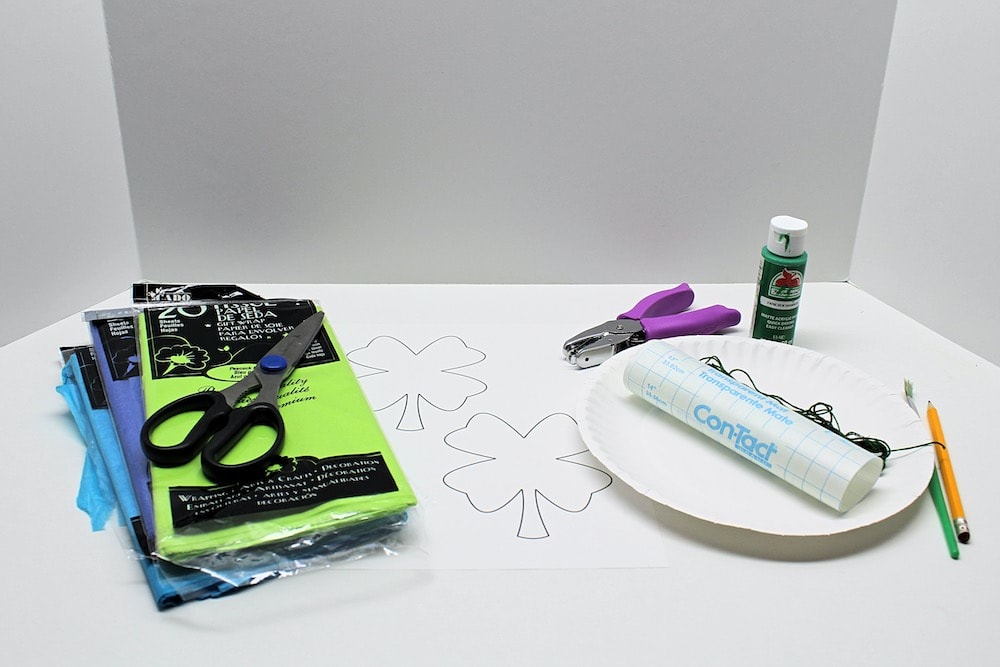
- My free shamrock and four-leaf clover template, which you can download using the form at the bottom of this article
- Paper plate
- Pencil
- Scissors
- Acrylic paint (you could probably use washable kids’ paint if that’s what you have)
- Paintbrush
- Contact paper
- Tissue paper
- Hole punch
- String or embroidery thread
How to Make a Four-Leaf Clover Suncatcher (Step-by-Step)
1. Print Template
Start by printing a single page of the template on regular printer paper.
The file includes shamrocks and four-leaf clovers in four different sizes: large, medium, small and mini. We chose to use a medium four-leaf clover and it turned out to be the perfect size for our plate!
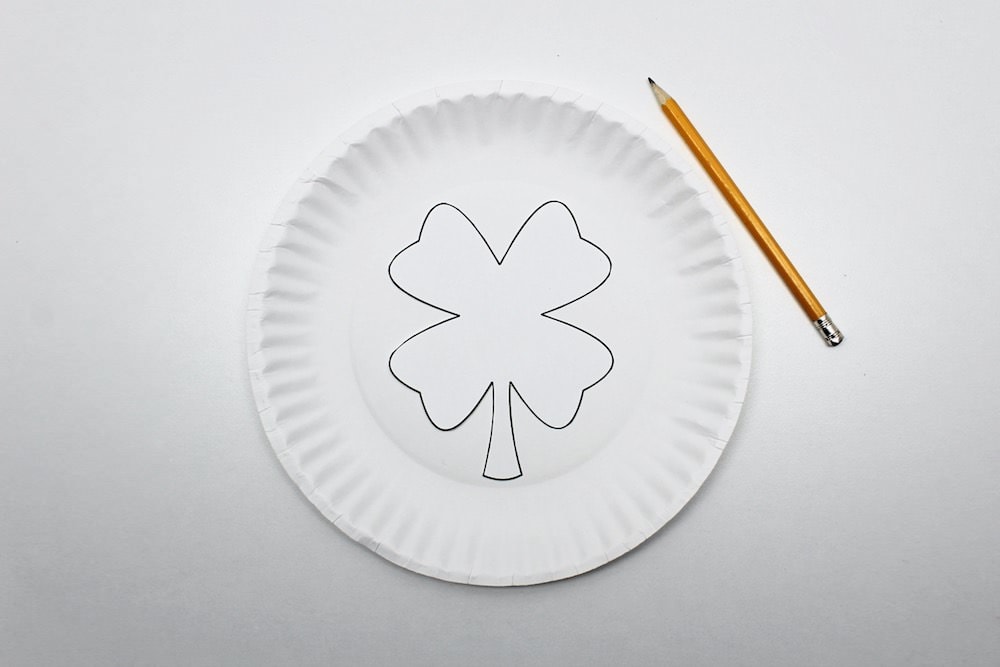
2. Cut & Trace Template
Once you’ve chosen and printed the shape of your choice, cut along the lines with scissors, then use a pencil to trace a clover on the inside of your paper plate.
3. Cut Paper Plate
Cut along the lines you traced to create a clover-shaped hole in the middle of your paper plate.
To make things easier, I poked a hole in the middle of the plate and removed each leaf separately using a sharp pair of scissors. You’ll only be needing the surrounding paper plate, so it’s fine if the clover itself gets cut into multiple pieces since it can simply be discarded after this step.
4. Paint Paper Plate
Once you’ve created a clover-shaped hole inside your plate, use acrylic paint to color the rest of it. We chose to use a dark green color.
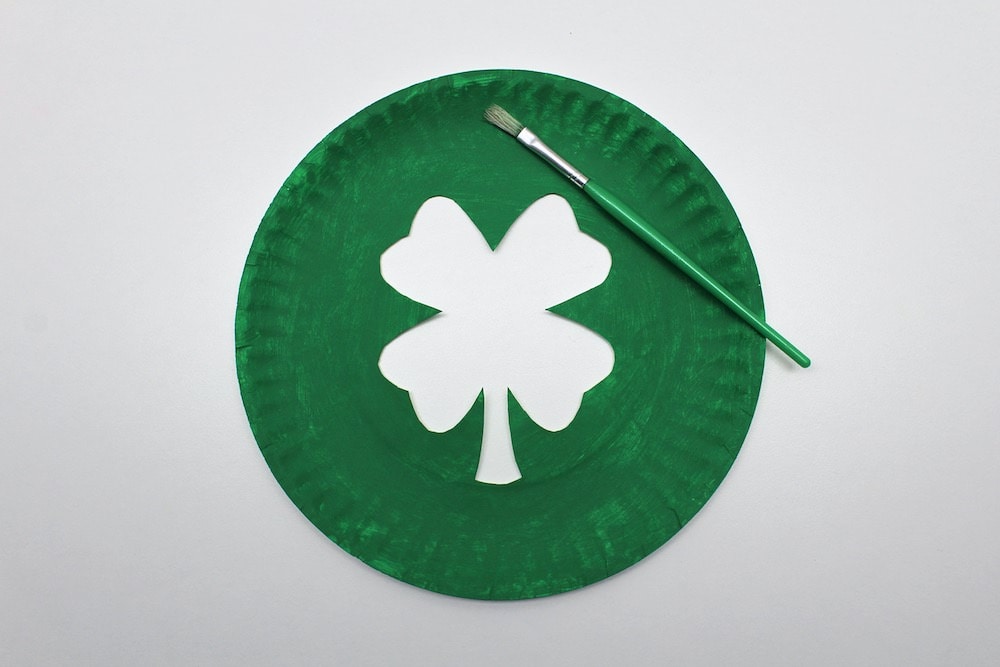
Be sure to let the paint dry before you move on to the next step!
5. Cut Contact Paper
Trace a circle on the back of a piece of contact paper and use scissors to cut along the line you’ve traced. The circle should be approximately the size of the inside border of your paper plate.
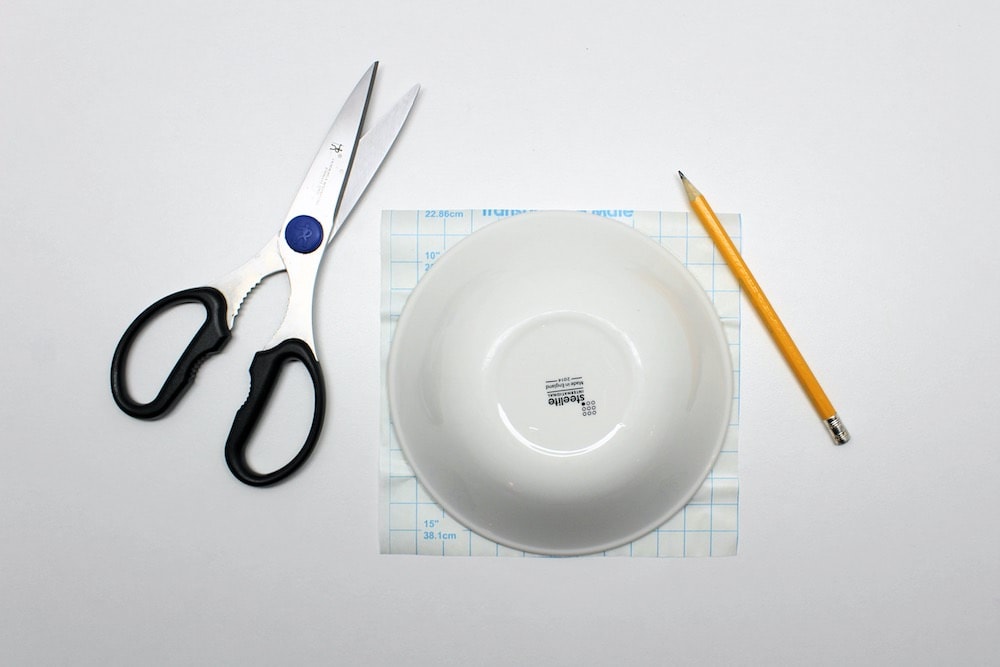
We happened to have a set of bowls that were the perfect size for this, so we used them as a guide to help trace the circle. Feel free to use any object you have lying around that could simplify this process!
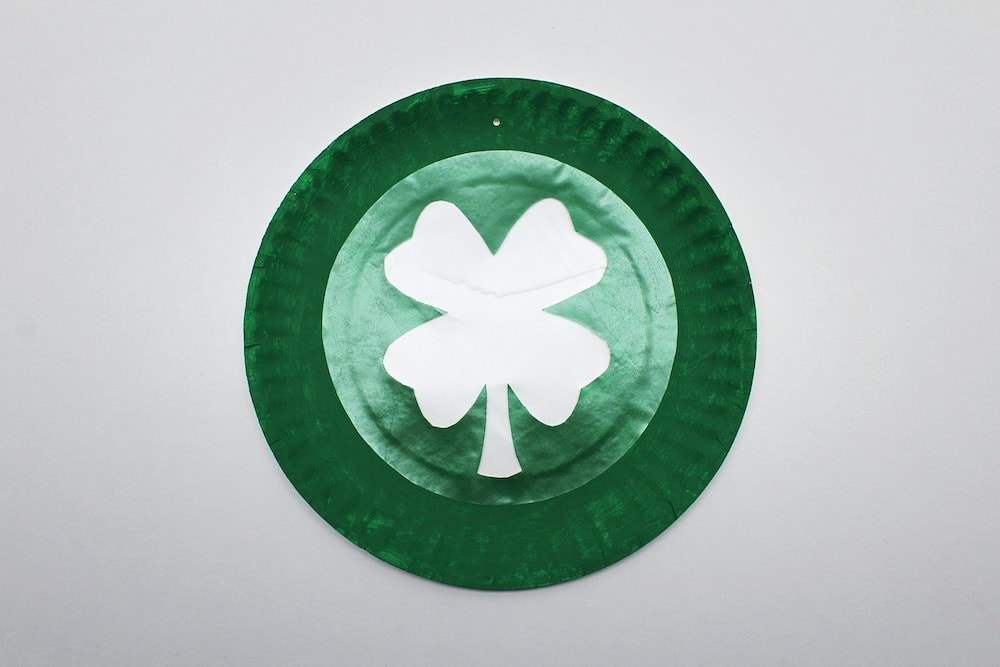
6. Place Contact Paper on Paper Plate
Once you’ve cut your contact paper in the shape of a circle, peel it off and place it on the plate. The sticky side of the contact paper should face the inside of the plate and be partially exposed when the plate is turned upside down (through the clover-shaped hole).
7. Cut Tissue Paper
Use scissors to cut some tissue paper into small squares. We opted to use light green and two separate shades of blue.
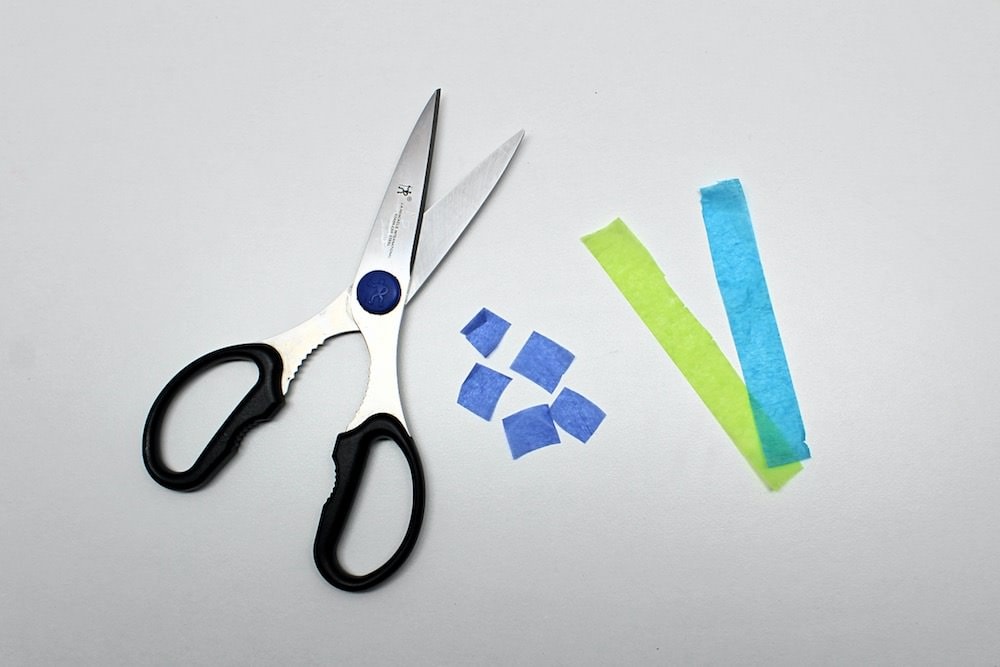
If you have young kids, you can also ask them to simply tear up the tissue paper instead of cutting it into squares. This is a great way to get them to participate in a way that channels their destructive energies. (Click here to find more low-prep activity ideas for destructive toddlers!)
8. Cover Contact Paper with Tissue Paper
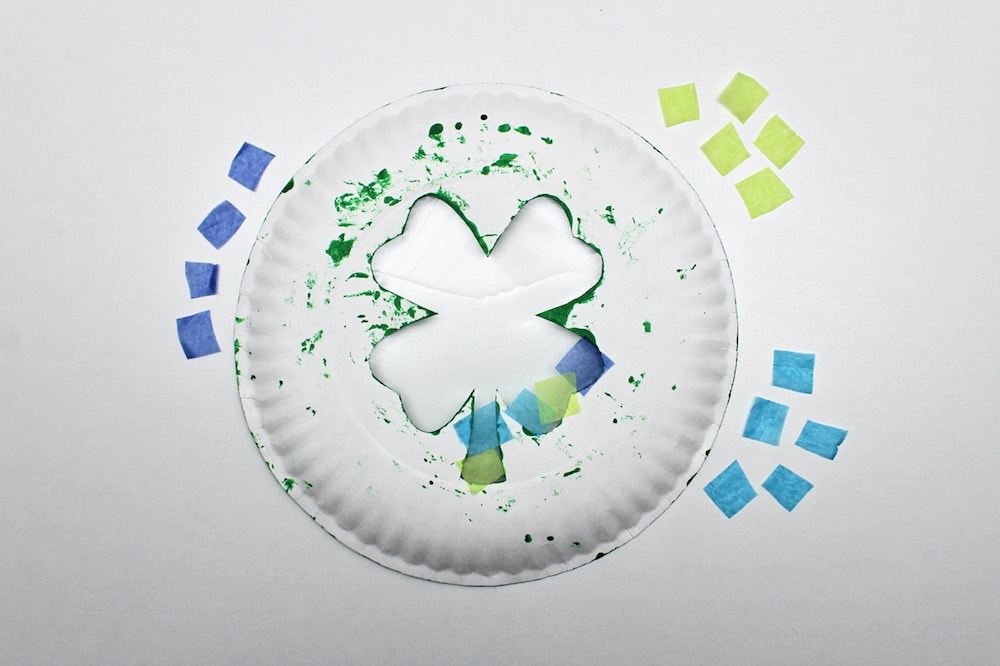
Once the tissue paper has been cut or torn into little pieces, turn the paper plate upside down and place the pieces of tissue paper on the sticky side of the contact paper. It should be poking through the clover-shaped hole at the bottom of the plate.
9. Hang Suncatcher
Once you’re done covering up the contact paper, use a hole punch to make a small hole at the top of the paper plate. (I used my ⅛-inch hole punch, but feel free to use whatever you have on hand.)
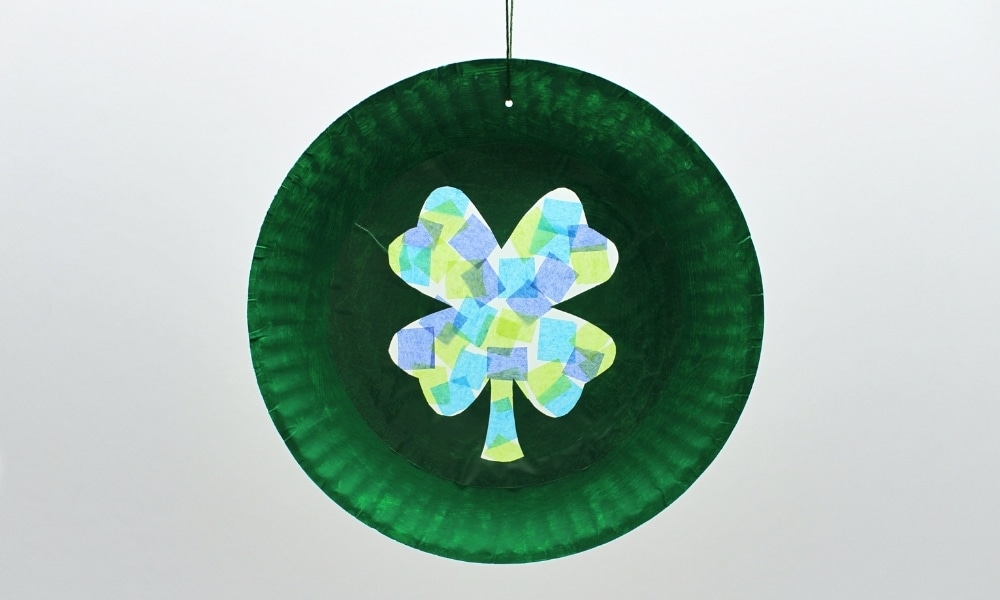
Then, pass a piece of string or embroidery thread through the hole and use it to hang you suncatcher in front of a window. The sunlight will shine through the tissue paper inside the clover-shaped hole!

Isn’t it so pretty? No wonder our kids have been making so many suncatchers since we completed this project!
Related Saint Patrick-Themed Crafts
Looking for more Saint Patrick’s Day crafts to do at home with your kids? Check out this article for lots of fun suggestions:
I will be using for a craft for our Senior Living Memory Cary Facility.
Love that! I hope it’s a hit. ❤️