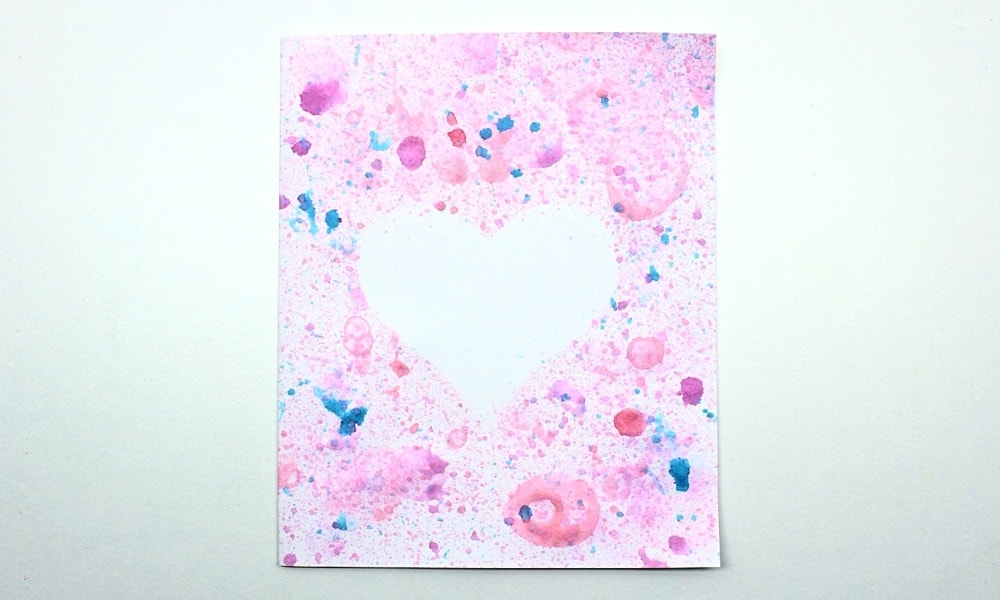
If you’ve never tried bubble painting, this cute homemade card is a great reason to try—and it also makes an original gift to give to family and friends! This fun process art activity is the perfect way to get your kids crafting for Valentine’s Day!
This post may contain affiliate links, which means I may receive a commission, at no extra cost to you, if you make a purchase through a link. As an Amazon Associate, I earn from qualifying purchases. Please see my full disclosure for further information.
JUMP TO…
We first tried bubble painting a couple summers ago. We set up a little table outside, laid out some sheets of cardstock and used dollar-store bubble guns to create colourful patterns on the paper.
We enjoyed it so much that we now keep some tinted bubble liquid specifically for that purpose, and we take it out every now and again when we feel like doing something a little different with our artwork.
While we usually use it to create abstract art, I thought it would be an original way to decorate a homemade card for Valentine’s Day—and of course, my children agreed! After all, what kid doesn’t love to blow bubbles?
Required Materials
Here’s what you’ll need to make these pretty homemade bubble cards for Valentine’s Day:
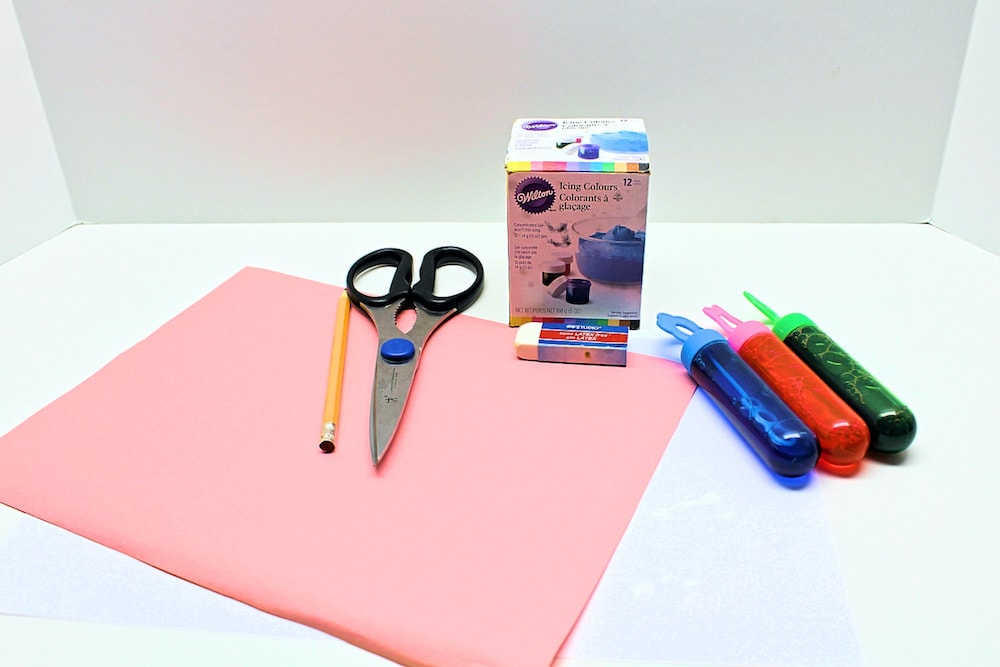
- White cardstock (mine was Legal-sized)
- Construction paper or regular printer paper (you can even use scrap paper from the recycling since it will simply be used as a template and won’t be part of the finished craft)
- Pencil
- Scissors
- Eraser
- Bubble wands & liquid
- Food colouring or liquid watercolours (I only tried with food colouring, but they’re usually pretty interchangeable)
How to Make a Bubble-Painted Heart Card (Step-by-Step)
1. Fold Paper
Start by folding both your cardstock and construction paper in half. The cardstock will be used to create the card while the paper will be used to create a heart-shaped template.
2. Create Heart Template
Using a pencil, draw half a heart along the folded side of the paper.
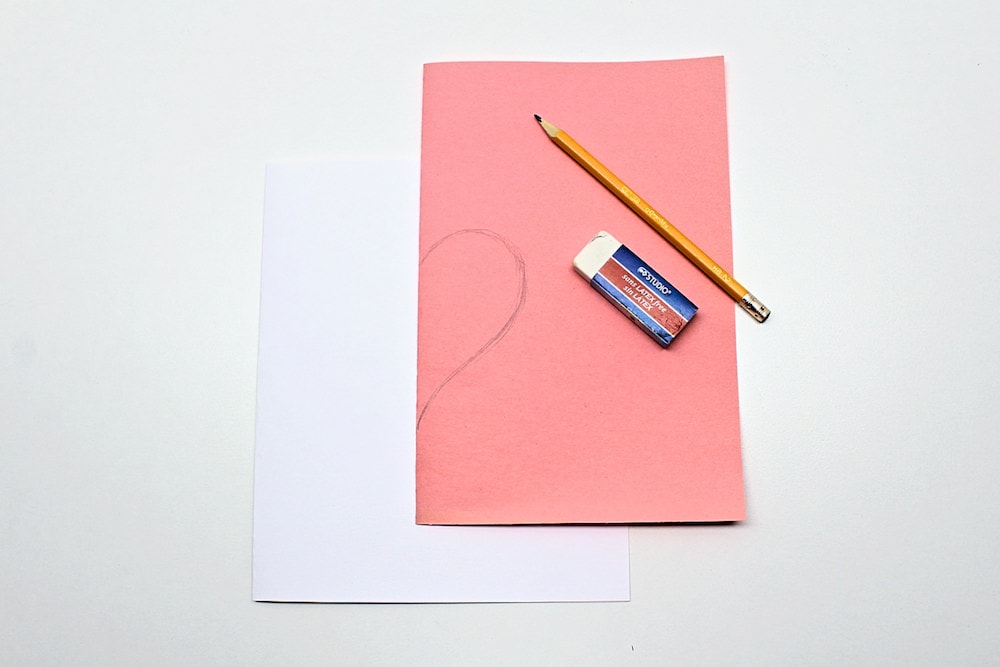
Hold it up against the cardstock to make sure that the heart won’t be too big once the paper is unfolded, then cut along the line you traced.
Unfold the paper to reveal your heart template.
3. Add Colour to Bubble Liquid
Add a few drops of food colouring or liquid watercolour paint to the bubble liquid. If you wish to use several different colours like I did, place the bubble liquid in separate containers before adding the colouring.
I used pink, purple and a little bit of blue because I thought those colours would look great for Valentine’s Day, but you can use whichever colours you prefer.
4. Position Template
Position the heart template on top of the cardstock, then use an eraser to weigh it down and prevent it from moving.
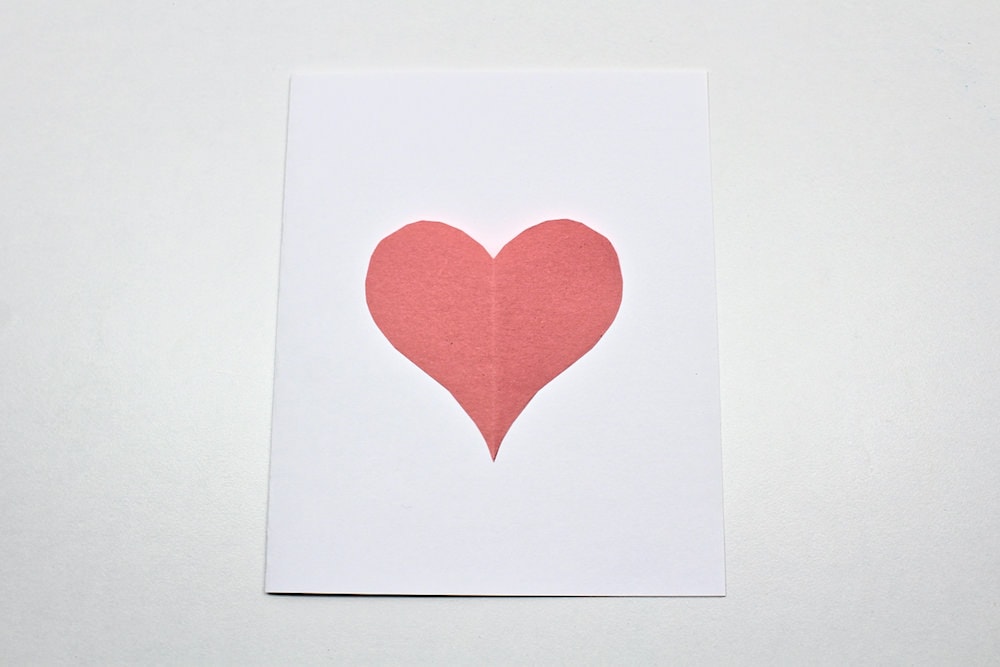
Note: I used an eraser, but you’re obviously free to use any other small object that weighs enough to prevent the template from moving when you blow on it.
4. Blow Bubbles
Now comes the fun part—with the heart template weighed down, start blowing bubbles in the direction of the card!
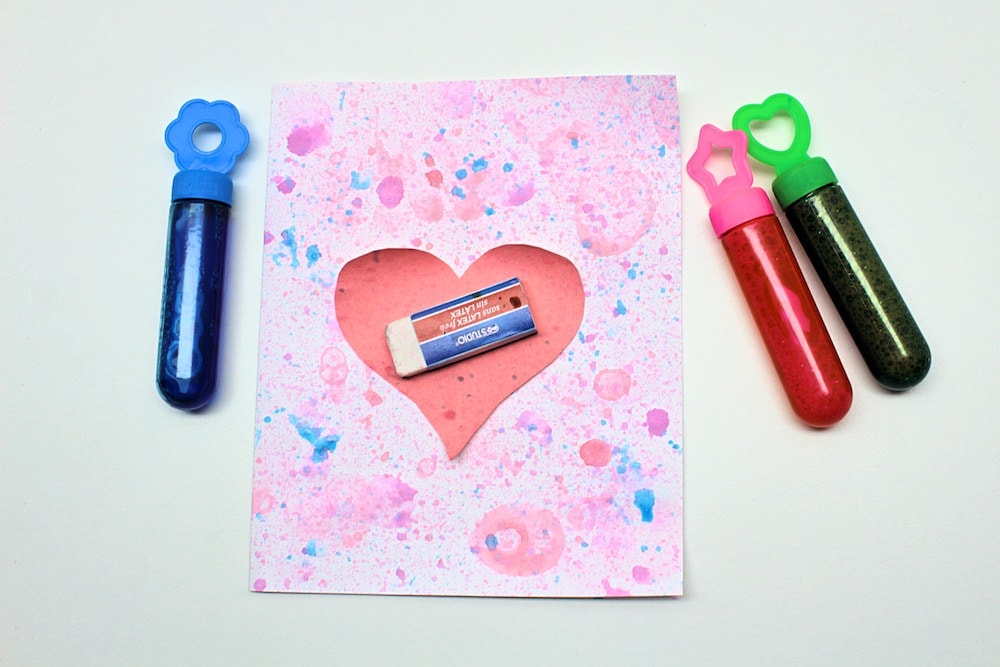
The template may curl up a bit as it gets wet from the bubble liquid, but that’s normal and not a big deal. Just make sure it’s weighed down enough that it doesn’t move around!
5. Remove Template
Once you’re happy with the way your card looks, remove the heart template and let the bubble liquid dry. Then, write whatever you want inside the card and gift it to your loved ones!
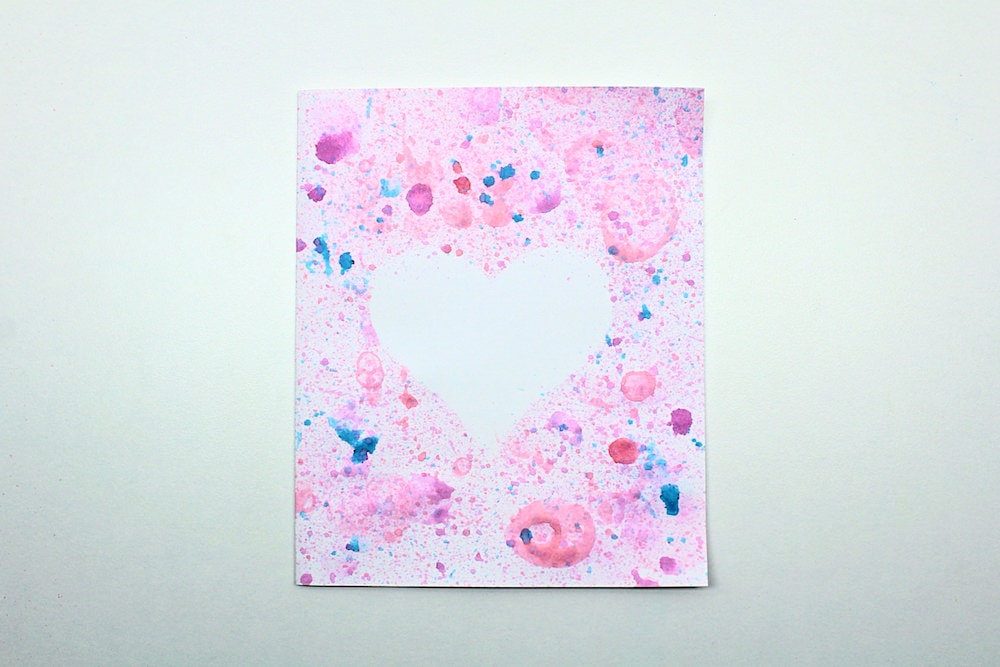
Note: Since bubble liquid is wet, the card may curl up a little on the edges. If that happens, you can place it inside a heavy book to make it flat again. (But make sure it’s completely dry first so you don’t stain your book!)
We had lots of fun with this craft, and the end result is so pretty! But even if you don’t do this particular project, you should definitely try bubble painting with your kids!
Related Valentine-Themed Crafts
Looking for more crafts to do with your kids for Valentine’s Day? Check out these articles:
You can also subscribe to my newsletter to receive fun craft and activity ideas right in your inbox! Subscribers gain access to my free printables library and to fun bonuses that may never be available on my site!
Only your name will be made public. Please note that by submitting your comment, you are agreeing to the terms of our Privacy Policy.