
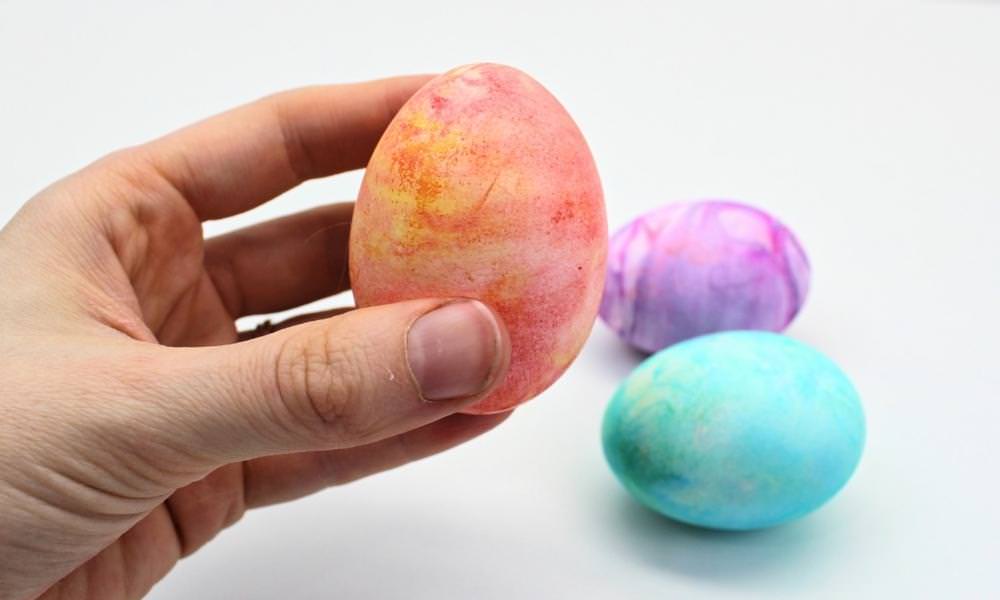
Did you know you could use Cool Whip and food coloring to decorate Easter eggs? Dyeing hard boiled eggs in whipped cream is so fun, and it’s also 100% edible—so you should definitely give this technique a try the next time you’re making devilled eggs!
JUMP TO…
Can you believe Easter is already almost here? It seems like just yesterday that we were hanging our stockings and decorating our Christmas tree.
With Easter, of course, comes egg decorating. And ever since we made Kool-Aid Dyed Easter Eggs, I’ve been on the lookout for more ways to dye hard boiled eggs.
Shaving cream marbling has long been one of our favorite process art activities. And as it turns out, you can use a similar technique to decorate Easter eggs!
We LOVE how this craft turned out, but even better is the fact that unlike the crafts we’ve made using shaving cream, these eggs were dyed using whipped cream and food coloring.
This means that after you’re done decorating them, they remain 100% edible and you can simply crack them and eat them for supper!

Get hundreds of pages of activities!
Get access to all our paid printables, as well as monthly activity planners, for just $5/month. (New printables added twice per month!)
Required Supplies
Here’s what you’ll need to color Easter eggs using whipped cream:
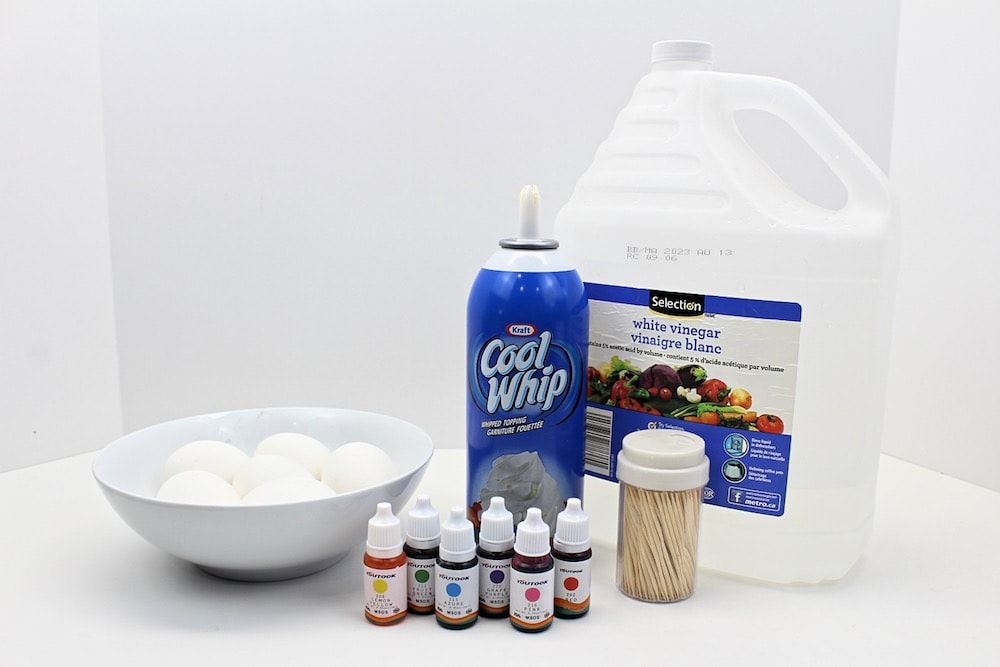
- Hard boiled eggs
- White vinegar
- Cool Whip or whipped cream (you can also use frozen whipped topping)
- Liquid food coloring
- Toothpick
- Paper towels
Note: This isn’t mandatory, but I also recommend wearing latex or nitrile gloves when dipping the eggs to prevent your hands from getting stained with food coloring.
How to Make Cool Whip Dyed Easter Eggs (Step-by-Step)
1. Soak Eggs in Vinegar
Start by placing the eggs in a bowl and covering them with white vinegar. Leave the eggs in the bowl for 2-5 minutes, then remove them and place them on a paper towel to dry.
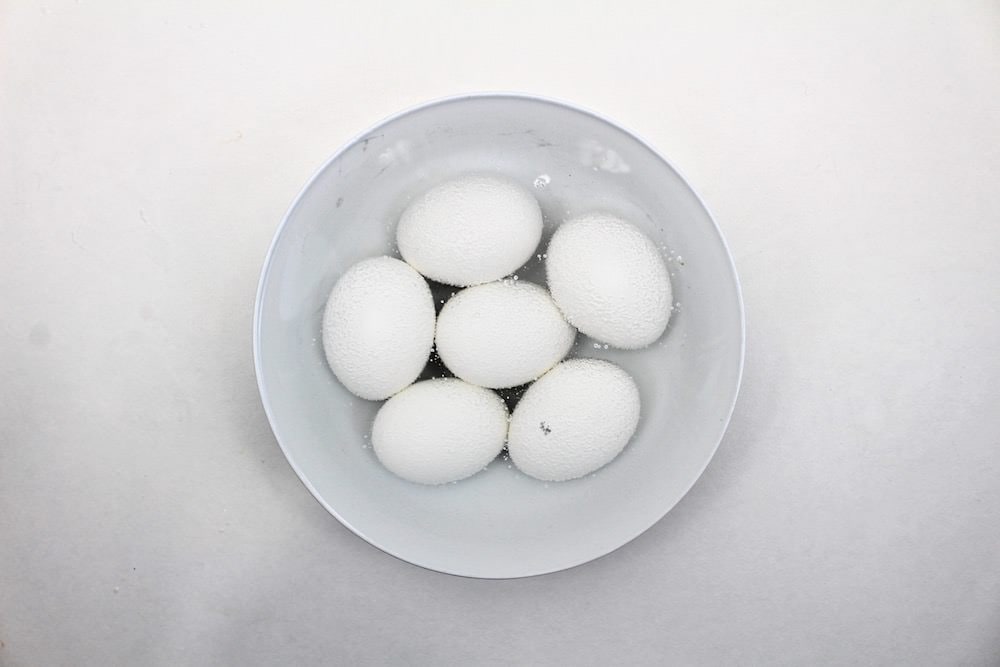
The acidity from the vinegar will strip the egg shells of oils and debris, and it will create a chemical reaction with the calcium from the shells that will help them absorb color better. You can always skip this step if you want, but be aware that the colors won’t be as vibrant.
Note: You can dilute the vinegar with water to save money. One teaspoon of vinegar per ½ cup of water should work just fine.
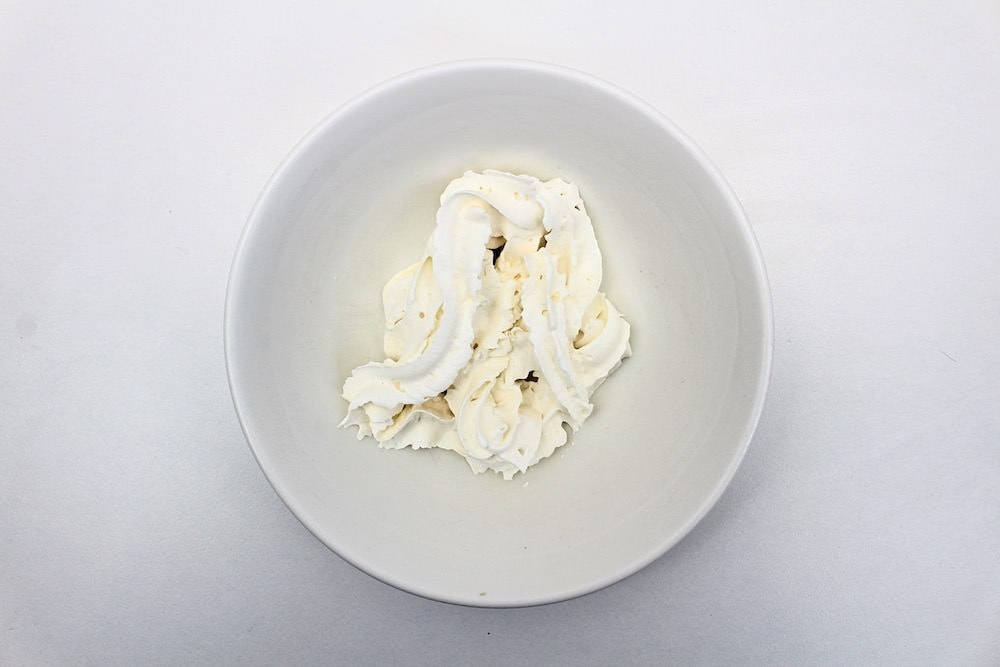
2. Place Cool Whip in Bowl
Place some Cool Whip—or another brand of whipped cream—in a small- to medium-sized bowl. The bowl doesn’t have to be very big, but it should be big enough to allow you to dip each egg in the whipped cream without causing it to overflow. (You can also use a baking sheet, or you can fill multiple cavities of a jumbo muffin tin.)
Repeat this for each color of Easter egg that you want to make.
I actually ran out of Cool Whip halfway through this project, but I happened to have some frozen whipped topping in the freezer, so I let it thaw for a few minutes and mixed some of it in with the Cool Whip.
The eggs turned out exactly the way they were supposed to, so if ever you don’t have any Cool Whip on hand, frozen whipped topping would make an excellent substitute!
3. Add Food Coloring
Add a few drops of food coloring to each bowl of whipped cream.
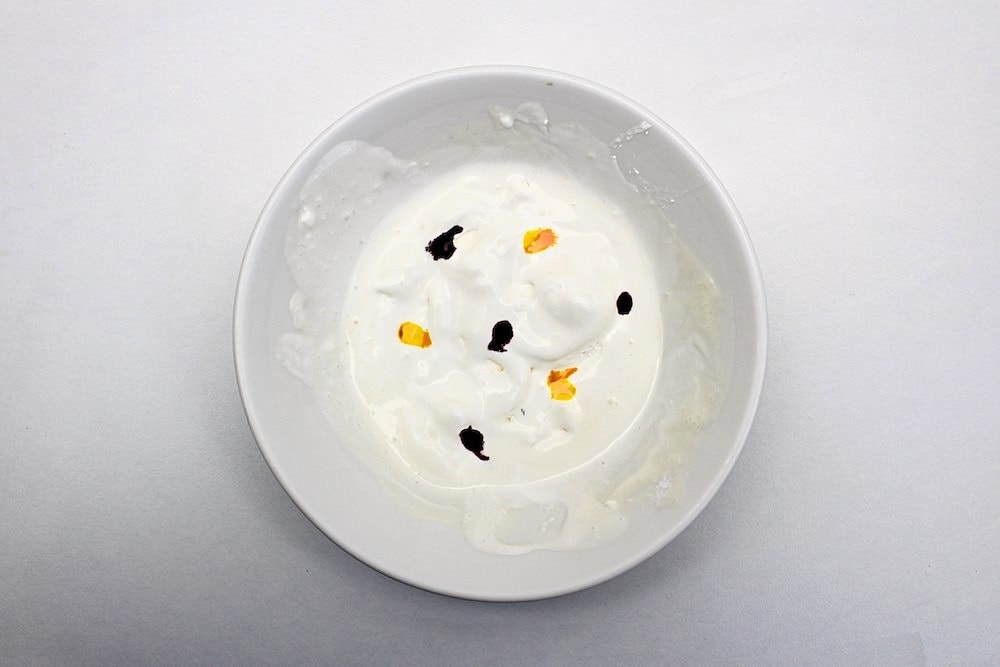
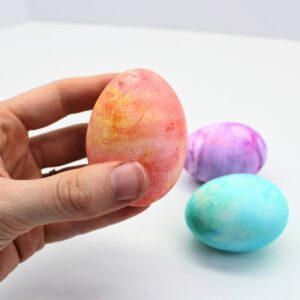
Depending on the look you’re trying to achieve, you can choose a single color or several complementary colors. I used red and yellow, blue and green, and pink and purple!
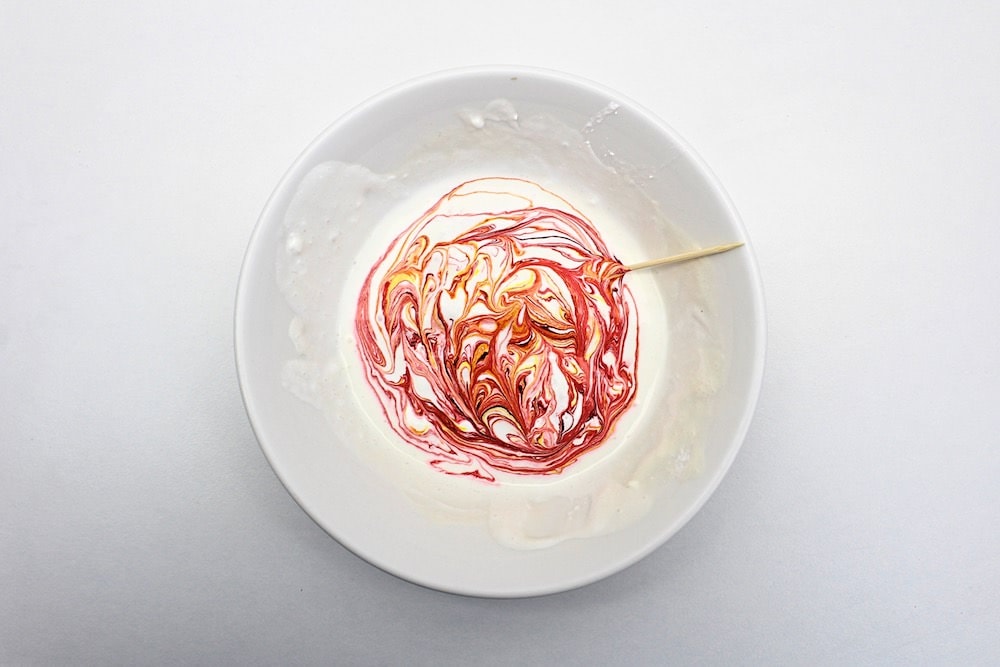
4. Swirl Colors
Use a toothpick to swirl the drops of food coloring around. This will create a cool marbled effect on the eggs.
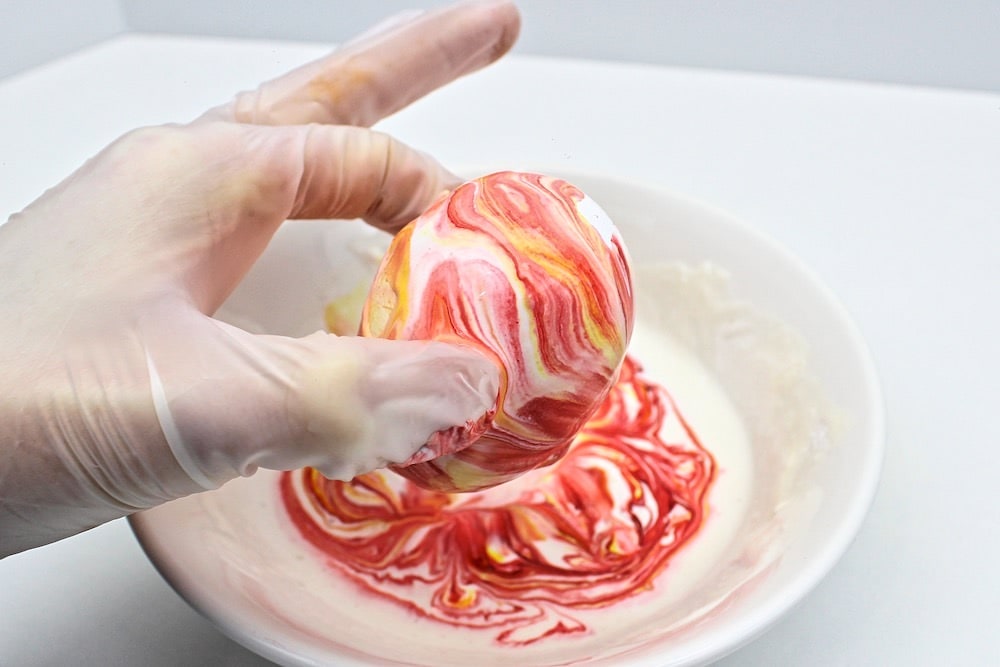
5. Dip Eggs in Cool Whip
Grab an egg and dip it in the whipped cream, slowly rotating it so that all its sides are covered. I recommend wearing latex or nitrile gloves to avoid staining your fingers with food coloring.
6. Let Eggs Rest
Repeat the previous step for each egg you want to dye and place them all on a plate or drying rack. Then, let them rest undisturbed for 5-10 minutes while they absorb the pigment from the food coloring.
7. Wipe Off Whipped Cream
Use a paper towel to wipe the whipped cream off each egg.

Note: Do NOT rinse the eggs off with water—I did this the first time, and the results weren’t nearly as nice. Wiping off the whipped cream with a paper towel will preserve the marbled effect from the food coloring and create much prettier Easter eggs.
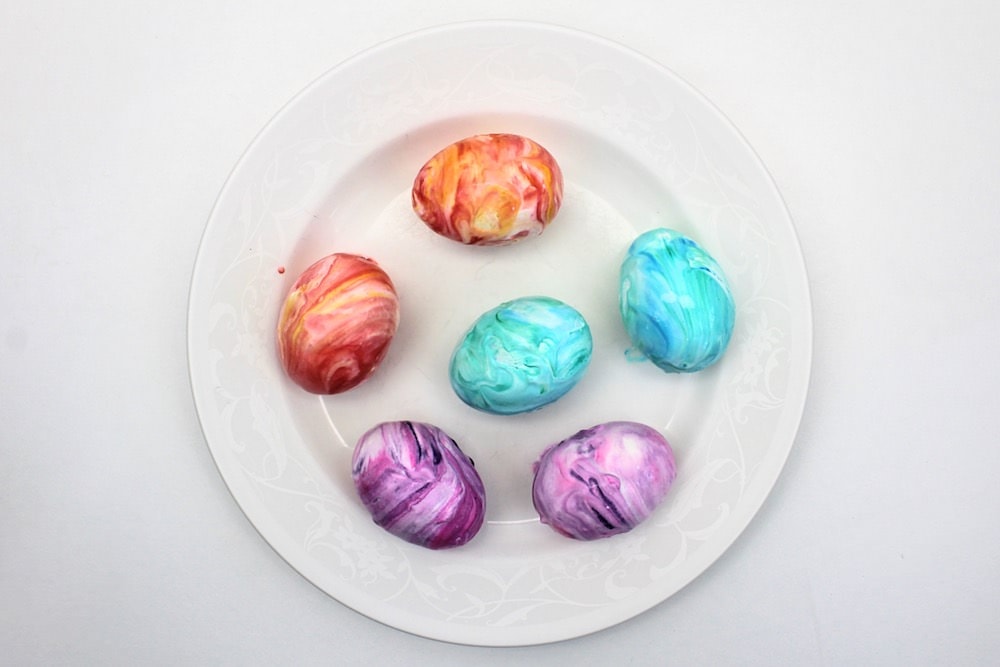
Once you’re done wiping all the whipped cream off the eggs, you’re done! Aren’t they just gorgeous?!

And the best part is that because the eggs were dyed with food ingredients, they’re 100% edible! So you get to enjoy looking at them for as long as you want, and once you’re done, you can simply shell them and eat them. Lots of fun and no clutter!
Preserving Cool Whipped Dyed Easter Eggs
You can always blow out the eggs first if you want to keep them, but I wouldn’t recommend it. You’ll have to hold them down in the vinegar to prevent them from floating, and the sugar from the whipped cream might attract insects.
That being said, you can create an identical marbled effect if you use shaving cream instead of whipped cream, and you’ll be able to preserve those Shaving Cream Easter Eggs without the risk of attracting insects!
Cool Whip Dyed Easter Eggs
Ingredients
- 12 hard boiled eggs
- vinegar as needed
- 2-3 cups whipped cream or as needed
- liquid food coloring as needed
Instructions
- Place the eggs in a bowl filled with vinegar. Let them soak for 2-5 minutes, then remove the eggs and place them on a paper towel to dry.
- Fill a small bowl with whipped cream. If making multiple colors, use one bowl per color.
- Add a few drops of liquid food coloring to the whipped cream and use a toothpick to swirl the colors around. Feel free to use multiple colors per bowl to create multi-toned eggs.
- Dip each egg in whipped cream, slowly rotating it until its shell is fully covered. (If desired, wear latex or nitrile gloves to prevent the food coloring from staining your fingers.)
- Place the eggs on a plate or drying rack. Let them rest undisturbed for 5-10 minutes while they absorb the pigment from the food coloring. Then, use a paper towel to wipe off the whipped cream and reveal the marbled pattern on the eggs!
Notes
Related Easter Egg Dyeing Techniques
Looking for more fun ways to dye Easter eggs? Check out these articles:
Only your name will be made public. Please note that by submitting your comment, you are agreeing to the terms of our Privacy Policy.