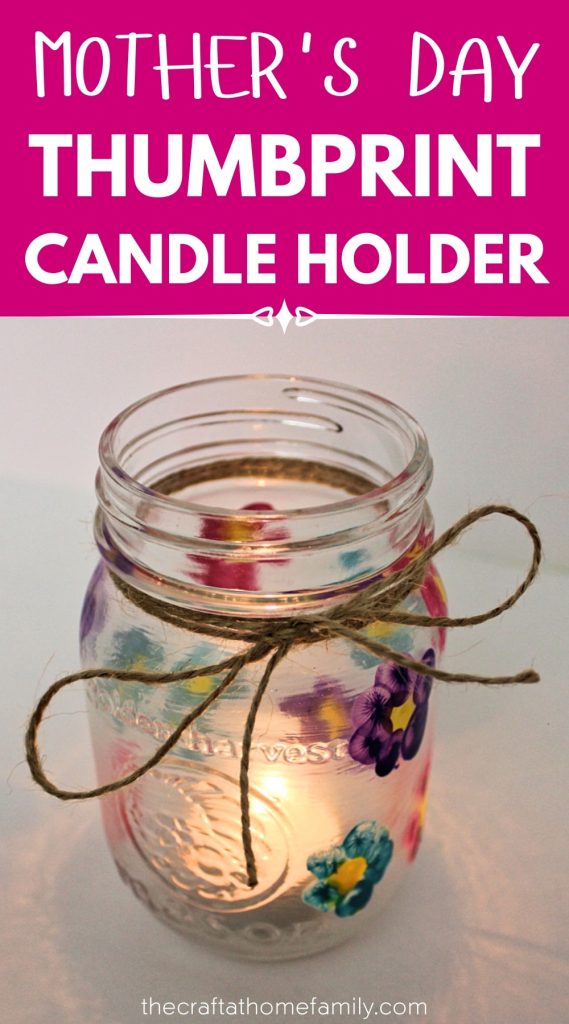
In need of a last-minute Mother’s Day gift idea to make with your child? This super simple mason jar craft would make a great kid-made gift—and all you’ll need to make it are a few basic supplies! Mom and Grandma will forever cherish this lovely DIY keepsake that’s covered with little thumbprints!
This post may contain affiliate links, which means I may receive a commission, at no extra cost to you, if you make a purchase through a link. As an Amazon Associate, I earn from qualifying purchases. Please see my full disclosure for further information.
JUMP TO…
Is Mother’s Day already just six weeks away?!
Somehow, between the lockdowns and the birth of our fourth daughter at the end of last year, it seems like all the days have just been blending together. I’m finding it hard to believe that it’s already 2021, never mind the fact that’s we’re already almost three months in.
Easter sort of caught up with me this year, but I’m determined not to let Mother’s Day do the same. Which is why we decided to craft this super simple mason jar candle holder that would make an awesome gift for any mother or grandmother!
And if you’re a little behind schedule (aren’t we all!) and looking for something that would make a good last-minute Mother’s Day gift, this thrifty craft is so easy to make that it would be a great contender!
Required Materials
Here’s what you’ll need to turn a regular mason jar into a cute little DIY candle holder covered with your child’s thumbprints:
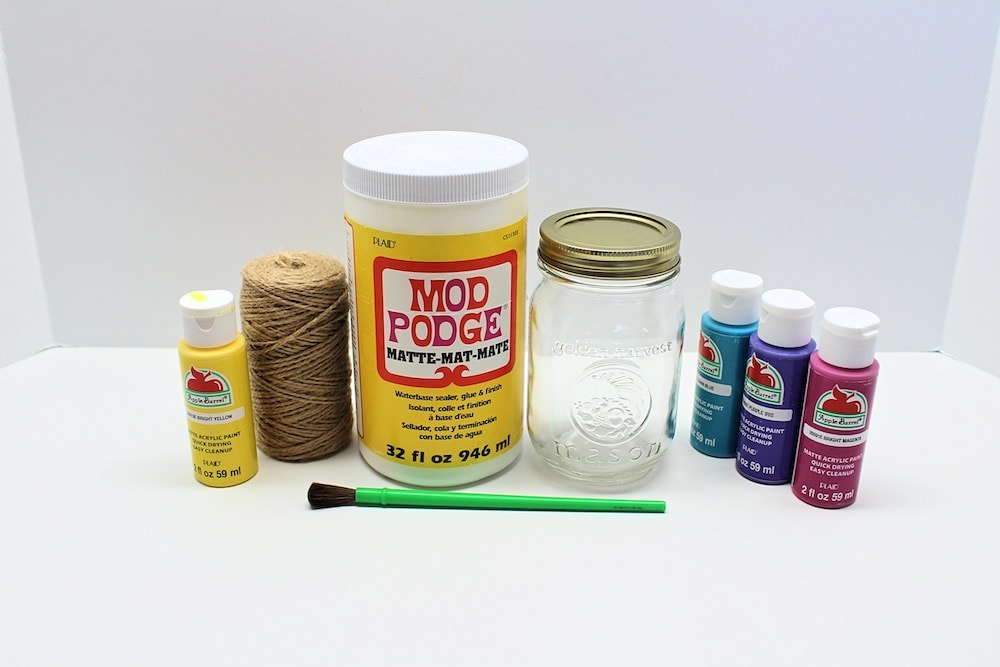
- Pint-sized mason jar
- Acrylic paint
- Paintbrush
- Mod Podge
- Twine or ribbon
- Tea light or candle
The finished craft would make a great kid-made gift for Mother’s Day, but you could also make it for a number of other occasions throughout the year!
How to Make a Thumbprint Flower Candle Holder (Step-by-Step)
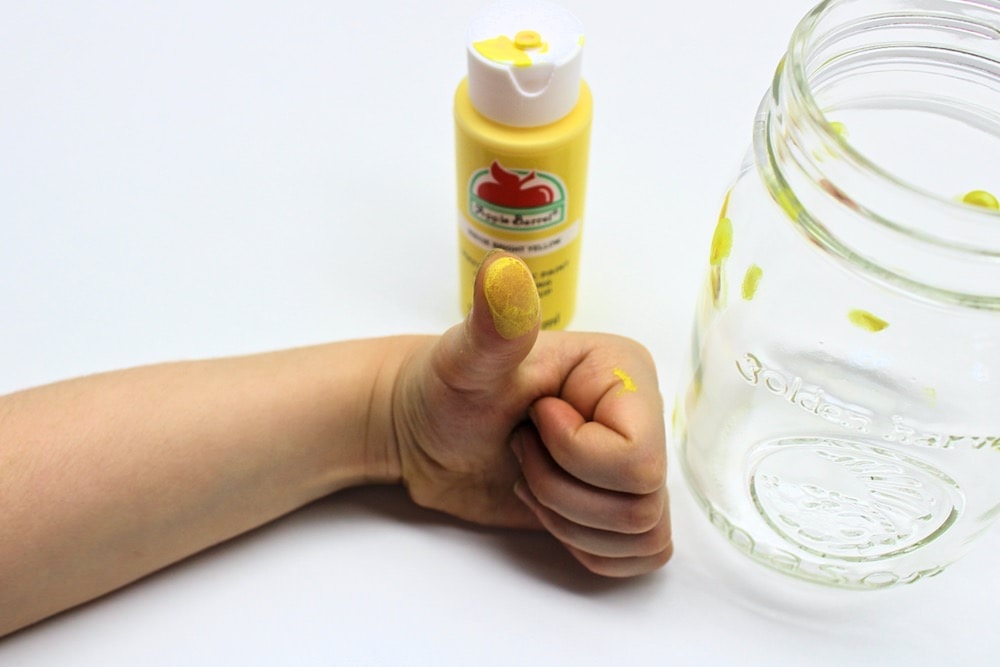
1. Paint Flower Cores
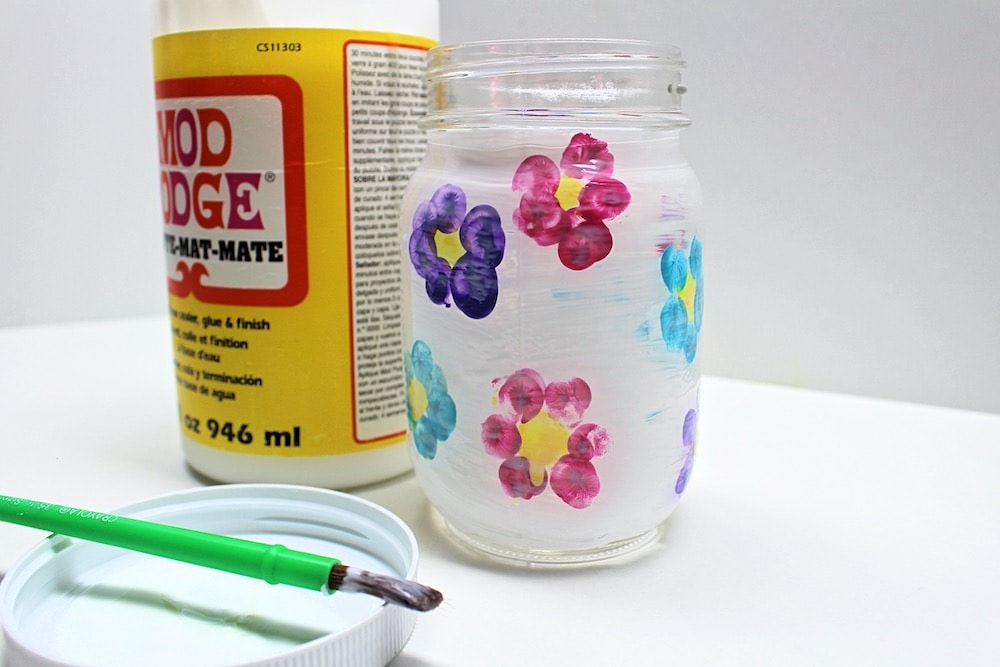
Start by placing some yellow paint on your child’s thumb and using it to sprinkle some dots all over the mason jar. These dots will act as the centre of your flowers, so don’t place them too close together or you’ll run out of room for the petals!
2. Paint Flower Petals
Clean the yellow paint off your child’s thumb, then add some more paint in a different colour and press your child’s around the yellow dots to create flower petals. We added five to six petals per flower, but this may vary depending on the size of your child’s thumb.

We decided to use several colours—pink, purple and blue. To make things easier and avoid wasting paint, we added all the flower petals of a certain colour before moving on to the next. We also made sure to disperse the flowers of each colour to make the candle holder more visually appealing.
If you have several kids, feel free to use a different colour for each child to make this gift extra special!
3. Seal with Mod Podge
Let the paint dry completely, then use a paintbrush to cover the entire mason jar with Mod Podge. This will help seal the paint and prevent it from cracking or rubbing off with time.
4. Add Twine
Once the Mod Podge has dried, wrap a piece of twine or ribbon around the neck of the mason jar and tie it into a bow to decorate the candle holder. We went with twine to create a rustic vibe.
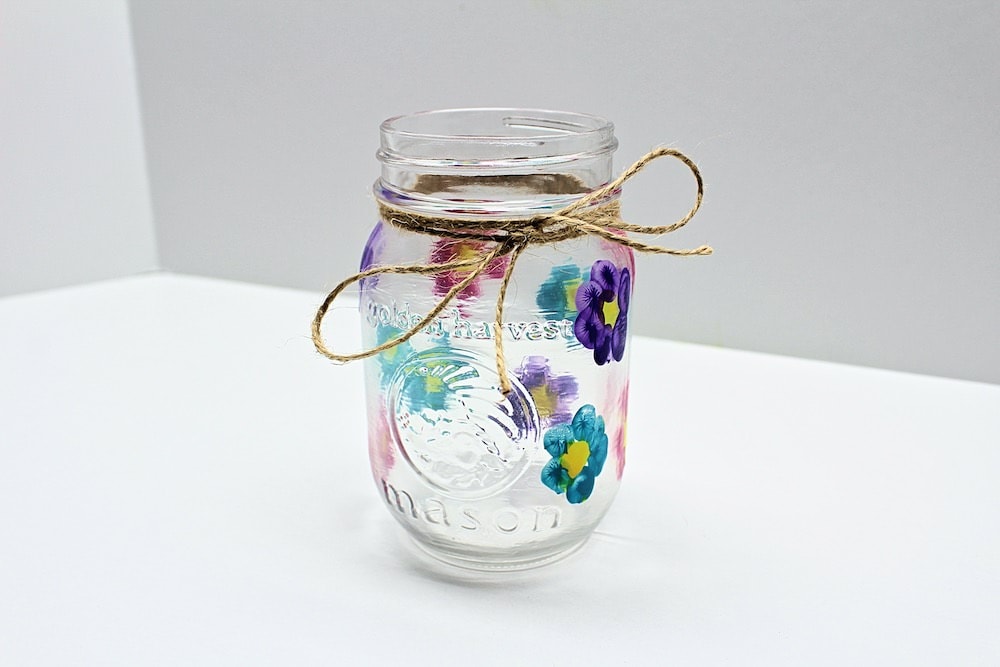
Wrap the twine or ribbon around more than once if needed, but make sure to wrap it around the neck and not the threading or you won’t be able to close the mason jar!
5. Add Tea Light
Add a tea light or candle to the bottom of the mason jar, then gift it to your loved one! (You can wrap the tea light separately to prevent it from shaking inside the mason jar while the gift is being manipulated and unwrapped.)
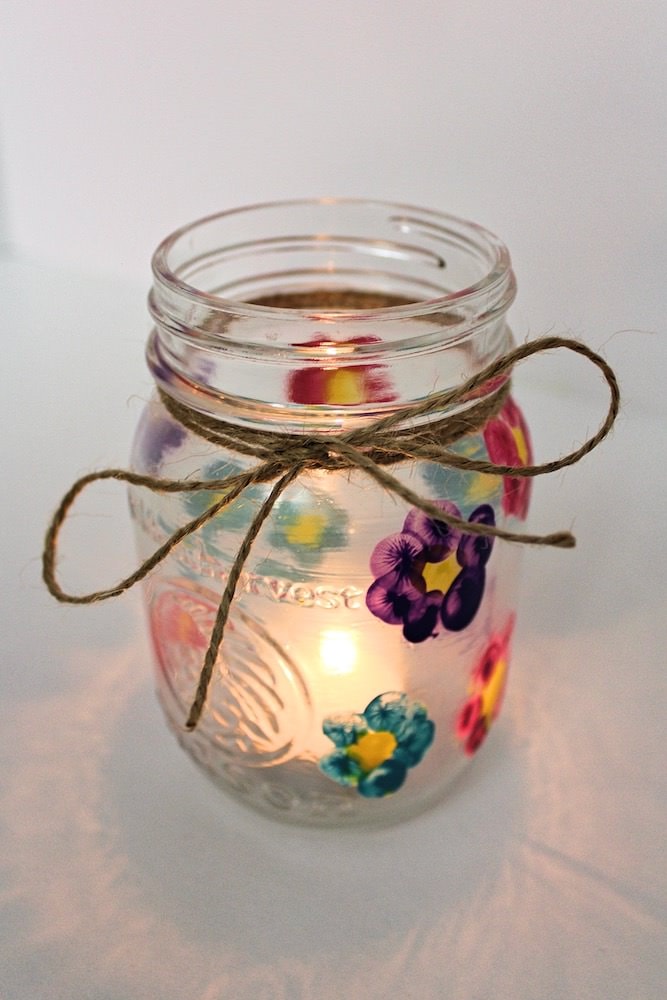
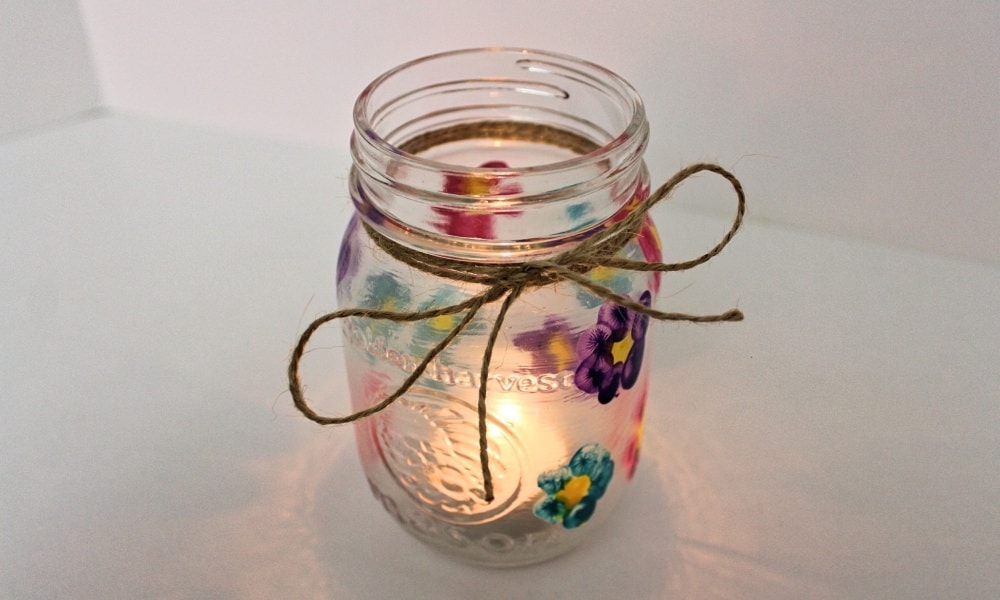
Sometimes the simplest projects are the best. This one was so easy to make, but it looks truly lovely when the candle is lit up!
And all you need to do to put out the flame is place the lid back on the jar—this will deprive the flame of oxygen, and it will go out almost instantly. How handy!
Related Spring Crafts
Looking for more spring-themed crafts to do with your kids? Check out these articles:
You can also join my mailing list to receive fun craft and activity ideas right in your inbox! You’ll gain access to my free printables library as well as to fun bonuses that may never be available on my site.
Only your name will be made public. Please note that by submitting your comment, you are agreeing to the terms of our Privacy Policy.