
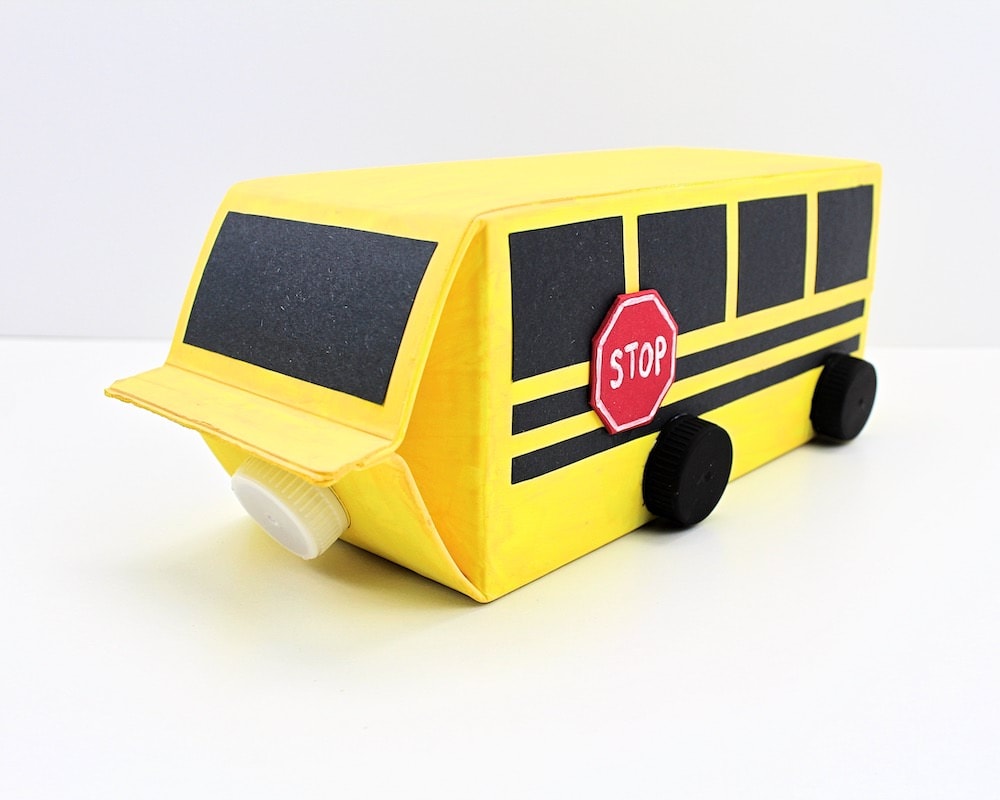
Looking for a fun project to do with your kids during the back-to-school season? This milk carton school bus is a great way to breathe new life into the recycled materials that have been piling up in your craft cupboard… and our free printable template makes it super simple!
This post may contain affiliate links, which means I may receive a commission, at no extra cost to you, if you make a purchase through a link. As an Amazon Associate, I earn from qualifying purchases. Please see my full disclosure for further information.
JUMP TO…
Do anyone else’s kids collect recyclables, or just mine?
If our six-year-old had her way, we would never get rid of anything. We actually had to remove the recycling bin from our upstairs bathroom because she kept pulling out empty toilet paper rolls and hiding them all over the house.
Not that there is anything wrong with saving recyclable materials for crafts—but there comes a point where you need to use up what you already have before you start accumulating more. And with the beginning of the school year coming up, I thought this craft would be the perfect answer to the question: “What can I do with all of these empty milk cartons?”
While younger siblings are welcome to help, making a bus from a milk carton is a project for school-aged kids.
It’s not exactly complicated, but it does involve a lot of steps… which means your children will be SO proud of themselves when their milk carton school bus craft is finally completed.
So if you’re looking for a fun DIY project to get your kids excited for school, read on to find out how to make a milk carton bus using a recycled milk carton! (And check out these 23 adorable pencil topper ideas as well.)
Required Materials
Here’s what you’ll need to make a DIY recycled milk carton school bus at home:
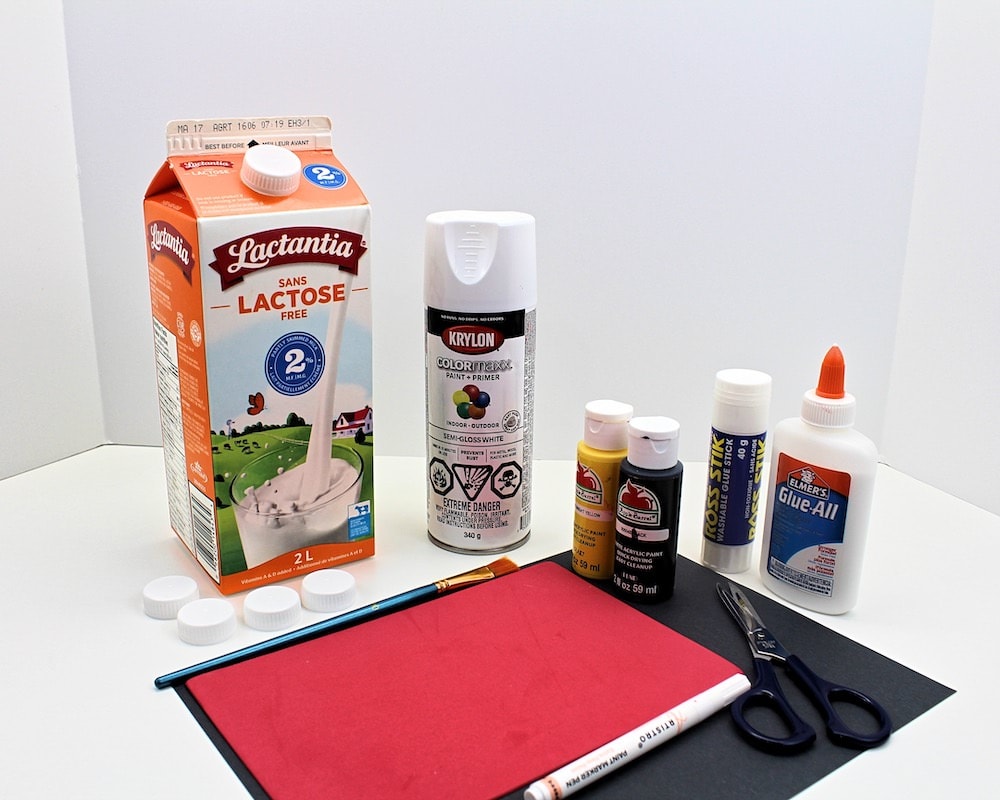
- 2-litre (½ gallon) milk carton with lid
- 4 extra milk carton lids
- White spray paint
- Acrylic paint in yellow and black
- Paintbrush
- My milk carton school bus template, which you can download using the form below (there’s another form at the bottom of the article if you’d rather keep reading)
- Black construction paper
- Scissors
- Stick of school glue
- Liquid glue (we used Elmer’s Glue-All)
- Red craft foam
- Pencil
- White acrylic paint pen
- Small dot stickers in red and orange (optional)
Note: The template I created fits the 2-litre (½ gallon) milk cartons we buy in my corner of Canada, but I can’t guarantee that it will fit yours perfectly if you live somewhere else. If it doesn’t, you can always just tweak it a bit to make it fit better.
How to Make a School Bus Out of a Milk Carton (Step-By-Step)
1. Cover Milk Carton with Spray Paint
Start by spray painting the milk carton white. I removed the lid before doing this because it was already white and I thought the craft would look neater without any extra paint on the lid.
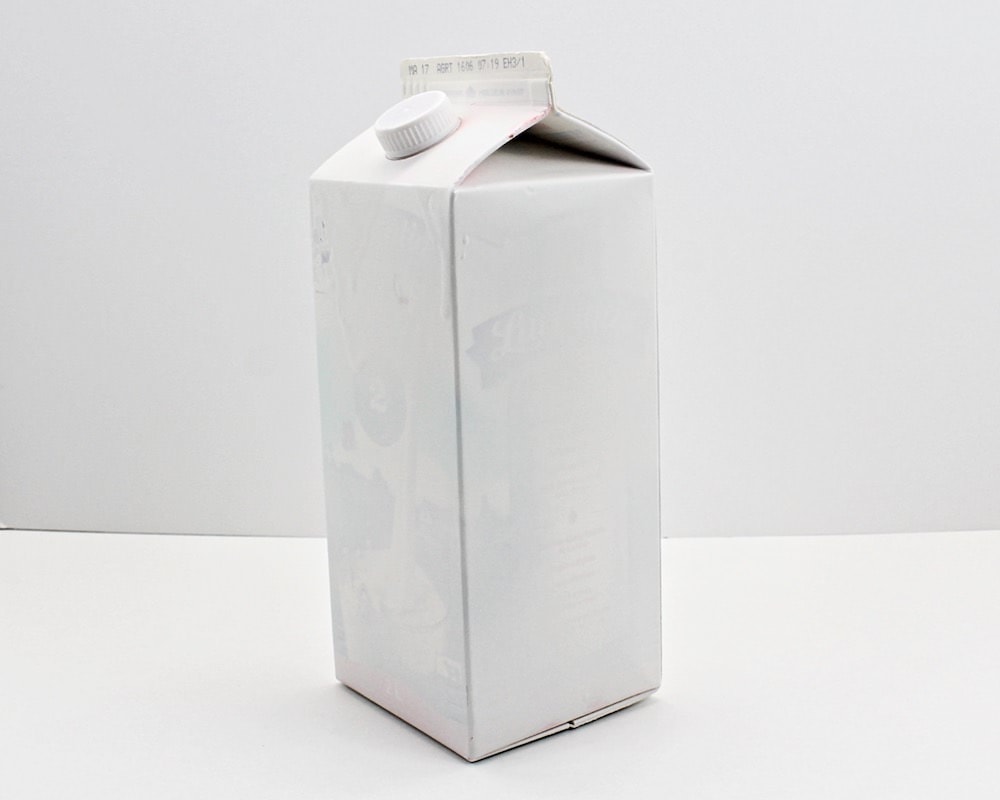
The white spray paint will act as a primer, which will make it easier to hide all the designs printed on the milk carton and to paint it yellow.
2. Paint Milk Carton Yellow
Once the spray paint has dried, use a paintbrush to cover the entire milk carton with yellow acrylic paint. This may require more than one coat of paint.
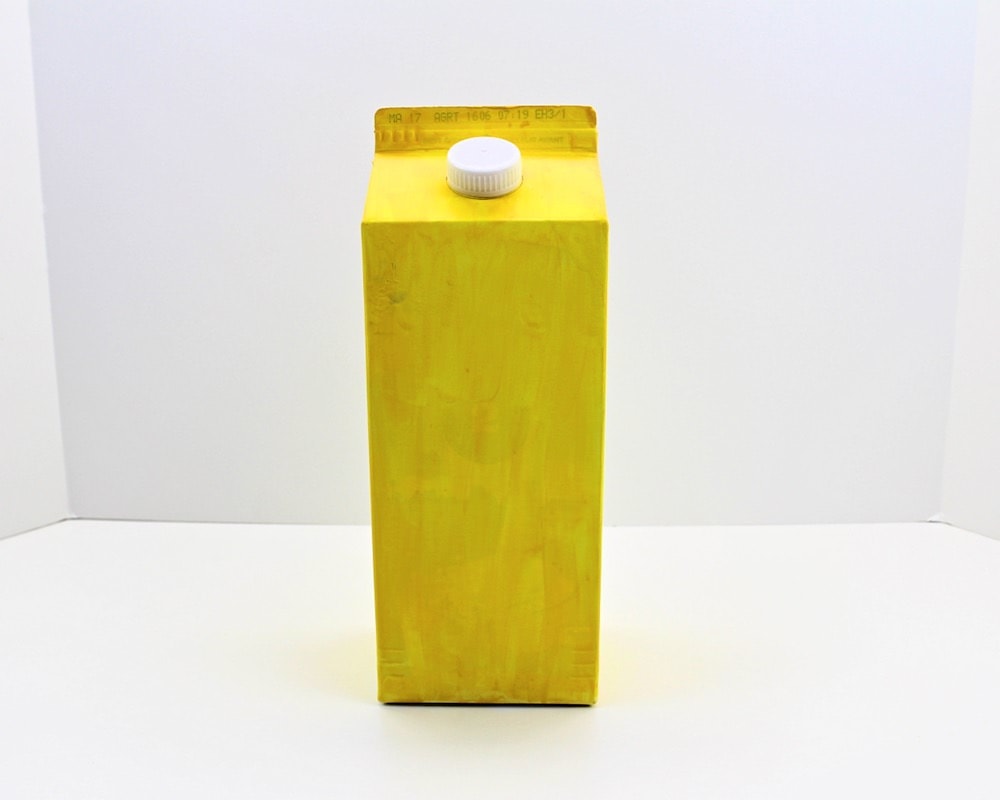
Once again, I removed the lid before doing this because I didn’t want it to become covered with paint. If you do this too, feel free to put the lid back on as soon as the paint is dry.
3. Paint Milk Carton Lids
While the yellow paint is drying, grab the four extra milk carton lids (not the one from the painted milk carton) and cover their outer surface with black paint.
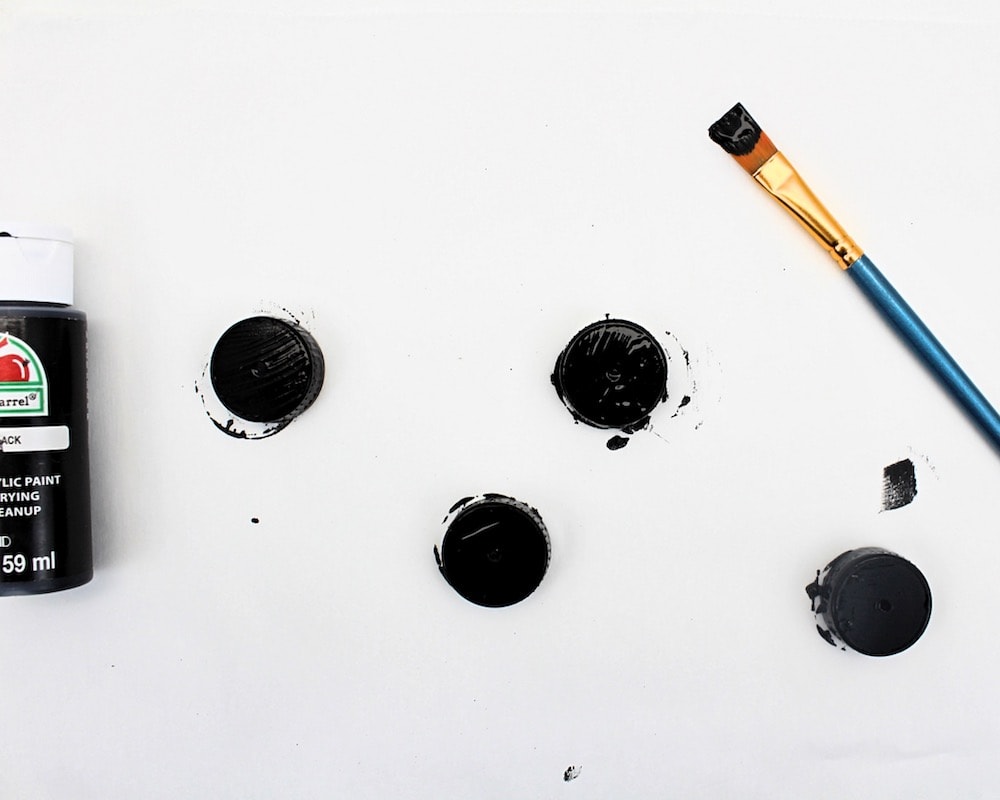
Note: There is no need to paint the inside of the lids as they will become the wheels of the school bus, and only their outside will be visible.
4. Print & Cut Template
Once you have requested the template using one of the forms in this article, print all three pages on black construction paper.
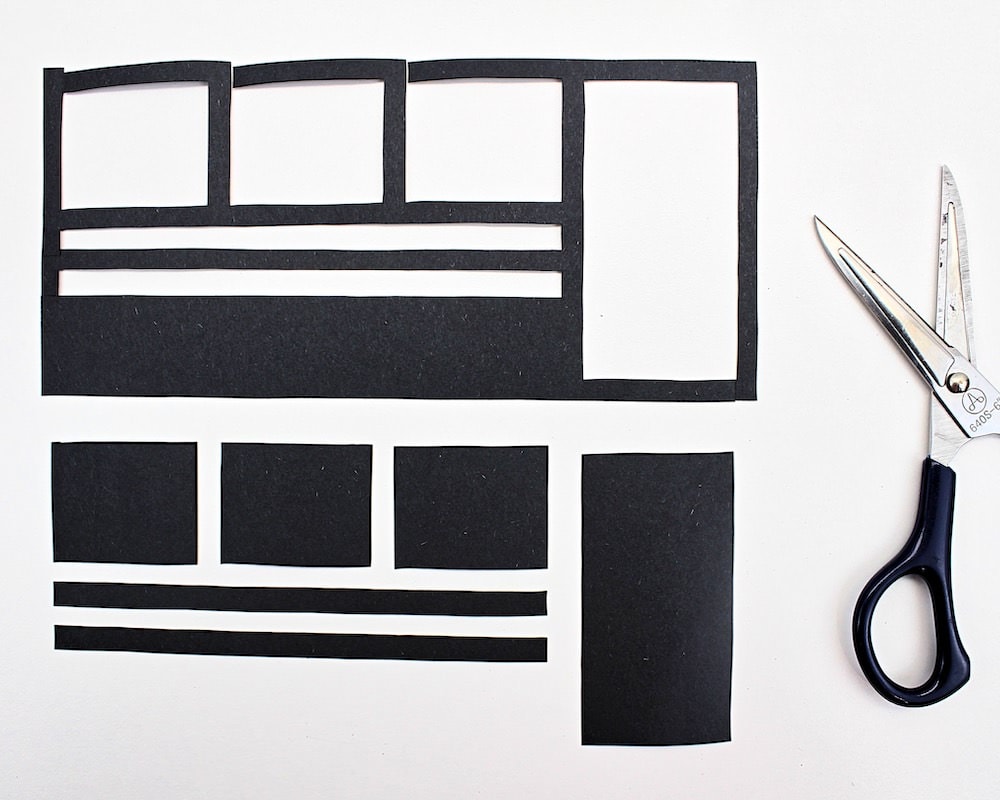
Keep in mind that construction paper typically isn’t Letter-sized (8.5 x 11 inches), so you will probably cut it down to size in order to make it fit in your printer. I like to use a paper trimmer to make clean cuts, but you can always use scissors if you don’t have one.
It is important to note that if you do use a paper trimmer, you should NOT let your children operate it or play anywhere near it. For safety reasons, I always make sure that my kids are nowhere in the vicinity when I am using the paper trimmer, because the blade is extremely sharp.
That being said, it’s actually a really handy device to have as long as you’re taking the proper precautions!
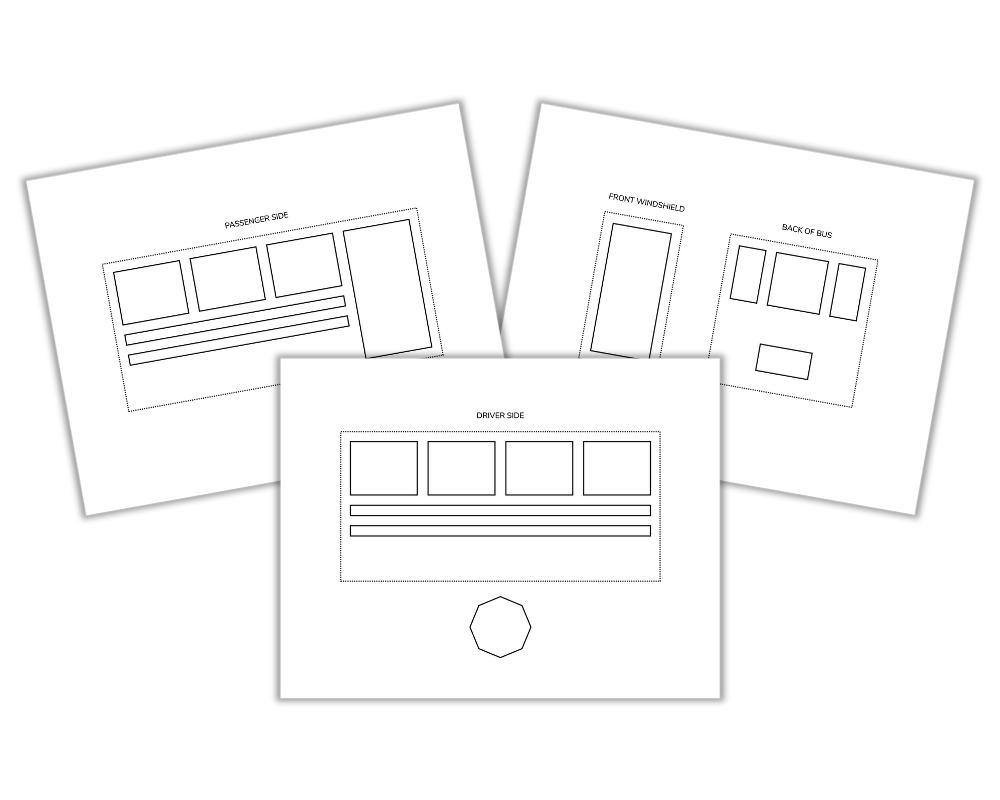
Once the template is printed, the lines may be a little difficult to see on the black paper. However, you should be able to see them under adequate lighting.
The dotted lines have been provided as guides to help you position the windows on the bus. The solid lines, on the other hand, show the shapes that should be glued to the school bus.
I made sure to keep the outer shape (created by the dotted lines) in one piece so that I could use it as a template when glueing.
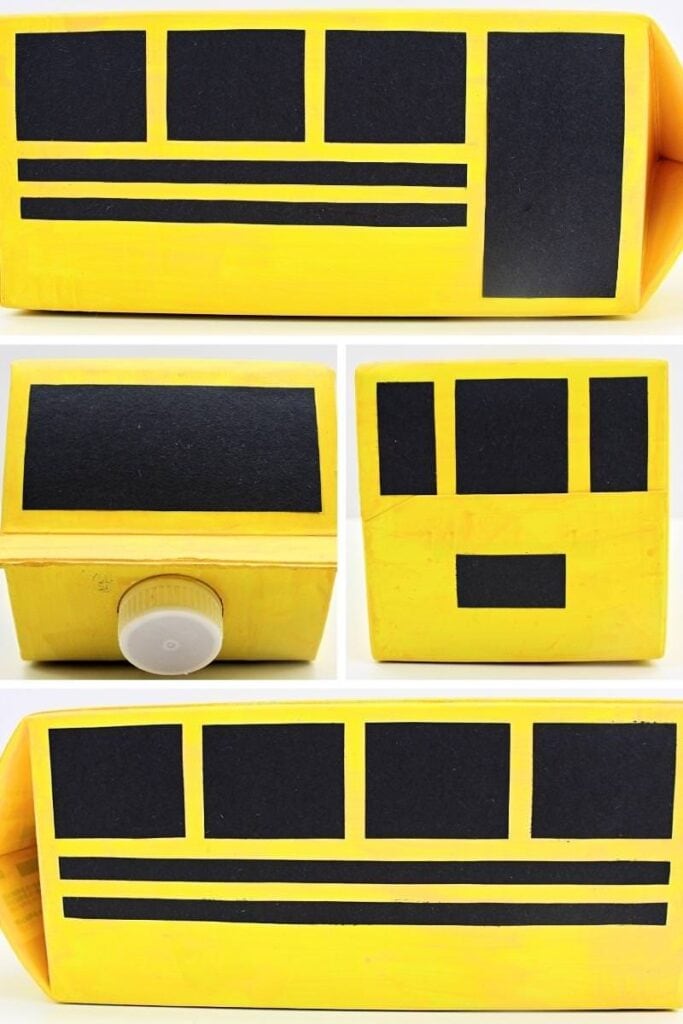
Note: There is a label on each page that indicates to which side of the bus all the pieces are supposed to be glued. To make things easier, I recommend keeping all the sides separate after cutting.
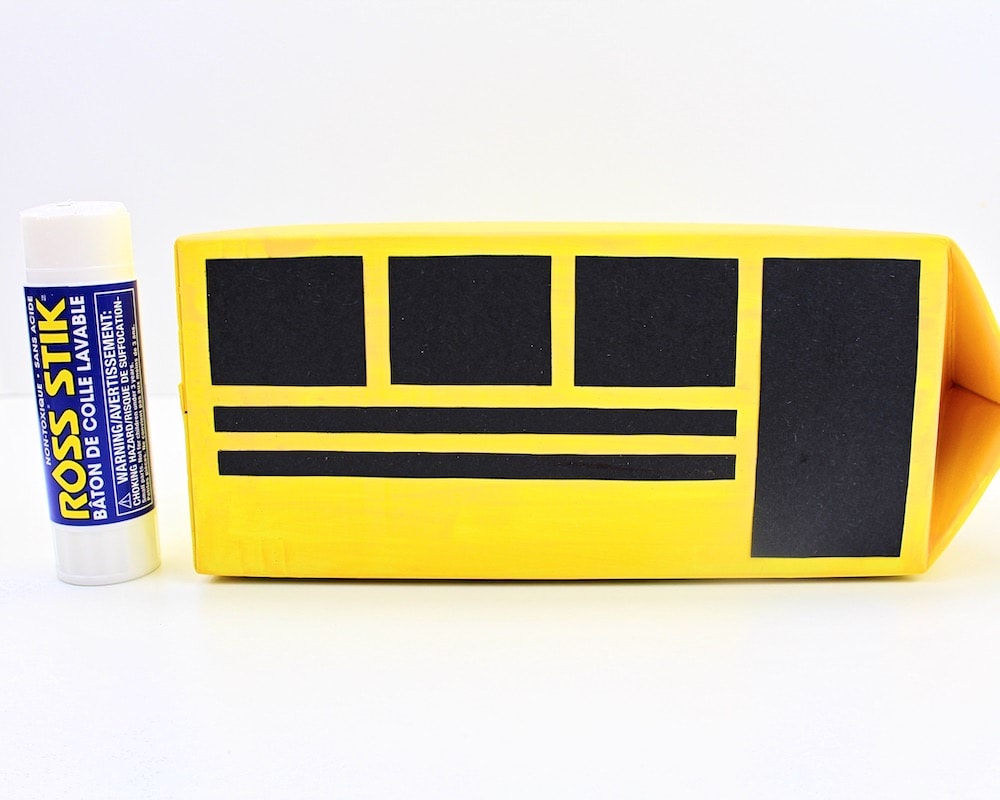
5. Glue Windows to Bus
Once the paint is dry and you are done cutting out all the shapes, it’s time to glue them to the bus. Use the provided guides (without glueing them down) to help you position the windows, doors and decorations.
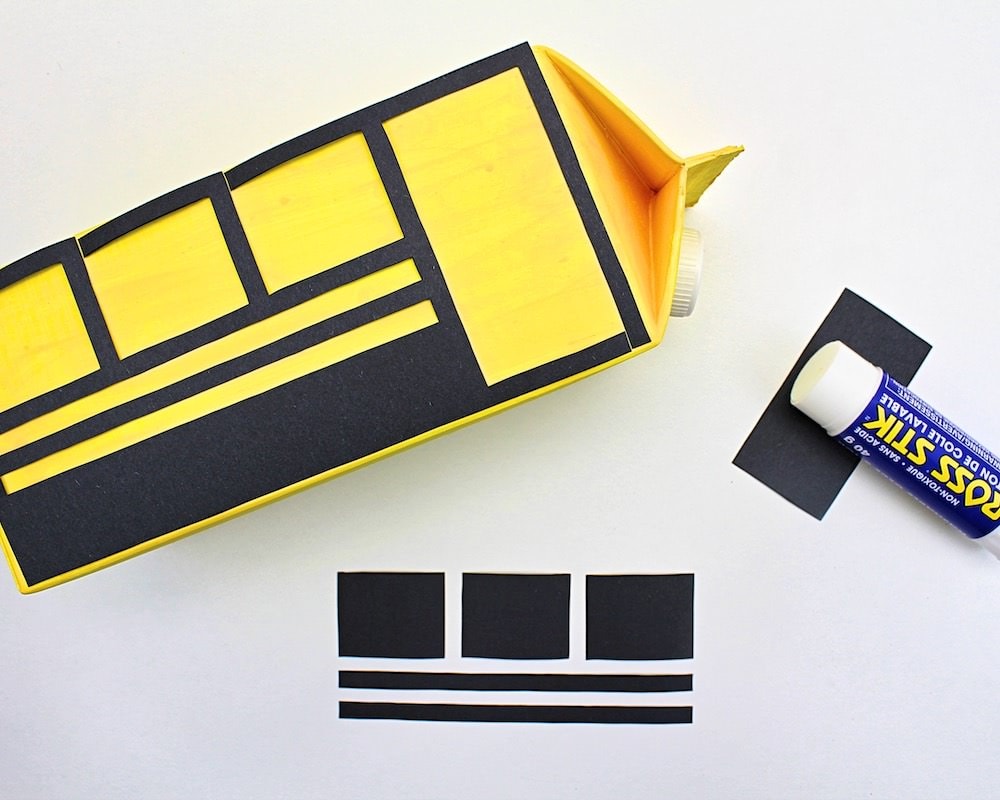
Then, use a stick of school glue to secure the pieces in place. Make sure to remove the guides once you’re done glueing the windows and other shapes.
It is important to note that while the template fits the 2-litre (½ gallon) milk cartons that we buy in my corner of Canada, I can’t guarantee that it will fit yours perfectly. But even if you have to adjust it a bit, it’s still better then starting from nothing!
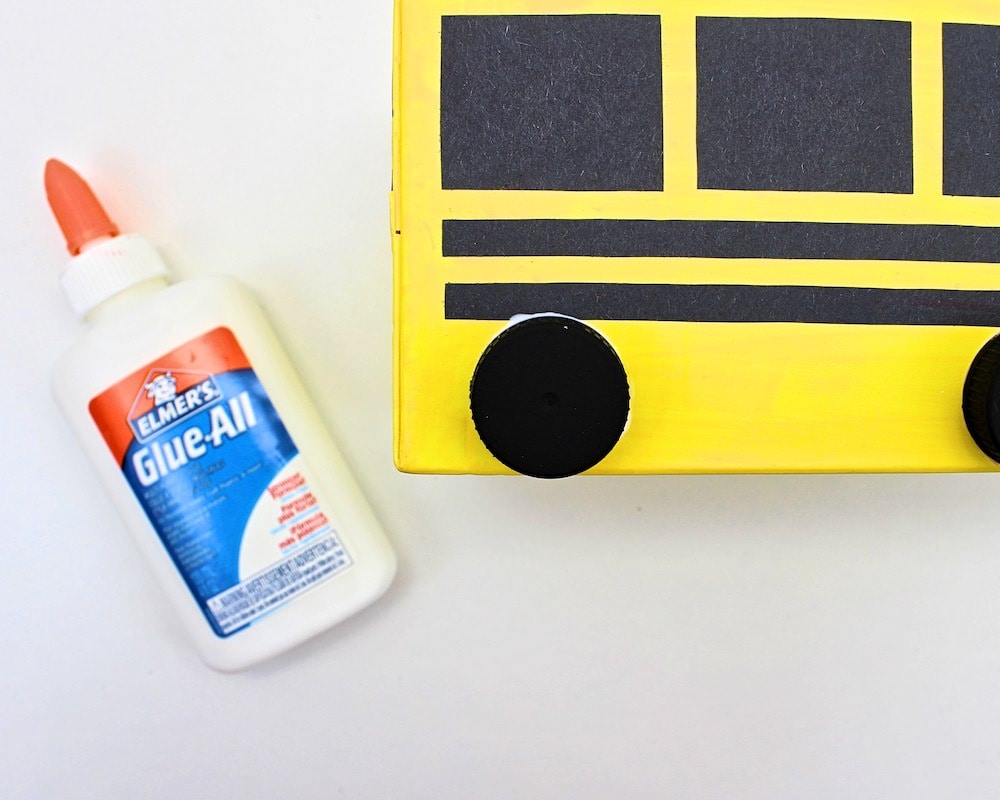
6. Glue Wheels to Bus
Once all the cutouts have been glued to the bus, it’s time to add the wheels.

Line the bottom of the black milk carton lids with liquid glue and press them onto the school bus. Since one side of the bus has a door at the far end, I aligned the wheels with the remaining windows on either end.
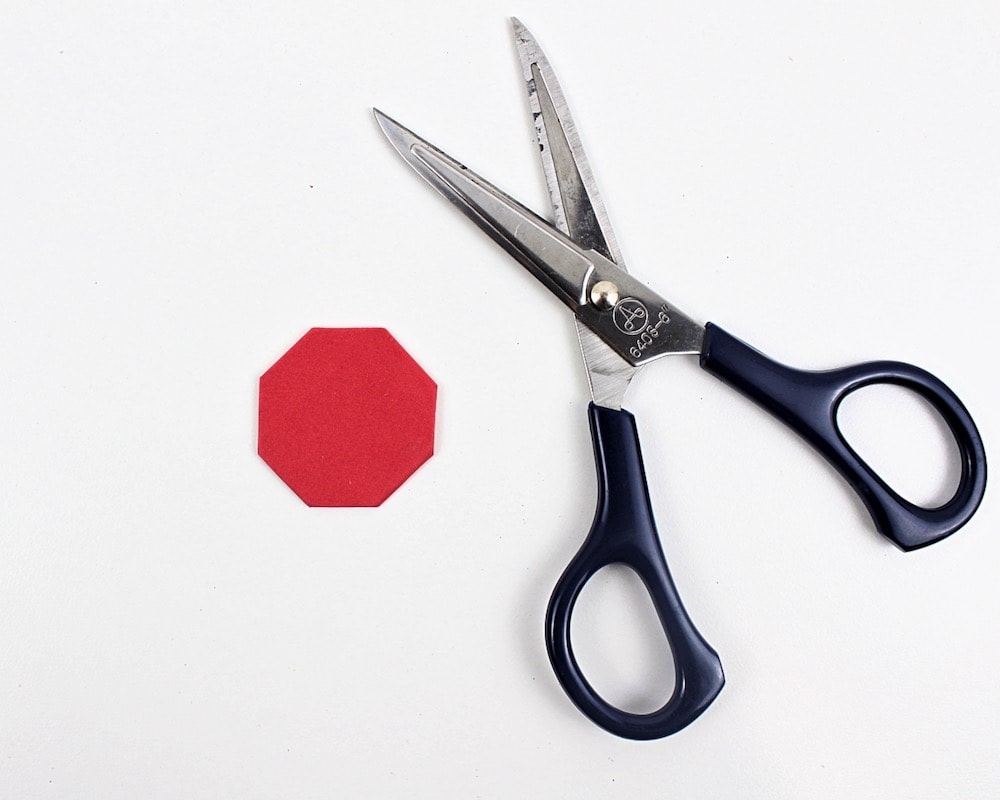
7. Cut Stop Sign
While you’re waiting for the liquid glue to dry, now is the perfect time to create the stop sign for your school bus.
Since you can’t print anything on craft foam, the template for the stop sign is included on page 1 of the template and will be printed on construction paper along with the windows and other shapes.
To use it, simply cut it out, place it on top of the craft foam and use a pencil to trace around it. Then, cut along the lines with a pair of scissors.
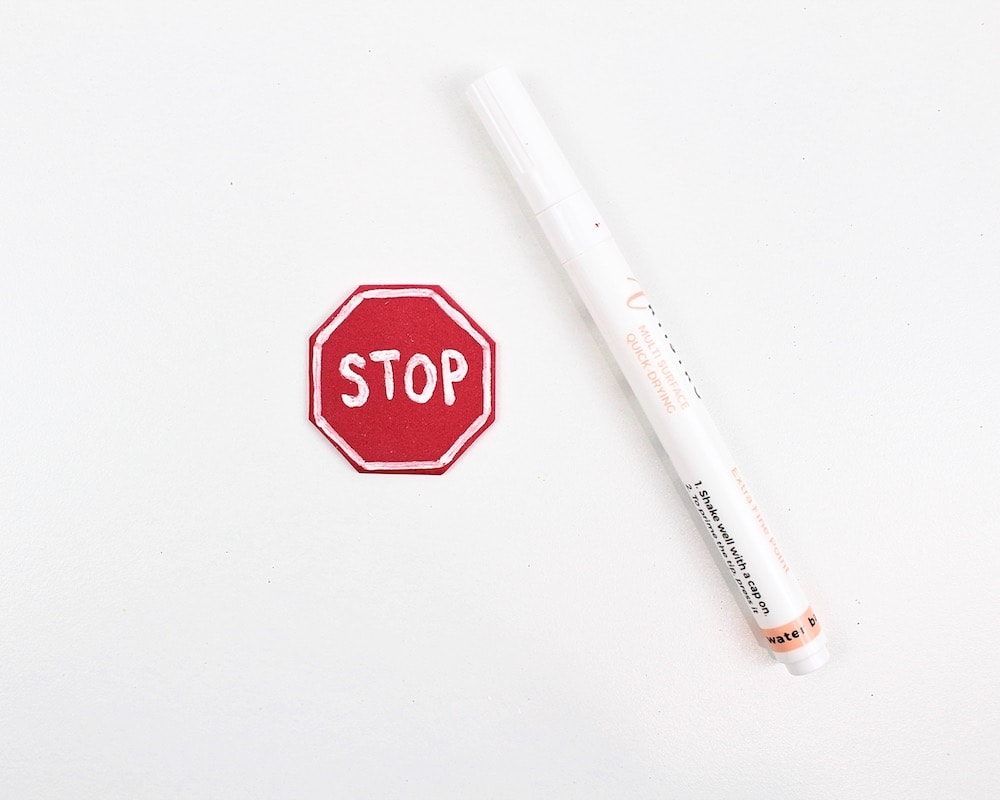
8. Decorate Stop Sign
Once you have cut the shape of the stop sign, it’s time to decorate it.
Grab a white acrylic paint pen (or any other white marker you have that is capable of tracing solid lines on darker colours) and trace all around the edges of the stop sign. Then, use the same paint pen to write the word “STOP” in the middle of the sign.
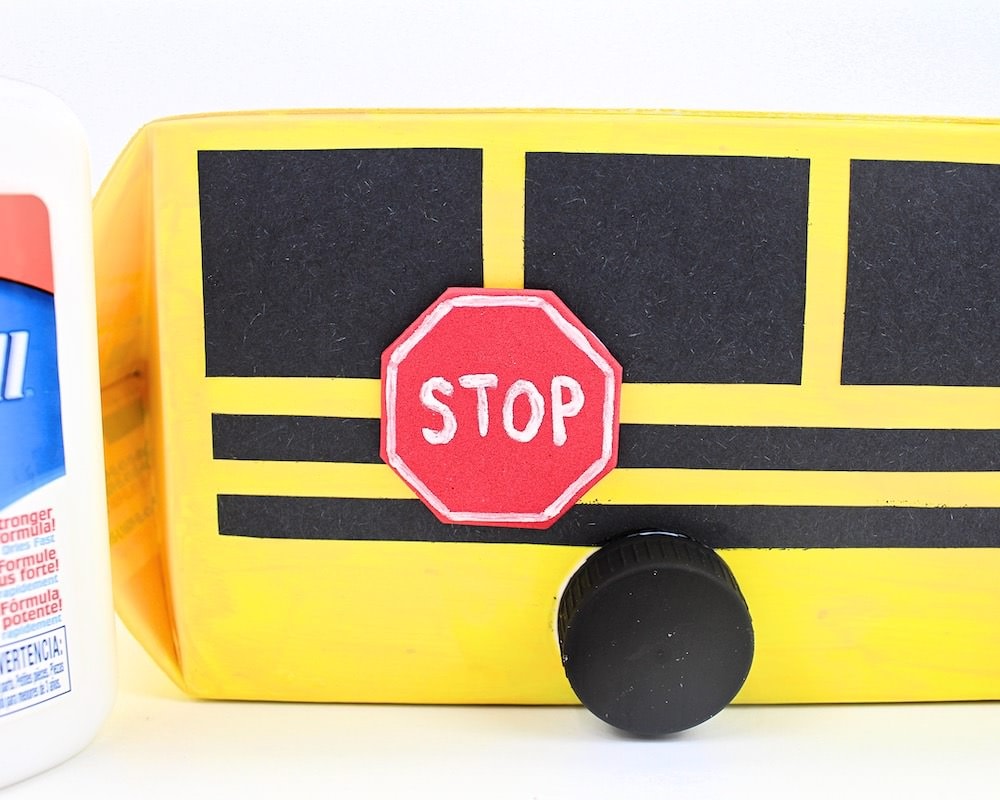
9. Glue Stop Sign to School Bus
Glue the finished stop sign to the driver side of the bus (the side without the doors) using liquid glue.
10. Add Taillights (Optional)
This step is optional, but I thought it added a touch of realism to the school bus craft—and it’s really simple to do.
To add taillights, simply grab two red dot stickers and two orange ones and position them at the rear of the bus at the same level as the bottom window. We placed the red ones on the inside and the orange ones on the outside, like on a real bus.
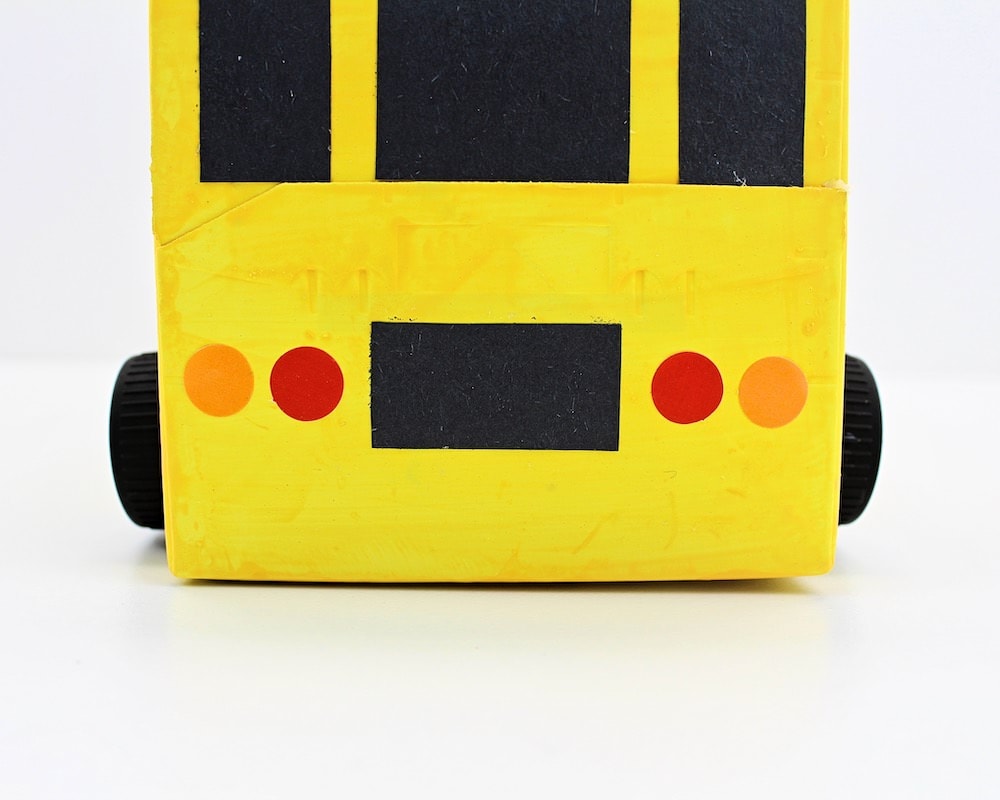
If you don’t have any dot stickers, you can always cut circles out of construction paper and glue them to back of the bus, or even paint red and orange dots where you would have placed the stickers.
Once the glue has dried and the taillights are in place, your DIY school bus toy is ready to play with! It turned out to be such a cute little back-to-school craft for the kids.
Related Back-to-School Activities
Looking for more back-to-school inspiration? Check out these articles:
- DIY Pencil Toppers with Air Dry Clay
- Printable Back-to-School Word Search Puzzles
- Recycled & Upcycled Pencil Holders
Join my mailing list using the form below to receive your free school bus window template as a welcome gift! Subscribers gain access to my free printables library as well as to exclusive content that may never be published on my site.
Only your name will be made public. Please note that by submitting your comment, you are agreeing to the terms of our Privacy Policy.