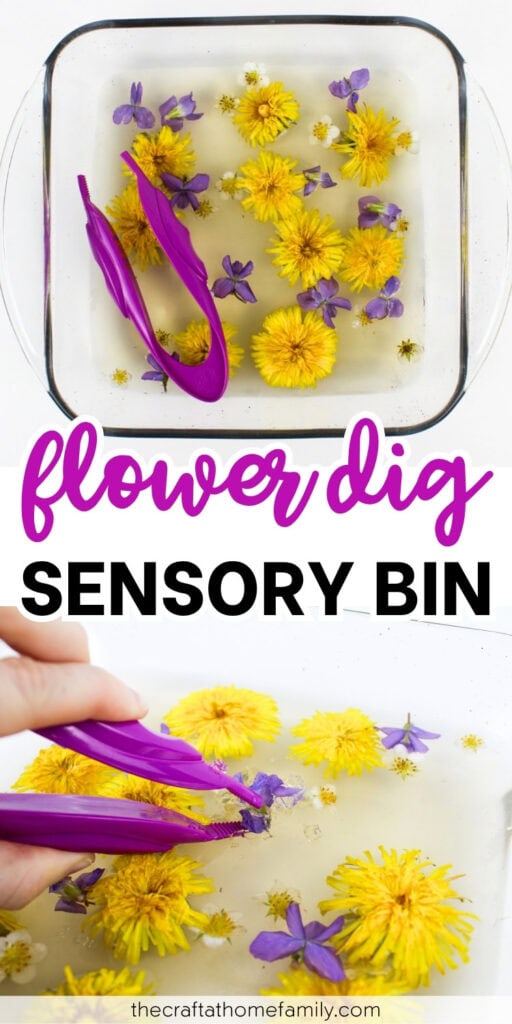
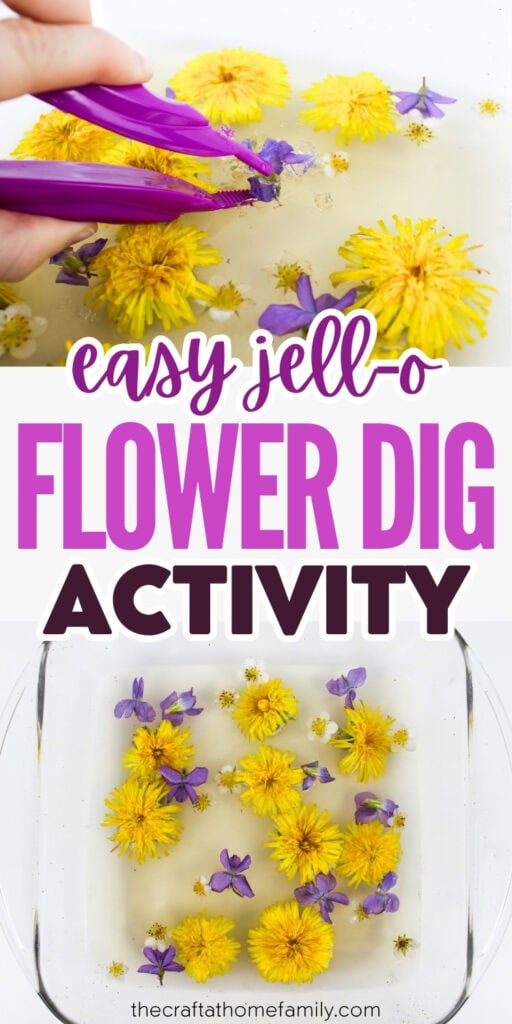
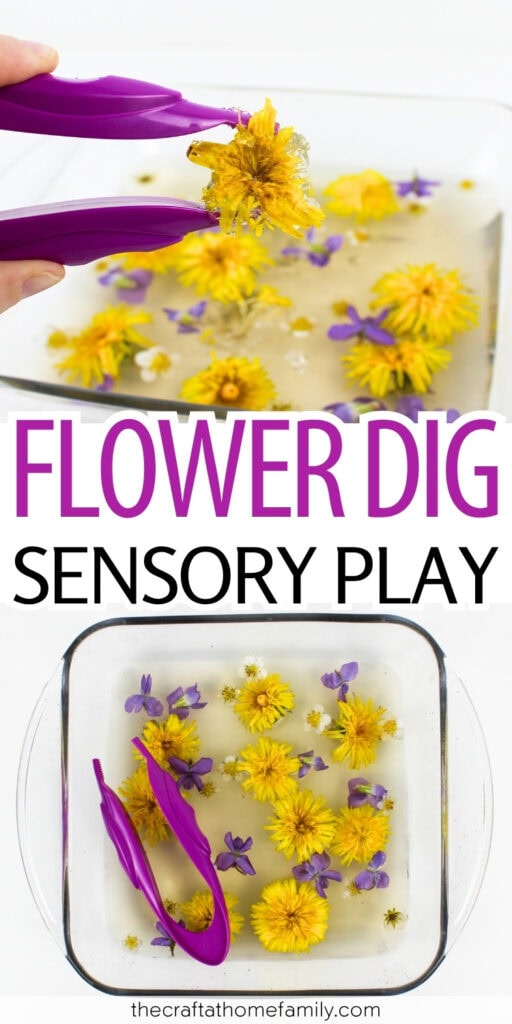
If you’ve been looking for a fun way to use the flowers growing in your yard, try this Jell-O flower dig! This simple sensory bin is taste-safe, easy to prep and only requires a few simple supplies that you probably already have at home.
JUMP TO…
We’re always looking for excuses to spend more time in nature, and if that’s the case for your family too, you’ll love this simple Jell-O dig activity made using real flowers.
This activity is a great way to use dandelions and other flowers you may have growing in your yard, and it requires less than 10 minutes of prep time, which makes it perfect for busy parents. Use it as an excuse to go for a nature walk with your kids!
Why You’ll Love This Activity
- Simple supplies: You’ll only need a few inexpensive supplies in order to set up this activity, and you may already have everything you need at home.
- Easy to prep: Once you’re done picking the flowers—which is a great job to give to your kids!—you should be able to set up the rest of this activity in just a few minutes.
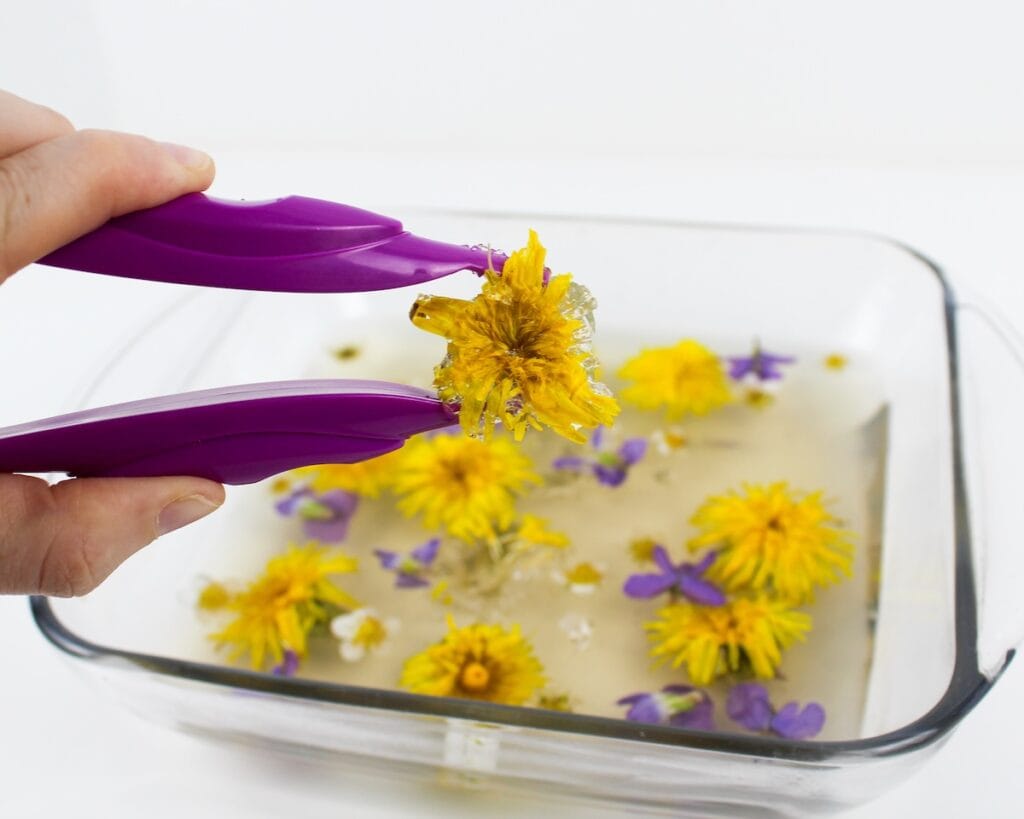
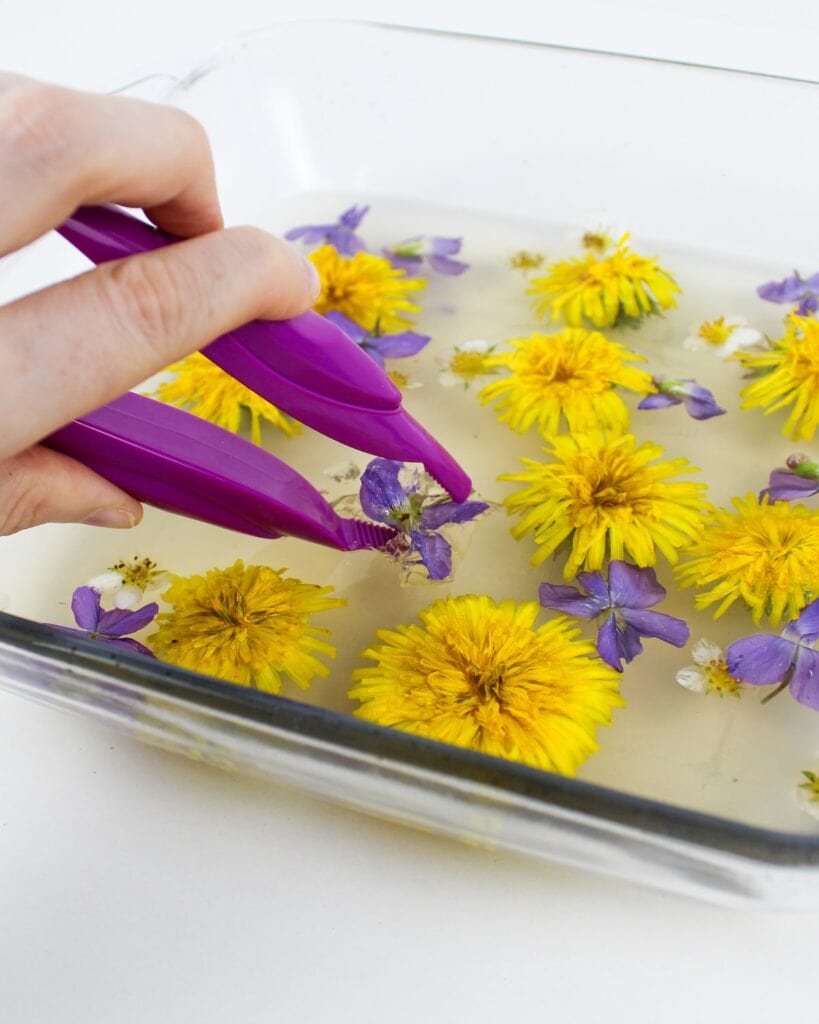
- Good for fine motor skills: Digging flowers out of Jell-O using jumbo tweezers is a great way to sneak in some extra fine motor practice and help your little ones strengthen their hand muscles!
- Safe for younger kids: Have a young child at home who still likes to put everything in their mouth? Use edible flowers like dandelions, clover flowers or wild strawberry flowers to make this activity taste-safe.
Looking for more ways to play with Jell-O? Check out this Jell-O Play Dough, this Jell-O Toy Rescue Activity or this Edible Jell-O Slime!
Grab our 12 best sensory recipes!
By submitting your email address, you are agreeing to the terms of our Privacy Policy. You can unsubscribe at any time.
Required Materials
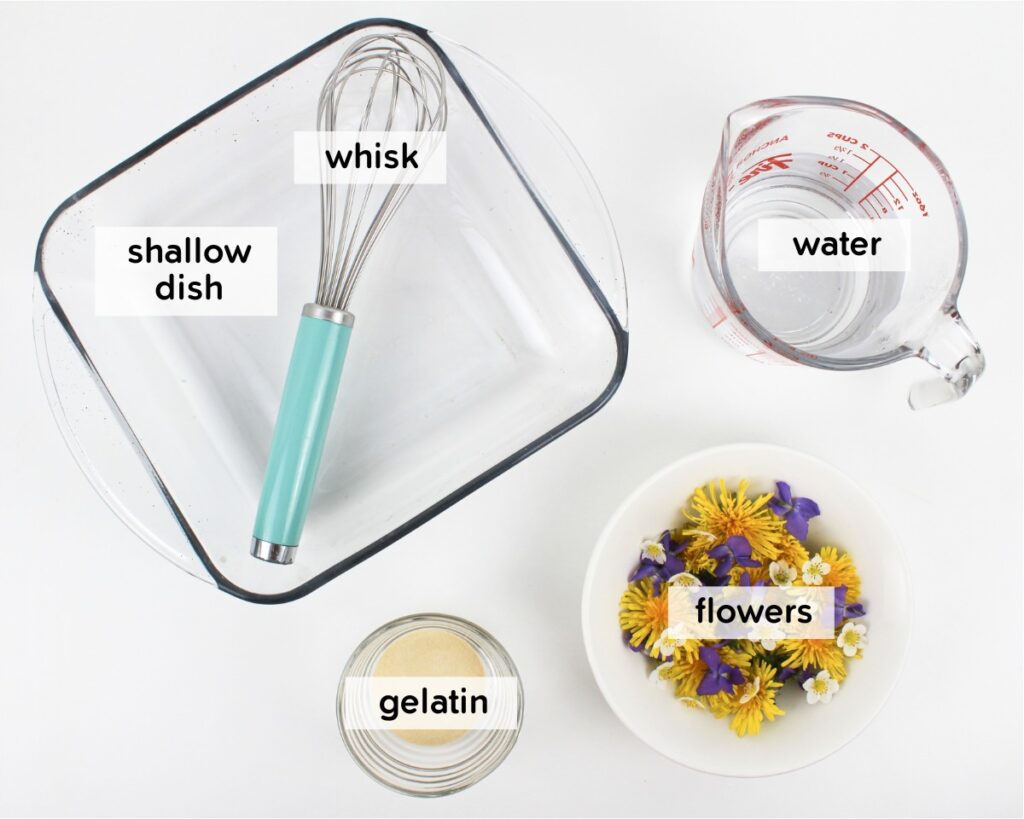
- Water: Tap water is fine. If you want the activity to be taste-safe, make sure the water you use is safe to drink. You’ll also need a way to boil some of the water, such as a kettle or a small saucepan.
- Gelatin: I like to use unflavored gelatin powder for this activity because it is taste-safe, but not tasty (meaning my kids won’t actively want to eat it), and it is mostly clear when it sets, which makes the flowers more visible. Flavored Jell-O powder can work in a pinch, but most flavors are colored and sweet-tasting, which I tend to avoid. (If you do use flavored Jell-O, you’ll need 2 boxes for this activity.)
- Whisk: You’ll need this in order to combine the water and gelatin. I don’t recommend using a fork or spoon, as this may cause the powder to clump up.
- Shallow dish: I used a 9×9-inch glass baking dish, but there are lots of other possibilities. This dish will be used during play, so you may prefer to use thick plastic rather than glass—just make sure it’s about the same size as a square baking dish, or adjust the recipe quantities accordingly.
- Flowers: I used a mix of yellow dandelions and other small flowers growing in my yard, like wild strawberry flowers. If you use dandelions, make sure they haven’t been treated with chemicals, and pick them when they are in full bloom. Any other flowers you use should be edible or non-toxic as well (assuming you need the activity to be taste-safe); you can also add clovers or other small leaves if desired. Or, simply use artificial flowers if you are prepping this activity for an older child and you’re not worried that they will try to eat them!
The full supply list and instructions can be found in the how-to card.
Modifying the Consistency (for Younger or Older Kids)
If you are setting up this activity for an infant or baby and you would like the jelly to be softer to reduce the risk of choking, slightly decrease the quantity of gelatin or increase the quantity of water to create a softer consistency.
If your kids are older and you would like to make the flowers more challenging to dig out, increase the quantity of gelatin or decrease the quantity of water instead. Feel free to experiment with different ratios to see what you like best!
Grab our 12 best sensory recipes!
By submitting your email address, you are agreeing to the terms of our Privacy Policy. You can unsubscribe at any time.
How to Make a Jell-O Flower Dig (Step-by-Step)
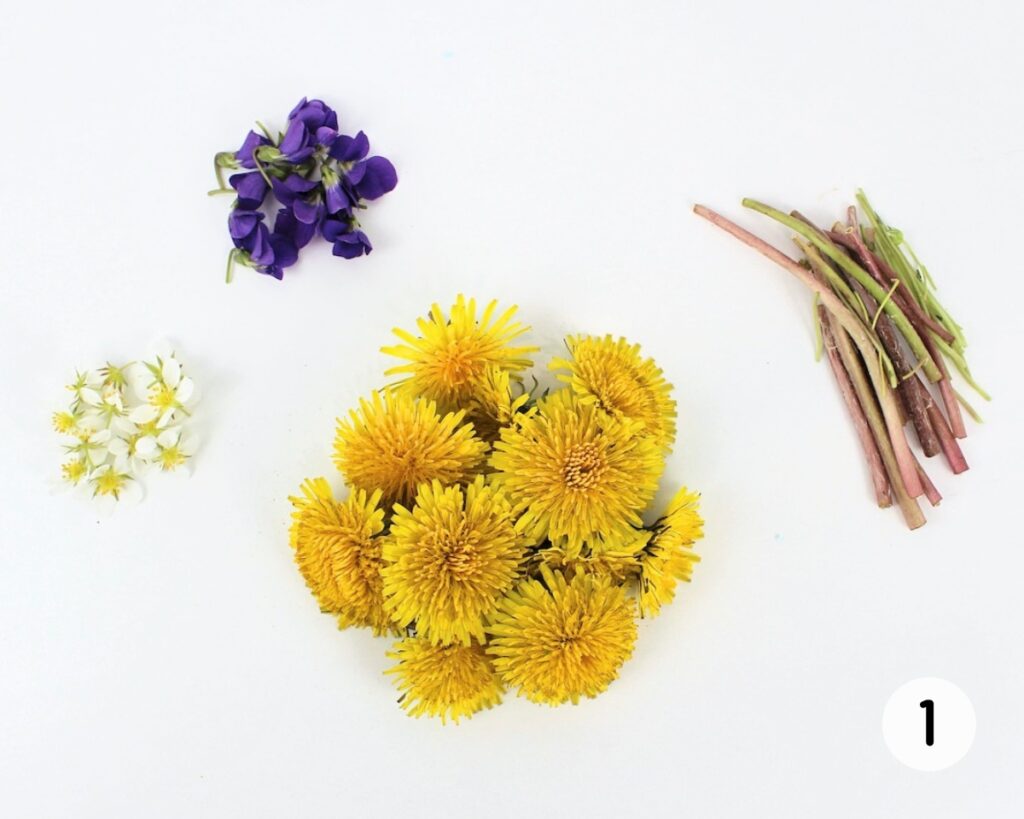
Step 1: Remove flower stems. Gently wash and dry the flowers if needed, then remove their stems.
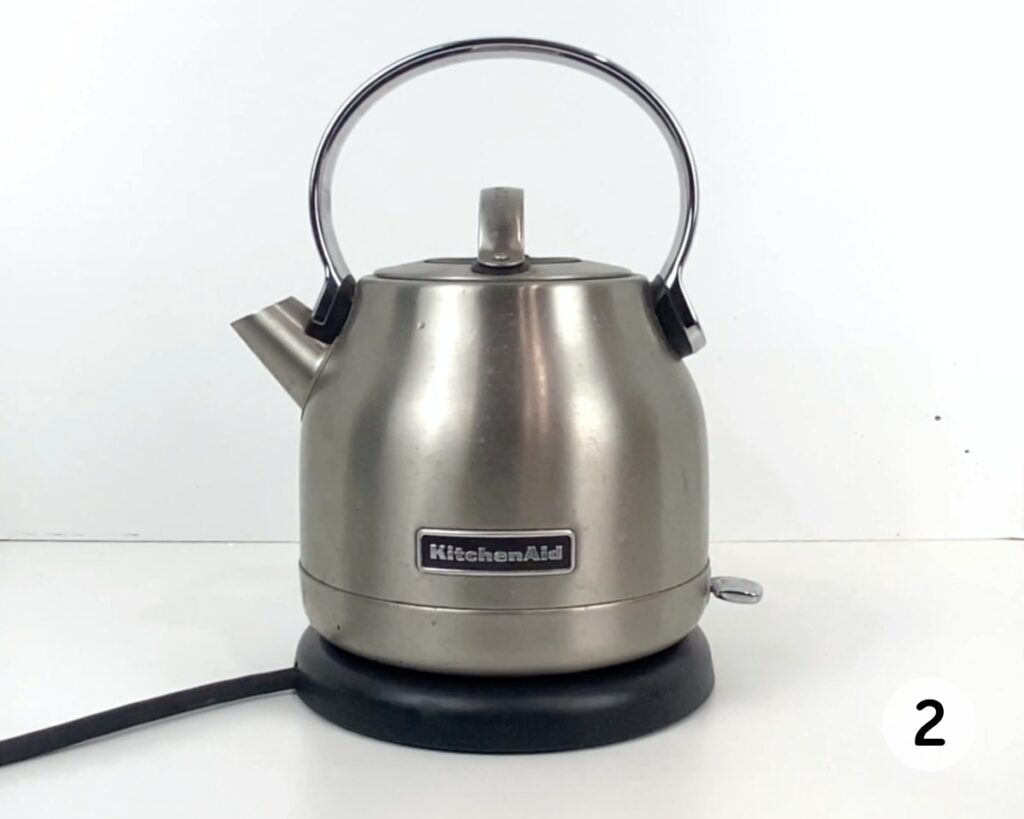
Step 2: Boil water. Use a kettle or saucepan to bring 1 ½ cups of water to a boil.
Making This Activity Taste-Safe
Have a young child at home who still likes to put everything in their mouth? There are lots of edible flowers for you to choose from, including dandelions, lavender, clover flowers, rose petals, strawberry flowers, violets and lilac.
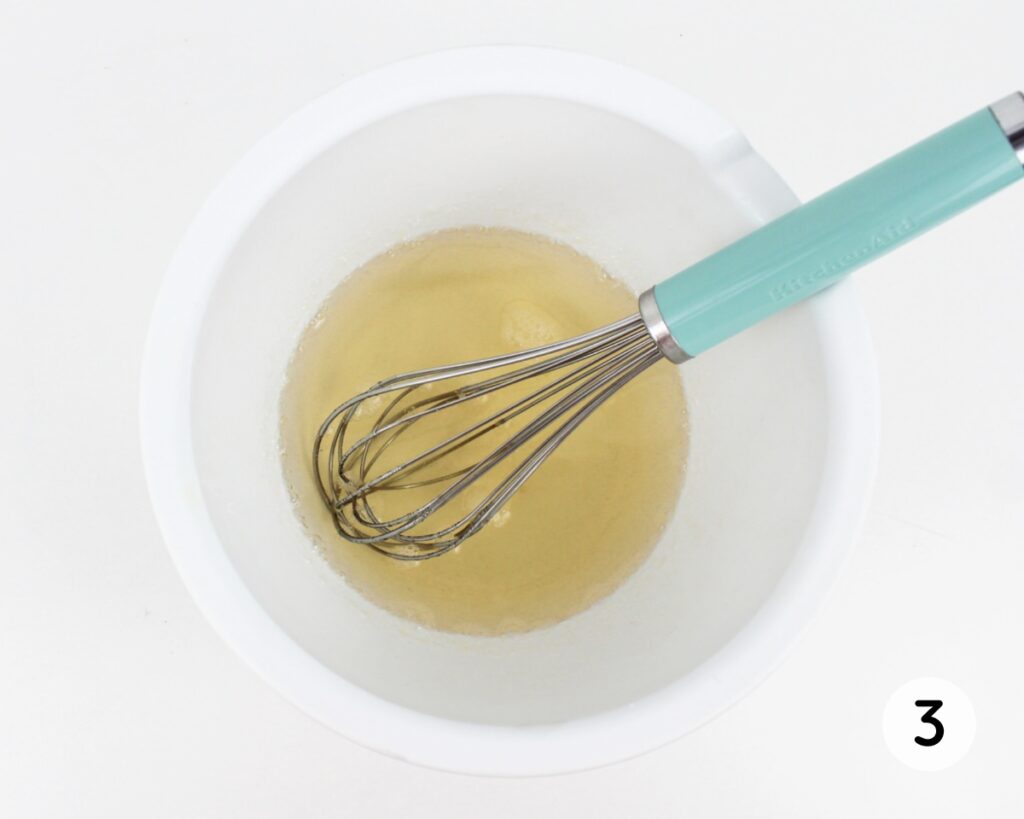
Step 3: Combine water and gelatin. Add the powdered gelatin to a heatproof mixing bowl. Slowly pour the boiling water onto the gelatin, whisking continuously until the powder has completely dissolved. Then, add an additional ¾ cup of cold water and whisk until combined.
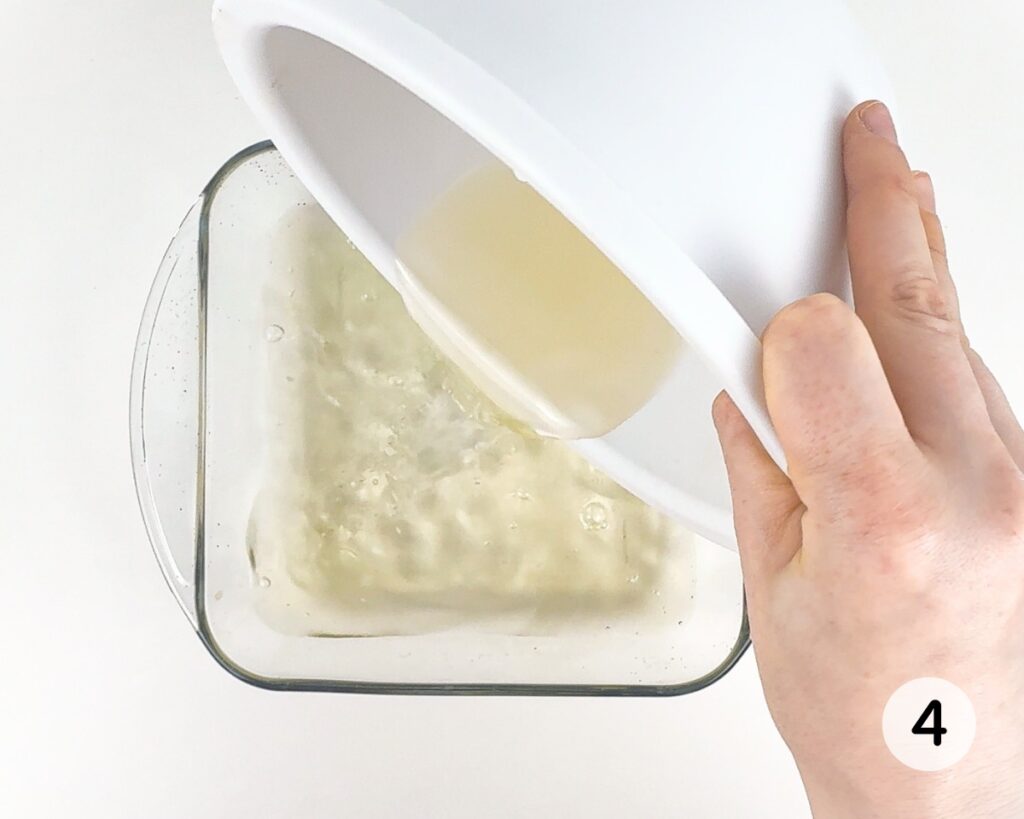
Step 4: Pour mixture into dish. Slowly pour the mixture into a shallow dish. (You’ll be letting the gelatin set in this dish as well as using it for play, so keep this in mind when choosing which one to use.)
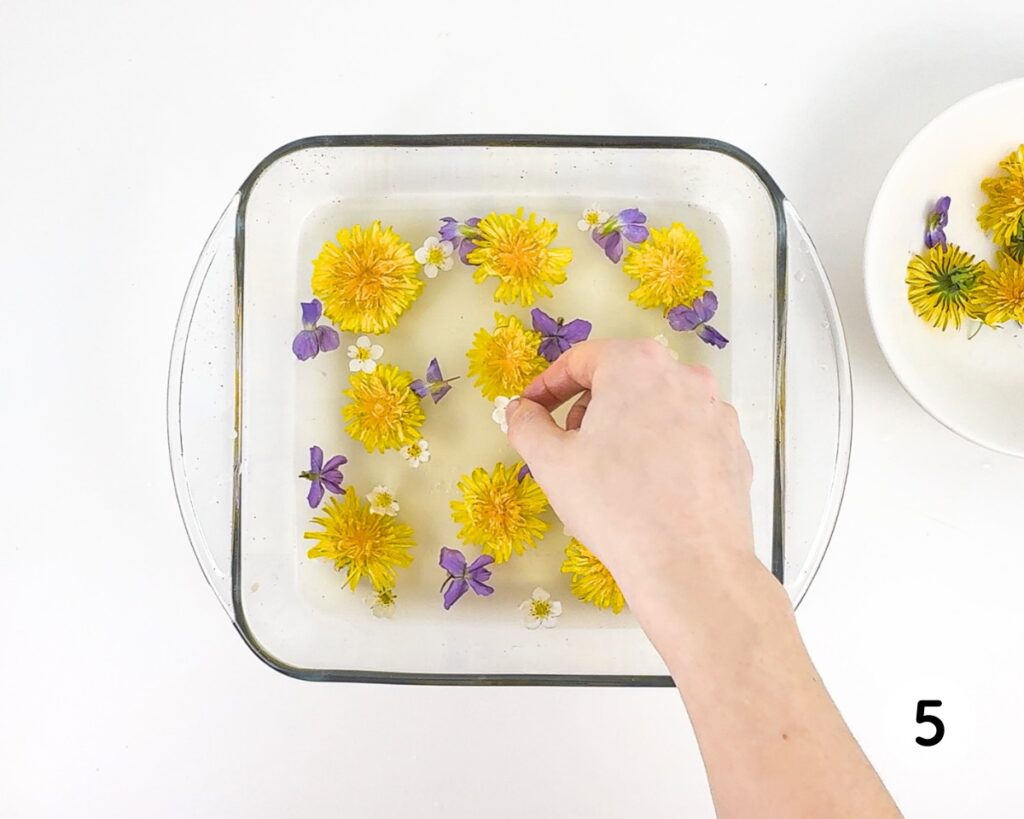
Step 5: Add flowers. Gently push the flowers into the liquid at the bottom of the dish. (It’s normal for the flowers to float back up a little after you’ve pushed them down, but make sure that the petals have come into contact with the liquid first.)
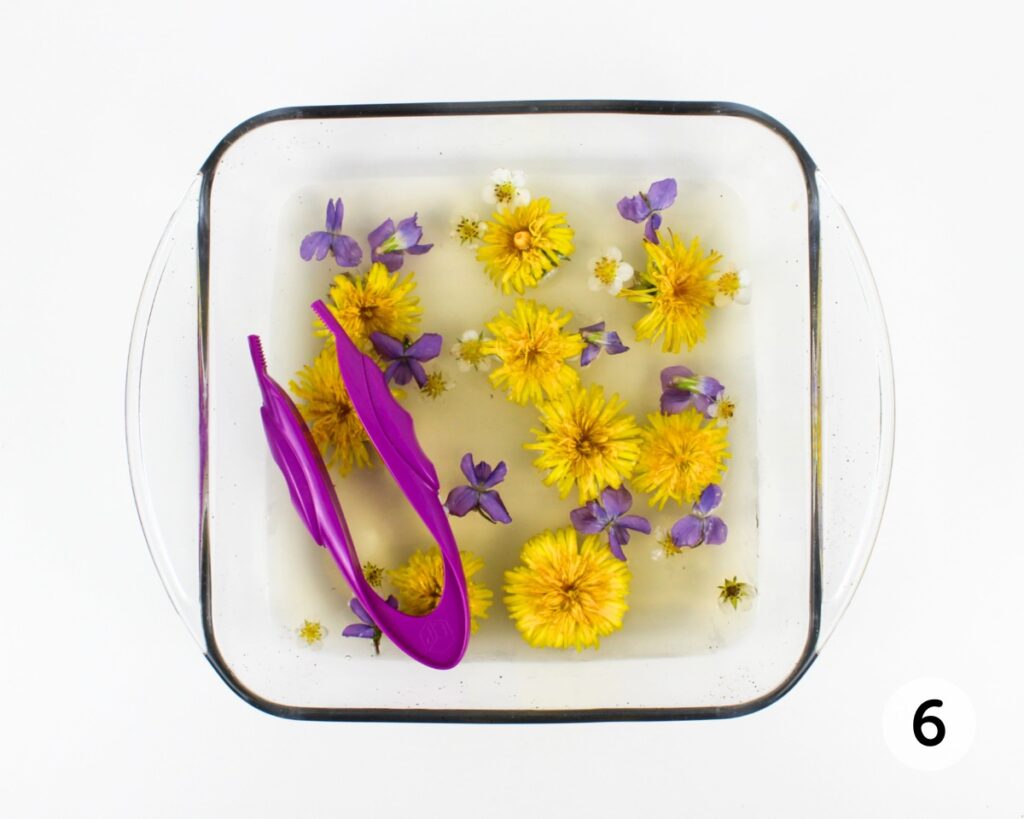
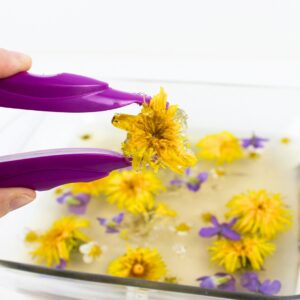
Step 6: Allow mixture to set. Gently pick up the dish and place it in the fridge for 3-4 hours, or until the gelatin has fully set. (If desired, you can gently move the flowers around after placing the dish in the fridge to adjust their placement.) Then, add some jumbo tweezers and let your child dig out the flowers!
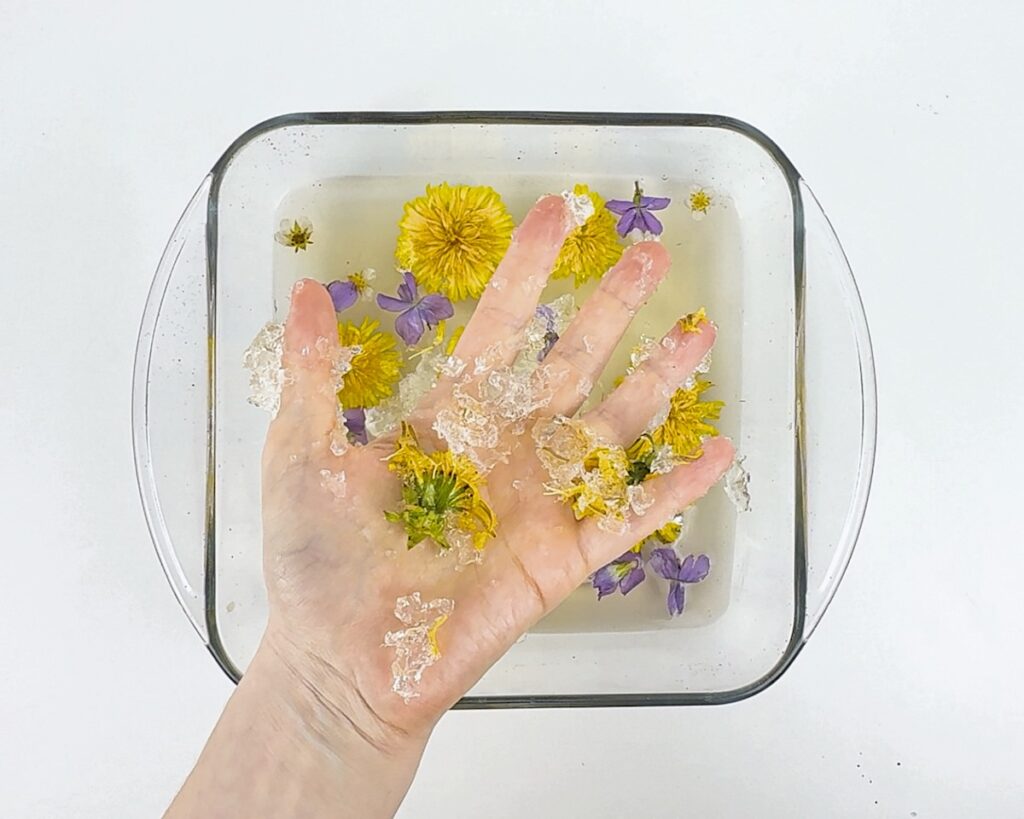
My kids love activities that involve gelatin, and this one was no exception! They had lots of fun digging out the flowers with their hand and tweezers, then playing with the leftover jelly once they were done. This activity was a bit messy, but it was totally worth it!
Helpful Tips
- Pick the flowers in full sunlight: When picking your flowers, make sure they have been exposed to bright sunlight for several hours and are in full bloom. The sensory bin won’t look as pretty if the flowers are partially closed.
- Use the flowers right away: The flowers will start to wilt as soon as they are picked, so for best results, make sure you pick them right before you plan to use them.
- Gently wash the flowers: If you need this activity to be taste-safe, you can wash the flowers right before you use them to remove insects and dirt, but make sure the water is flowing very gently, as certain types of flowers (like dandelions) will close if the water is flowing with too much force.
- Quickly whisk the water and gelatin: Once you have poured the boiling water onto the powdered gelatin, start whisking immediately and don’t stop until the powder has fully dissolved. If you wait, the gelatin might clump up and you’ll have to start over.
- Pour the gelatin right away: After you are done mixing the water and gelatin, make sure you don’t wait too long to pour the mixture into the baking dish and add the flowers. I recommend picking the flowers before you start making the jelly to prevent it from setting inside the bowl.
- Consider rearranging the flowers: Moving the dish into the fridge will cause the flowers to shift positions. If having them perfectly placed is important to you, you may want to gently move them back into place with a fork or your fingers after placing the dish in the fridge.
Frequently Asked Questions
Have a question that wasn’t answered here? Let me know in the comments and I’ll be happy to help!
More Dandelion Activities


If you have tried this Jell-O Flower Dig or any other project on my website, please let me know how it went in the comments below. I can’t wait to hear from you!
Jell-O Flower Dig
Equipment
- 1 whisk
- 1 standard 9×9-inch baking dish (or similar)
- 1 heatproof mixing bowl
- kettle or saucepan to boil water
- jumbo tweezers optional
Materials
- flowers (stems removed) as needed
- 1 ½ tbsp unflavored gelatin powder (two 7-gram packets)
- 2 ¼ cups water divided
Instructions
- Use a kettle or saucepan to bring 1 ½ cups of water to a boil.
- Add the powdered gelatin to a heatproof mixing bowl. Slowly pour the boiling water onto the gelatin, whisking continuously until the powder has completely dissolved, then add an additional ¾ cup of cold water and whisk until combined.
- Slowly pour the mixture into a shallow dish, then gently push the flowers into the liquid at the bottom of the dish. (It’s normal for the flowers to float back up a little after you’ve pushed them down, but make sure that the petals have come into contact with the liquid first.)
- Gently pick up the dish and place it in the fridge for 3-4 hours, or until the gelatin has fully set. (If desired, you can gently move the flowers around after placing the dish in the fridge to adjust their placement.) Then, add some jumbo tweezers if desired, and let your child dig out the flowers!
Video
Notes
- Wait for full sunlight: Pick the flowers when they are in full bloom after having been exposed to bright sunlight for several hours.
- Gently wash the flowers: Make sure the water is flowing gently when you wash the flowers, as a heavy flow of water can cause them to close.
- Use the flowers right away: To prevent them from wilting, use the flowers as soon as possible after picking them.
- Whisk quickly: After pouring the boiling water onto the gelatin, start whisking immediately to prevent the gelatin from seizing up, and don’t stop until the powder has fully dissolved.
- Pour the gelatin right away: Pick the flowers before you start making the gelatin mixture, and pour the mixture into the dish immediately to ensure that it doesn’t have time to set.

Only your name will be made public. Please note that by submitting your comment, you are agreeing to the terms of our Privacy Policy.