
Grab a hot glue gun and use it to make this easy Christmas craft that is perfect for kids of all ages! This colorful hot glue and watercolor Christmas light craft is so fun for kids to make, and it will only require a few minutes of your time.

JUMP TO…
This colorful hot glue craft is super simple to make, and you probably already have all the necessary supplies at home.
And while you’ll want to save the hot glue gun for older kids or adults, the other steps can be completed by younger children as well—including toddlers and preschoolers.
The hot glue forms a barrier that keeps the paint from spreading, which makes the Christmas lights look nice and neat. Our kids had so much fun with this project, and I hope yours will too!

Get hundreds of pages of activities!
Get access to all our paid printables, as well as monthly activity planners, for just $5/month. (New printables added twice per month!)
Required Materials
Here’s what you’ll need to make these pretty watercolor Christmas lights at home:
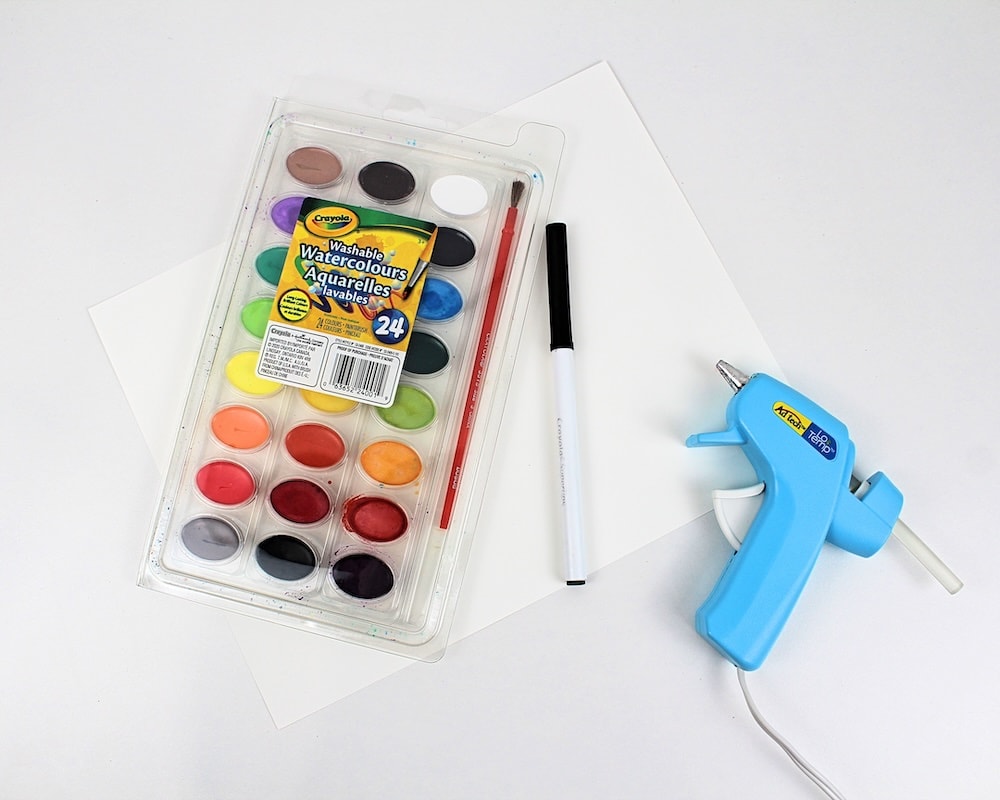
- White cardstock
- Black marker
- Hot glue gun
- Watercolor paint
- Paintbrush
How to Make Hot Glue & Watercolor Christmas Lights (Step-by-Step)
1. Draw Electrical Cord
To start with, grab a black marker and use it to draw a swirly line on the sheet of white cardstock. This line will become the black cord to which the Christmas lights are attached.

Once you’ve drawn the line, use the same marker to draw some black squares here and there along the black line. Make sure you don’t draw them too close together as every black square will be attached to a Christmas light, and you don’t want them to overlap.

2. Add Christmas Light Outlines
Next, grab your hot glue gun and use hot glue to draw a Christmas light at the end of each black square. (This step should be done by an adult, or by an older child under careful adult supervision.)
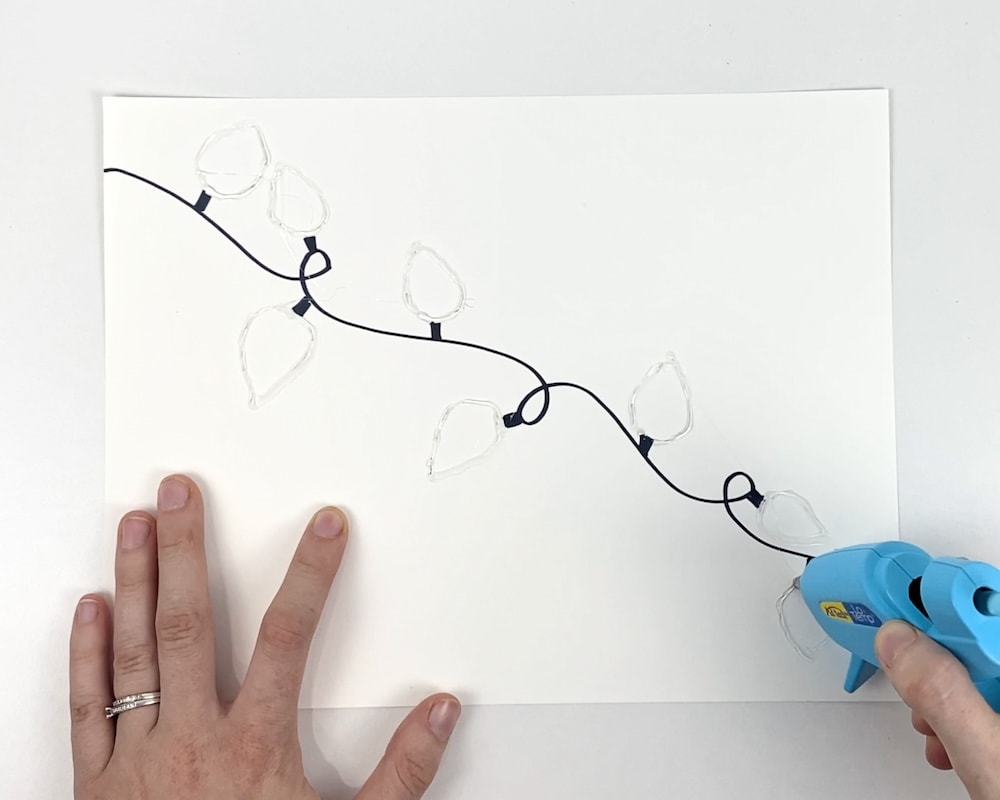
Make sure that you start and finish the shape in the same spot so that each Christmas light is completely closed off—this will prevent the paint from spreading too much during the next step.
3. Paint Christmas Lights
Now comes the fun part! Grab some watercolor paint and use it to color the inside of each Christmas light.

The hot glue will act as a barrier that will prevent the colors from spreading outside of the Christmas light shapes. This means the colors should look nice and clean, and they should stay contained within each Christmas light. This step is easy enough for young kids to complete.
When you’re done filling in the Christmas lights, the craft will be ready to display. Doesn’t it look so pretty?

Related Christmas Crafts for Kids
Looking for more easy crafts to do over the holidays? Check out these articles:
- Crumpled Tissue Paper Christmas Craft
- Pipe Cleaner Christmas Cards
- Puffy Paint Christmas Ornament Craft
- Easy Paper Gingerbread Man Decorating
- Super Simple Feather Ornaments
Only your name will be made public. Please note that by submitting your comment, you are agreeing to the terms of our Privacy Policy.