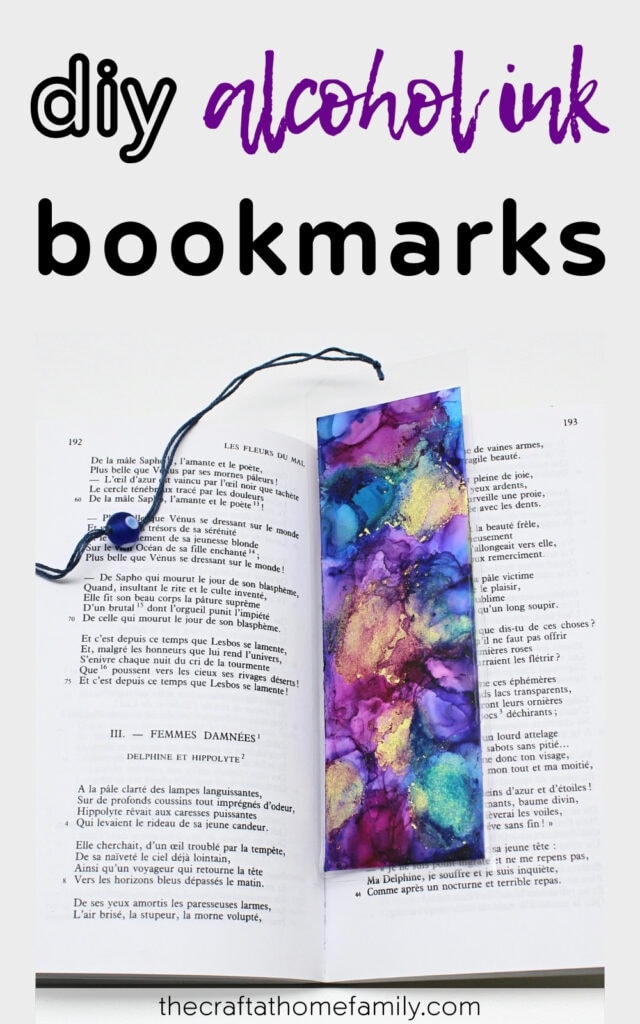
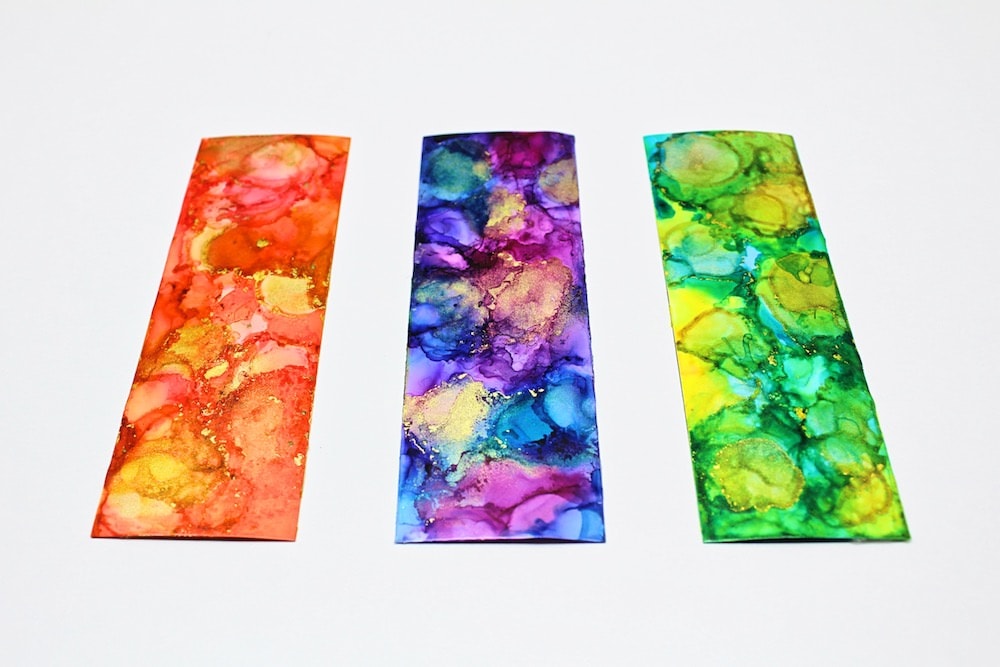
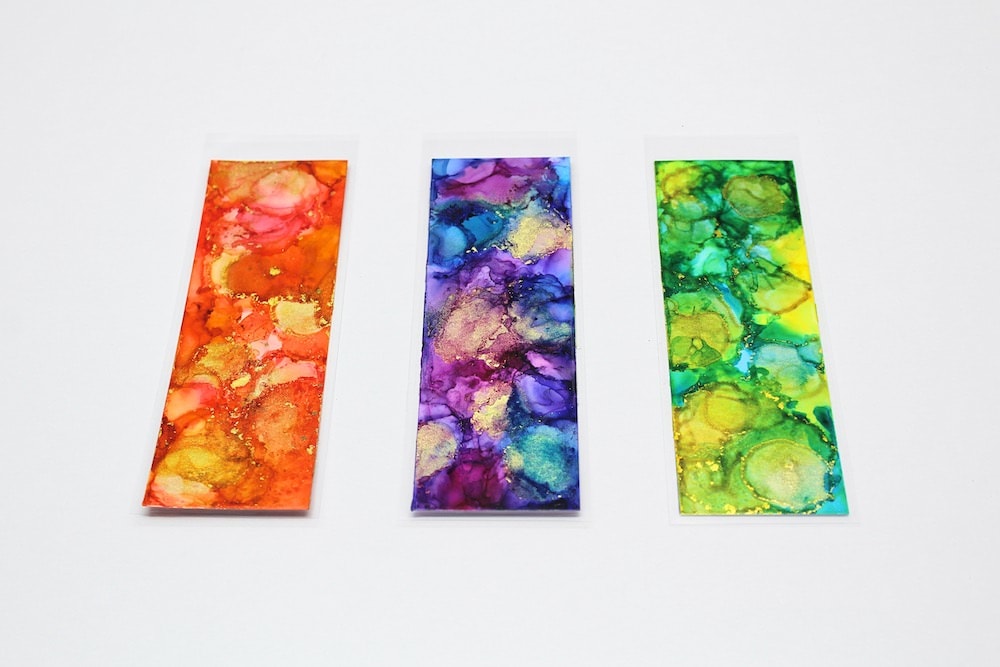
These gorgeous DIY alcohol ink bookmarks would make a great handmade gift for book lovers (or product to sell at a craft fair)! Each one looks so pretty and unique—and if you’ve never worked with alcohol ink before, this project is the perfect way to start!

JUMP TO…
I’ve mentioned my love of alcohol ink before now, right?
I suppose that since I mostly share kids’ crafts on this site, and alcohol ink isn’t appropriate for kids, I haven’t had many opportunities to talk about it. But I really should talk about alcohol ink more, because it is so fun to work with!
You’d think that being a big perfectionist and an even bigger control freak, I wouldn’t like that you can’t control exactly where the alcohol ink goes.
But in actuality, since I know that I can’t control alcohol ink no matter how hard I try, it’s a lot easier for me to let go of my perfectionism when I’m working with it—and there’s something about that that feels so liberating!
This particular project is one of the first ones I tried when I got started with alcohol ink. It’s actually the perfect project for beginners because it involves such a small surface area and it will look good pretty much any way you make it.
It’s also a great way to experiment before you move on to more complicated (and expensive) projects!
So whether you’ve used alcohol ink before and want to use it to create a personalized gift for someone, or you simply want to experiment before trying other types of projects, these DIY bookmarks should be a great fit.
(And they’re even nice enough to sell on a marketplace like Etsy!)
Note: If you’ve never used alcohol ink before, be sure to read all the way to the bottom. I’ve included an entire section full of helpful alcohol ink tips right below the tutorial!

Get hundreds of pages of activities!
Get access to all our paid printables, as well as monthly activity planners, for just $5/month. (New printables added twice per month!)
Required Materials
Here’s what you’ll need to make these gorgeous alcohol ink bookmarks at home:
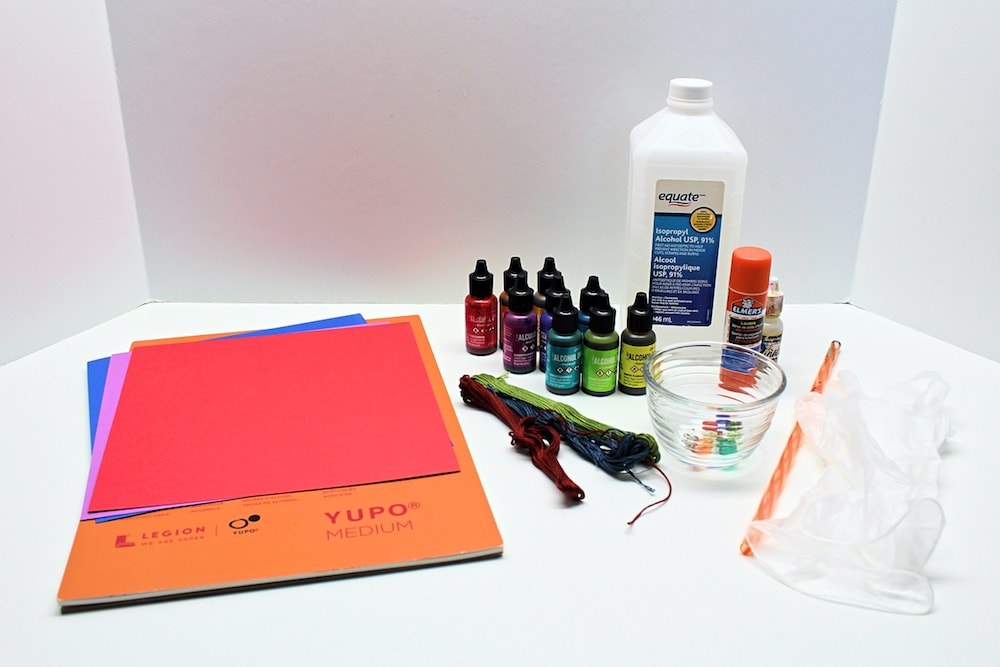
- Yupo paper
- Alcohol ink in several colors
- Alcohol ink metallic mixatives (optional)
- Isopropyl alcohol
- Dropper (for the isopropyl alcohol)
- Plastic straw
- Krylon Kamar Varnish
- Colored cardstock of your choice
- Stick of glue
- Scissors
- Thermal laminator and laminating pouches
- Hole punch (I used a ⅛-inch hole punch, but you can use a standard ¼-inch one if that’s what you have at home)
- Embroidery thread
- Decorative beads (I got mine at a craft store)
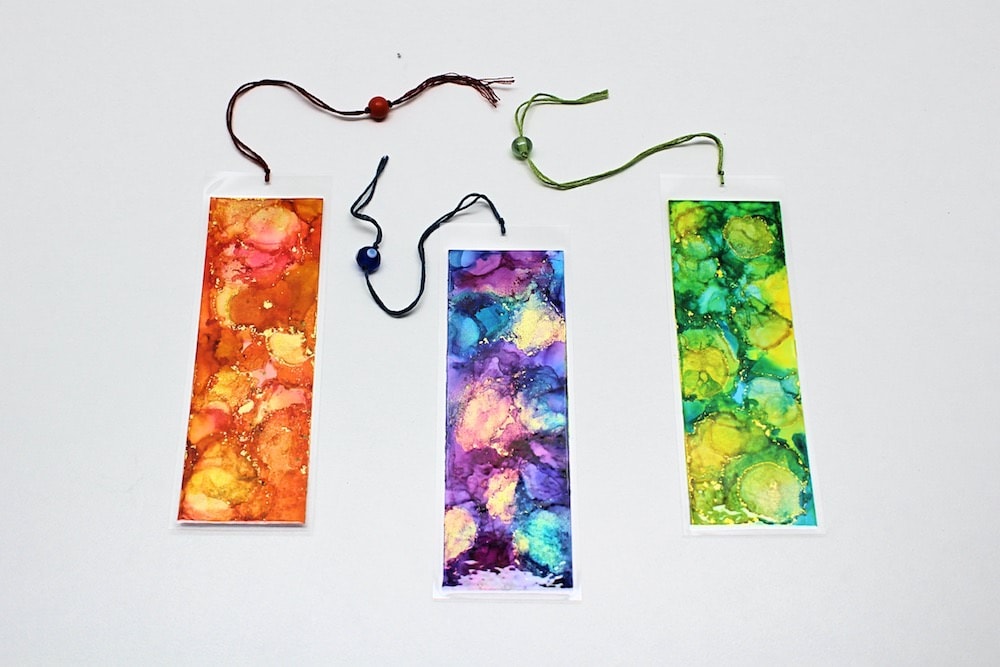
Note: When picking your color schemes, you’ll want to ensure that the alcohol ink, cardstock, embroidery thread and beads complement each other nicely. We went with red/orange, purple/blue and yellow/green.
Additional Recommended Supplies
Above are the materials you’ll absolutely need to make these bookmarks, but I’d also recommend a few additional supplies:
- Parchment paper (to protect your work surface)
- Vinyl/latex/nitrile gloves (to avoid staining your hands)
- Krylon UV-Resistant Varnish
- Paper trimmer
- Permanent marker with ultra-fine point
How to Make Alcohol Ink Bookmarks (Step-by-Step)
1. Cut Yupo Paper & Cardstock
Start by choosing the size of your bookmarks and cutting down the Yupo paper and cardstock to match that format. We went with 2”x6” since it’s a pretty standard size for bookmarks.
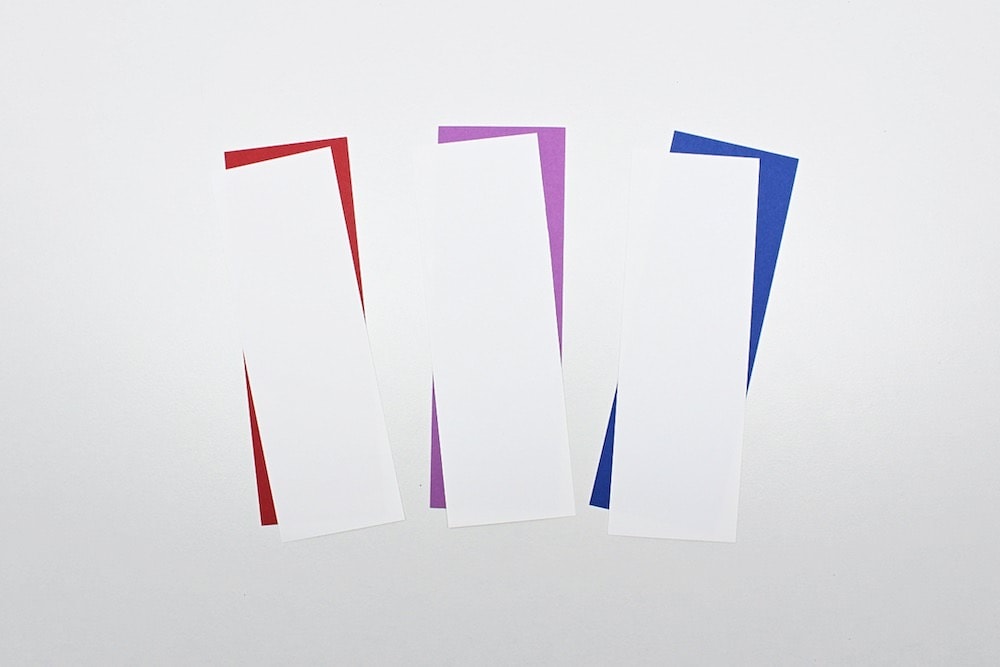
I used a paper trimmer for this step because I love how clean the cuts are, but feel free to use a regular pair of scissors if you don’t have one at home.
2. Add Isopropyl Alcohol to Yupo Paper
Using a dropper, pour a bit of isopropyl alcohol onto one of the strips of Yupo paper. (You’ll be decorating each one separately.)
3. Add Alcohol Ink to Yupo Paper
Grab a bottle of alcohol ink and pour a drop onto the isopropyl alcohol. The ink should start spreading wherever there is alcohol.
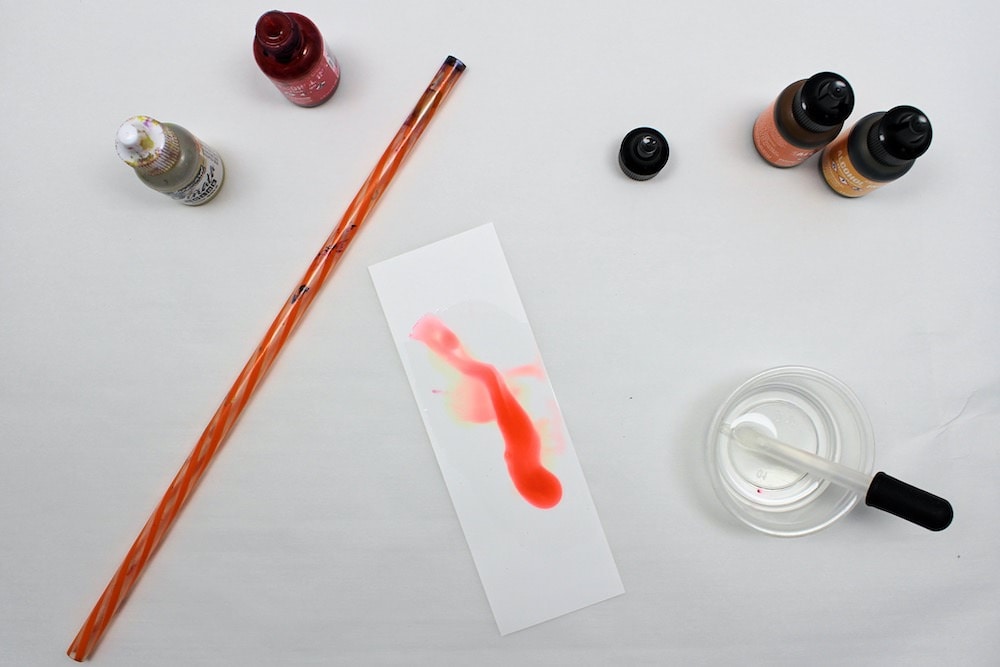
At this point, you’ll want to move the ink around to help it spread and create a pattern. There are several ways to do this, but because the bookmarks are so small and light, the best method to use in this case is simply to blow it around using a straw.
(Note: For projects that require heavier materials, you may be able to use a hair dryer, compressed air or even just the force of gravity.)
4. Create Design on Yupo Paper
Keep adding more drops of isopropyl alcohol and alcohol ink, blowing them around with a straw until you’re happy with the look of your bookmarks.
It’s pretty difficult to control exactly where the ink goes, but it usually looks good as long as you don’t mix too many dark colors together. (And if you do, you can always add more isopropyl alcohol to thin out the ink.)
In case you’re interested, here are the colors I used (all from the Ranger/Tim Holtz collection):
- For the red/orange bookmark: Valencia, Flamingo and Honeycomb;
- For the purple/blue bookmark: Amethyst, Wild Plum and Aquamarine;
- For the yellow/green bookmark: Dandelion, Mermaid and Limeade.
If you want, you can also experiment with metallic mixatives. I added some gold mixative to my bookmarks and loved how they turned out!
Metallic mixatives don’t behave quite the same way as regular alcohol ink and the metallic flecks tend to stay in place once they’ve dried, so I recommend using them sparingly in the beginning until you’ve figured out how to work with them.
One of the things I love about alcohol ink is that it’s pretty forgiving. Whenever you add more alcohol or ink, the ink that was already there should be pushed out of the way, so it’s quite easy to change the design.
Plus, until it’s been sealed, alcohol ink can be reactivated at any time simply by adding alcohol! So if ever you’re really not happy with the way your bookmark looks, you should be able to wipe off most of the ink and start over from scratch simply by rubbing it off with enough isopropyl alcohol.
5. Let Dry
Once you’re happy with the look of your bookmarks, let the ink dry for about 24 hours before moving on to the next step.
6. Seal & Protect Alcohol Ink
When creating alcohol ink artwork, I typically use three types of spray to seal and protect my work: Krylon Kamar Varnish, Krylon UV-Resistant Varnish, and Krylon Triple-Thick Glaze.
But since your bookmarks will be laminated, there’s no need to use all three for this project.
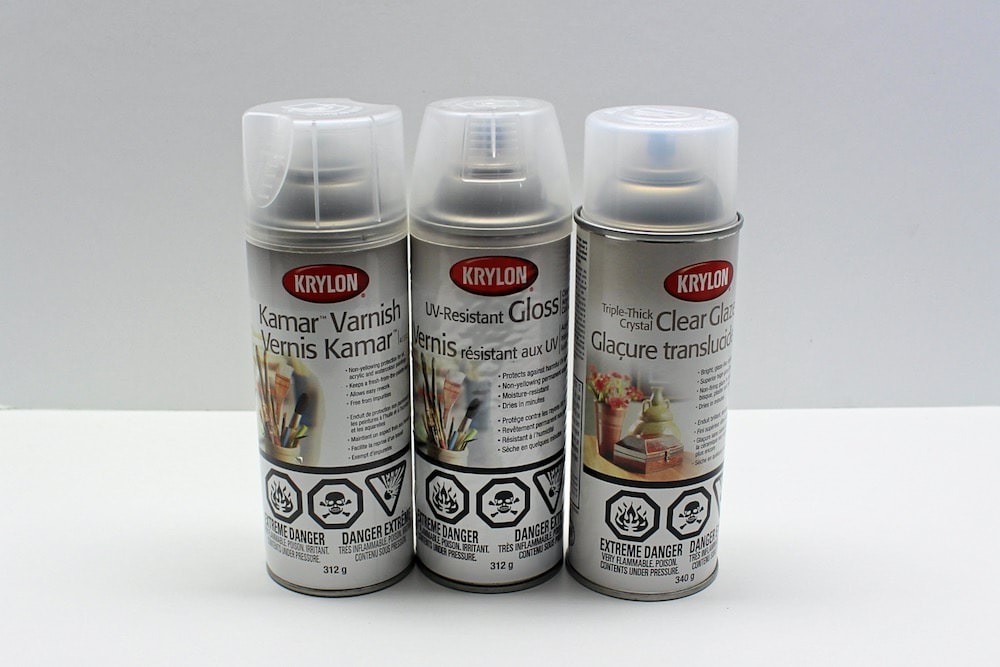
You’ll definitely want to use Krylon Kamar Varnish in order to seal your artwork before you laminate the bookmark. Sealing it prevents the alcohol ink from getting reactivated when it comes in contact with alcohol—which admittedly isn’t very likely since the bookmarks be laminated, but better safe than sorry!
I typically apply 2 or 3 coats, waiting about an hour in between each coat, then let it dry for about 24 hours before using the next spray. Just make sure every inch of the bookmark is completely covered or the your artwork will turn into a blurry mess when you apply the next spray.
Using Krylon UV-Resistant Varnish for this project is optional. I did some research to find out whether the laminating process provides any UV protection, but I wasn’t able to find a definitive answer… so feel free to use this spray if you want to ensure that your colors will remain intact, but it will probably be fine if you don’t (especially since the bookmarks probably won’t be exposed to much direct sunlight).
Once again, I typically apply 2 or 3 coats, waiting about an hour in between each coat, then let it dry for about 24 hours.
As far as Krylon Triple-Thick Glaze is concerned, you can skip it for the purposes of this project since the bookmarks will be coated in plastic anyway!
7. Glue Artwork to Cardstock
Once the final layer of spray has dried, use a glue stick to glue the Yupo paper to the pieces of cardstock you cut during the very first step.
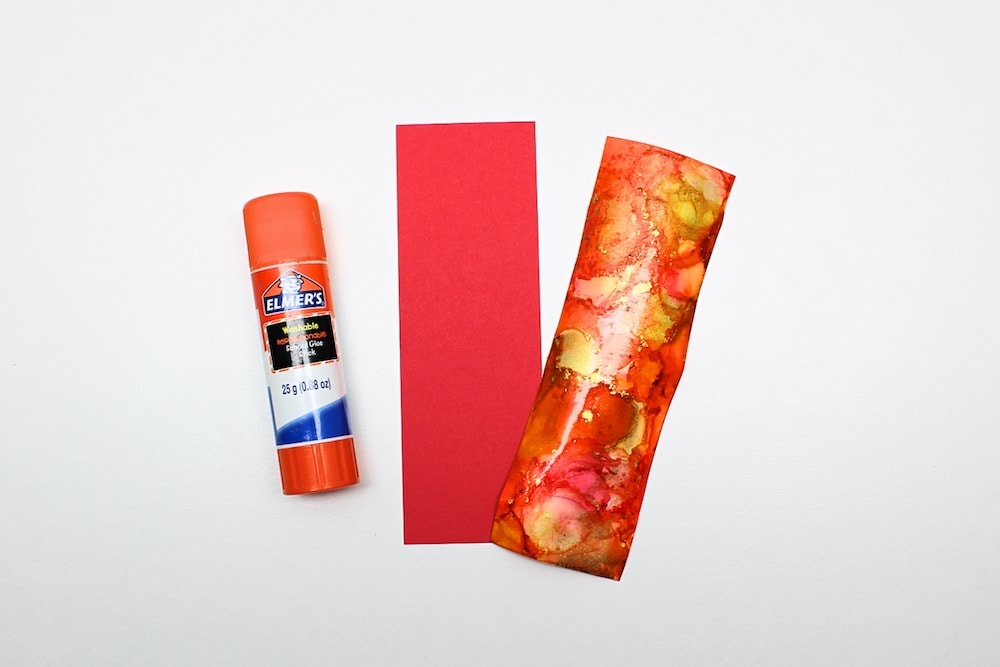
The Yupo paper may not be flat—especially if you applied both the Kamar Varnish and UV-Resistant Varnish—but glueing it to the cardstock should solve that issue.
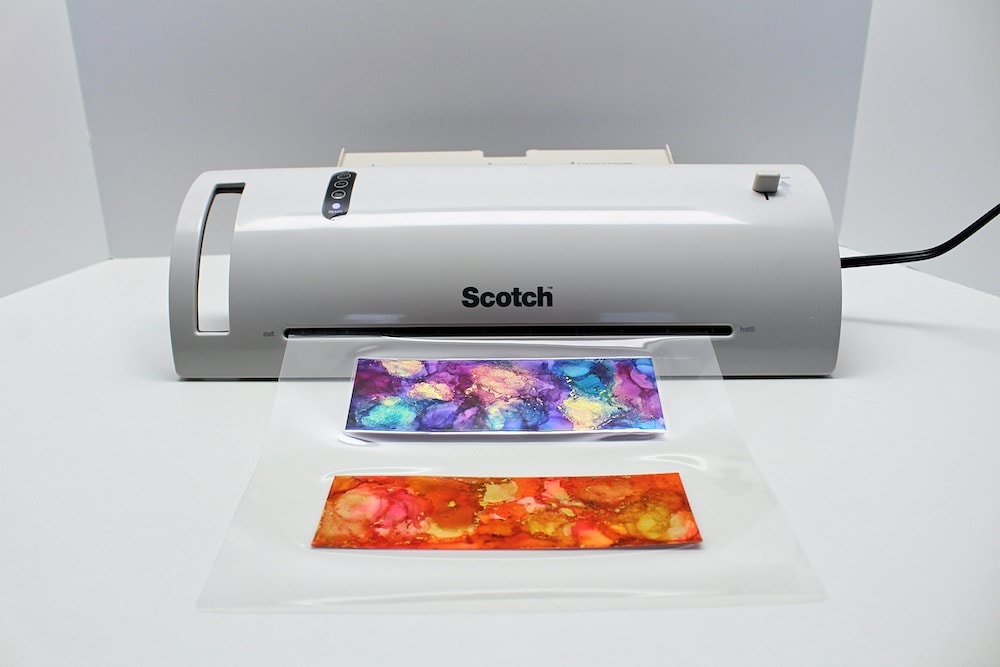
8. Laminate Bookmarks
For the next step, place the bookmarks in a laminating pouch and laminate them according to your machine’s instructions. Make sure you leave enough room in between each bookmark to give yourself a good margin for cutting.
9. Cut Bookmarks
Cut around the laminated bookmarks, leaving a large border at the top (for punching a hole) and a small border all the way around.
Once again, I like to use a paper trimmer for this because of how clean the cuts are, but you can use scissors if that’s what you have at home. (You can also use scissors to cut rounded corners if you so choose.)
Don’t forget to leave some extra room at the top so that you can punch a hole and insert the embroidery thread!
10. Punch Hole in Bookmark
Use a hole punch to make a small hole in the excess plastic at the top of the bookmark. I used a ⅛-inch hole punch because I liked having a smaller hole for the embroidery thread, but feel free to use a standard ¼-inch one if that’s what you have.

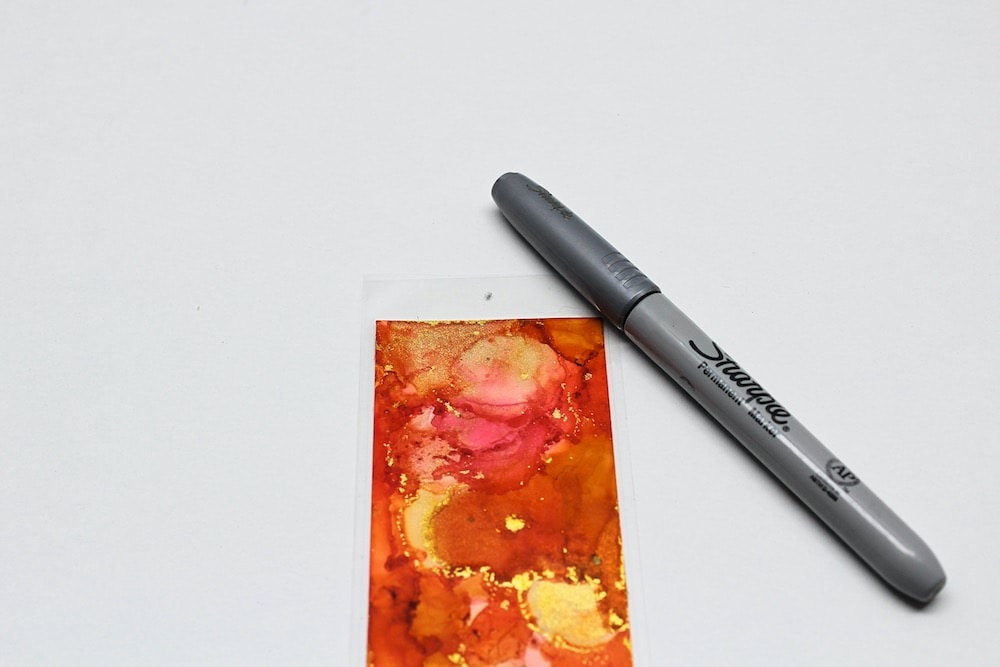
Tip: If you want to be sure that the hole is properly centered, use a permanent marker with an ultra-fine tip to make a little dot on the plastic before using the hole punch, and use that dot as a guide to tell you where to make the hole.
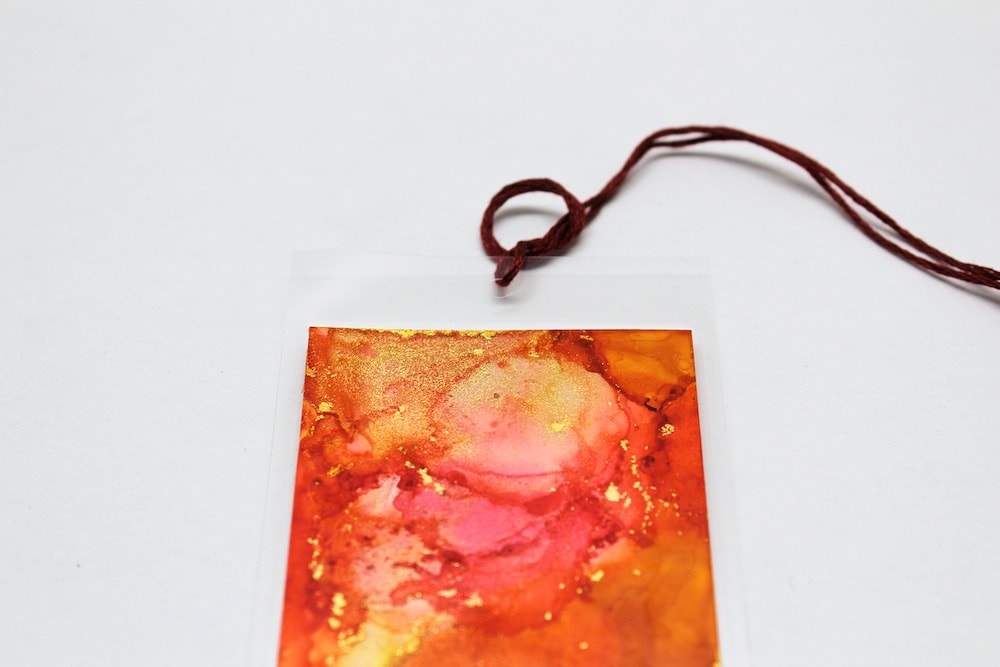
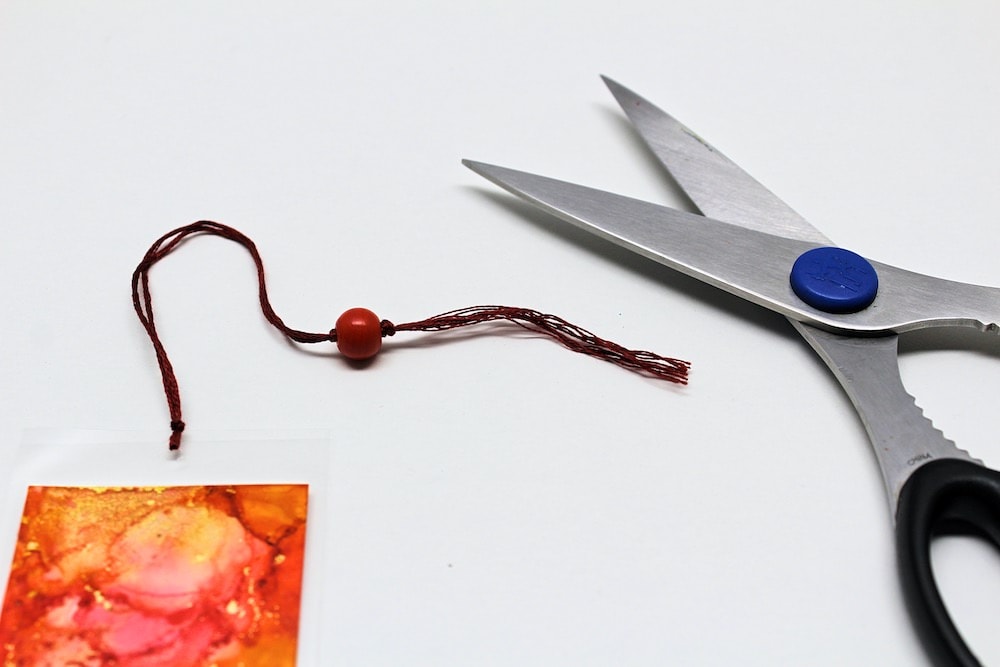
11. Add Embroidery Thread
Choose embroidery thread that complements the colors you used to make your bookmark, and cut a length of it with scissors.
If you’re unsure how long to cut it, err on the side of caution by making it longer than you think you’ll need—you can always cut it shorter during a later step.

Once you’ve cut it, feed it through the hole and tie a single knot right above the plastic to keep the thread in place.
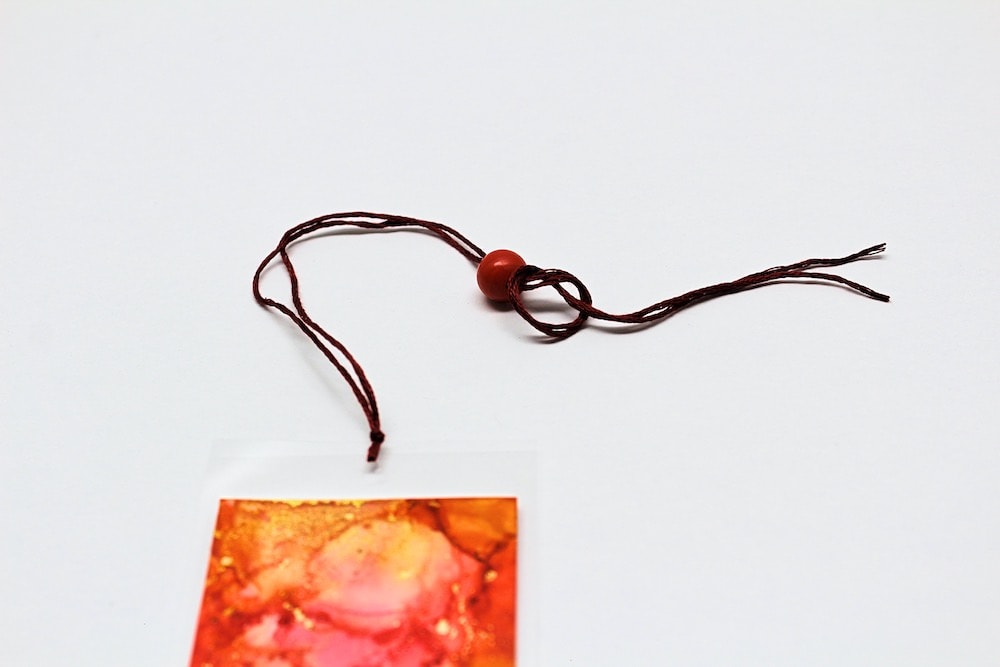
12. Add Decorative Bead
Tie a double knot (to prevent the bead from slipping down) about 2 to 3 inches from the top of the plastic. Add a pretty decorative bead, then tie another double knot right above the bead to keep it in place.
13. Cut Embroidery Thread
Decide how long you want the thread to be and cut off any excess with scissors. Then, using your fingers or a pair of tweezers, separate all the pieces of thread to make them look like a tassel.
Once that’s done, the bookmarks are ready! Leave them in your favorite book to mark your place, or gift a set to your loved ones! Aren’t they just gorgeous?
I gave some to my mother for Christmas a couple years back, but I loved them so much that I just had to make a set for myself as well—and show you how to make them in the process!
I’m sure I could even sell them at craft fairs or on Etsy if I really wanted to… but I’d rather spend my time teaching you how to make them, instead!
Alcohol Ink Tips & Troubleshooting
Since not everyone has worked with alcohol ink before, I’ve put together a little troubleshooting guide below to help you out! I’ve tried to answer most of the questions you may have, but feel free to comment with any questions that I haven’t answered!
Is Alcohol Ink Safe to Breathe in?
Alcohol ink shouldn’t be harmful to you, but both alcohol ink and the isopropyl alcohol you’ll need to activate it can emit fumes, so it’s important that you take proper precautions when working with it.
This includes working in a well ventilated area, and if you feel so inclined, wearing a mask (except when blowing around the alcohol ink with a straw). You’ll also want to make sure that you leave the bookmarks in a well ventilated area while the spray sealer and UV spray are drying, since those can also emit harmful fumes.
Keeping that in mind, I wouldn’t recommend making these bookmarks—or any other alcohol ink project—while pregnant. I’m sure it can be safe as long as all the right precautions are taken, but I personally didn’t feel comfortable being around all those fumes while I expecting.
…Which just made it all the more exciting to start up again after our baby was born!
Where Can I Buy It?
Alcohol ink can typically be found in craft stores or online. Most of mine was ordered from Amazon, but I’ve also purchased a few sets from Michaels because they were overpriced or difficult to find online.
Which Surfaces Can I Use It On?
Unlike most paints, alcohol ink is meant to be used on non-porous surfaces such as plastic, metal, ceramic or glass. You can’t even use it on canvas unless the canvas has been specially prepared with a latex primer!
Alcohol ink will not work on regular paper, which is why you’ll need to purchase Yupo paper for this project. Yupo paper is a special type of synthetic paper that is non-porous, and it’s a great medium for alcohol ink.
If you want to test things out before starting your project, you can also use a spare piece of clear plastic from the recycling or an extra tile that you have lying around from your latest renovation project! (Do other people have those too?!)
How Do I Clean It?
It’s quite possible that even if you protect your work surface with parchment paper, you’ll still end up with a few small droplets of alcohol ink in places you don’t want them.
Your first instinct may be to try cleaning up the ink with a wet cloth—and panic when it doesn’t come off. So I wanted to reassure you that it can indeed be cleaned. It just can’t be cleaned with water!
If you find any droplets of alcohol ink on your counter, table or floor, simply pour a little bit of isopropyl alcohol onto it and use a cloth or paper towel to wipe it up. The alcohol should make the ink come right off!
How Can I Fix My Mistakes?
If you go through all the steps listed in the tutorial and aren’t happy with the result, there’s no need to worry! Even when it seems dry, alcohol ink art is never permanent until you spray it with Krylon Kamar Varnish (see step 6) to prevent it from being reactivated by alcohol.
So if ever you’re unhappy with how your bookmarks look, simply pour a little bit of isopropyl alcohol onto them to reactivate the alcohol ink!
You can even restart the whole project from scratch if you use enough alcohol—the colors won’t disappear completely, but they’ll fade enough that you should be able to cover them up with more ink.
Related Alcohol Ink Crafts
Looking for more crafts to make with your new set of alcohol inks? Check out this project:
Have you ever used the bookmark sleeves that come with the tassel sold on Amazon? What are your thoughts on them?
I’ve never used them so I had to look them up. It looks like there are two types: blank sleeves that you’re supposed to decorate and protective sleeves that you can place your bookmarks in. I wouldn’t recommend the first type as it looks like the alcohol ink and varnish would directly come into contact with the pages of the book, but the second type (protective sleeves) should be fine as long as you seal the alcohol ink as described in the article! I would just make sure to measure the Yupo paper BEFORE adding the alcohol ink to make sure it fits inside the sleeve.
Stupid question, what do you use on the other side of the bookmarks? I would like to use these with my grandchildren. Is this too dangerous for them? Thank you.
Hi Stephen!
Are you wondering whether it’s safe to make the bookmarks with your grandkids, or whether it’s safe for them to use them once they’re already made?
I wouldn’t recommend making them with children unless they’re in their teens. Alcohol ink emits fumes and I personally wouldn’t be comfortable letting my kids use it unless they were old enough to exercise caution and make the whole project themselves.
But if your question is about using the bookmarks with your grandkids once they’re already made, then you absolutely can! One of the steps in the tutorial is to laminate the bookmarks, which essentially means using heat to cover them in plastic. Not only will this make the bookmarks more durable and protect the pages of your books, but it also means that all the alcohol ink will be trapped inside and no one will be able to touch or smell it. So there should be no issue at all with using them with your grandkids, even if they’re quite young! (Though do watch out for the bead if they’re really young and at risk of choking on it.)
Hope that helps!
Sacha